SDR-Kits DG8SAQ VNWA 3 Parts list manual
SDR-Kits, Grangeside Business Centre, 129 Devizes Road, Trowbridge Wilts, B 14-7SZ, England
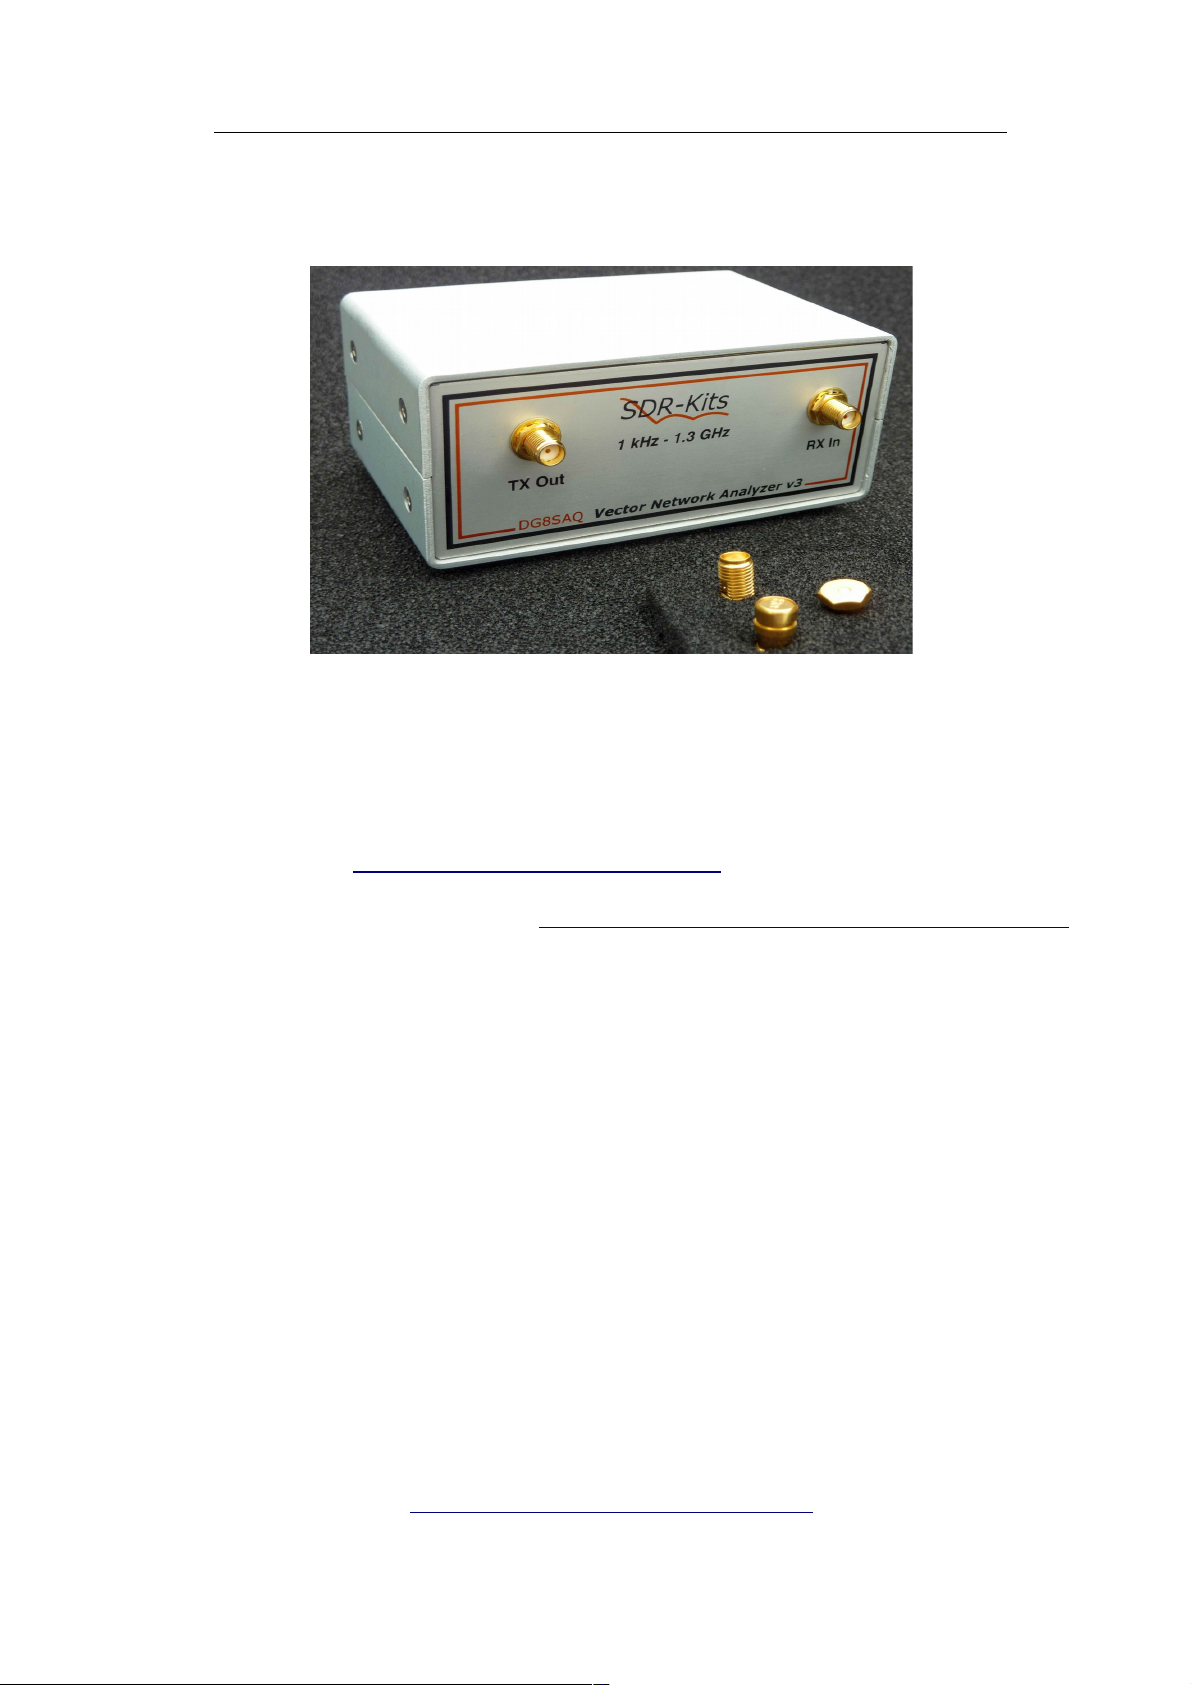
DG8SAQ VNWA 3 & 3E - Vector Network Analyzer -
"Getting Started Man al” for Windows 7, Vista and Windows XP
For VNWA
License Code
see page 2
VNWA
Hints
see page 10
1. Introduction:
Thank you for purchasing the DG8SAQ VNWA 3 or VNWA 3E Vector Network Analy er from SDR-
Kits. This manual is a concise “Getting Started” guide for release VNWA 36.3.0 onwards, showing
what steps are necessary to place the DG8SAQ VNWA in operation for the Microsoft Windows 7,
Windows Vista and Windows XP perating Systems using VNWA Application 36.3.0 and later.
For Windows 8 refer to: http://www.sdr-kits.net/vnwasoftware/
The DG8SAQ VNWA has many advanced features and options, therefore VNWA Users are strongly
urged to study the current VNWA helpfile: http://sdr-kits.net/DG8SAQ/VNWA/VNWA_HELP.pdf
1.1 Shipment Dama e:
You should receive the VNWA in good order, however in event of visible damage of the parcel, please
notify in first instance your Carrier or the Postal Service who delivered the shipment to you.
2. Important Information
Copyri ht notice
The design of the VNWA 3.x is copyright by Thomas Baier DG8SAQ & SDR-Kits - All right reserved.
2.1 Caution - Safety Information:
1. The VNWA 3 or 3E is powered and controlled through the USB-cable supplied. The USB-
cable should be connected to the USB port of a Personal Computer capable of supplying
+5V DC at 500mA maximum.
2. Do NOT apply any DC Volta es to the RF Ports. The maximum safe input volta e into
the TX-out and Rx-in ports is an RF Volta e of 0dBm (225mV RMS with a frequency
between 1 kHz up to 1300 MHz). Exceeding this value may cause damage to the VNWA
and may invalidate product warranty.
3. Always check the SDR-Kits Website for current Product information including Safety
Information and latest Product Updates.
http://www.sdr-kits.net/vnwasoftware/?20
SDR-Kits VNW 3 & 3E "Getting Started" Manual W7 - XP v2.04 - copyright 2013 by SDR-Kits Page 1 of 48

2. 2 Accuracy of Measurements
This product is designed for Educational, Amateur Radio and Hobbyist use. No warranties are made
whatsoever as to the stability and suitability of the design in extended periods/continuous operation or
operation outside components’ specifications. No responsibility will be accepted for accuracy of
measurements or performance either short term or long term. It is recommended that VNWA users
check proper operation of VNWA at regular intervals by measuring parameters of components after
performing VNWA calibration.
2.3 VNWA 3 and VNWA 3E - Product Documentation:
The documentation of the VNWA 3 is supplied as a VNWA Application Helpfile, which is available
when the VNWA Application is installed using the VNWA Installer. A PDF version of this help file
may be downloaded from the Internet from http://sdr-kits.net/DG8SAQ/VNWA/VNWA_HELP.pdf
Note: The VNWA 3E is a VNWA 3 with the optional VNWA Expansion board containing a second
Audio Codec fitted. This Booklet shows configuration of both VNWA 3E and VNWA 3. Note that a
few steps in the VNWA Application setup procedure are only required for VNWA 3E.
2.4 VNWA License code:
The VNWA License code for your VNWA is shown below:
The license code must be entered exactly as shown in step 3.1.6 (Win7 or Vista) or in step 3.3.5 (XP)
Axxxx:ABC-DE-FGH-IJK:
Note: Optionally the name of the VNWA user may be added after the VNWA license code within
double quotes:
for example: A1999:kzl-blt-qua-lzt:”DG8SAQ”
The VNWA application will now display the VNWA serial number (A1999) and the VNWA User name
as
Vector Network Analyzer Software - A1999 licensed to DG8SAQ
3. VNWA Driver - Software and Helpfile Installation
Caution: Although the installation package is provided for easy installation, it is recommended that
the appropriate installation procedure for your Operating System is reviewed before starting the
installer. The procedure below assumes that VNWA package has NOT been installed previously on the
Computer in question.
Please email: [email protected] to report any errors or improvements to this document – Thanks
3.1 Windows 7 & Vista 64 bit and 32 bit Installation
This section shows installation procedure for Windows 7 (64 or 32 bits) – Vista procedure is similar.
SDR-Kits VNW 3 & 3E "Getting Started" Manual W7 - XP v2.04 - copyright 2013 by SDR-Kits Page 2 of 48
Note: For Installation on Windows XP refer to Section 3.3
IMPORTANT: Information for Windows 7 and Vista users:
If you are installing the VNWA application for the first time, the VNWA Setup program will guide you
to install an application Winhlp32.exe from the Microsoft website. The Winhlp32.exe program is
required to display the VNWA help file. However Microsoft license conditions does not allow the
Winhelp32.exe to be distributed as part of the VNWA setup program.
VNWA installation is easier and friendlier if Winhlp32.exe application is already installed beforehand.
It is therefore recommend to install Winhlp32.exe from the link:
http://support.microsoft.com/kb/917607 prior to starting the VNWA installation program.
You can always check if Winhlp32.exe is already installed by inspecting the file size of this file in
C:\windows. If file si e of Winhlp32.exe is 290 KBytes then the application is already installed. If
this file is present but it is only 9Kbytes in si e then Winhlp32.exe should be installed first:
3.1.1 Download and save the VNWA Installation Package from the following location to your
desktop or download folder: http://www.sdr-kits.net/DG8SAQ/VNWA-installer.exe
3.1.2 Make sure the VNWA is NOT connected to the PC
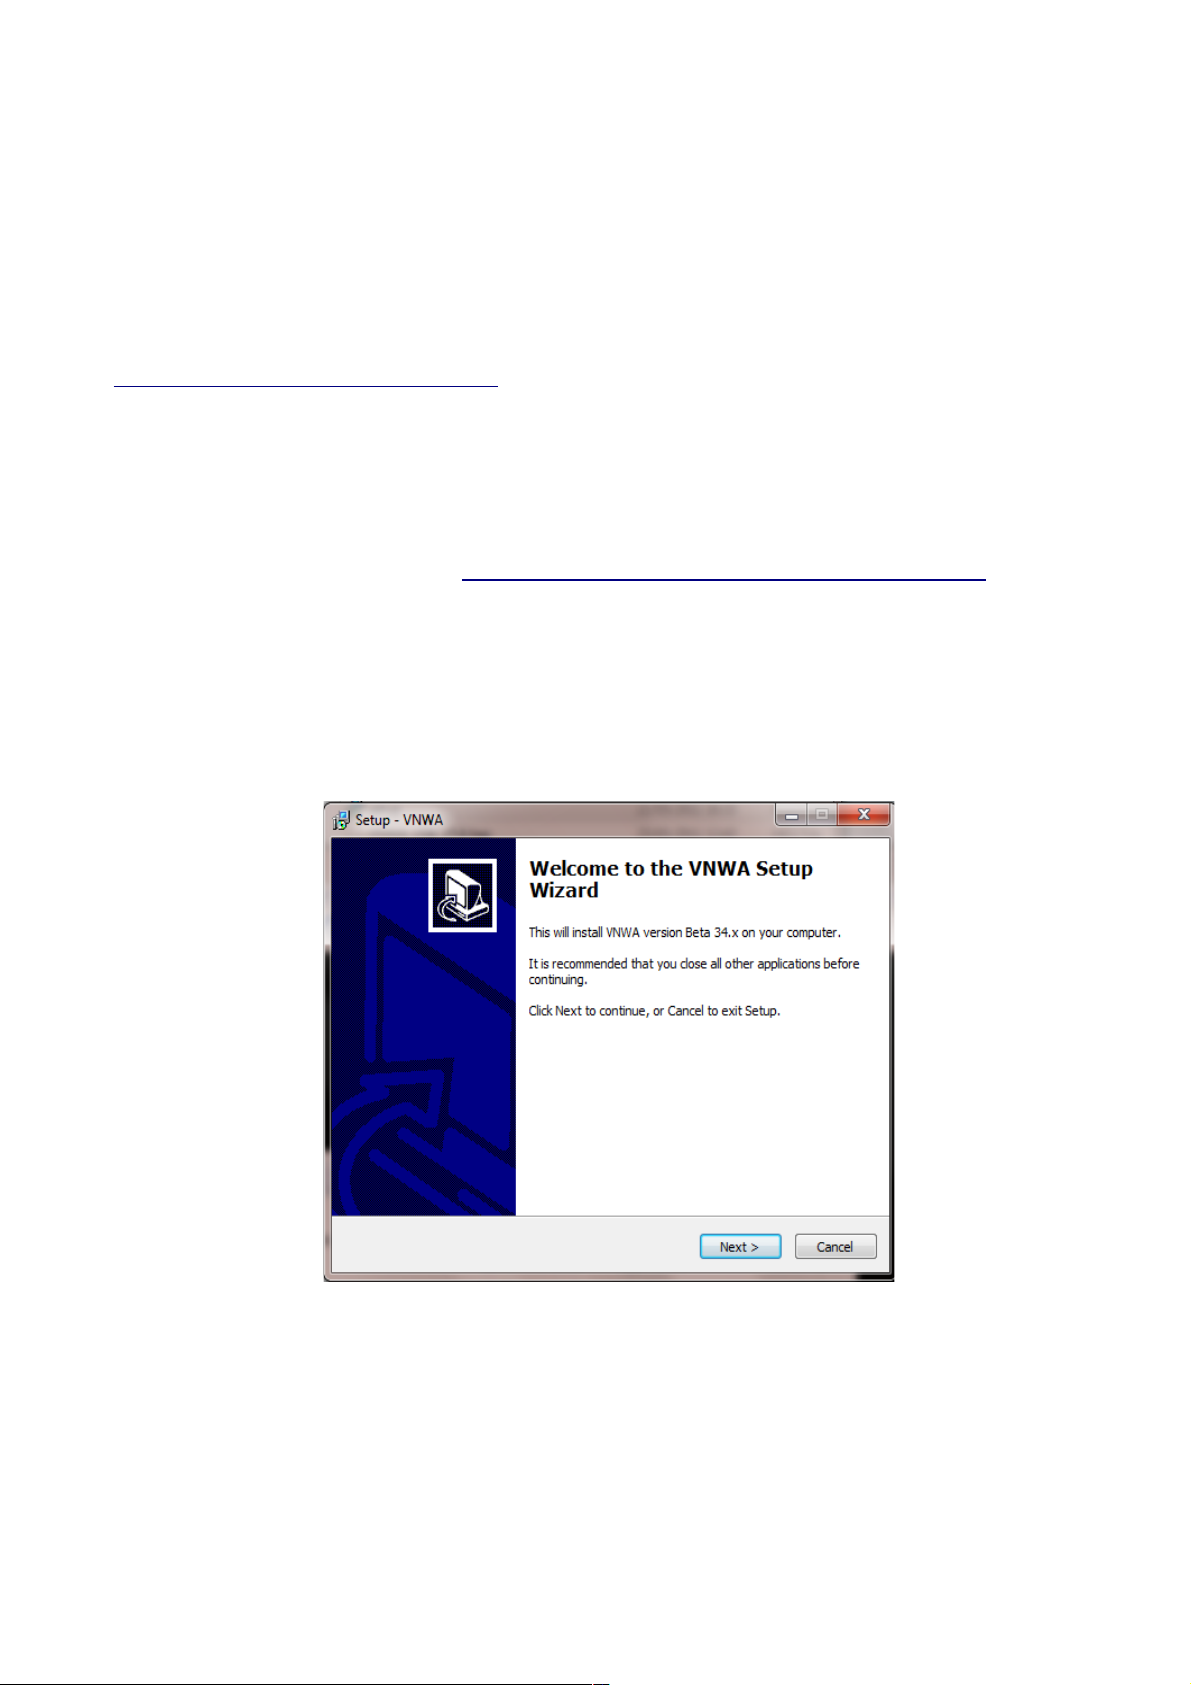
Double Click on the VNWA-installer Icon to start the VNWA installation process.
Confirm that you want to run this software by pressing “RUN”
Confirm the VNWA-installer can make changes to your Computer, then screen below is shown.
Press "Next >"
3.1.3 If the file Winhlp32.exe is NOT installed on the Computer, the screen below is shown.
Winhlp32.exe file should be installed otherwise VNWA helpfile will not be displayed. If you
click the box the Web browser will be launched. Follow the instructions on the Microsoft
Website to download winhlp32.exe.
Note: For 64 bit Operating Systems the filename ending in -x64.msu should be downloaded
and -x86.msu for 32 bit Operating Systems.
SDR-Kits VNW 3 & 3E "Getting Started" Manual W7 - XP v2.04 - copyright 2013 by SDR-Kits Page 3 of 48

Note: The link to the Microsoft winhlp32.exe support is: http://support.microsoft.com/kb/917607
3.1.4 Press "Next >" – The default location where VNWA will be installed will be shown:
Note: Select a different Destination Location (ie C:\VNWA_2) if you wish to install a second VNWA
application on the same PC. This will prevent overwriting the setup files of your first VNWA
application:
3.1.5 Press "Next >" – This shows the default where program shortcuts will be installed
SDR-Kits VNW 3 & 3E "Getting Started" Manual W7 - XP v2.04 - copyright 2013 by SDR-Kits Page 4 of 48
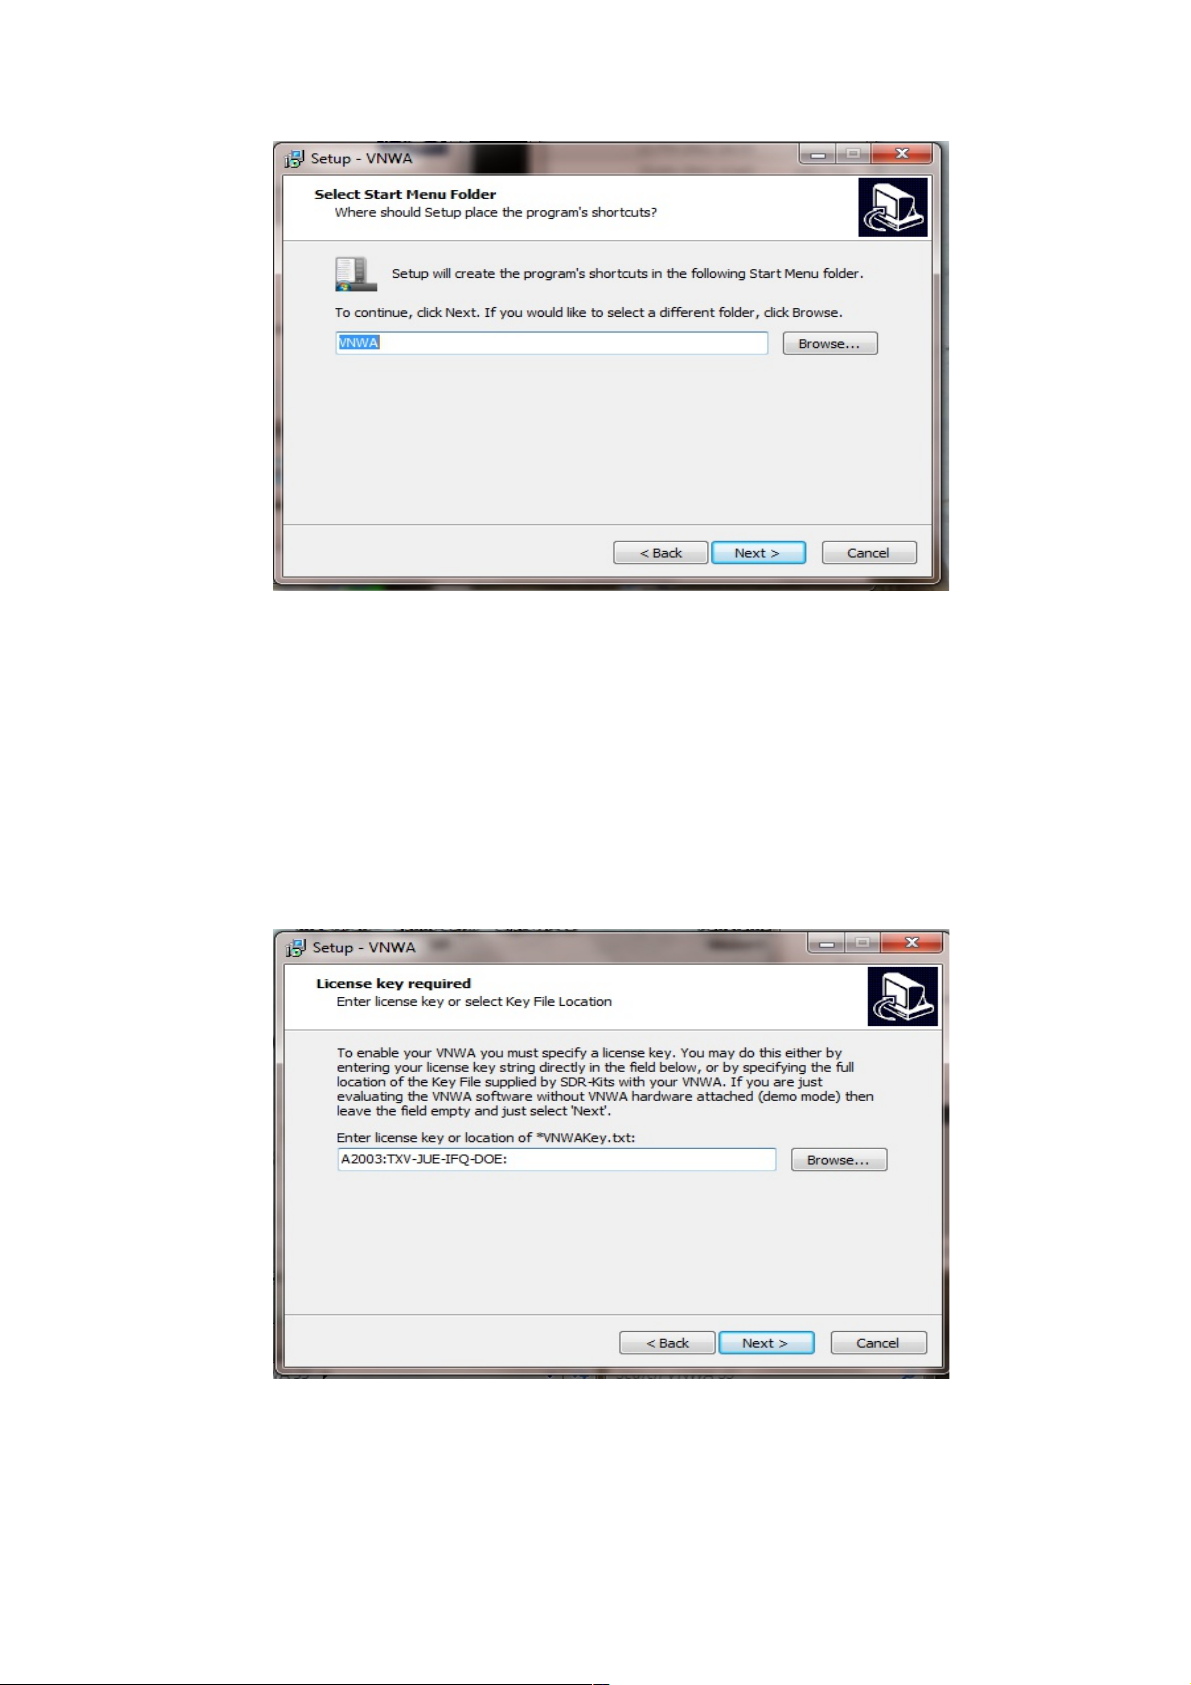
3.1.6 Press "Next >" – Screen to enter VNWA license key is now displayed as shown below:
There are two options to enter the VNWA license key for your VNWA:
1. Directly enter the VNWA license code exactly as shown on page 2, paragraph 2.4 (with or
without the name option). Note: The VNWA license code is also shown in the VNWA
shipping advice email. Note: the colon is the last character of the license code and must also
be entered.
2. Specify the location of the VNWA License key file which may be emailed.
Note: A Screen (not shown) is now displayed with option to create a Desktop Icon for:
A) All users or B) For Current User only. Make your selection and press "Next >"
SDR-Kits VNW 3 & 3E "Getting Started" Manual W7 - XP v2.04 - copyright 2013 by SDR-Kits Page 5 of 48
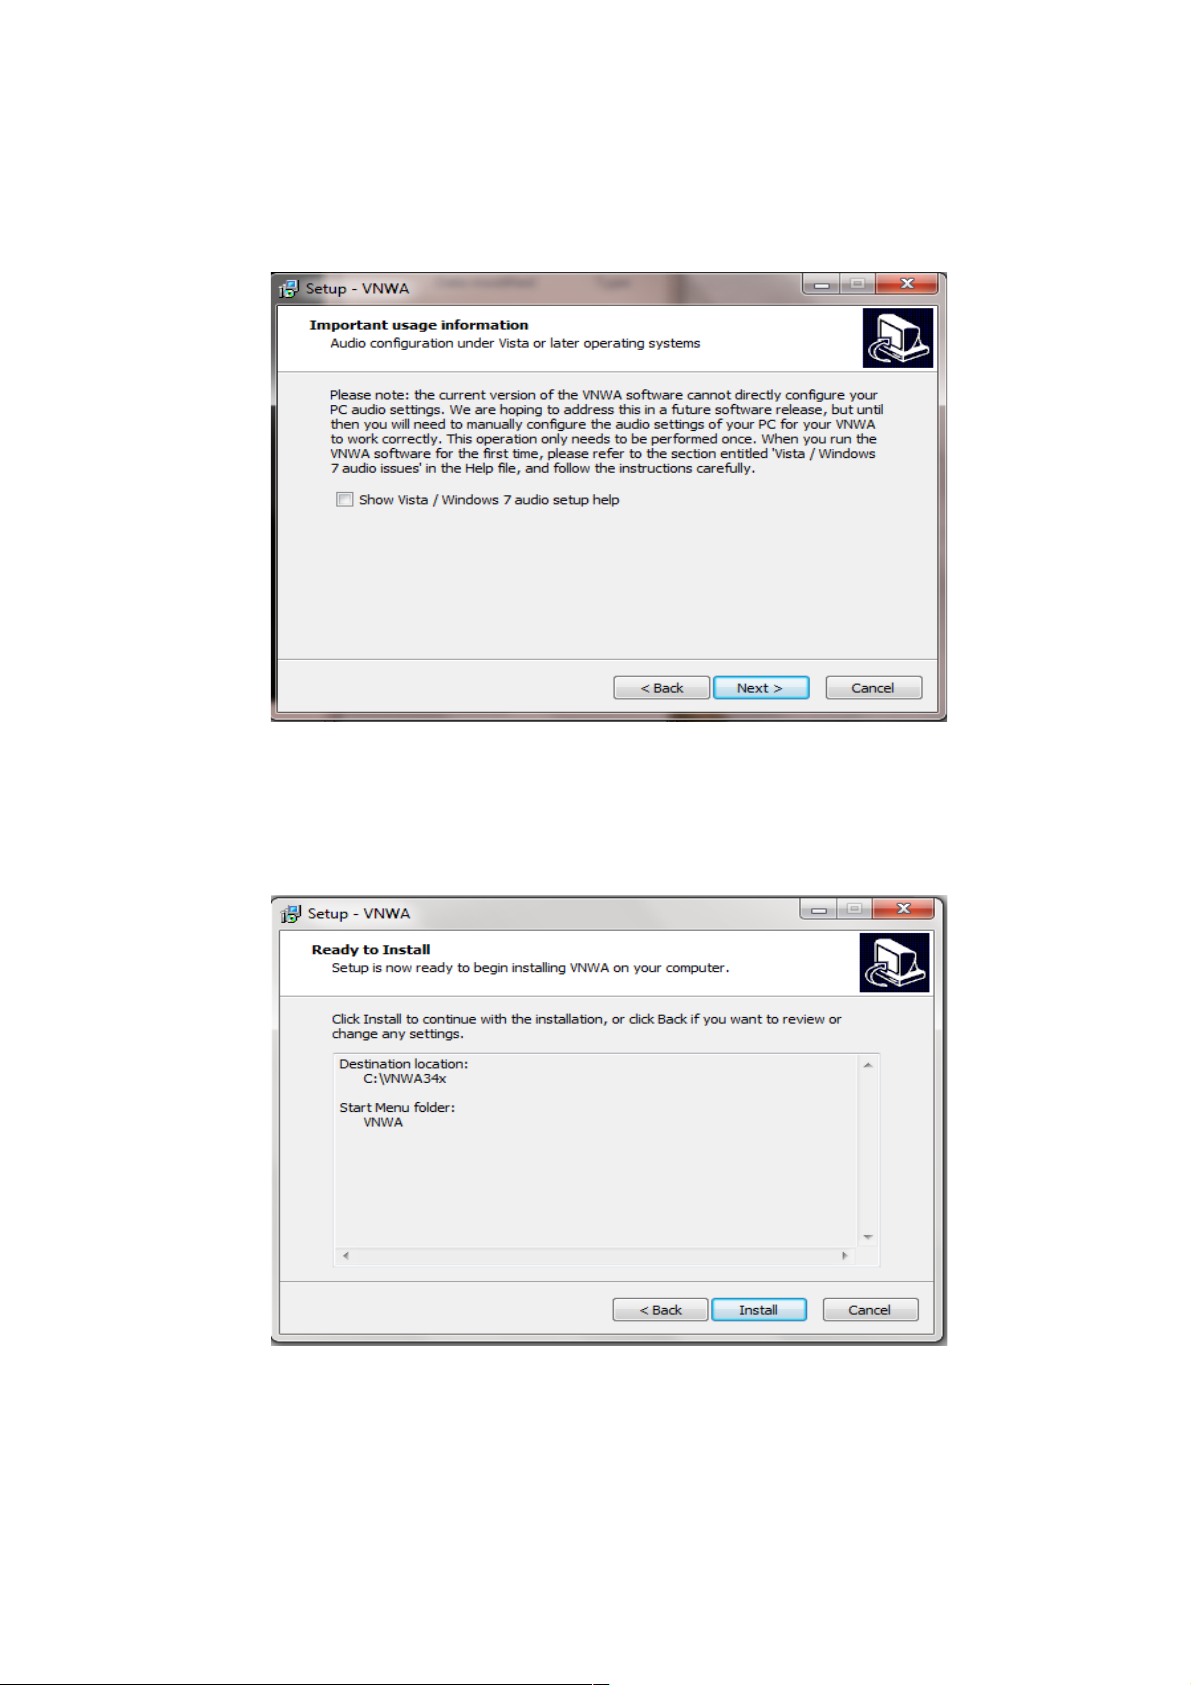
3.1.7 Information on Audio Configuration is displayed
3.1.8 Press "Next >" and Ready to Install screen is displayed
3.1.9 Press "Install" – VNWA Application and helpfile are now installed
SDR-Kits VNW 3 & 3E "Getting Started" Manual W7 - XP v2.04 - copyright 2013 by SDR-Kits Page 6 of 48

NOTE: At this point the Installer for VNWA 36.2.3 (available from 20th November 2012 onwards)
will automatically install the Digital signed Amateur Radio Root Certificate (ARC). This Certificate
is an essential requirement for Windows 7 64 bits and Windows 8 Enterprise OS – Please see Section
3.5 for information on the Amateur Radio Certificate installation.
Using previous VNWA installer v36.0 or older the Amateur Radio Certificate will NOT be installed
and the Driver Installation will now proceed displaying the following screen shots:
3.1.10 Press "Next >" – Following screen may be displayed – Select “Install this driver software
anyway”
3.1.11 Press "Next >" – Driver installation will take from 10-30 seconds and screen below is displayed
SDR-Kits VNW 3 & 3E "Getting Started" Manual W7 - XP v2.04 - copyright 2013 by SDR-Kits Page 7 of 48
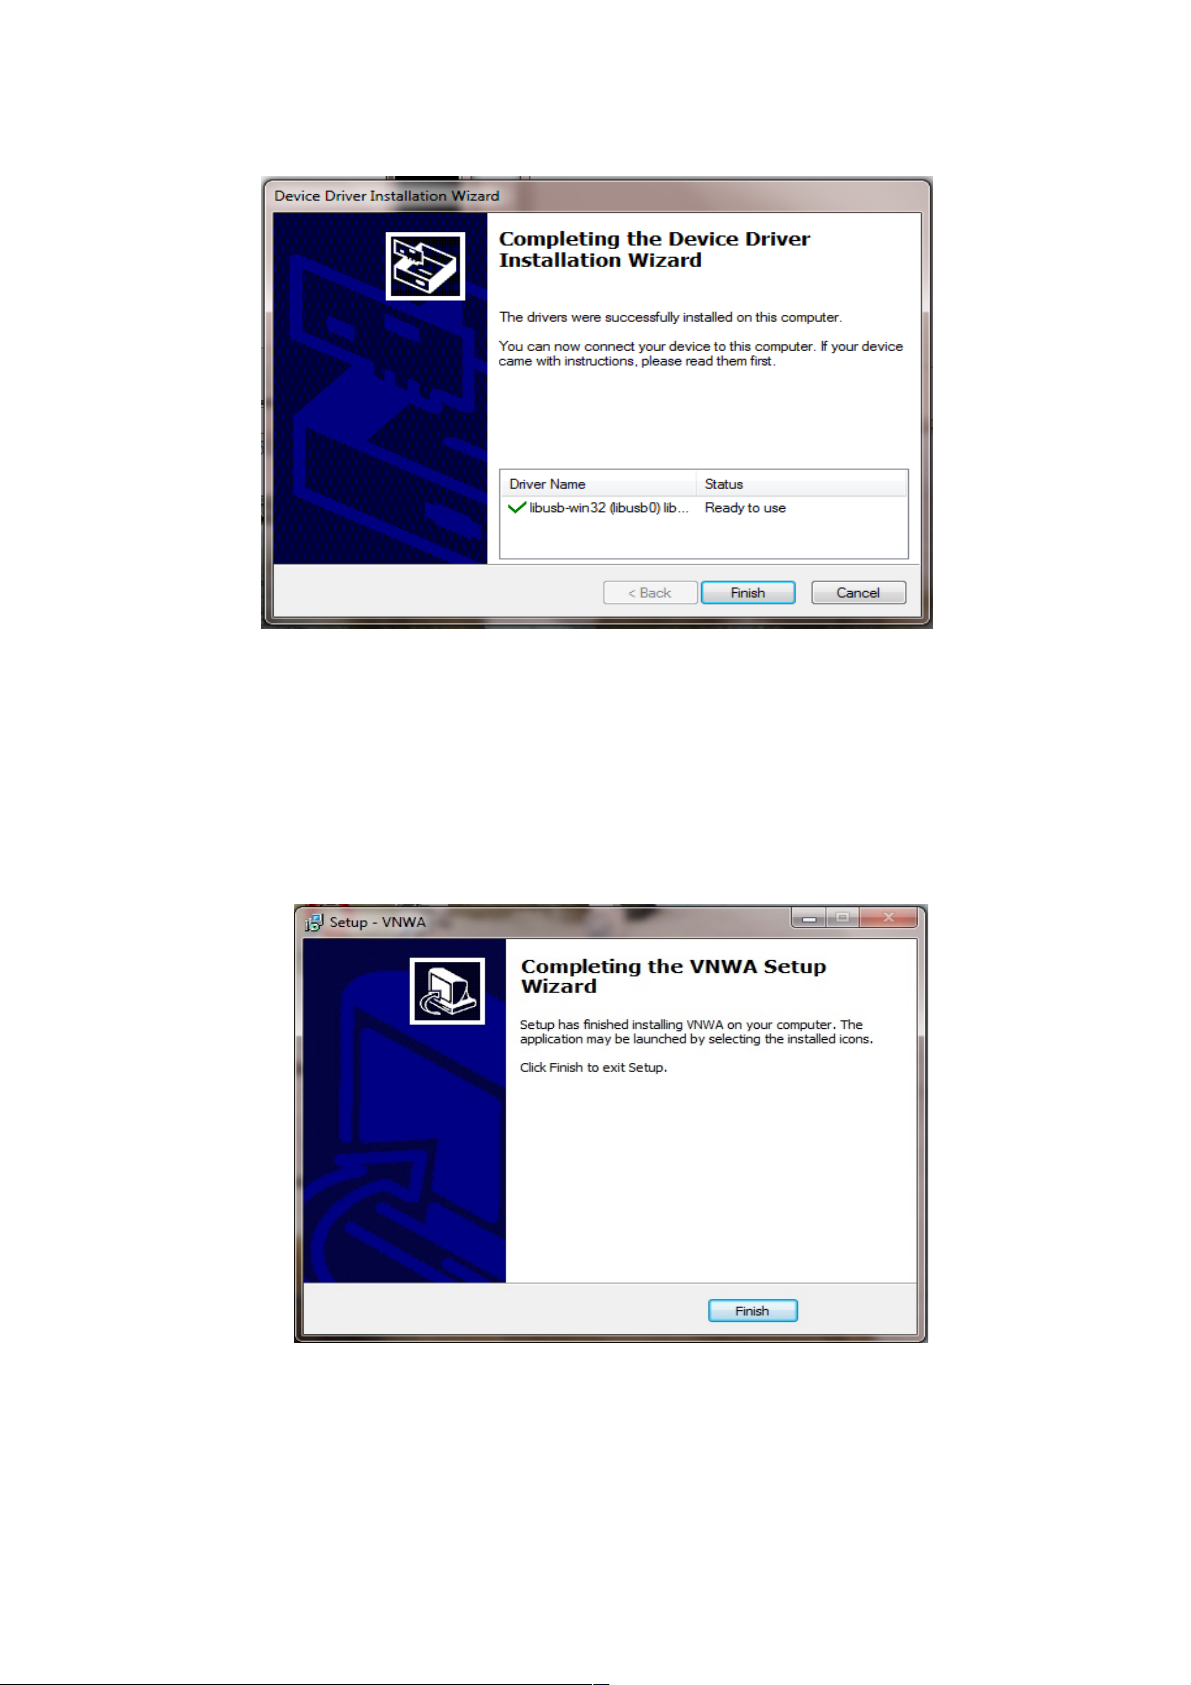
3.1.12 Press "Finish" -
3.1.13 If you have selected to view the “Show Vista/Windows 7 Audio setup help” in point 3.1.7
read the information and close the window prior to next step.
3.1.14 Press “Finish” to complete installation.
END OF VNWA Installation
SDR-Kits VNW 3 & 3E "Getting Started" Manual W7 - XP v2.04 - copyright 2013 by SDR-Kits Page 8 of 48
3.2 Windows 7 & Vista 64 bit and 32 bit Application Confi uration as from Release 36.3.0
3.2.1 This section shows first-time installation of a VNWA - or when VNWA application is started
for the first time from a new Directory! Plug in the VNWA USB cable into USB Port of your
Computer.
Note: It is recommended to connect the VNWA into the same USB Port next time you use the VNWA.
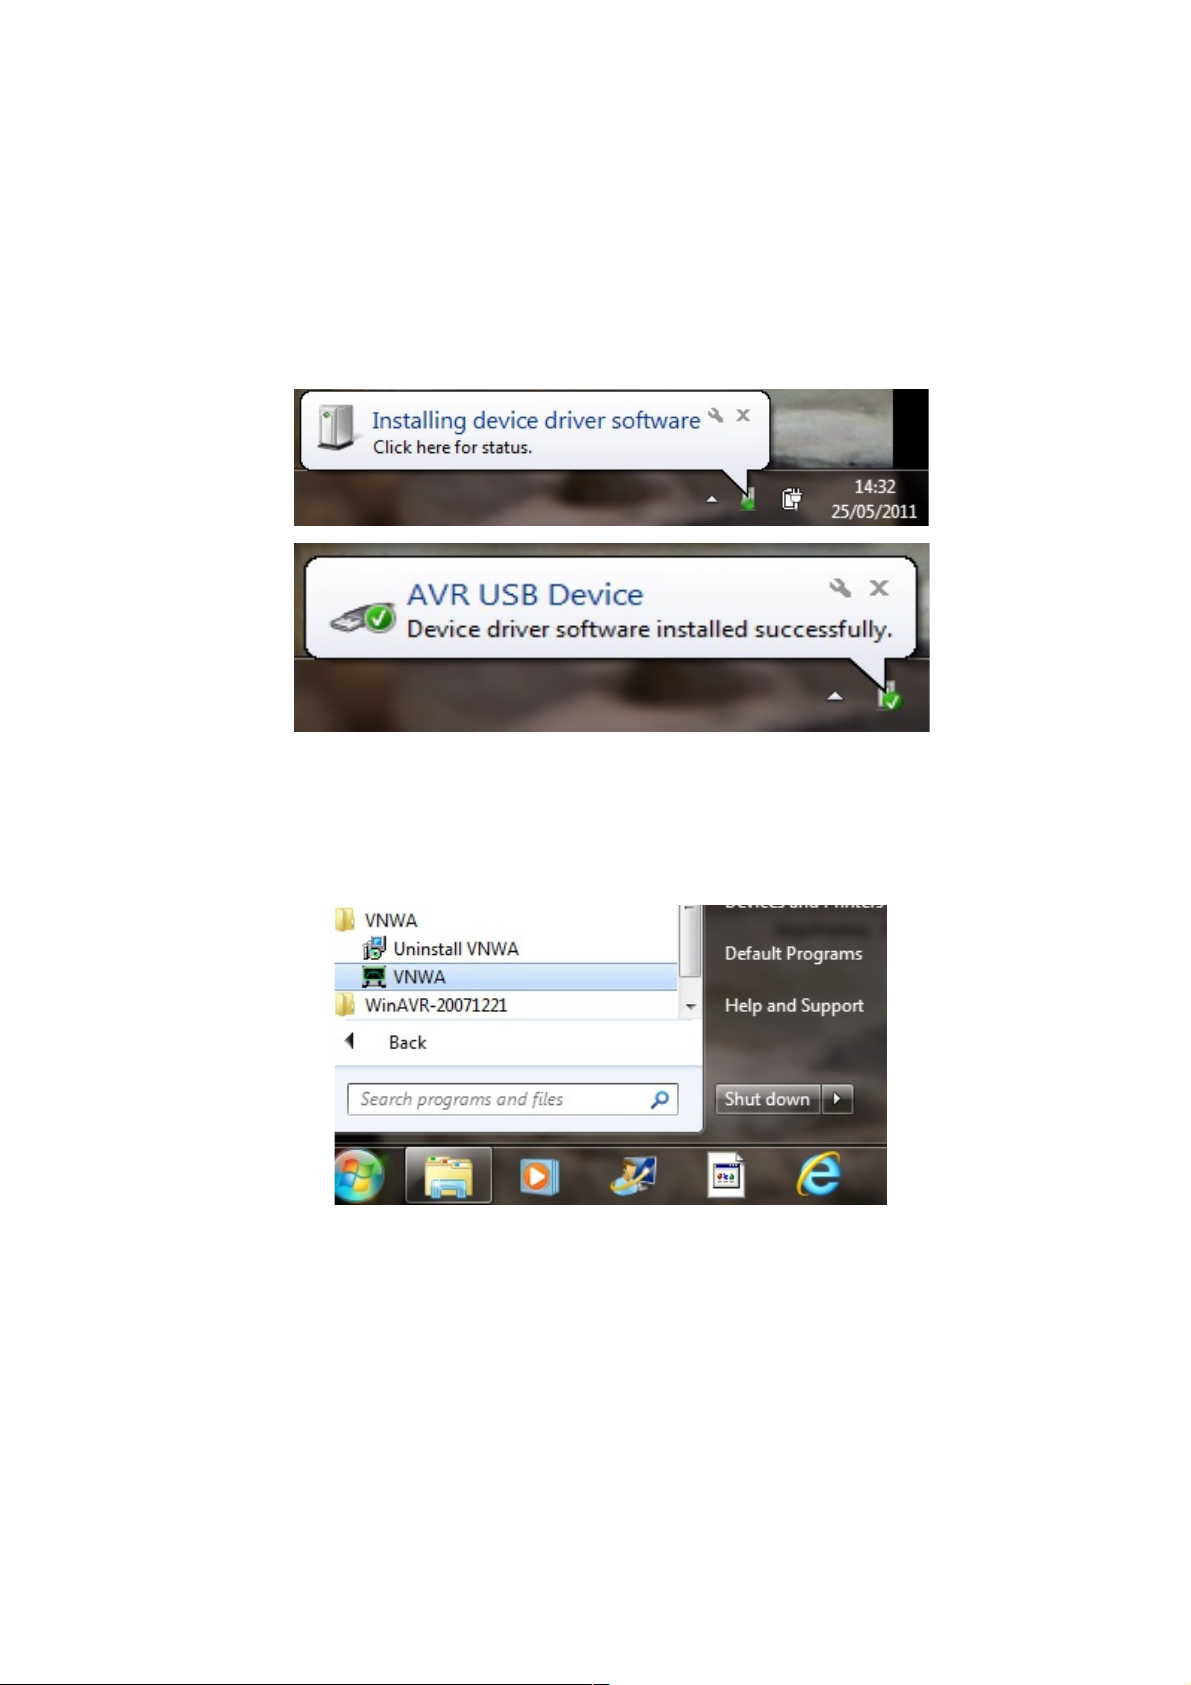
When connecting the VNWA for the first time after Driver installation, the VNWA will be recogni ed
and device driver installation should complete automatically.
3.2.2 Depending on the options specified during the installation, start the VNWA application from the
directory specified during Installation, use the Shortcut created on the Desktop or use the
“Start” and “VNWA“ launch button.
3.2.3 Overclockin Warnin may be displayed when you run VNWA Application software for
the first time.
Select "OK" to allow overclocking of the DDS chips beyond 400 MH .
Note: VNWA performance over 500 MH will be negatively affected if overclocking of the
DDS is not permitted.
SDR-Kits VNW 3 & 3E "Getting Started" Manual W7 - XP v2.04 - copyright 2013 by SDR-Kits Page 9 of 48

3.2.4 The VNWA “Hint File” is now displayed. Please review this information carefully!
SDR-Kits VNW 3 & 3E "Getting Started" Manual W7 - XP v2.04 - copyright 2013 by SDR-Kits Page 10 of 48

Press “OK” to continue. This will start the VNWA Application. Press “OK” again to enter VNWA
auto-setup information.
3.2.5 The tab "USB Settin " should now be displayed. If not, click on the tab “USB-Settin ”.
Check whether VNWA license code is shown. If this information is missing then enter the
VNWA license code again. Now press “Rescan USB Bus” and “Test USB Interface” .
Check bottom line for message “Test passed without errors”.
Note: The VNWA License code is shown on page 2 of the “Gettin Started” Manual shipped with
your VNWA – It is also shown in the VNWA_Delivered – shipping email.
SDR-Kits VNW 3 & 3E "Getting Started" Manual W7 - XP v2.04 - copyright 2013 by SDR-Kits Page 11 of 48
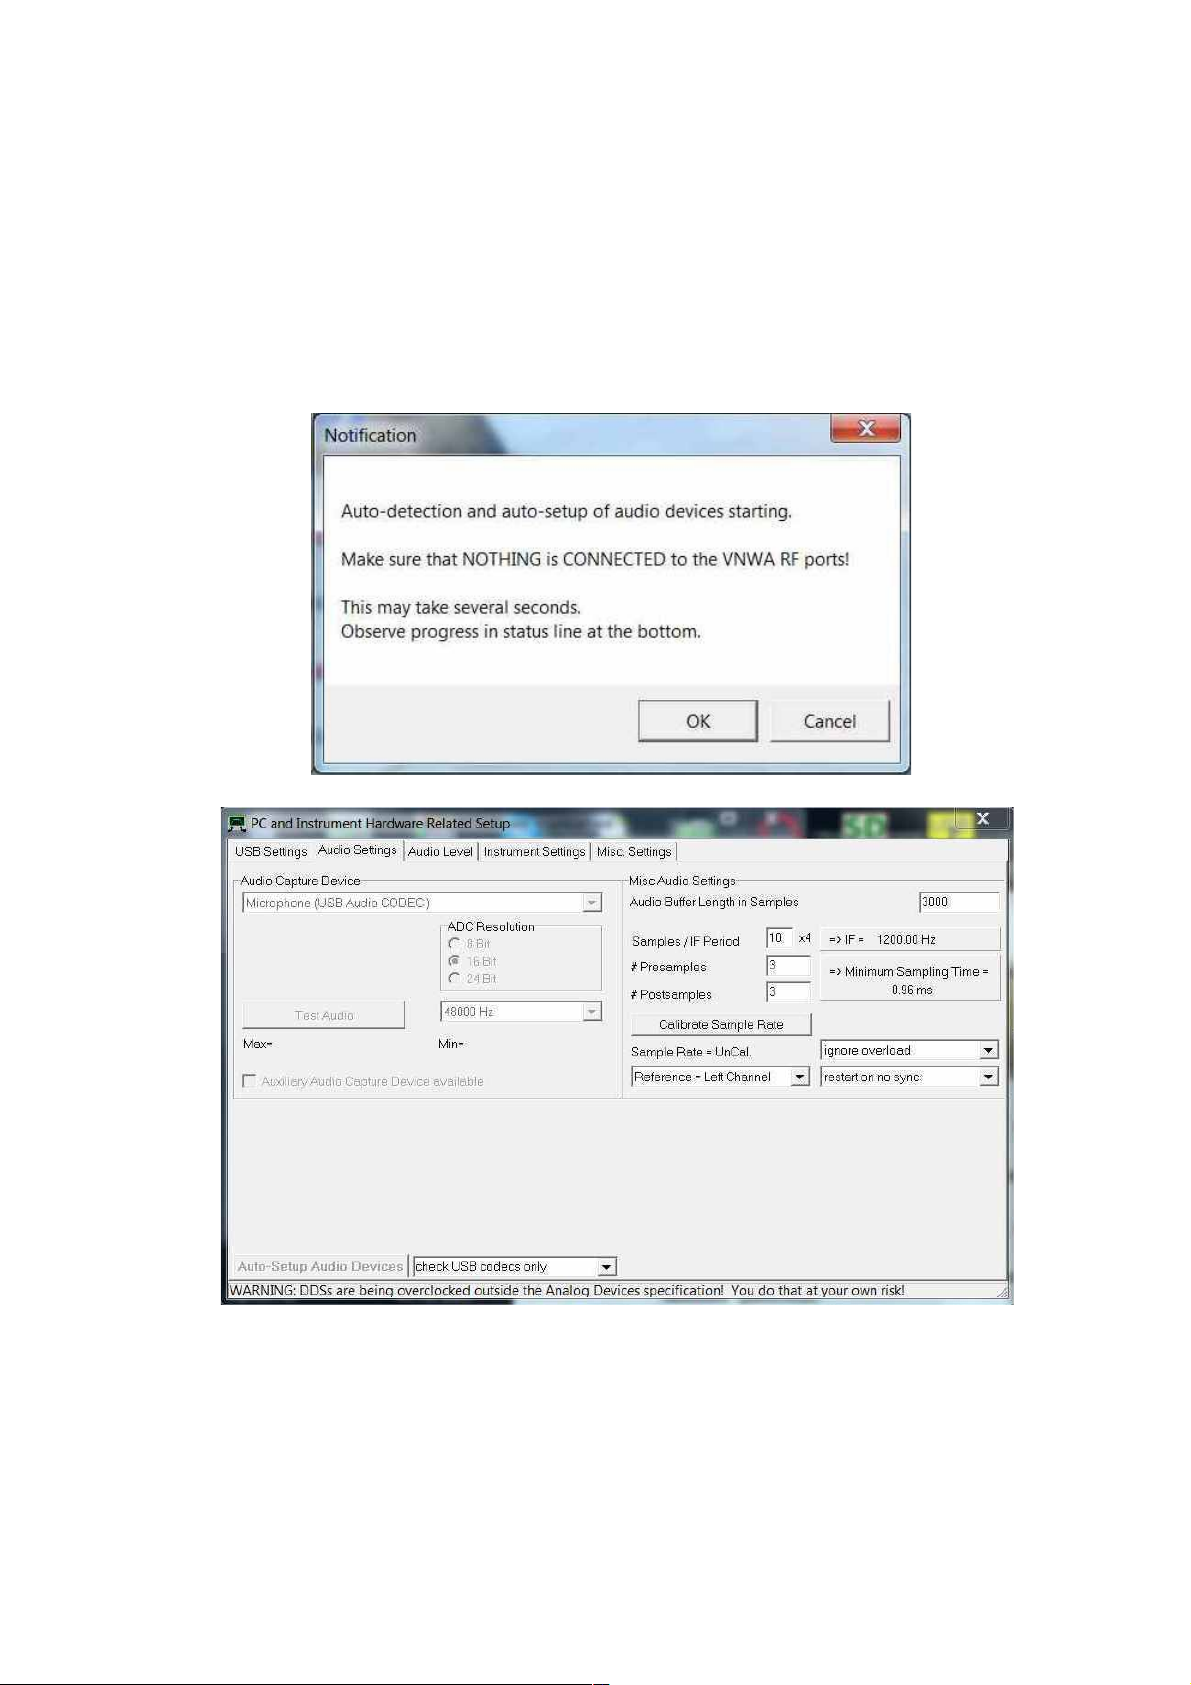
3.2.6 From Release 36.3.0 onwards, the VNWA application performs an Auto-detection and Auto-
setup of Audio devices instead of the Manual setup which was previously required.
The Auto-detection and Auto-setup procedure is executed when the VNWA application is
started up for the first time – or whenever the VNWA Application (VNWA.exe) is run from an
empty directory.
Make sure that Nothin is connected to VNWA RF Ports -
Press “OK” to start the Audio Auto-detection -
SDR-Kits VNW 3 & 3E "Getting Started" Manual W7 - XP v2.04 - copyright 2013 by SDR-Kits Page 12 of 48

3.2.7 Auto-detection and Auto-set-up steps through from phase 1 to 8.
The screen below is displayed once the process is completed.
Press “OK” to calibrate the Audio device sampling rate.
3.2.8 Press “OK” to calibrate the Audio device sampling rate. Calibration of Sample rate takes
approx 30 seconds.
SDR-Kits VNW 3 & 3E "Getting Started" Manual W7 - XP v2.04 - copyright 2013 by SDR-Kits Page 13 of 48

3.2.9 Next the Audio Level Screen is displayed. Select “Reflect” (bottom RH softbutton) and two
sine-waves should be displayed. Top = Left = Reference and Right = Reflect
3.2.10 Next connect the TX port to the RX Port with a short Coax cable. The sine-wave on the Right
= Tru/Reflect should now disappear (because the TX port is now terminated with a 50 Ohm
load from the RX port).
SDR-Kits VNW 3 & 3E "Getting Started" Manual W7 - XP v2.04 - copyright 2013 by SDR-Kits Page 14 of 48

3.2.11 This step is only for VNWA 3 (Expansion PCB not fitted) –
Select “Thru” (Softbutton in bottom RH corner) and Right = Thru/Reflect should now display
a sine- wave (RX port is receiving TX output via Thru coax cable).
3.2.12 This step is only for VNWA 3E with fitted expansion board:
Select Tab “Aux Audio Level” and screen below should be displayed.
(RX port is receiving TX output via Thru coax cable)
This completes Auto-detection and Auto-set-up of Audio devices.
Troubleshootin :
In case of audio set-up problems, please consult the VNWA helpfile - “Auto Set-up”
Automatic Configuration of the Software for Usage with a G8SAQ VNWA (Auto-Setup)
Notes: Audio Capture Devices may either be shown as “Line” or “Microphone” depending on
type of USB-Codec chip fitted.
Troubleshootin : If "Auxiliary Audio Capture Device available" is NOT shown, then exit
VNWA application and add the line AuxAudio=1 to the file VNWA.ini with a text editor and
restart the VNWA Application. See also VNWA helpfile for further information.
Windows 7 configures a VNWA USB Audio Capture Device by default either as a
“Microphone” or as a “Line” depending on the type of USB Codec chip fitted.
If the USB Codec is shown as “Microphone” Windows 7 will configure this as a Mono input
with input levels set too hi h as shown below. This will prevent VNWA application from
functioning. Later VNWAs are fitted with PCM2900C chip which Windows configures as a
“Stereo Line input” device but at the wron sample rate.
SDR-Kits VNW 3 & 3E "Getting Started" Manual W7 - XP v2.04 - copyright 2013 by SDR-Kits Page 15 of 48
3.2.13 Stop the Audio test by selecting Tab “Audio Level” and click on softbutton “Stop“.
Next click on Tab “Instrument Settin s”. The screen below shows usual settings for normal
operation.
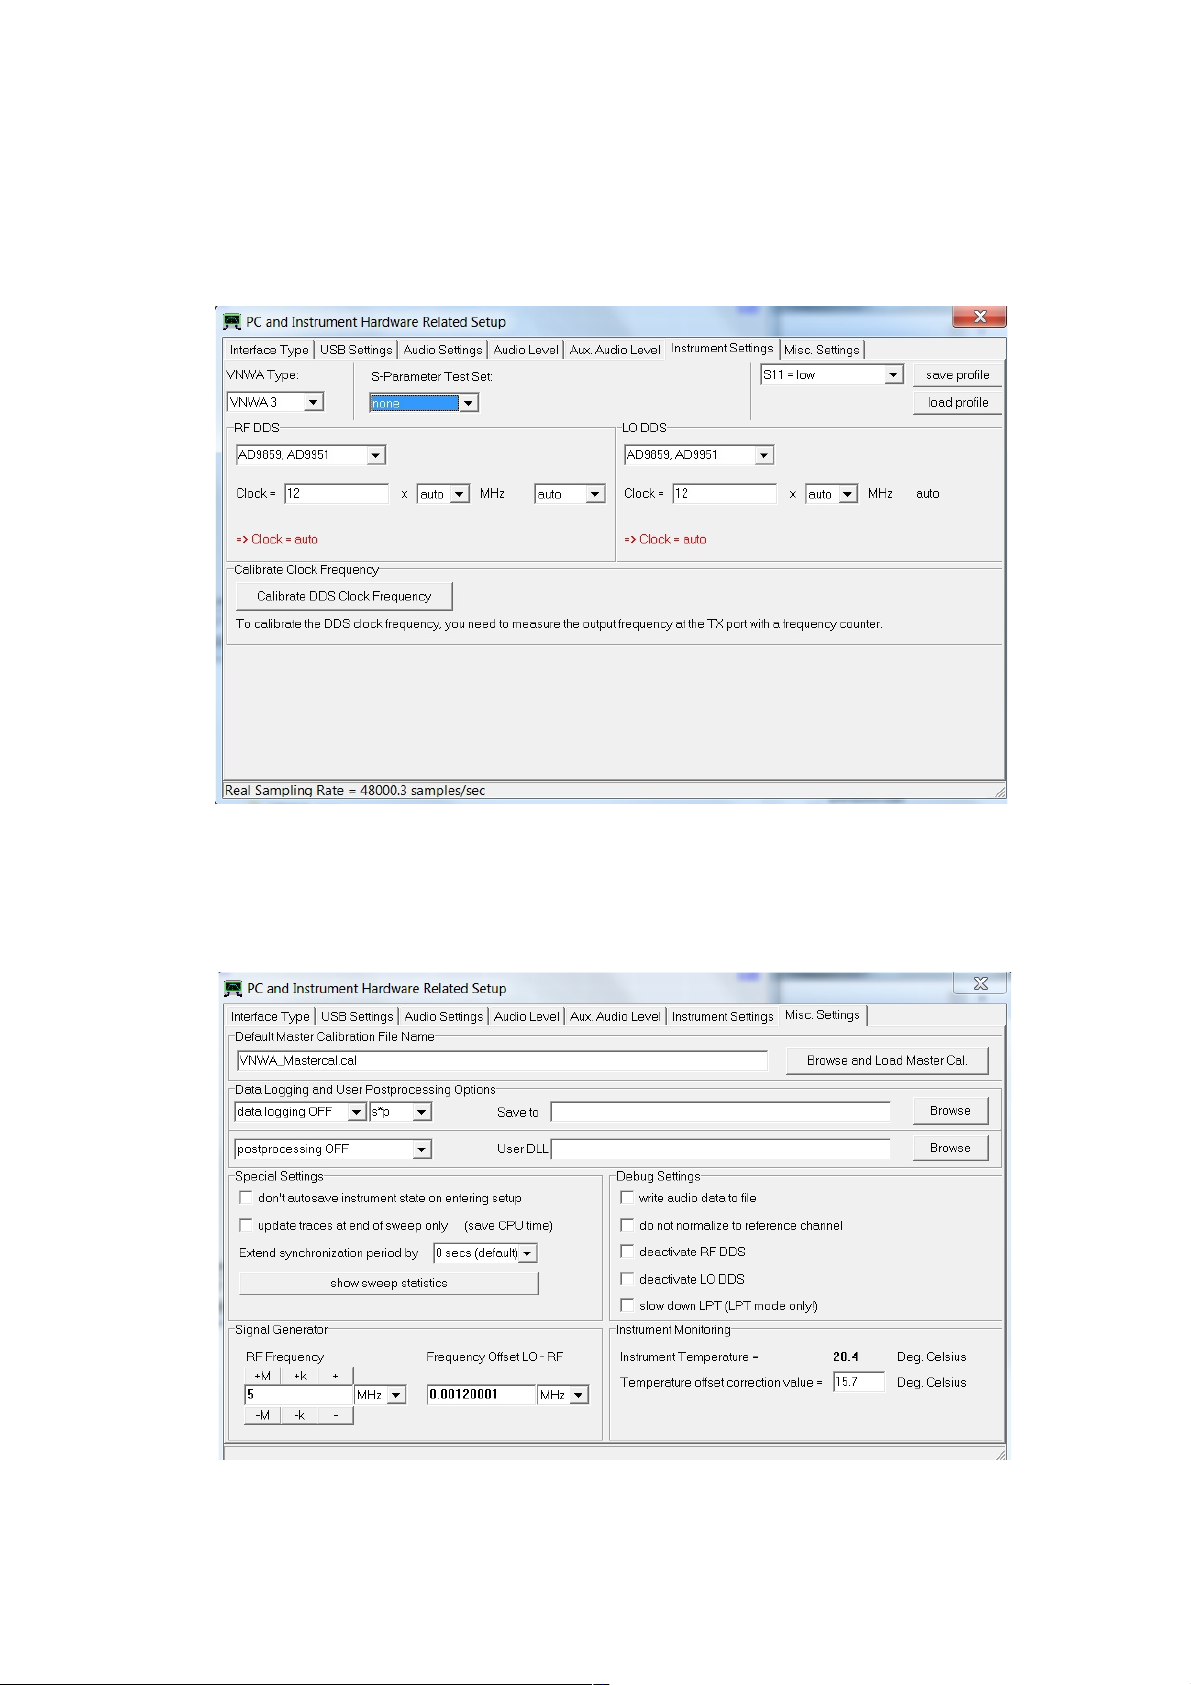
3.2.14 Click on Tab “Misc Settin s”. The screen below shows usual settings for normal
operation.
SDR-Kits VNW 3 & 3E "Getting Started" Manual W7 - XP v2.04 - copyright 2013 by SDR-Kits Page 16 of 48

3.2.15 Close the VNWA Set-up screen by pressing top right hand button. Next we test whether the
VNWA helpfile is available. Press “Help” and select “Help” again.
3.2.16 The screen below may be shown. Press “Yes” and “Browse” to select where the Helpfile is
located. If standard VNWA installation defaults were selected then the default path will be:
My Computer C:\VNWA\VNWA.hlp
3.2.17 IMPORTANT: To save the VNWA configuration (after any changes are made) exit the
VNWA Application. This updates the VNWA configuration files for the next time the VNWA
application is started.
End of VNWA Confi uration for Windows 7 and Vista
SDR-Kits VNW 3 & 3E "Getting Started" Manual W7 - XP v2.04 - copyright 2013 by SDR-Kits Page 17 of 48

3.3 Windows XP Installation
Note: For Installation on Windows 7 and Vista refer to section 3.1
This section shows installation procedure for Windows XP Operating System.
3.3.1 Download and save the Installation Package from the following location to your desktop
http://www.sdr-kits.net/DG8SAQ/VNWA-installer.exe
3.3.2 Make sure the VNWA is NOT connected to the PC.
Double Click on the VNWA-installer Icon to start the VNWA installation process.
Open File Security Warning screen is displayed next, Press “RUN” to confirm you want to
install the VNWA-installer.
Confirm that the VNWA-installer can make changes to your Computer.
3.3.3 Press “Next >” – The default location where VNWA will be installed will be shown:
Note: Select a different Destination Location (ie C:\VNWA_2) if you want to install a second VNWA
application on the same PC. This prevents overwriting the set-up files of your first VNWA application.
SDR-Kits VNW 3 & 3E "Getting Started" Manual W7 - XP v2.04 - copyright 2013 by SDR-Kits Page 18 of 48

3.3.4 Press Next – Default Location where VNWA program shortcuts will be installed
3.3.5 Press Next – Screen to enter VNWA license key is now displayed as shown below:
There are two options to enter the VNWA license key for your VNWA:
A) Directly enter the VNWA license code exactly as shown in page 2, paragraph 2.4
(with or without the name option).
Note: The VNWA license code is also shown in the VNWA shipping advice email.
Note: the colon is the last character of the license code and must also be entered.
B) Specify the VNWA License key file which may be emailed to VNWA users as an
attachment of the VNWA shipping advice email.
SDR-Kits VNW 3 & 3E "Getting Started" Manual W7 - XP v2.04 - copyright 2013 by SDR-Kits Page 19 of 48

Note: A screen (not shown) is now displayed with option to create a Desktop Icon for:
A) All users or B) For Current User only. Make your selection and press "Next"
3.3.6 Press "Next" - Read and execute the instructions displayed on the screen below:
Note: The VNWA hardware must now be connected to the USB Port of the PC in this step
otherwise driver installation may fail.
SDR-Kits VNW 3 & 3E "Getting Started" Manual W7 - XP v2.04 - copyright 2013 by SDR-Kits Page 20 of 48
Other manuals for DG8SAQ VNWA 3
4
This manual suits for next models
1
Table of contents
Other SDR-Kits Measuring Instrument manuals


Popular Measuring Instrument manuals by other brands


ECO Sensors
ECO Sensors OG-3 user manual

ITW
ITW Simco-Ion FMX-004 instructions

Novalynx
Novalynx 255-110-B Series user manual

Trane
Trane E50 Series Installation, operation and maintenance

PRECISION DIGITAL
PRECISION DIGITAL ProtEX-MAX PD8-6060 instruction manual

Ista
Ista ultego III eco Installation instruction