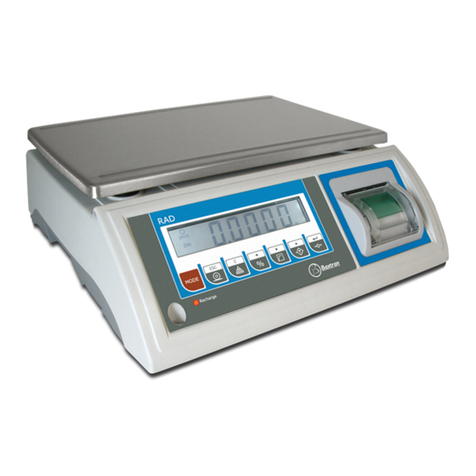
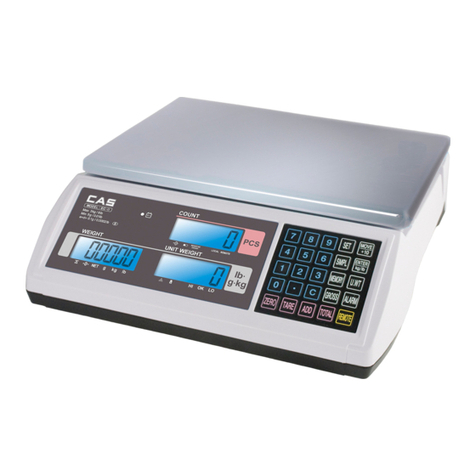
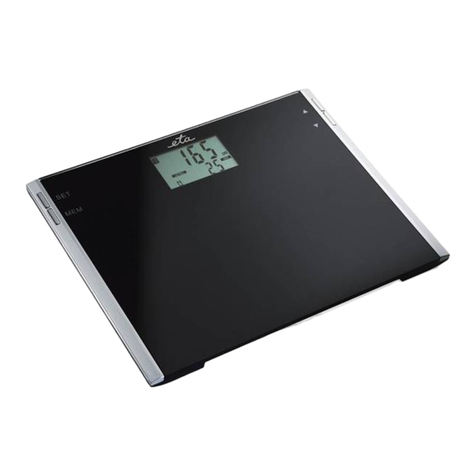
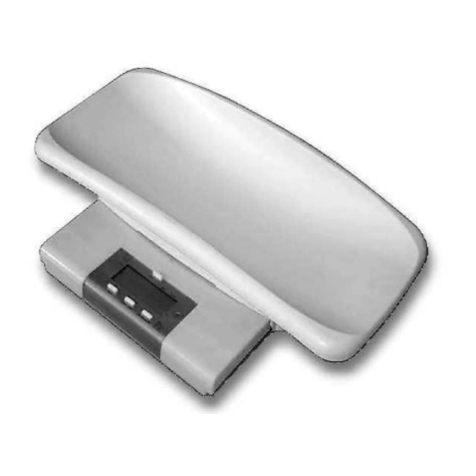
SDS IDS-802 User manual

Weighing Scale
IDS-802
User Manual

A. MAIN SPECIFICATION
Model: IDS-802 Weighing scale
Capacity: 3kgx0.1g,6kgx0.2g,15kgx0.5g,30kgx1g
Accuracy: Grade III, n=30,000
Display:Single 6 digits LCD with Blue Backlit
1 x LCD Display is optional
Keys: UNIT,COU/AFF,TAR/CAL
Power supply: AC 220V/50Hz or DC 6V/4Ah
Operating temperature/Humidity: 5°C~35°C / ≤85%RH
B. OPERATION
1.PREPARATION
Put weighing scale on a flat and stable table, adjust the screw of rubber
feet if the table is not flat. Avoid shaking, sunshine and strong EMI
(Electromagnetic Interference).
2.POWER ON AND AUTO ZERO SETTING
2.1 Connect power cord to 220V power supply
2.2 Push button [ON/OFF] to turn on the scale, the display window will
perform "999999""888888.","777777",'666666","555555""444444",
"333333", "222222", "111111","000000",and“- - - - - -”to self checking,
then it will enter into weighing mode by displaying "0" or "0.0 ".
2.3 When power on, if loading weight on the scale deviates from the zero

point, but still within zero set range, the scale will set zero automatically;
if out of range, it is necessary to adjust the zero point or recalibrate or
reset.
3.MANUAL ZERO SETTING (automatically)
3.1 In weighing mode, when there is some error when unloaded, press
[TAR/CAL] to make the scale to be zero.
3.2 If the displayed value deviates from zero point, but still within zero
range, pressing [TAR/CAL]key is available. Otherwise, [TAR/CAL] key
is invalid.(In this situation, please recalibrate or reset zero parameters)
3.3 Only when stable sign (on the left corner of display window)
shows, zero operation is available.
4.TARE
When scale is in weighing status, and displaying positive weight stable,
press [TAR/CAL]key, scale will deduct the displayed weight value as tare
weight. Then it displays net weight as "0.0".
5.UNIT OPTIONAL
When at weighing mode, press [UNIT] to change units between g, kg, oz,
lb, t
6.WEIGHING
6.1 Turn on the scale, it displays weighing mode "0.0"
6.2 Put goods on the platter, it will display weight.

7.COUNT
7.1 Average Piece Weight Setting
Put a container for parts on the platter or not (if not necessary), press
[COU/AFF], the scale will display "10" (flashing), then put 10 pcs parts
on the container or platter, press [COU/AFF]to confirm, the scale will
enter into waiting mode by displaying "------" for a while, then it will
display "10" to finish average piece weight setting.
Average pieces are available: press [TAR/CAL]to choose average piece
from "10,20,50,100,200,500", other process is the same as above.
7.2 COUNT OPERATION
7.2.1 Put parts to be counted on the platter, press [COU/AFF], the scale
will display piece number.
7.2.2 Press [COU/AFF] again to exit from counting mode.
8.OVERLOAD ALARM
If the loading weight is larger than (1+0.2%) of full capacity, the scale
will display "- - - - - -", meaning overload. Take off the goods
immediately to avoid damaging the scale.
8. Power-saving
When the weighing mode is stable, the scale will automatically turn off
the backlight to enter into auto power-saving status. When the weighing
is unstable, the backlight will turn on automatically.

C. CALIBRATION
Before using the scale, please check the accuracy of the scale . If not
accurate, please calibrate the scale with standard calibration weights.
1 Turn on the scale for preheating 10 minutes.
2 Make sure the scale is unloaded and in zero mode, long press
[TAR/CAL] to initiate calibration (do not release key-press until
"--CAL-- " is displayed). Then the required calibration weight is
displayed (ex. 3000.0g means 3kg weight).Put the corresponding
calibration weights on the pan, the scale will display "- - - - - -" for a
while , and then display the value of weight. Then remove the calibration
weight, the scale will display "- - - - - - " and then display "0.0" to end
calibration.
D. ERROR INDICATION
Error information
Explanation
Solution
Underline-----------
The weight is negative
Recalibrate
Hyphen-----------
Overload
Recalibrate
Not accurate weighing
and cannot calibrate
Load cell damaged
Change load cell
Line------ and display
Battery finishes
Recharge battery

E. CHAREABLE BATTERY
1.Turning on the AC Power, the scale will charge the battery
automatically.
2. Only when you turn off the AC power and push [ON/OFF] key,
battery works.
3.When you use battery first time, you should charge the battery for 20
hours in order to prevent low voltage resulted from the self leakage of the
battery.
4. If you don't use battery for a long time, you should charge the battery
for 10-12 hours for each two month to prolong using life of battery.
5.The battery is easily exhausted products. And it is not granted free
guarantee.
F. ATTENTION
1.Preheat the scale before use
2. The total weight of tare weight and goods should not over max
capacity.
3.Calibrate the scale if the weighing is not accurate.
G. MAINTENANCE
1. To guarantee the scale display clarity and using life, do not place it
directly under sunshine or where dust pollution and vibration are serious.
2. It is strictly forbidden to clean the scale with intensive solvents
3. Liquid and conducting parts should not be poured into the scale,

otherwise electronic components will be damaged and electric shock is
likely to happen.
4. During operation, if trouble occurs, operator must pull off the power
supply plug immediately.
5. From invoice date, the scale has one-year free repair period. If any
non-artificially obstacle about the scale happens under correct using
conditions within this period, the user is allowed to send the product with
its guarantee card back to our factory for free repair. The scale should not
be taken apart, otherwise free guarantee will be cancelled.
6. The battery and load cell (overload is strongly forbidden) are not
within the scope of warranty.
1. Function keys: UNIT, COU/AFF, TAR/CAL
2. Stainless steel platter
3. Push button keys for On, Off
4. Overload and underload protection
5. Auto shut-off to save energy & increase battery life
6. Low-Battery Indication / Over-Load Indication
7. Battery life: 120HRS with backlit off after once charging
8. Non-slip feet for stability
9. ONE YEAR FACTORY WARRANTY
Table of contents
