122 mm+-2122 mm+-2
165 mm+-2
14
15
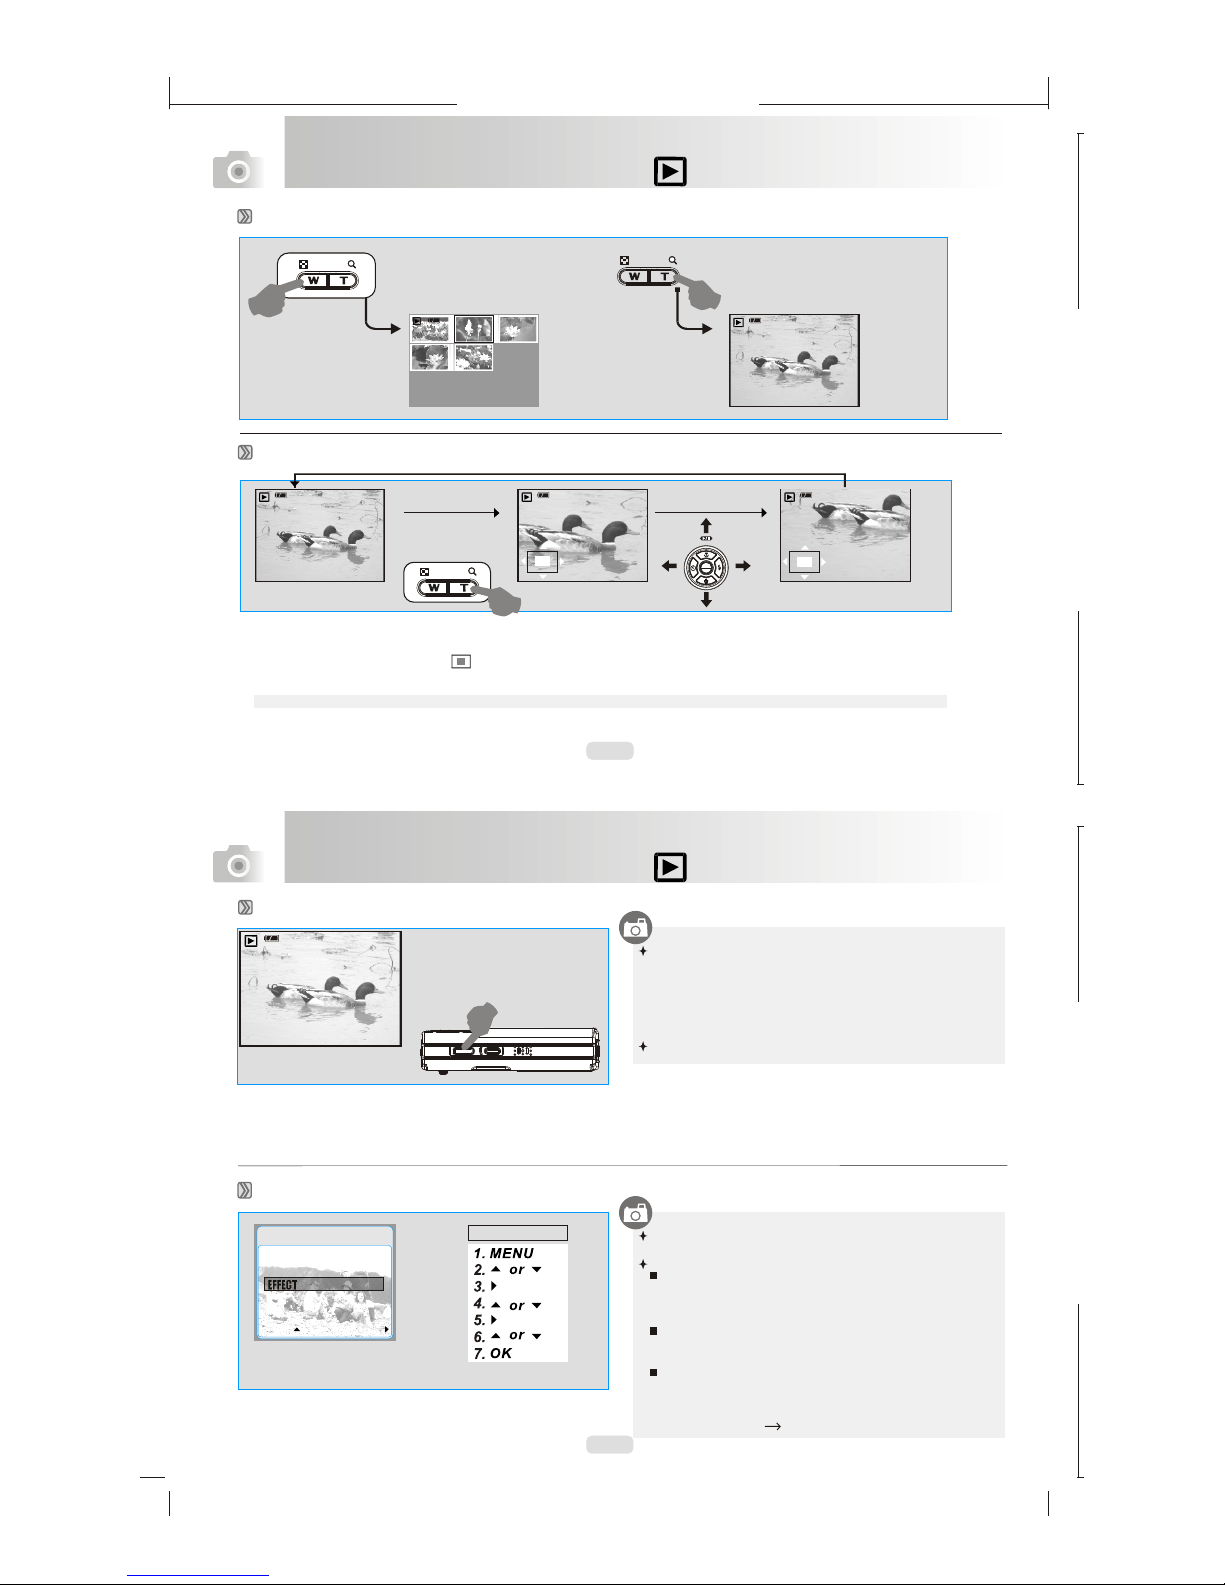
At Image ShootingMode:
1. When theVoice MemoButton is presseddown, the Voice Memo icon( ) will
show up onthe LCD.
2. Press downthe Shutter Buttonto take apicture.
3. Then youcan record avoice memo upto 10 secondsafter the imageis taken.
The recording canbe stopped atany time bypressing the ShutterButton.
At Playback Mode:
1.Press downthe VoiceMemo/Down Button anda recording barwill show.
2. Press downthe Shutter Buttonhalf way down to record a voice memo.
3. Then youcan record avoice memo upto 10 secondsafter the imageis taken.
The recording canbe stopped atany time bypressing the ShutterButton.
After thevoice memo isrecorded, the ( ) will showon the TFTLCD Monitor.
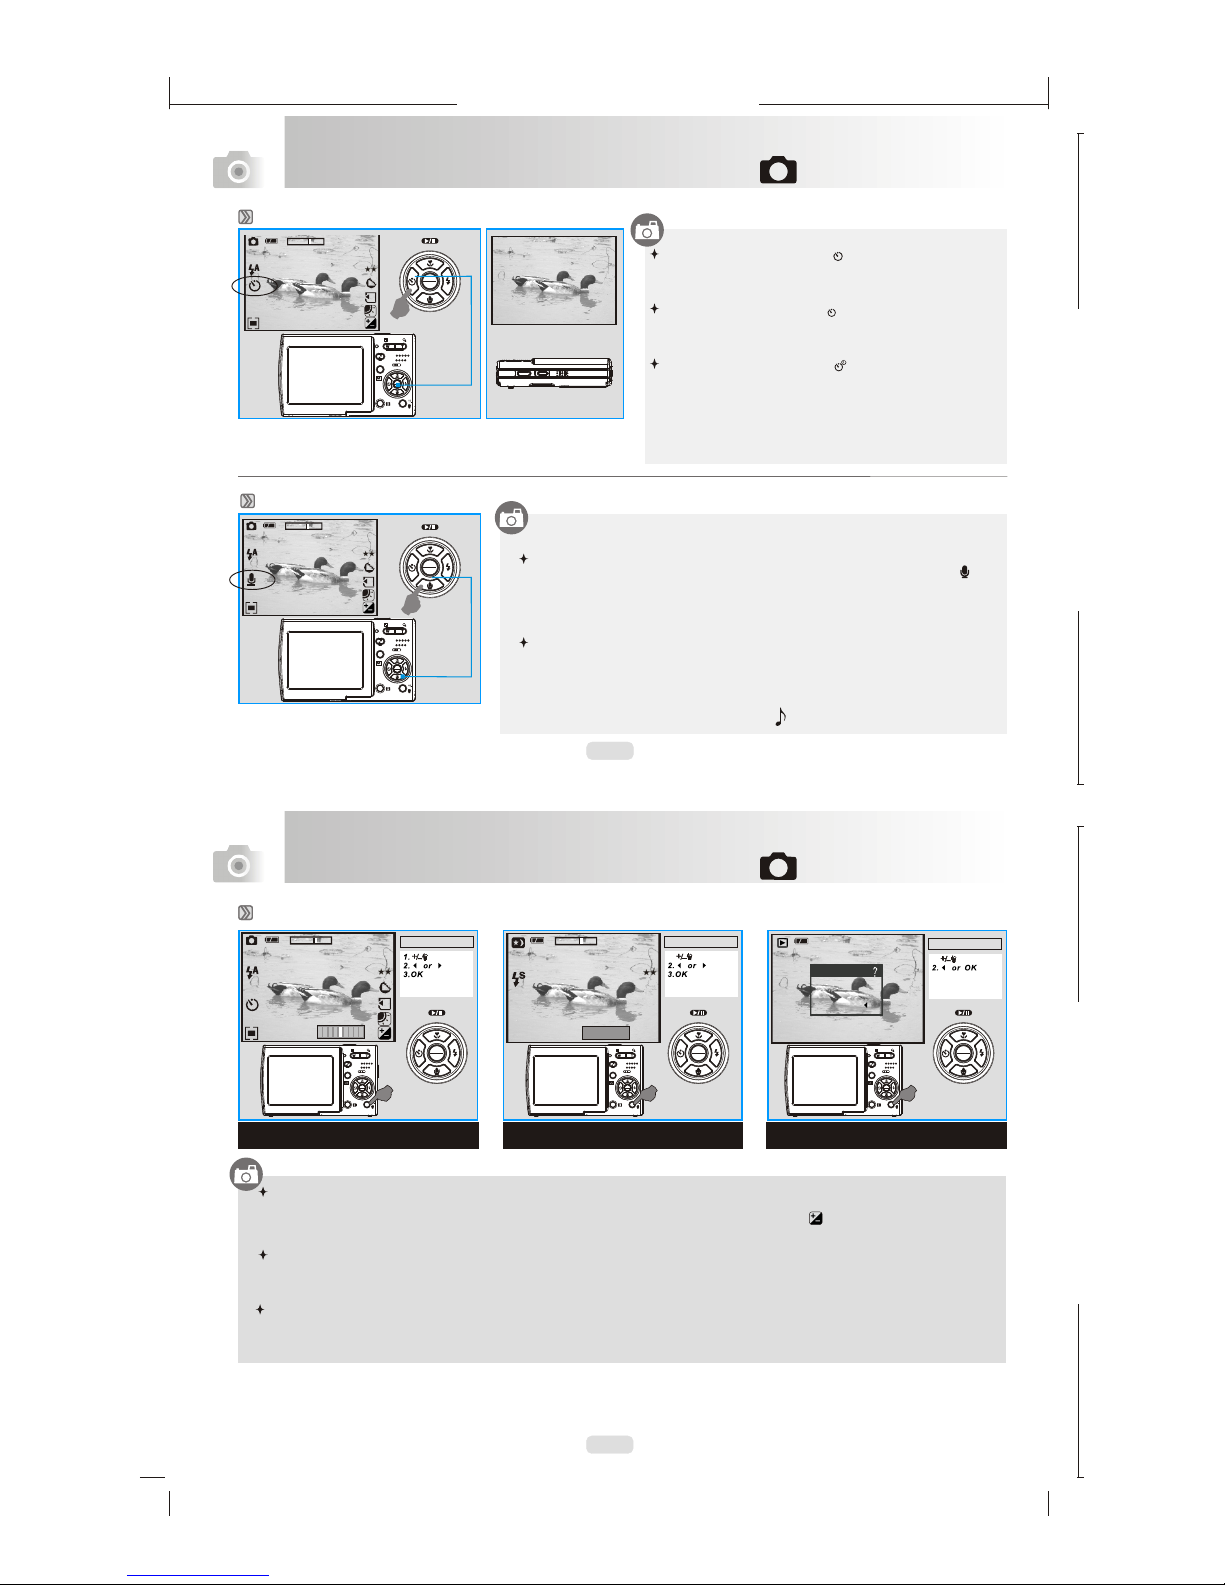
Voice Memo Mode
Self-timer Mode
With the 10sec. Self-timer ( ):
The image willbe taken afteran interval of10 seconds
once the ShutterButton is released.
( )
( )
With the 2sec. Self-timer :
The image willbe taken afteran interval of2 seconds once
the Shutter Buttonis released.
With the Doubleself-timer :
The image willbe taken twiceonce the ShutterButton is
released.
The first imagewill be takenafter an intervalof 10 seconds.
The second onewill be takenafter an intervalof 2 seconds
continuously right afterthe first .shooting
You canhave two waysto put thevoice memo ontothe images.
7
5M
7
5M
9
9
2S
OK
MENU
OK
MENU
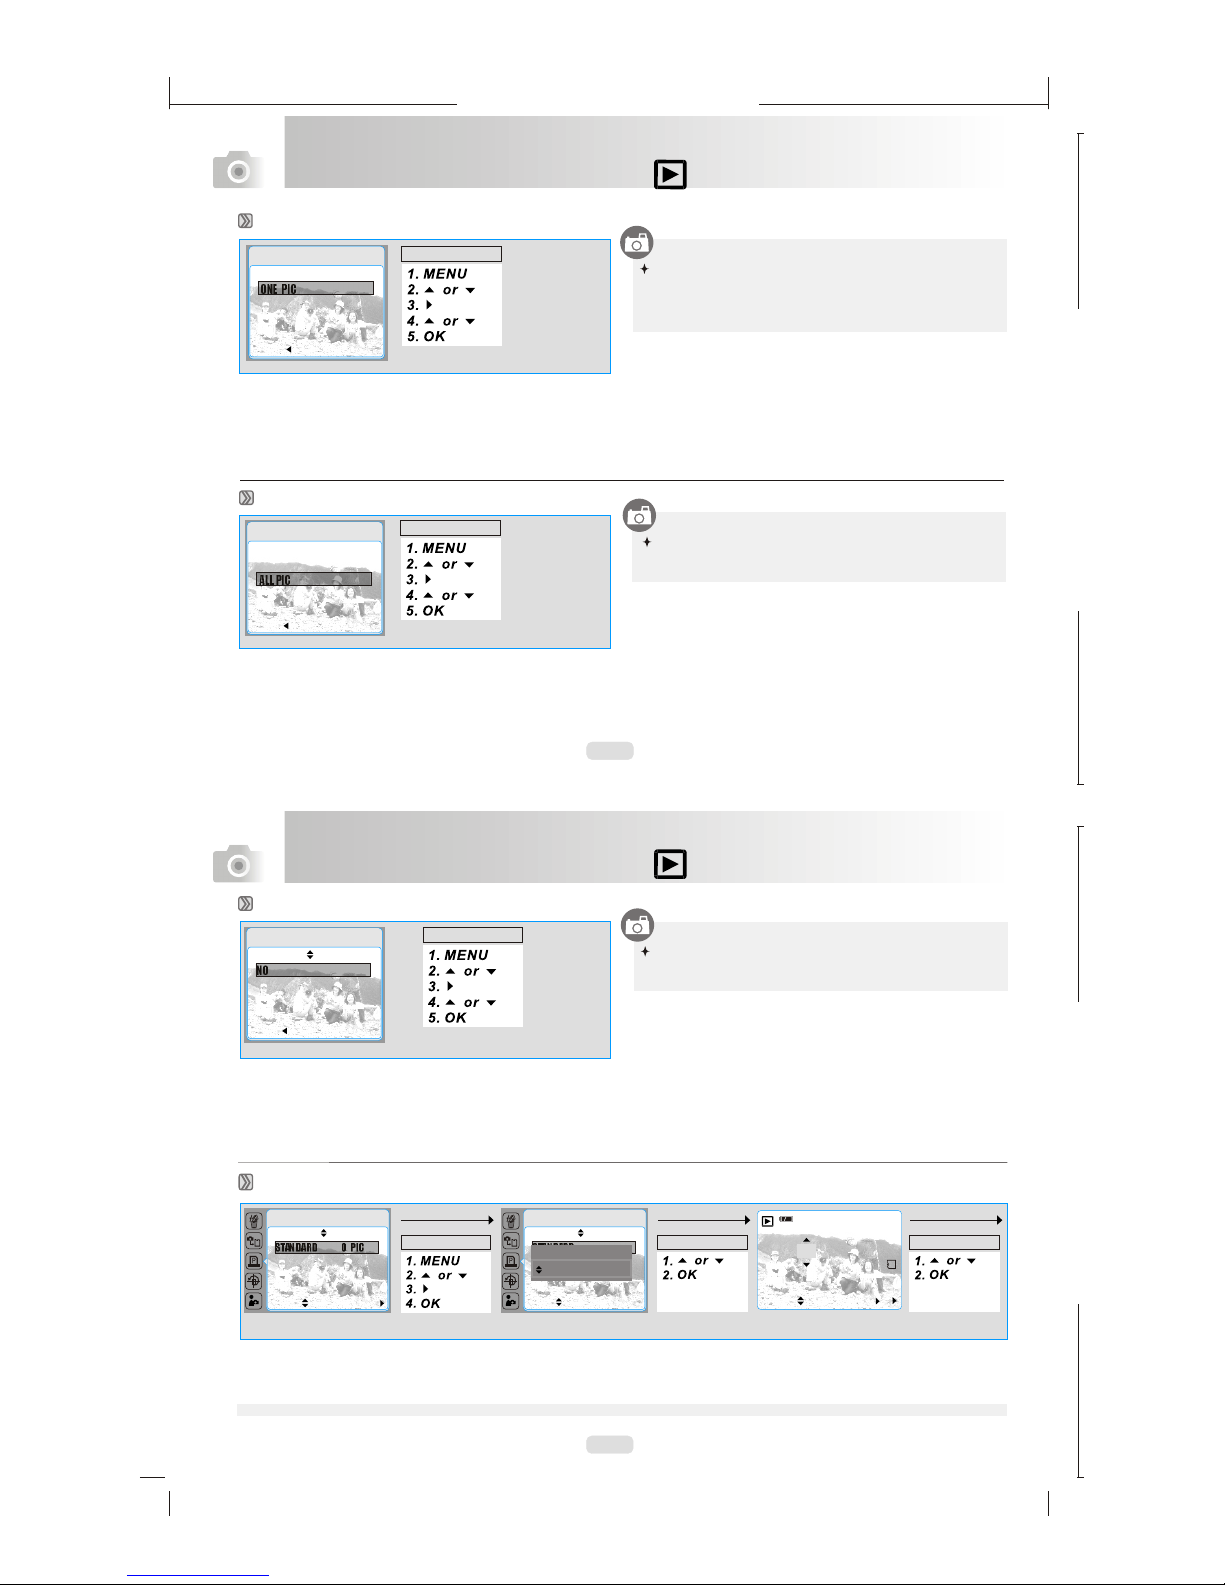
Under Image Shooting Mode ( )
OK
MENU
OK
MENU
Exposure / DeleteButton
At Image Shooting Mode:
By pressing downthe Delete / +/- Button, you can adjust the value of the exposure compensation, which is ranged from
-2.0EV to +2.0EV(at 0.5EV increment), and you can see the exposure compensation icon ( ) showing onthe right, bottom
on the TFTLCD. By pressthe Up &Down Button youcan choose the ISO values and press OK Button to confirm.
At Night Scene Mode under ShootingMode:
Youcan adjust thevalue of the long-time shutter, including 8, 6, 4, 3, 2, 1, 1/2, 1/4, 1/8sec, Auto by pressing Flash/Right &
Self-timer/Left Button. Bypressing the Up & Down Button you can choose the aperture and press OK Button to confirm.
At Playback Mode:
Deleting the singleimage can be done by pressing down this button and OK Button.
If you wouldlike to delete all images, please refer to page 24.
14
6M
Shooting Mode Night Mode Playback Mode
Operation Steps
0.0EV
14
6M
1.
Operation Steps
F5.8 AUTO
100-0015
1.
Operation Steps
DELETE
DELETE: OK
CANCEL:
OK
MENU
OK
MENU
OK
MENU
Under Image Shooting Mode ( )
OK
MENU
OK
MENU
OK
MENU