manuals.online logo
Brands
  1. Home
  2. •
  3. Brands
  4. •
  5. Sealey
  6. •
  7. Floodlight
  8. •
  9. Sealey LED120 User manual

Sealey LED120 User manual

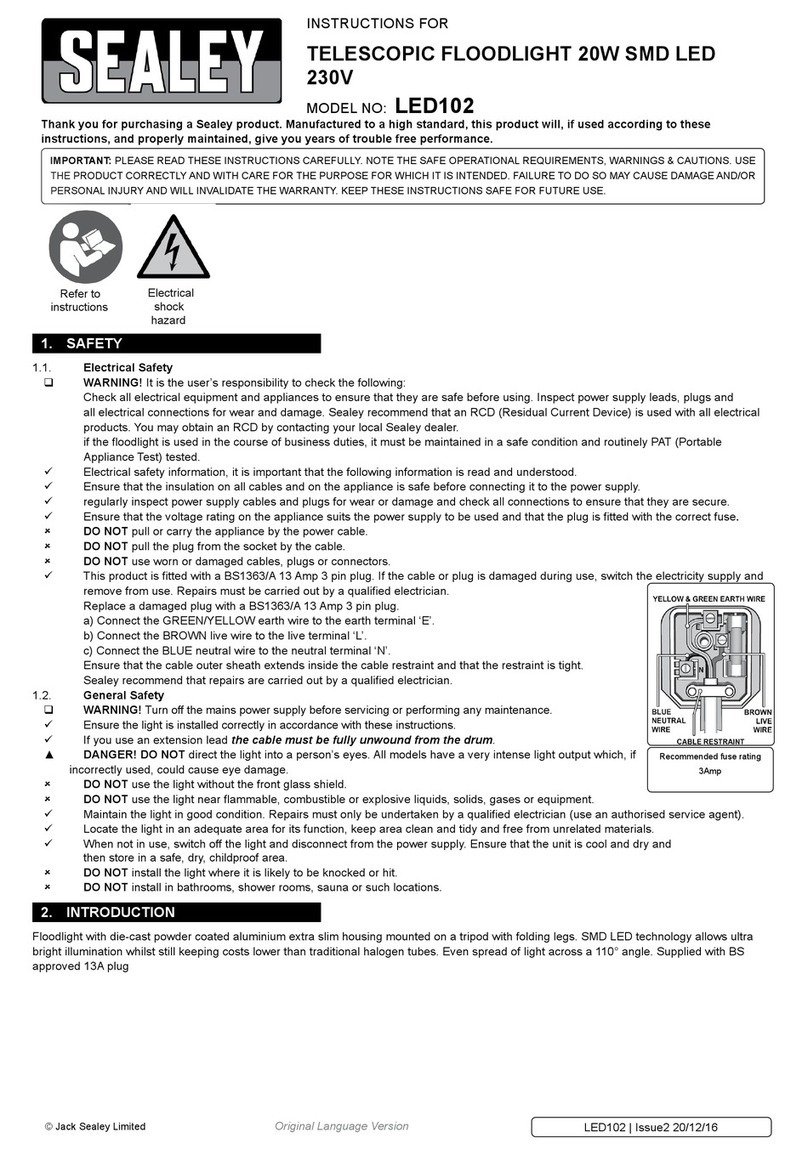
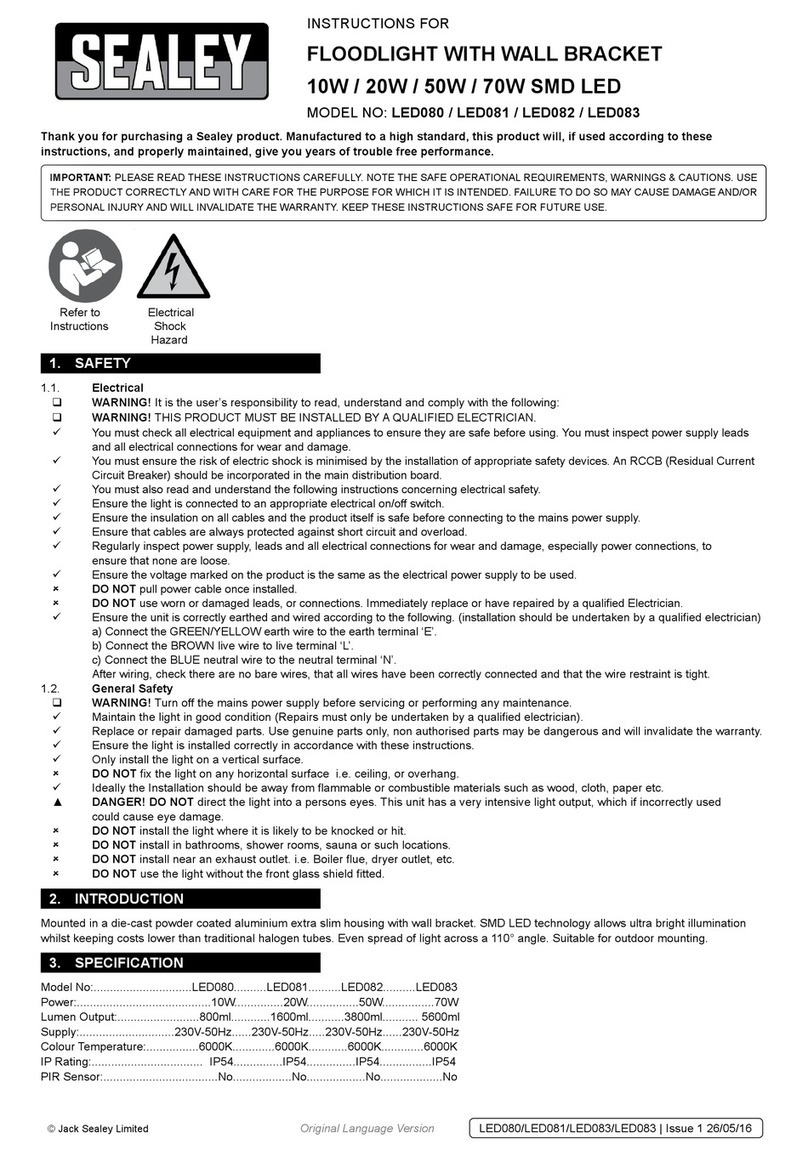
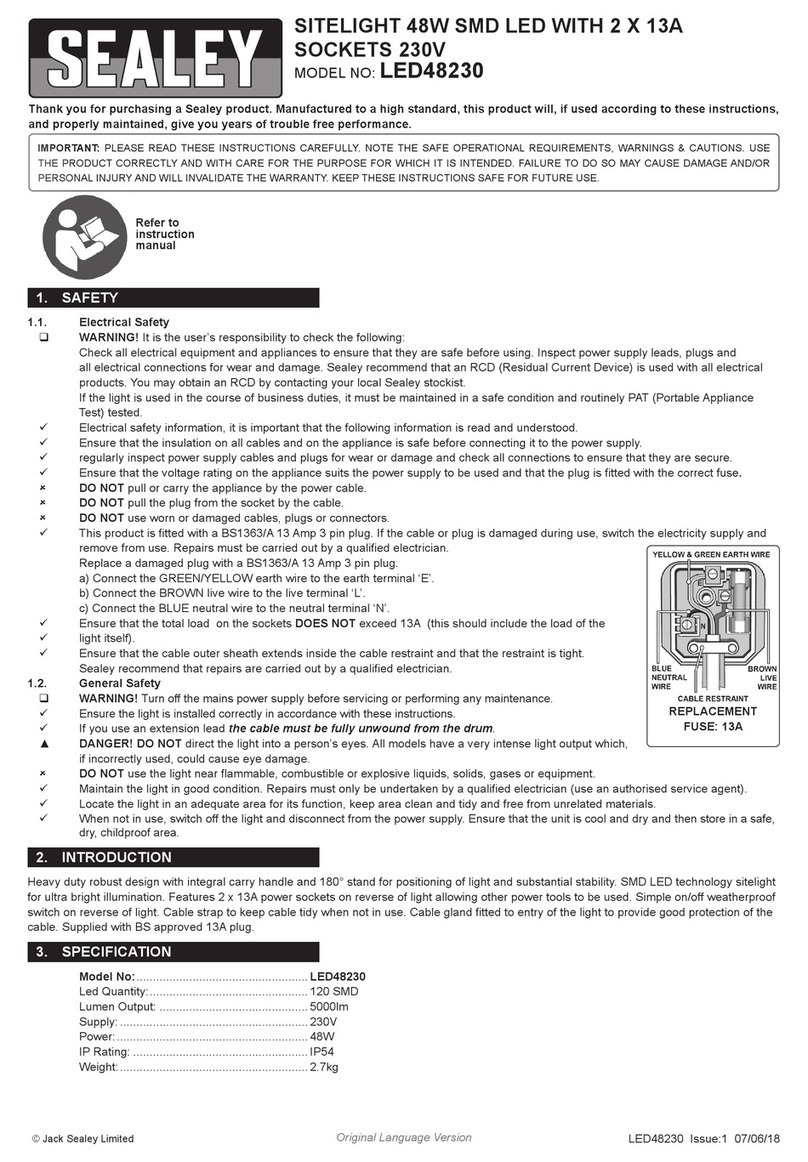
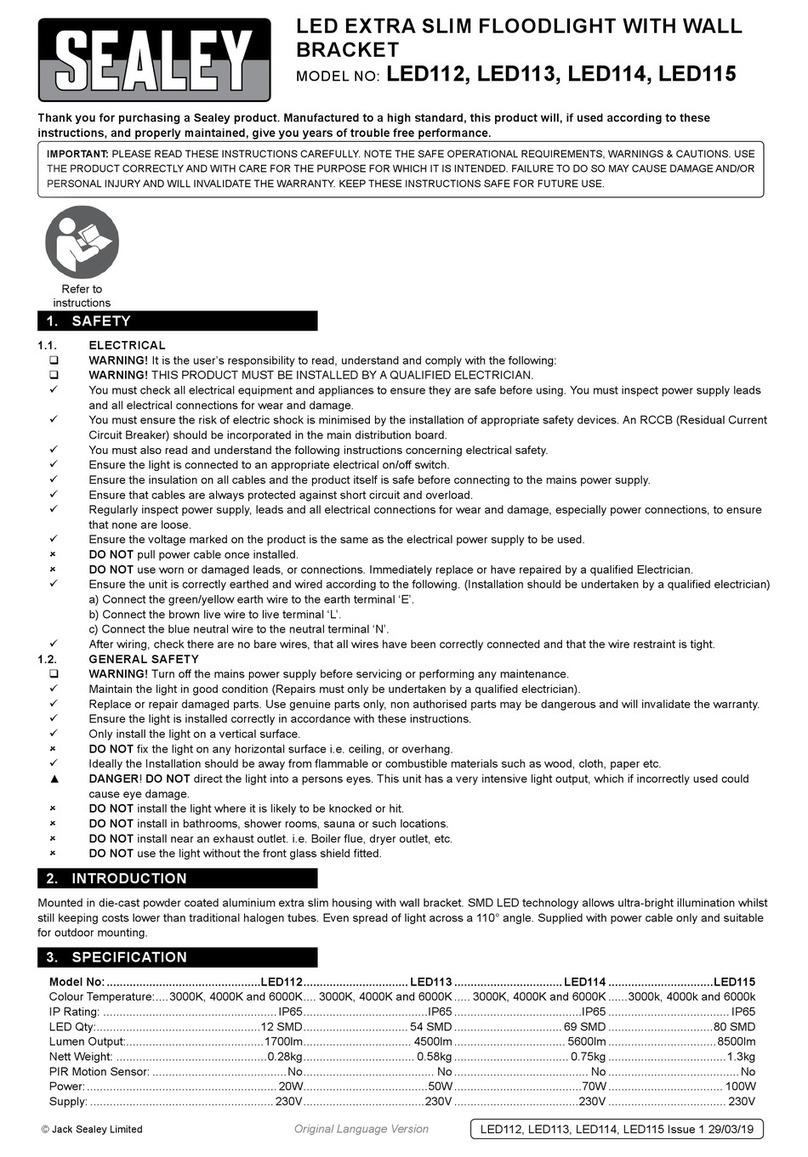
INSTRUCTIONS FOR:
LED FLOODLIGHT WITH WALL
BRACKET 20W- 230V
MODEL No: LED120
Thank you for purchasing a Sealey product. Manufactured to a high standard this product will, if used according to these instructions and
properly maintained, give you years of trouble free performance.
IMPORTANT: PLEASE READ THESE INSTRUCTIONS CAREFULLY. NOTE THE SAFE OPERATIONAL REQUIREMENTS, WARNINGS, AND
CAUTIONS. USE THIS PRODUCT CORRECTLY, AND WITH CARE FOR THE PURPOSE FOR WHICH IT IS INTENDED. FAILURE TO DO SO
MAY CAUSE DAMAGE, OR PERSONAL INJURY, AND WILL INVALIDATE THE WARRANTY.
1. SAFETY INSTRUCTIONS
3. INSTALLATION & USE
1.1. ELECTRICAL .
p WARNING! It is the user’s responsibility to read,
understand and comply with the following:
pWARNING! THIS PRODUCT MUST BE INSTALLED BY A
QUALIFIED ELECTRICIAN.
You must check all electrical equipment and appliances to
ensure they are safe before using. You must inspect power
supply leads, plugs and all electrical connections for wear and
damage. You must ensure the risk of electric shock is
minimised by the installation of appropriate safety devices. An
RCCB (Residual Current Circuit Breaker) should be
incorporated in the main distribution board.
You must also read and understand the following instructions
concerning electrical safety:
1.1.1. Ensure the light is connected to an appropriate electrical on/off
switch.
1.1.2. Ensure the insulation on all cables and the product itself is
safe before connecting to the mains power supply.
1.1.3. Ensure that cables are always protected against short circuit
and overload.
1.1.4. Regularly inspect power supply, leads, plugs and all electrical
connections for wear and damage, especially power
connections, to ensure that none are loose.
1.1.5. Important: Ensure the voltage marked on the product is the
same as the electrical power supply to be used.
1.1.6. DO NOT pull power cable once installed.
1.1.7. DO NOT pull power plugs from sockets by the power cable.
1.1.8. DO NOT use worn or damaged leads, plugs or connections.
Immediately replace or have repaired by a qualified Electrician.
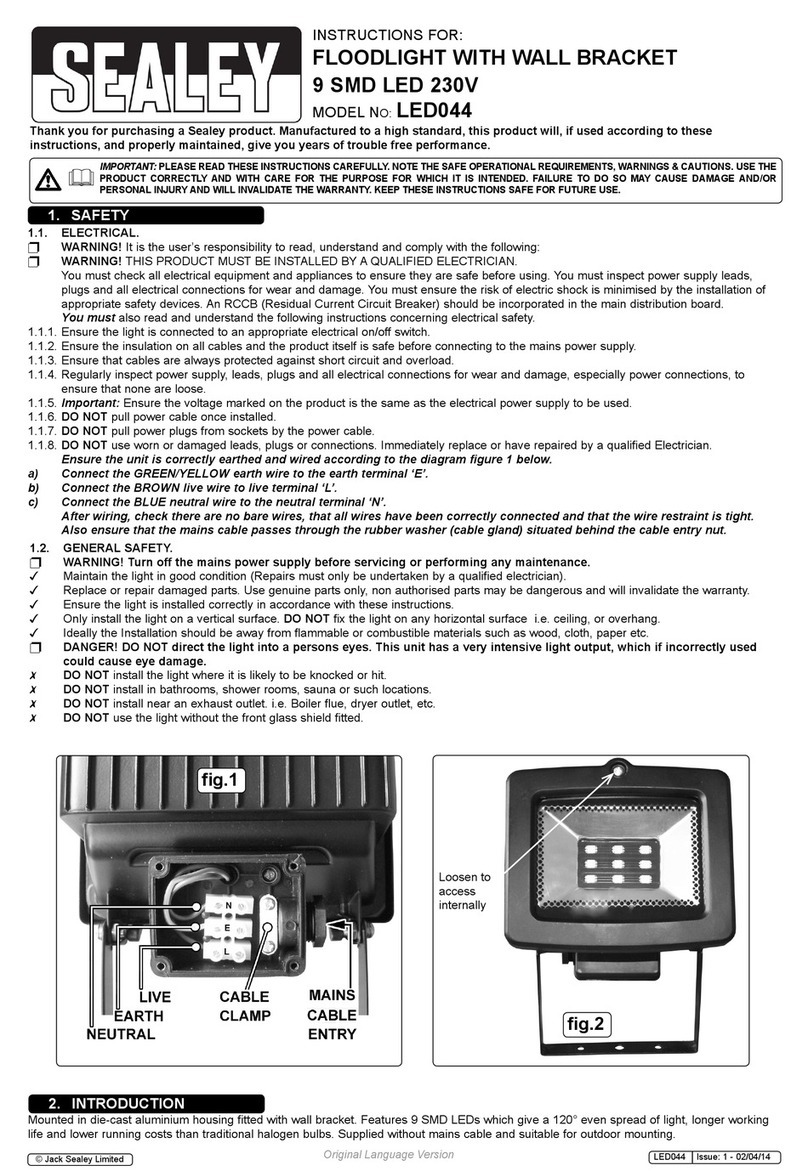
1.1.9 Ensure the unit is correctly earthed and wired according
to fig.1 to the right.
Slide the gland nut and silicon cable seal over the cable
before inserting it through the cable entry gland in the
base of the rear cover. Before making the connections,
pass the cable through the cable clamp and tighten it as
shown in fig.1.
a) Connect the GREEN/YELLOW earth wire to the earth
terminal ‘E’.
b) Connect the BROWN live wire to live terminal ‘L’.
c) Connect the BLUEneutral wire to the neutral terminal ‘N’.
After wiring, check there are no bare wires, that all wires
have been correctly connected and that the cable clamp
and cable entry gland nut are tight.
1.2. GENERAL SAFETY.
p WARNING! Turn off the mains power supply before
servicing or performing any maintenance.
3Maintain the light in good condition (Repairs must only be
undertaken by a qualified electrician).
3Replace or repair damaged parts. Use recommended parts
only, non authorised parts may be dangerous and will invalidate
the warranty.
3Ensure the light is installed correctly in accordance with these
instruction.
3Only install the light on a vertical surface. DO NOT fix the light
on any horizontal surface, i.e. to the ceiling or an overhang.
pDANGER! DO NOT direct the light into a person's eyes.
This unit has a very intensive light output, which if
incorrectly used could cause eye damage.
7DO NOT install the light where it is likely to be knocked or hit.
7DO NOT install in bathrooms, shower rooms, sauna or such
locations.
7DO NOT use the light without the front glass shield.
Original Language Version LED120 Issue: 1 - 17/07/12
2. INTRODUCTION & SPECIFICATION
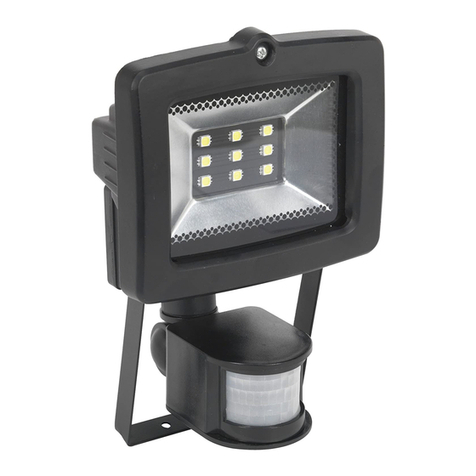
Mounted in die-cast powder coated aluminium housing with wall
bracket. State of the art LED Chip technology allows ultra bright
illumination whilst still keeping costs lower than traditional halogen
bulbs. Even spread of light across a 120° angle. Supplied without
mains cable and suitable for outdoor mounting.
Power .................20W
Lumen output ........ 1200lm
Supply................230V
©Jack Sealey Limited
3.1. INSTALLATION.
pWARNING! Ensure the unit is
not connected to the mains
power supply before installation.
3.1.1. Consider the position of unit to
ensure you obtain maximum
benefit from the lighting, and that
an appropriate electrical power
source can be provided.
3.1.2. The light must be mounted
vertically only i.e. on a wall etc.
DO NOT mount horizontally
i.e.ceiling or overhang, DO NOT mount so that the face of the
lamp is pointing upwards, or is facing towards the mounting
surface.
fig.2
fig.1

NOTE: It is our policy to continually improve products and as such we reserve the right to alter data, specifications and component parts without prior notice.
IMPORTANT: No liability is accepted for incorrect use of this product.
WARRANTY: Guarantee is 12 months from purchase date, proof of which will be required for any claim.
INFORMATION: For a copy of our latest catalogue and promotions call us on 01284 757525 and leave your full name and address, including postcode.
01284 757500
01284 703534
sales@sealey.co.uk
Sole UK Distributor, Sealey Group,
Kempson Way, Suffolk Business Park,
Bury St. Edmunds, Suffolk,
IP32 7AR
www.sealey.co.uk
Web
email
Environmental Protection.
Recycle unwanted materials instead of disposing of them as waste.
All tools, accessories and packaging should be sorted, taken to a recycle centre and disposed of in a manner which is compatible
with the environment.
When the product is no longer required, it must be disposed of in an environmentally protective way. Contact your local solid waste
authority for recycling information.
3.1.3. This LED floodlight develops minimal heat and is not subject to
the same mounting restrictions that apply to halogen lamps
that become too hot to touch. We do however recommend that
the floodlight should not be placed in cramped or restrictive
positions and should be fixed at the following minimum
distances between the light and any surface/object. See fig.2.
●500mmminimumbetweenthetopofthelightandany
overhead surface, or objects, i.e. ceilings, overhangs.
●200mmbetweensidesoflightandendorsidewalls,surface
or objects.
●2metresminimumbetweenthefrontofthelightandany
object to be illuminated.
3.1.4. Fix the light to vertical surface with appropriately strong screws
or bolts.
3.1.5. Ensure the unit is connected to the electrical supply by a
qualified electrician in accordance with the wiring instructions in
section 1.1.9.
3.2. GENERAL
●Cleanthelightwithadry,dust-freecloth.
●DO NOT use solvents, or abrasives to clean the light.
●Avoidtouchingtheglassshield(ashandlingmay
reduce its serviceable life and cause the glass to crack. If
necessary clean the shield with alcohol and a soft cloth.
●DO NOT use the light without the glass shield.
●DO NOT use the light without the weather seals intact.
3.3. LIGHT SOURCE
The LED light source is designed to last the lifetime of the
product and is not a user serviceable item. In the event of light
source failure the product should be returned to you local
Sealey dealer for servicing.
fig.3
Original Language Version LED120 Issue: 1 - 17/07/12
©Jack Sealey Limited
Parts support is available for this product. To obtain a parts listing and/or diagram, please log on to
www.sealey.co.uk, email sales@sealey.co.uk or phone 01284 757500.

Other Sealey Floodlight manuals

Sealey LED1400P User manual

Sealey

Sealey LED1400P User manual

Sealey LEDFL20W User manual

Sealey

Sealey LEDFL20W User manual

Sealey ML300C.V3 User manual

Sealey

Sealey ML300C.V3 User manual

Sealey LED080 User manual

Sealey

Sealey LED080 User manual

Sealey LED090 User manual

Sealey

Sealey LED090 User manual

Sealey ML150 User manual

Sealey

Sealey ML150 User manual

Sealey LED3000 User manual

Sealey

Sealey LED3000 User manual

Sealey ML300/110.V2 User manual

Sealey

Sealey ML300/110.V2 User manual

Sealey LED360F Series User manual

Sealey

Sealey LED360F Series User manual

Sealey LED100 User manual

Sealey

Sealey LED100 User manual

Sealey LEDFL15WS User manual

Sealey

Sealey LEDFL15WS User manual

Sealey LED093 User manual

Sealey

Sealey LED093 User manual

Sealey LED057 User manual

Sealey

Sealey LED057 User manual

Sealey LED1500PB User manual

Sealey

Sealey LED1500PB User manual

Sealey LED112.V2 User manual

Sealey

Sealey LED112.V2 User manual

Sealey LED112PIR User manual

Sealey

Sealey LED112PIR User manual

Sealey LED50WL User manual

Sealey

Sealey LED50WL User manual

Sealey LED110 User manual

Sealey

Sealey LED110 User manual

Sealey LED109 Series User manual

Sealey

Sealey LED109 Series User manual

Sealey LED120 User manual

Sealey

Sealey LED120 User manual

Sealey LED066 User manual

Sealey

Sealey LED066 User manual

Sealey LED3000PB User manual

Sealey

Sealey LED3000PB User manual

Sealey SL300 User manual

Sealey

Sealey SL300 User manual

Sealey LED099 User manual

Sealey

Sealey LED099 User manual

Popular Floodlight manuals by other brands

Chauvet HURRICANE 1100 user manual

Chauvet

Chauvet HURRICANE 1100 user manual

ADJ MEGA FLAT TRI PAK User instructions

ADJ

ADJ MEGA FLAT TRI PAK User instructions

Flash butrym PAR64 quick start guide

Flash butrym

Flash butrym PAR64 quick start guide

Wetelux 88 96 98 instruction manual

Wetelux

Wetelux 88 96 98 instruction manual

ONNLINE CGS927 instruction manual

ONNLINE

ONNLINE CGS927 instruction manual

PORT XR-FDA-10W instructions

PORT

PORT XR-FDA-10W instructions

Ikan Architectural White Star WS-F200A quick start guide

Ikan

Ikan Architectural White Star WS-F200A quick start guide

Red Arrow Trading LEDFLD30BPC installation instructions

Red Arrow Trading

Red Arrow Trading LEDFLD30BPC installation instructions

INTER LIGHT IL-FB220WK4 manual

INTER LIGHT

INTER LIGHT IL-FB220WK4 manual

ecolight SE1039-TBZ-02LF0-E user manual

ecolight

ecolight SE1039-TBZ-02LF0-E user manual

Milwaukee M12 PACKOUT 2356-20 Operator's manual

Milwaukee

Milwaukee M12 PACKOUT 2356-20 Operator's manual

ADJ FLAT PAR TW5 User instructions

ADJ

ADJ FLAT PAR TW5 User instructions

Qtx ZP18 user manual

Qtx

Qtx ZP18 user manual

Eddylight EDD-GL-200 user manual

Eddylight

Eddylight EDD-GL-200 user manual

Golight 2000 Instruction guide

Golight

Golight 2000 Instruction guide

DTS XR8 SPOT user manual

DTS

DTS XR8 SPOT user manual

Chauvet COLORdash Par-Tri 18VW Quick reference guide

Chauvet

Chauvet COLORdash Par-Tri 18VW Quick reference guide

GP Safeguard RF1 quick guide

GP

GP Safeguard RF1 quick guide

manuals.online logo
manuals.online logoBrands
  • About & Mission
  • Contact us
  • Privacy Policy
  • Terms and Conditions

Copyright 2025 Manuals.Online. All Rights Reserved.