6. MAINTENANCE
WARNING! MAINTENANCE MUST ONLY BE UNDERTAKEN BY A QUALIFIED PERSON. WE STRONGLY RECOMMEND THAT
ALL SERVICING IS DONE BY YOUR LOCAL SERVICE AGENT.
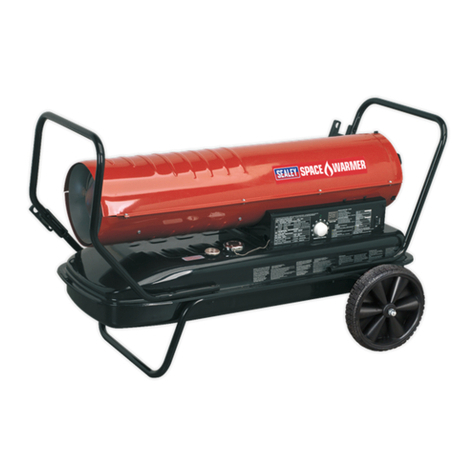
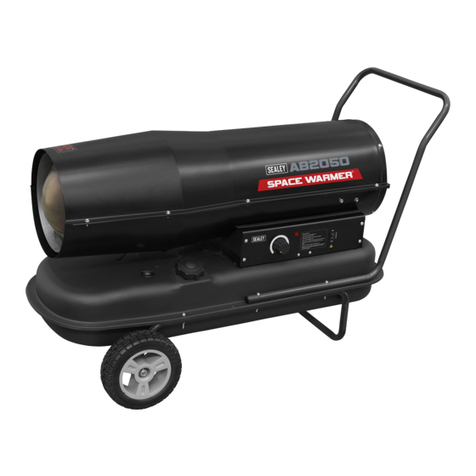
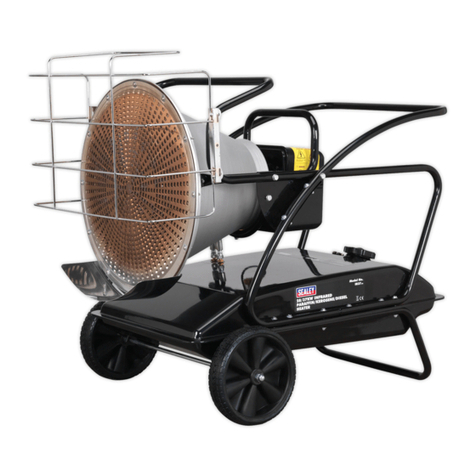
Looking after your AB heater will pay dividends, ensuring heat as and when you need
it and avoiding frustrating operational problems.
IMPORTANT! We strongly recommend that you arrange for heater servicing
during the summer months to avoid being left without heat during the winter.
WARNING! Unplug unit from mains power supply before opening or
servicing heater. See Section 1 regarding electrical safety and maintenance.
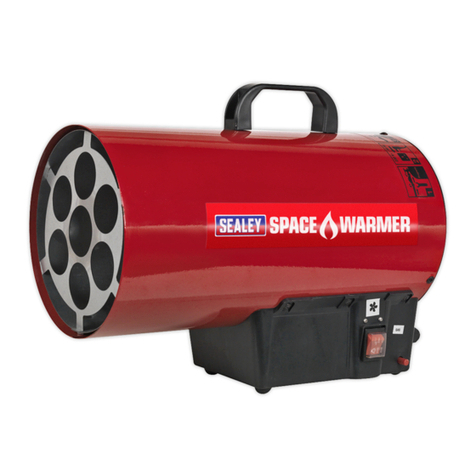
6.1. General. Keep the heater clean; wipe outer case with a damp, clean cloth. Do
not use abrasives. Clean fuel tank with a dry cloth. Oil wheels if necessary.
Check heater for damage and immediately repair or replace with authorised
parts. Contact your Sealey Service Agent.
6.2. Spark plug (electrode). Remove, clean and check that the plug gap is 3mm
(fig.7). For paraffin check the plug on a monthly basis (or if you have starting
problems). If using diesel clean plug every 50 hours (or once every working
week if less than 50 hours).
6.3. Air filter. The cast alloy compressor unit is protected by an extra large filter
element. The filter should be cleaned regularly, especially if the appliance is
used in a dusty environment. Remove filter end cover, take out the filter, wash it
using a light detergent and dry thoroughly before re-installing. Replace the filter at least once a year.
6.4. Fuel filter. The fuel line is fitted with an in-line filter. To clean the filter, remove and wash in paraffin.
6.5. Flame-out device. The AB heaters are fitted with a flame-out device (a cadmium cell, see fig.6) which cuts the fuel supply
should the flame be inadvertently extinguished, or if the unit overheats. If this happens, switch off the heater and unplug
from the mains supply. Check the heater to determine the fault. In particular check that the air intake is not obstructed and
that the internal fan is rotating freely. Wait a few minutes and restart the unit. If the problem persists contact your local
Sealey Service Agent.
6.6. Fan. Fan blades should be cleaned every 500 operating hours (depending on environment). Remove the outer case and
clean the fan blades with a paraffin moistened cloth or very light solvent. Dry fan thoroughly using compressed air. fig. 7
fig. 6
THE PROBLEM THE CAUSE THE SOLUTION
7. TROUBLESHOOTING
1. Pulsation or uneven firing.
2. Motor does not start.
3. Motor runs slowly.
4. Motor starts, but heater
does not ignite and after a
short time locks out.
5. Flames come out of the
heater mouth.
6. Motor starts, heater ignites
but flame-out system shuts
off the appliance.
1.1. Low fuel level or unit not level.
1.2. Air leak.
1.3. Water in fuel. 1.4. Low air pressure.
2.1. No power to unit, low voltage.
2.2. Defective motor.
2.3. Flame out device activated.
2.4. Fan jammed on outer case.
3.1. Low voltage.
3.2. Tight compressor.
3.3. Motor defective.
4.1. Low fuel level. 4.2. Leak in fuel line.
4.3. Burner nozzle blocked. 4.4. Diesel viscosity high.
4.5. Fuel filter blocked. 4.6. Defective spark plug.
4.7. Dirty fuel. 4.8. Fault in flame-out system.
5.1. Wrong fuel. 5.2. Excess air pressure.
5.3. Improper air flow. 5.4. Air leak in air line.
6.1. Dirty flame-out cadmium cell.
6.2. Fault with flame-out cadmium cell.
6.3. Defective connection between cell and flame-out control.
6.4. Faulty flame-out control.
1.1. Fill tank, level unit. 1.2. Check air and fuel lines for air leaks.
1.3. Drain, flush and refill with clean fuel.
1.4. Adjust air pressure, Clean air filter.
2.1. Check outlet and fuse. Check power lead, check fan not fouling on outer case.
2.2. Replace motor or motor parts (contact service agent).
2.3. Check reason, wait three minutes and restart.
2.4. Switch off mains, open case and check fan clearance.
3.1. Check length and size of extension cord.
3.2. With unit unplugged turn fan by hand. If fan does not turn freely adjust
compressor ring. Also check to ensure the outer cover is not fouling on the fan.
3.3. With unit unplugged fan turns freely. Replace motor (contact service agent).
4.1. Check fuel and fill tank it required. 4.2. Tighten or replace 4.3. Clean nozzle.
4.4. Low temperature, mix 10-20% paraffin to the diesel.
4.5. Clean or replace filter. 4.6. Check for wear or adjust properly.
4.7. Drain, flush and refill tank. 4.8. Contact local service agent.
5.1. Use correct fuel only. 5.2. Adjust pressure to nominal.
5.3. Dirty or loose fan, air entrance blocked. 5.4. Replace.
6.1. Clean and check “Cad Cell” to ensure that it responds to light.
6.2. Check as in 6.1. and replace if necessary.
6.3. Check that connection is correct.
6.4. Check and replace if necessary.
We, the sole importer into the UK, declare that the products listed
below are in conformity with the following standards and directives.
Declaration of Conformity
For Jack Sealey Ltd. Sole importer into the UK of Sealey Power Products.
28th February 2008
PARAFFIN/DIESEL HEATERS
AB602.V4, AB200.V2, AB801.V5,
AB80.V5, AB100.V5, AB160.V5
98/37/EC Machinery Directive
79/23/EEC Low Voltage Directive
89/336/EEC EMC Directive
93/68/EEC CE Marking Directive
Signed by Mark Sweetman
The construction files for these products are held by the manufacturer and may
be inspected, by a national authority, upon request to Jack Sealey Ltd.
8. DECLARATION OF CONFORMITY
NOTE: It is our policy to continually improve products and as such we reserve the right to alter data, specifications and component parts without prior notice.
IMPORTANT: No liability is accepted for incorrect use of product.
WARRANTY: Guarantee is 12 months from purchase date, proof of which will be required for any claim.
INFORMATION: For a copy of our latest catalogue and promotions call us on 01284 757525 and leave your full name and address, including postcode.
01284 757500
01284 703534
sales@sealey.co.uk
Sole UK Distributor
Sealey Group,
Bury St. Edmunds, Suffolk.
www.sealey.co.uk
Web
email
AB80.V5, AB100.V5 & AB160.V5, AB200.V2, AB602.V4, AB801.V5
- 3 - 280208
