manuals.online logo
Brands
  1. Home
  2. •
  3. Brands
  4. •
  5. Sealey
  6. •
  7. Outdoor Light
  8. •
  9. Sealey LED95230V User manual

Sealey LED95230V User manual

Other Sealey Outdoor Light manuals

Sealey LED01 Series User manual

Sealey

Sealey LED01 Series User manual

Sealey LED3601.V3 Series User manual

Sealey

Sealey LED3601.V3 Series User manual

Sealey LED37 User manual

Sealey

Sealey LED37 User manual

Sealey LED3602CF.V2 User manual

Sealey

Sealey LED3602CF.V2 User manual

Sealey LED033 User manual

Sealey

Sealey LED033 User manual

Sealey ML100/GP User manual

Sealey

Sealey ML100/GP User manual

Sealey LEDFLEXG User manual

Sealey

Sealey LEDFLEXG User manual

Sealey LED3602.V3 Series User manual

Sealey

Sealey LED3602.V3 Series User manual

Sealey LED307.V2 User manual

Sealey

Sealey LED307.V2 User manual

Sealey LED186 User manual

Sealey

Sealey LED186 User manual

Sealey ML36110F User manual

Sealey

Sealey ML36110F User manual

Sealey LED308 User manual

Sealey

Sealey LED308 User manual

Sealey LED3009 User manual

Sealey

Sealey LED3009 User manual

Sealey LED36 User manual

Sealey

Sealey LED36 User manual

Sealey LED01 Series User manual

Sealey

Sealey LED01 Series User manual

Sealey LED0121R User manual

Sealey

Sealey LED0121R User manual

Sealey LEd36 User manual

Sealey

Sealey LEd36 User manual

Sealey ML36230F User manual

Sealey

Sealey ML36230F User manual

Sealey LED013 User manual

Sealey

Sealey LED013 User manual

Sealey LED3601.V2 Series User manual

Sealey

Sealey LED3601.V2 Series User manual

Sealey ML13230V.V2 User manual

Sealey

Sealey ML13230V.V2 User manual

Popular Outdoor Light manuals by other brands

Kichler Lighting HELEN 37536 instructions

Kichler Lighting

Kichler Lighting HELEN 37536 instructions

Thorn OXANE L installation instructions

Thorn

Thorn OXANE L installation instructions

esotec Solar Globe Light multicolor 20 operating instructions

esotec

esotec Solar Globe Light multicolor 20 operating instructions

mitzi HL200201 ELLIS Assembly and mounting instructions

mitzi

mitzi HL200201 ELLIS Assembly and mounting instructions

HEPER TILA S AFX 3 Module Installation & maintenance instructions

HEPER

HEPER TILA S AFX 3 Module Installation & maintenance instructions

Designplan TRON 180 installation instructions

Designplan

Designplan TRON 180 installation instructions

nordlux VEJERS Mounting instruction

nordlux

nordlux VEJERS Mounting instruction

SImx ELITE LED LHTC637 installation instructions

SImx

SImx ELITE LED LHTC637 installation instructions

GEV CAROLINE 10833 manual

GEV

GEV CAROLINE 10833 manual

WE-EF PFL540 LED Installation and maintenance instructions

WE-EF

WE-EF PFL540 LED Installation and maintenance instructions

HEPER DOGO Side LW6048.585-US Installation & maintenance instructions

HEPER

HEPER DOGO Side LW6048.585-US Installation & maintenance instructions

BEGA 84 253 Installation and technical information

BEGA

BEGA 84 253 Installation and technical information

HEPER LW8034.003-US Installation & maintenance instructions

HEPER

HEPER LW8034.003-US Installation & maintenance instructions

HEPER MINIMO Installation & maintenance instructions

HEPER

HEPER MINIMO Installation & maintenance instructions

LIGMAN BAMBOO 3 installation manual

LIGMAN

LIGMAN BAMBOO 3 installation manual

Maretti TUBE CUBE WALL 14.4998.04 quick start guide

Maretti

Maretti TUBE CUBE WALL 14.4998.04 quick start guide

Maxim Lighting Carriage House VX 40428WGOB installation instructions

Maxim Lighting

Maxim Lighting Carriage House VX 40428WGOB installation instructions

urban ambiance UQL1273 installation instructions

urban ambiance

urban ambiance UQL1273 installation instructions

manuals.online logo
manuals.online logoBrands
  • About & Mission
  • Contact us
  • Privacy Policy
  • Terms and Conditions

Copyright 2025 Manuals.Online. All Rights Reserved.

INSTRUCTION MANUAL FOR:
UNDER BONNET 96 LED LAMP
MODEL NO :
LED95230V
Thank you for purchasing a Sealey product. Manufactured to a high standard this product will, if used according to these instructions and properly maintained, give
you years of trouble free performance.
IMPORTANT: PLEASE READ THESE INSTRUCTIONS CAREFULLY. NOTE THE SAFE OPERATIONAL REQUIREMENTS,
WARNINGS & CAUTIONS. USE THE PRODUCT CORRECTLY AND WITH CARE FOR THE PURPOSE FOR WHICH IT IS
INTENDED. FAILURE TO DO SO MAY CAUSE DAMAGE AND/OR PERSONAL INJURY AND WILL INVALIDATE THE WARRANTY.
PLEASE KEEP INSTRUCTIONS SAFE FOR FUTURE USE.
1. SAFETY
2. INTRODUCTION
1.1. GENERAL
 WARNING! Disconnect lamp from mains power before
performing any maintenance.
 DO NOT shine lamp directly into your, other person’s
or animal’s eyes.
 DO NOT allow children to use the lamp.
Maintain the lamp in good condition.
 DO NOT use the lamp if the lamp if damaged.
 When not in use store the light in a safe, dry,
childproof location.
1.2. ELECTRICAL SAFETY FOR USE OF
TRANSFORMER. USE ONLY THE SUPPLIED
TRANSFORMER PLUG FOR CONNECTING LAMP TO
THE POWER SUPPLY.
 WARNING! It is the user’s responsibility to read,
understand and comply with the following electrical
instructions:
You must ensure the risk of electric shock is minimised
by the installation of appropriate safety devices. An
RCCB (Residual Current Circuit Breaker) should be
incorporated in the main distribution board. We also
recommend that an RCD (Residual Current Device) is
used with all electrical products, particularly portable
equipment which is plugged into an electrical supply not
protected by an RCCB.
You must also read and understand the following
instructions concerning electrical safety.
1.2.1. The Electricity At Work Act 1989 requires all
portable electrical appliances, if used on business
premises, to be tested by a qualified electrician, using a
Portable Appliance Tester (PAT), at least once a year.
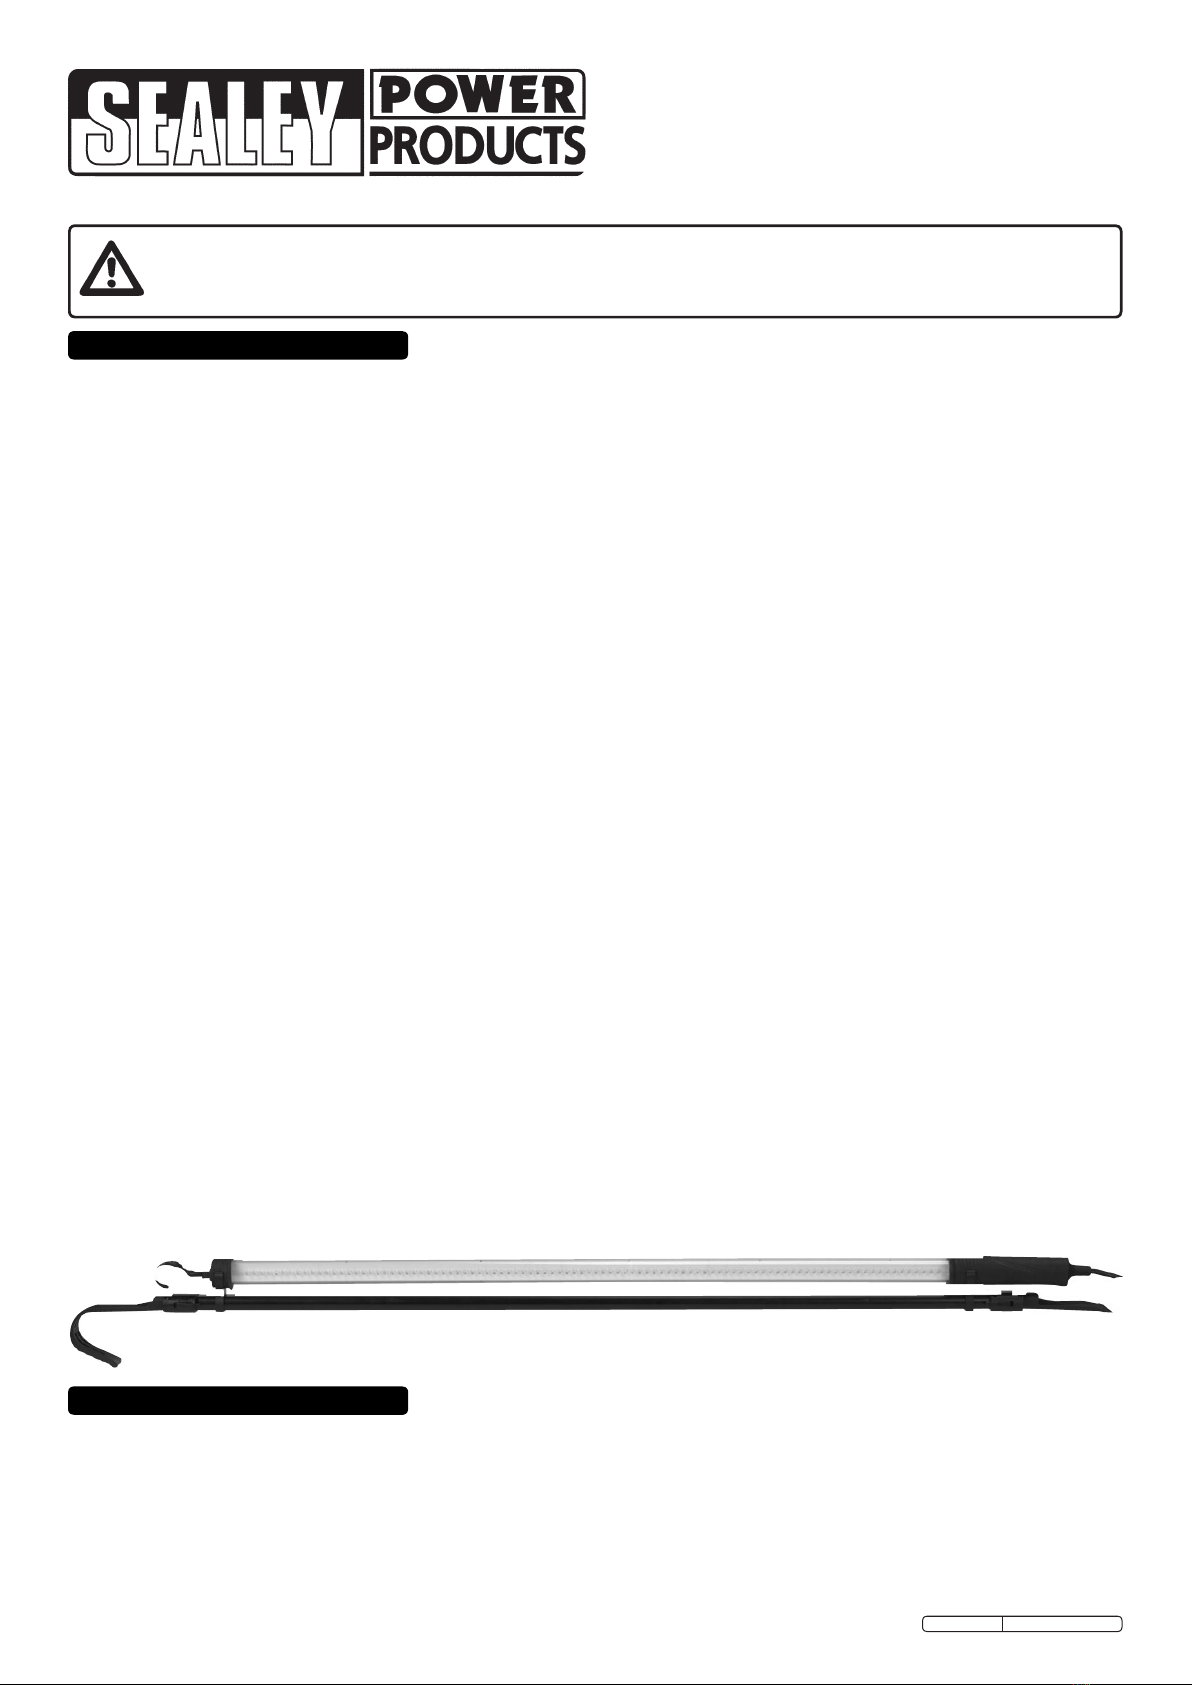
Easily adjusted telescopic bracket mounts under open bonnet. 96 LEDs give complete engine bay illumination.
Lamp unit can be unclipped from mounting bracket and used separately. Supplied with hanging hook, 2.8mtr cable
and transformer plug.
Supply: ..................230V 50Hz 100mA.
Power: . . . . . . . . . . . . . . . . . . . 12W.
Lamp Type: . . . . . . . . . . . . . . . 96 LED.
Min/Max Bonnet Width: .....1200/2870mm.
1.2.2. The Health & Safety at Work Act 1974 makes
owners of electrical appliances responsible for the safe
condition of the appliance and the safety of the appliance
operator. If in any doubt about electrical safety,
contact a qualified electrician.
1.2.3. You must ensure that you:
Inspect the transformer plug, cable and connector for
wear and damage to ensure items are safe before
connecting to the mains power supply. If worn or
damaged DO NOT use.
Important: Check that the voltage marked on the
transformer plug is the same as the power supply to
be used.
Uncoil the cable between transformer plug and lamp.
 DO NOT pull the transformer plug from the mains
socket by the lead.
 DO NOT use any other type of transformer with this
product.
 DO NOT try to take the transformer plug apart.
 DO NOT use the transformer plug to power any other
electrical item.
 DO NOT get the transformer plug wet, or use in
wet, damp conditions (for indoor use only).
 WARNING! NEVER substitute a standard 13amp
3 pin plug, or any other type of plug, for the
transformer plug.
This transformer plug reduces and rectifies the mains
voltage (230 volts AC) to 12 volts DC.
WARNING: The warnings, cautions and instructions discussed in this instruction manual cannot cover all
possible conditions and situations that may occur. It must be understood that common sense and caution
are factors which must be applied by the operator.
Original Language Version LED95230V Issue: 2 - 29/03/10
3.1.7. To use the lamp, plug the transformer plug into the mains socket to turn the light on.
3.1.8. When finished, disconnect the transformer plug from the mains supply and store the lamp in a safe, dry and
childproof location.
3. OPERATION INSTRUCTIONS
4. MAINTENANCE
3.1. ATTACHING LAMP TO BONNET.
3.1.1. Lift the locking latch (fig.1A) on each end of the mounting bracket and extend hooks (fig.1B) on either side to fit
the width of the bonnet.
3.1.2. Offer the mounting bracket up to the underside of the raised bonnet.
3.1.3. Slide the hooks in so they grip the bonnet from underneath and press the locking lever down to lock the hooks
in position.
3.1.4. Removal is a reversal of the previous procedure.
3.1.5. You may also remove the mounting bracket from the lamp, and use the light hanging vertically from the hook at
the top of the lamp.
3.1.6. When fixing lamp back onto mounting bracket ensure the clips are gripping the black rubber surround at
each end of the tube and not the tube itself.
A
B
fig.1
Keep lamp clean and check for damage before every use. If damage is observed remove from use until unit is
repaired.
NOTE! There are no user serviceable parts on this lamp. For repair please return to your nearest Sealey authorised
dealer.
NOTE: It is our policy to continually improve products and as such we reserve the right to alter data, specifications and component parts without prior notice.
IMPORTANT: No liability is accepted for incorrect use of this product.
WARRANTY: Guarantee is 12 months from purchase date, proof of which will be required for any claim.
INFORMATION: For a copy of our latest catalogue and promotions call us on 01284 757525 and leave your full name and address, including postcode.
01284 757500
01284 703534
sales@sealey.co.uk
Sole UK Distributor, Sealey Group,
Kempson Way, Suffolk Business Park,
Bury St. Edmunds, Suffolk,
IP32 7AR
www.sealey.co.uk
Web
email
Original Language Version LED95230V Issue: 2 - 29/03/10