manuals.online logo
Brands
  1. Home
  2. •
  3. Brands
  4. •
  5. Sealey
  6. •
  7. Sander
  8. •
  9. Sealey ER150/DFS User manual

Sealey ER150/DFS User manual

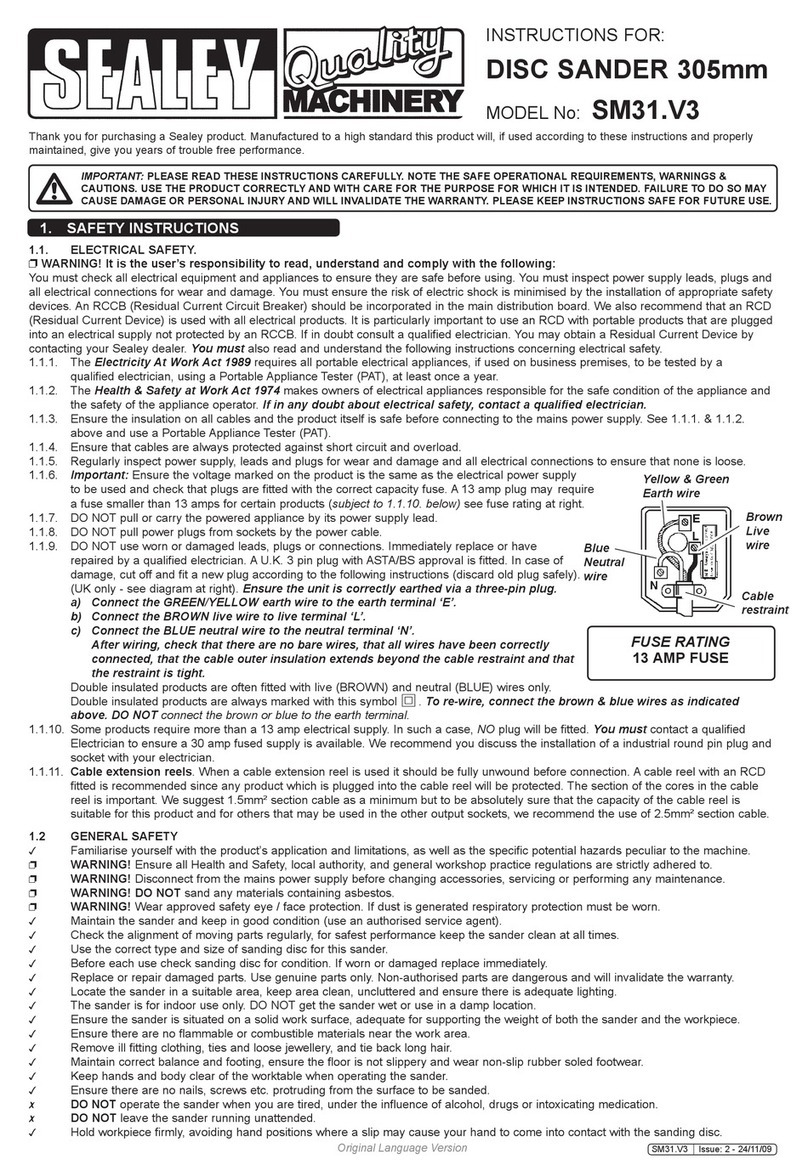
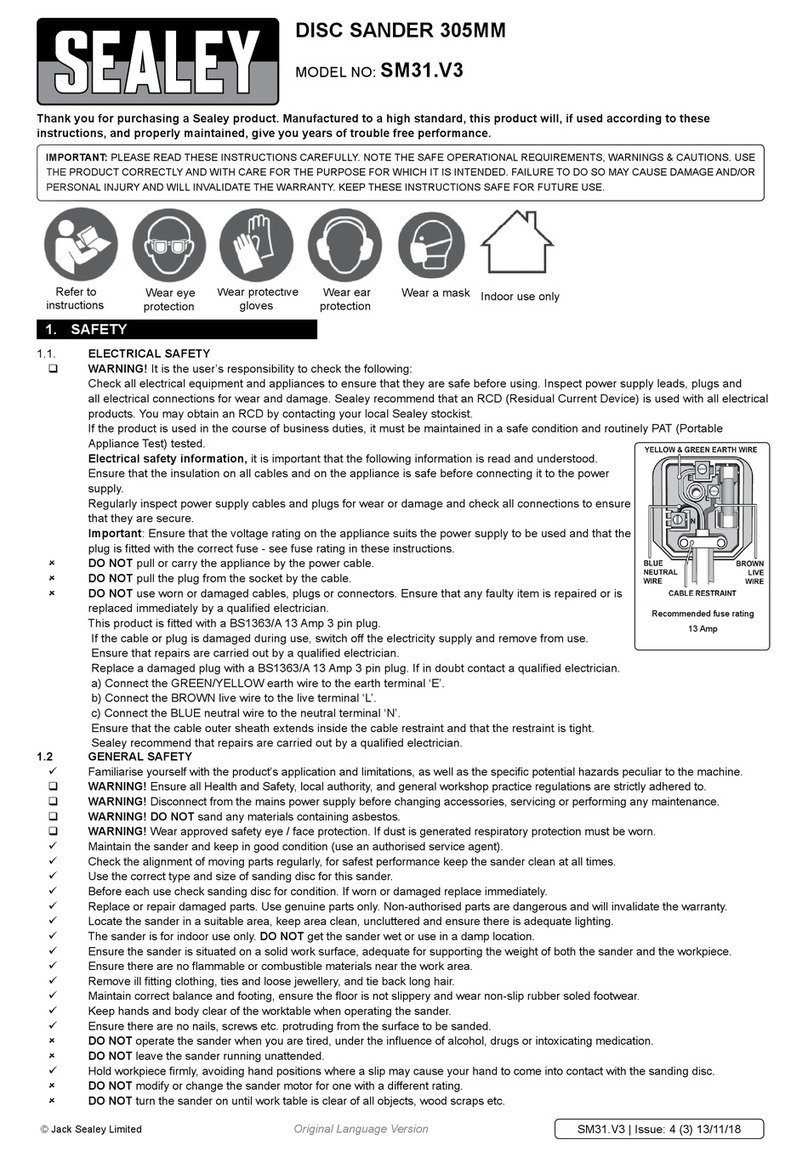
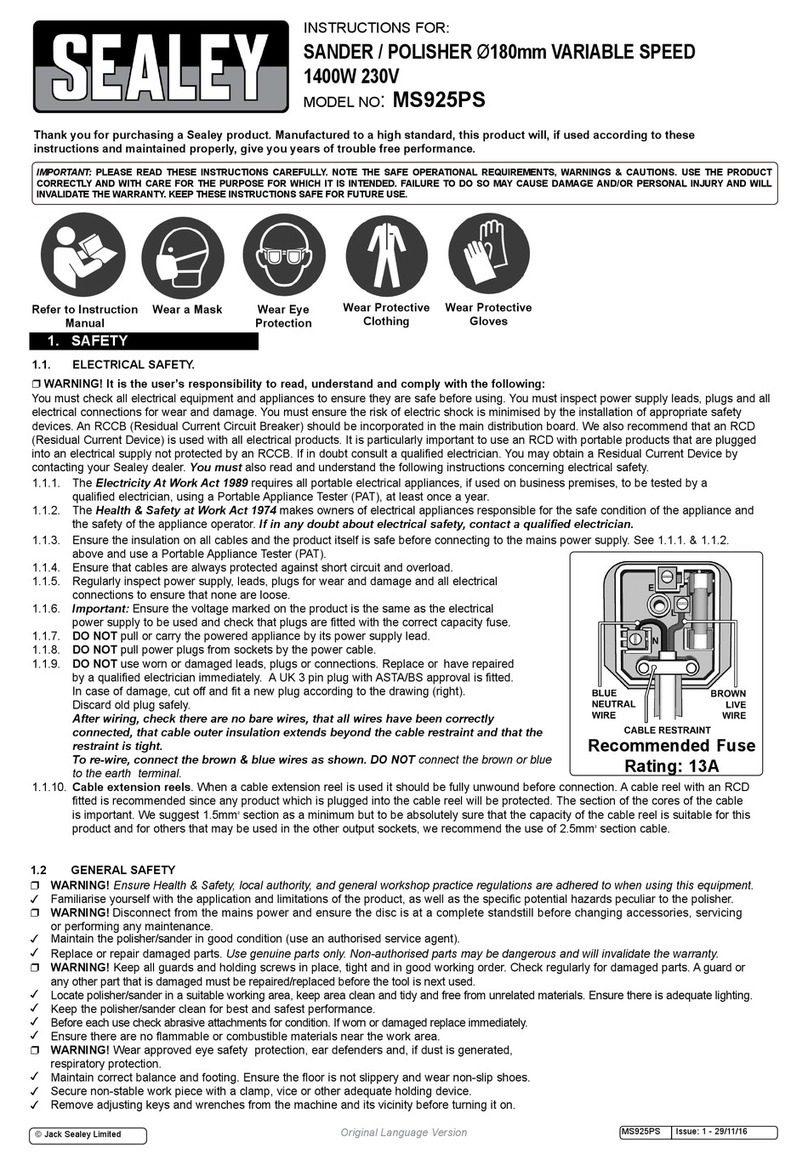
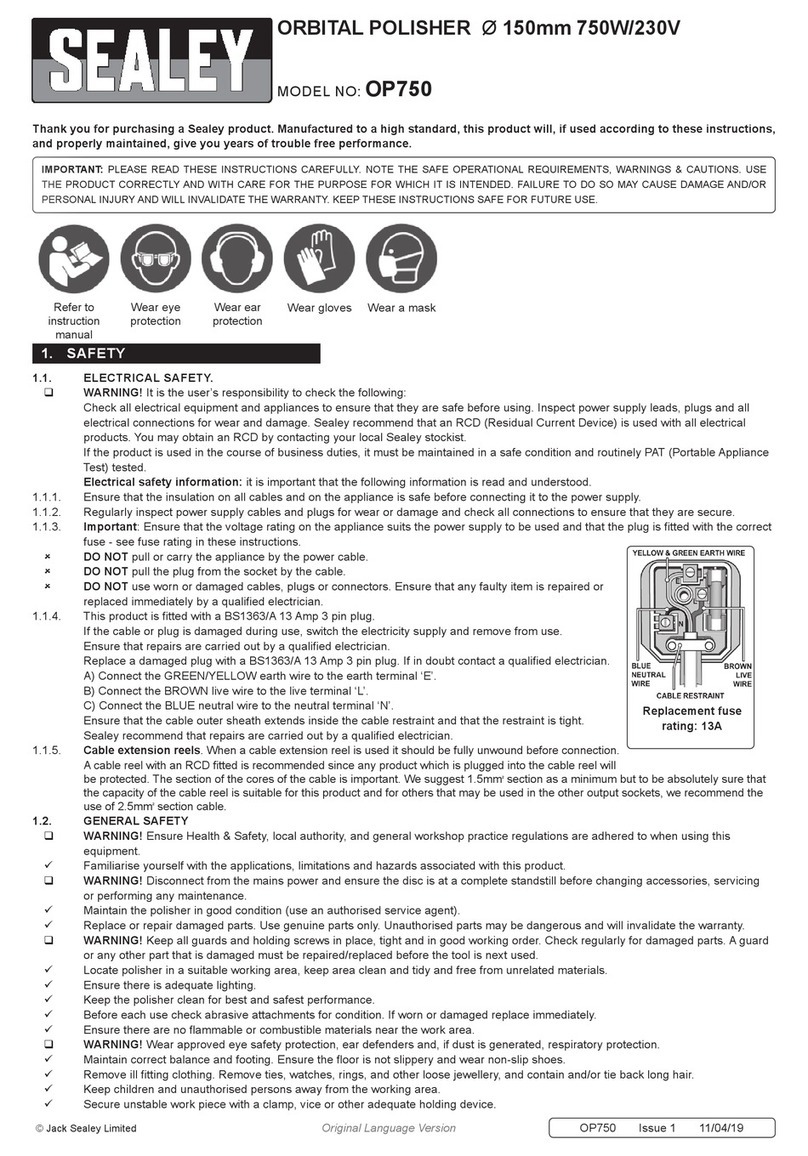
INSTRUCTIONS FOR
DUST FREE & STANDARD
ELECTRICAL SANDERS
Thank you for purchasing a Sealey Product. Manufactured to a high standard this product will, if used according to these instructions
and properly maintained, give you years of trouble free performance.
ER150/D, ER150/DFS, EM110, EM110D/DFS - 0050 - 010299
IMPORTANT:PLEASE READ INSTRUCTIONS CAREFULLY. NOTE THE SAFE OPERATIONAL REQUIREMENTS, WARNINGS AND CAUTIONS.
USE THIS PRODUCT CORRECTLY AND WITH CARE FOR THE PURPOSE FOR WHICH IT IS INTENDED. FAILURE TO DO SO MAY CAUSE
DAMAGE OR PERSONAL INJURY, AND WILL INVALIDATE THE WARRANTY. PLEASE KEEP INSTRUCTIONS SAFE FOR FUTURE USE.
Sole UK Distributor, Sealey Group,
Bury St. Edmunds, Suffolk.
01284 757500 E-mail: sales@sealey.co.uk
01284 703534
NOTE: It is our policy to continually improve products and as such we reserve the right to alter data,
specifications and component parts without prior notice.
IMPORTANT: No liability is accepted for incorrect use of this equipment. WARRANTY: Guarantee is 12
months from purchase date, proof of which will be required for any claim. INFORMATION: Call us for a
copy of our latest catalogue on 01284 757525 and leave your full name, address including your postcode.
We, the sole importer into the UK, declare that the productslisted here are in
conformity with the following EEC standards and directives. The construction filesfor
these product are held by the Manufacturer and may be inspected on request by
contacting Jack Sealey Ltd
For Jack Sealey Ltd. Sole importer into the UK of Sealey Power Tools.
Dust Free Electrically Operated Sanders
ER150/DFS, ER150/D, EM110. EM110D/DFS
EN50144, EN55014-HD400
in accordance with the regulations
90/392/EEC 73/23/EEC 89/336/EEC
Signed by John Sealey
1st February 1999
Models: ER150/DFS, ER150/D, EM110, EM110D/DFS
Declaration of Conformity
1. SAFETY INSTRUCTIONS
1.1. ELECTRICAL SAFETY. pWARNING! It is the users responsibility to read, understand and comply as
follows. You must check all electrical equipment and appliances to ensure they are safe before using. You
must inspect power supply leads, plugs and all electrical connections for wear and damage. You must
ensure the risk of electric shock is minimised by the installation of appropriate safety devices. An RCCB
(Residual Current Circuit Breaker) should be incorporated in the main distribution board. We also recommend
that an RCD (Residual Current Device) is used with all electrical products. It is particularly important to use
an RCD together with portable products that are plugged into an electrical supply not protected by an RCCB.
If in doubt consult a professional electrician. You may obtain a Residual Current Device by contacting your
Sealey dealer. You must also read and understand the following instructions concerning electrical safety.
1.1.1. The Electricity At Work Act 1989 requires all portable electrical appliances, if used on a business premises,
to be tested by a qualified Electrician at least once a year by using a Portable Appliance Tester (PAT).
1.1.2. The Health & Safety at Work Act 1974 makes owners of electrical appliances responsible for the safe condition of the
appliance, and the safety of the appliance operator. If in doubt about electrical safety, contact a qualified electrician.
1.1.3. Ensure the insulation on all cables and the product itself is safe before connecting to the mains power
supply. See 1.1.1. & 1.1.2. above and use a Portable Appliance Tester (PAT).
1.1.4. Ensure that cables are always protected against short circuit and overload.
1.1.5. Regularly inspect power supply, leads, plugs and all electrical connections for wear and damage,
especially power connections, to ensure that none are loose.
1.1.6. Important: Ensure the voltage marked on the product is the same as the electrical power supply to be
used, and check that plugs are fitted with the correct capacity fuse. A 13Amp plug may require a fuse
smaller than 13Amps for certain products (subject to 1.1.10. below) see fuse rating below.
1.1.7. DO NOT pull or carry the powered appliance by its power supply lead.
1.1.8. DO NOT pull power plugs from sockets by the power cable.
1.1.9. DO NOT use worn or damaged leads, plugs or connections.
Immediately replace or have repaired by a qualified Electrician.
A U.K. 3 pin plug with ASTA/BS approval is fitted. In case
of damage, cut off and fit a new plug according to the following
instructions (discard old plug safely). (UK only - see diagram at right).
Ensure the unit is correctly earthed via a three-pin plug.
a) Connect the green/yellow earth wire to the earth terminal E.
b) Connect the brown live wire to live terminal L.
c) Connect the blue neutral wire to the neutral terminal N.
After wiring, check there are no bare wires, that all wires
have been correctly connected and that the wire restraint is tight.
Double insulated products are often fitted with live (BROWN)
and neutral (BLUE) wires only. Double insulated products are always marked
with this symbol . Check you model carefully to see which type of product
your have. To re-wire, a double insulated item, connect the brown and blue
wires as indicated above. DO NOT connect brown or blue to the earth terminal.
1.1.10. Cable extension reels. When a cable extension reel is used it should be fully
unwound before connection. A cable reel with an RCD fitted is recommended
since any product which is plugged into the cable reel will be protected.
The section of the cable on the cable reel is important. We recommend
that at least 1.5mm2section cable but to be absolutely sure that the capacity of the cable reel is suitable
for this product and for others that may be used in the other output sockets, we recommend the use of
2.5mm2section cable.
Yellow & Green
Earth wire
FUSE RATING
THIS PRODUCT MUST BE
FITTED WITH A:
5 Amp FUSE
Brown
Live
wire
Blue
Neutral
wire
wire
restraint
These ER & EM models are of the vertical type for heavy duty sanding applications. Each sander
has a tough composite body shell with a trigger operating switch and a power lock control.
Models ER150D/DFS & EM110D/DFS are dust free sanders for connecting to a dust free system.
Model: ER150D ER150D/DFS EM110 EM110D/DFS
Free Speed (rpm) . . . . . . . . . .8000 . . . . . . . . . . . .8000 . . . . . . . . . .8000 . . . . . . . . . . . . . . .8000
Orbit Ø (mm) . . . . . . . . . . . . . . . .8. . . . . . . . . . . . . . .8. . . . . . . . . . . .n/a . . . . . . . . . . . . . . . .n/a
Pad size (mm) . . . . . . . . . . . . .150 . . . . . . . . . . . . .150 . . . . . . . .210x115 210x115accepts 4-1/2 paper
Thread size (UFN) . . . . . . . . .5/16 . . . . . . . . . . . .5/16 . . . . . . . . . .5/16 . . . . . . . . . . . . . .5/16
Power (Watts) . . . . . . . . . . . . . .450 . . . . . . . . . . . . .450 . . . . . . . . . . .500 . . . . . . . . . . . . . . .500
Power input . . . . . . . . . .230V-1.8A . . . . . . . . . . . .230V . . . . . .230V-2.0A . . . . . . . . . . . . . .230V
2. TECHNICAL SPECIFICATIONS
3. DUST COLLECTION MODELS ER150D/DFS & EM110D/DFS
The dust outlet tube on models ER150D/DFS & EM100D/DFS must be connected to a dust free
system in accordance with COSHH, and any other regulations that may apply to your work area. For
information on dust free systems, contact your local Sealey dealer.
Model ER150D may be converted to a dust free system, contact your local Sealey dealer for details.
pWARNING! Disconnect sander from mains power supply before changing accessories, servicing
or performing maintenance. Replace or repair damaged parts. Use recommended parts only.
Non authorised parts may be dangerous and will invalidate the warranty.
5.1. Clean the underside of the sander after use. Use an air line to blow dust out from around the
motor by passing the air through the ventilation holes.
5.2. Change pads when required.
5.3. Check brushes after every 200 hours of use. To do so remove the top cover, remove the brass
brush holder electrical connection, remove the brush holder and examine the carbon bush.
Change brushes when they are only 5mm in length. Ensure the unit is correctly re-assembled.
5.4. All other service and maintenance must be carried out by an authorised service agent.
5.5. When not in use store in a safe, dry, childproof location.
4. OPERATING INSTRUCTIONS
5. MAINTENANCE
1.3. LEAD PAINT WARNING!
Paint once contained lead as a traditional ingredient. Contact with the dust from the removal
of such paint is toxic and must therefore be avoided. The following action must be taken
before using the sander on a surface that you suspect may have contained lead in the paint.
1. User must determine potential hazard relating to age of paint to be removed.
(Modern paints do not have lead content).
2. DANGER! Keep all persons and pets away from the working area. The following
persons are particularly vulnerable to the effects of lead paint dust: Expectant women,
Babies, and children.
3. We recommend personal protection by using the following safety items:
a/ Paint Spray Respirator (Our ref SSP16EN)
b/ PE Coated Hooded Coverall (Our ref SSP266). c/ Latex Gloves (Our ref SSP24).
4. Take adequate measures to contain the paint dust, flakes, and scrapings.
5. Continue to wear safety equipment as in (3) above, and thoroughly clean all areas
when task is complete. Ensure paint waste is disposed of in sealed bags or containers.
4.1. Attach the correct rated pad for the sander. Round pads screw into the under side of the
sanders head, and rectangular pads will be held by a clamp located at each end of sander.
4.2. Plug the sander into the mains power supply (and if appropriate a dust free system).
Grip the handle and front guide knob and pull the on/off trigger to start the machine,
and check that the unit is working correctly before use.
4.3. The power trigger may be locked in the on position by depressing the trigger and then
pressing the side locking button. Press trigger again to release the lock button.
Note: The sander is designed for dry use only. DO NOT use with water or any other liquids.
ER150/D, ER150/DFS, EM110, EM110D/DFS - 0050 - 010299
1.2. General Safety.
p WARNING! Ensure health & safety, local authority, & general workshop practice regulations are
adhered to when using this equipment.
pWARNING! Disconnect from mains power before changing accessories, servicing or maintenance.
3Maintain the sander in good condition (use an authorised service agent).
3Replace or repair damaged parts. Use recommended parts only. Non authorised parts may be
dangerous and will invalidate the warranty.
3Use sander in an adequate working area for its function, keep area clean, tidy and free from
unrelated materials. Ensure there is adequate lighting.
3Before use check abrasive pad condition. If worn or damaged replace immediately.
pWARNING! Always wear approved eye or face protection when operating the sander.
3If dust is generated, use face, dust, or respiratory protection in accordance with COSHH regulations.
3Depending on task, sander noise level may exceed 85dB in which case wear safety ear defenders.
3Remove ill fitting clothing, ties, watches, rings, other loose jewellery, and contain and/ or tie back long hair.
3Wear appropriate protective clothing and keep hands and body clear of the sanders working parts.
3Maintain correct balance and footing. Ensure the floor is not slippery and wear non slip shoes.
3Keep children and unauthorised persons away from the working area.
3Check moving parts alignment on a regular basis.
3Ensure the workpiece is correctly secured before operating the sander. Never hold workpiece by
hand, and check the workpiece to ensure there are no protruding nails, screws, stones, etc.
3Avoid unintentional starting.
7DO NOT force the sander to achieve a task it was not designed to perform.
7DO NOT operate sander if any parts are damaged or missing. This may cause failure or possible injury.
pWARNING! DO NOT sand any materials containing asbestos.
7DO NOT carry the sander by the electrical cable or dust extraction hose.
7DO NOT get the sander wet or use in damp or wet locations.
7DO NOT use these models with water, these models are dry sanders only.
7DO NOT place attachments close to your face and do not point at other persons or animals.
7DO NOT operate sander if you are tired, under the influence of alcohol, drugs or intoxicating medication.
7DO NOT use where there is flammable liquids, solids or gases such as paint solvents, including
waste wiping or cleaning rags etc.
7DO NOT leave the sander operating whilst unattended.
7DO NOT carry the sander with your finger on the power switch.
3When not in use disconnect from the mains power supply and dust free system and store
in a safe, dry, child proof area
pWARNING! DO NOT allow uncontrolled discharge of dust waste thus polluting the environment.
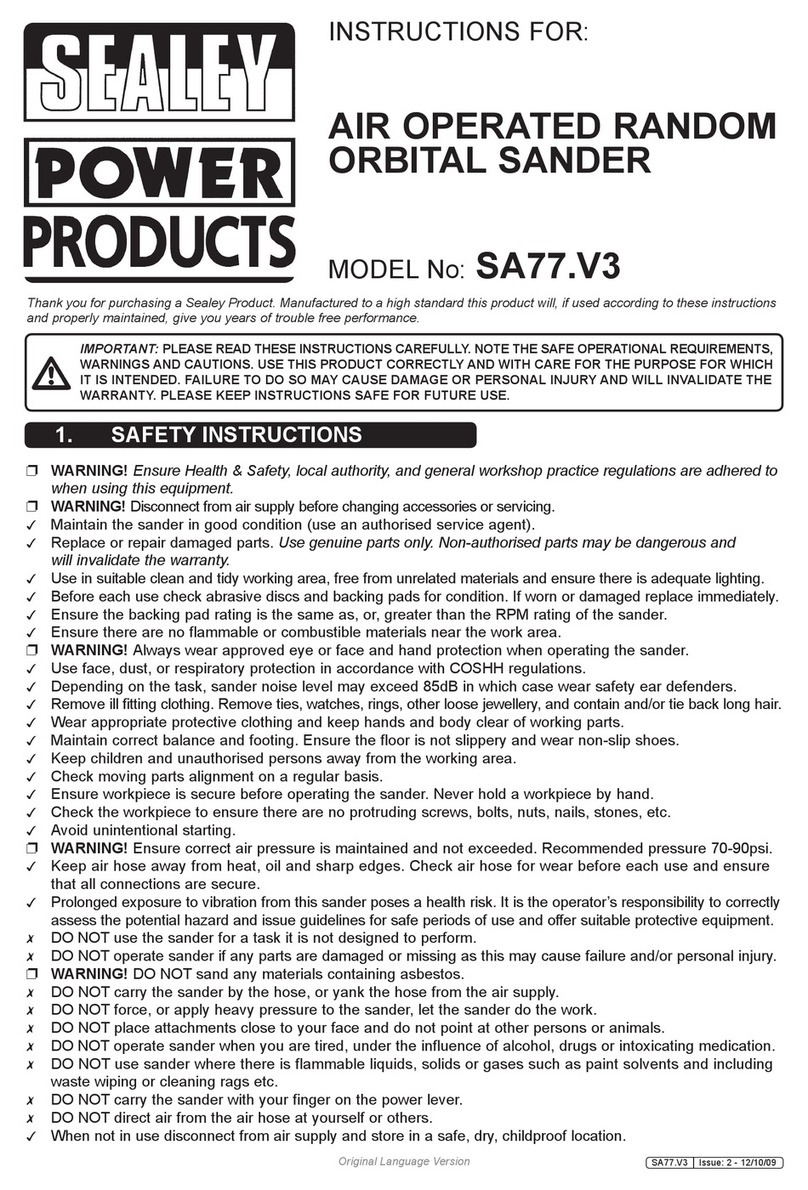
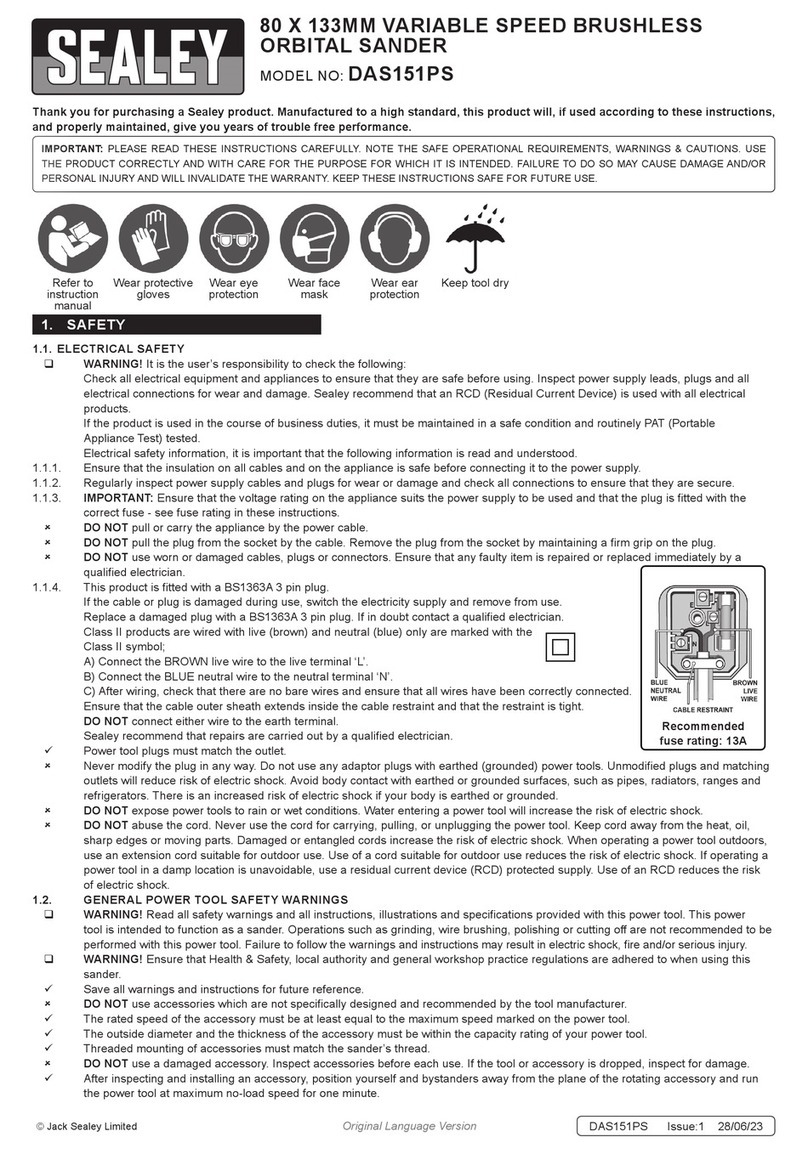
This manual suits for next models

3

Other Sealey Sander manuals

Sealey SA355.V2 User manual

Sealey

Sealey SA355.V2 User manual

Sealey Quality Machinery SM31 User manual

Sealey

Sealey Quality Machinery SM31 User manual

Sealey SA70 User manual

Sealey

Sealey SA70 User manual

Sealey OS600 User manual

Sealey

Sealey OS600 User manual

Sealey EM110.V2 User manual

Sealey

Sealey EM110.V2 User manual

Sealey GSA04 User manual

Sealey

Sealey GSA04 User manual

Sealey SM31.V3 User manual

Sealey

Sealey SM31.V3 User manual

Sealey DAS150PS User manual

Sealey

Sealey DAS150PS User manual

Sealey SA802.V2 User manual

Sealey

Sealey SA802.V2 User manual

Sealey OS400 User manual

Sealey

Sealey OS400 User manual

Sealey CP2812V User manual

Sealey

Sealey CP2812V User manual

Sealey BB1502 User manual

Sealey

Sealey BB1502 User manual

Sealey SA22.V3 User manual

Sealey

Sealey SA22.V3 User manual

Sealey Quality MACHINERY SM1301 User manual

Sealey

Sealey Quality MACHINERY SM1301 User manual

Sealey POWER TOOLS SA35.V2 User manual

Sealey

Sealey POWER TOOLS SA35.V2 User manual

Sealey SM31.V3 User manual

Sealey

Sealey SM31.V3 User manual

Sealey DAS151.V2 User manual

Sealey

Sealey DAS151.V2 User manual

Sealey ER1700PD User manual

Sealey

Sealey ER1700PD User manual

Sealey CP6005 User manual

Sealey

Sealey CP6005 User manual

Sealey SA721.V3 User manual

Sealey

Sealey SA721.V3 User manual

Sealey DAS150T.V4 User manual

Sealey

Sealey DAS150T.V4 User manual

Sealey GSA003 User manual

Sealey

Sealey GSA003 User manual

Sealey SBS260 User manual

Sealey

Sealey SBS260 User manual

Sealey DAS150T.V3 User manual

Sealey

Sealey DAS150T.V3 User manual

Popular Sander manuals by other brands

Draper PT75B instructions

Draper

Draper PT75B instructions

Skil 1144 Original instructions

Skil

Skil 1144 Original instructions

Jet J-4002 Operating instructions and parts manual

Jet

Jet J-4002 Operating instructions and parts manual

RIDGID R26111 Operator's manual

RIDGID

RIDGID R26111 Operator's manual

Drill Master 69487 Owner's manual & safety instructions

Drill Master

Drill Master 69487 Owner's manual & safety instructions

Delta 31-280 instruction manual

Delta

Delta 31-280 instruction manual

Argos FS-CG-140X140X80 instruction manual

Argos

Argos FS-CG-140X140X80 instruction manual

DeWalt DW432 manual

DeWalt

DeWalt DW432 manual

Bosch GSS 140-1 A Professional Original instructions

Bosch

Bosch GSS 140-1 A Professional Original instructions

Sioux Tools 1290 instructions

Sioux Tools

Sioux Tools 1290 instructions

Festool RTS 400 REQ Original operating manual

Festool

Festool RTS 400 REQ Original operating manual

P.I.T. PDS20H-125A Operation manual

P.I.T.

P.I.T. PDS20H-125A Operation manual

Chicago Pneumatic CP3030-AFR Series Operator's manual

Chicago Pneumatic

Chicago Pneumatic CP3030-AFR Series Operator's manual

Parkside 73804 Operation and safety notes translation of original operation manual

Parkside

Parkside 73804 Operation and safety notes translation of original operation manual

HOLZMANN MASCHINEN BT 46 user manual

HOLZMANN MASCHINEN

HOLZMANN MASCHINEN BT 46 user manual

Craftsman 351.215200 Operator's manual

Craftsman

Craftsman 351.215200 Operator's manual

ToolPRO PBP1501 instruction manual

ToolPRO

ToolPRO PBP1501 instruction manual

Jet JOVS-10 operating instructions

Jet

Jet JOVS-10 operating instructions

manuals.online logo
manuals.online logoBrands
  • About & Mission
  • Contact us
  • Privacy Policy
  • Terms and Conditions

Copyright 2025 Manuals.Online. All Rights Reserved.