1. SAFETY INSTRUCTIONS
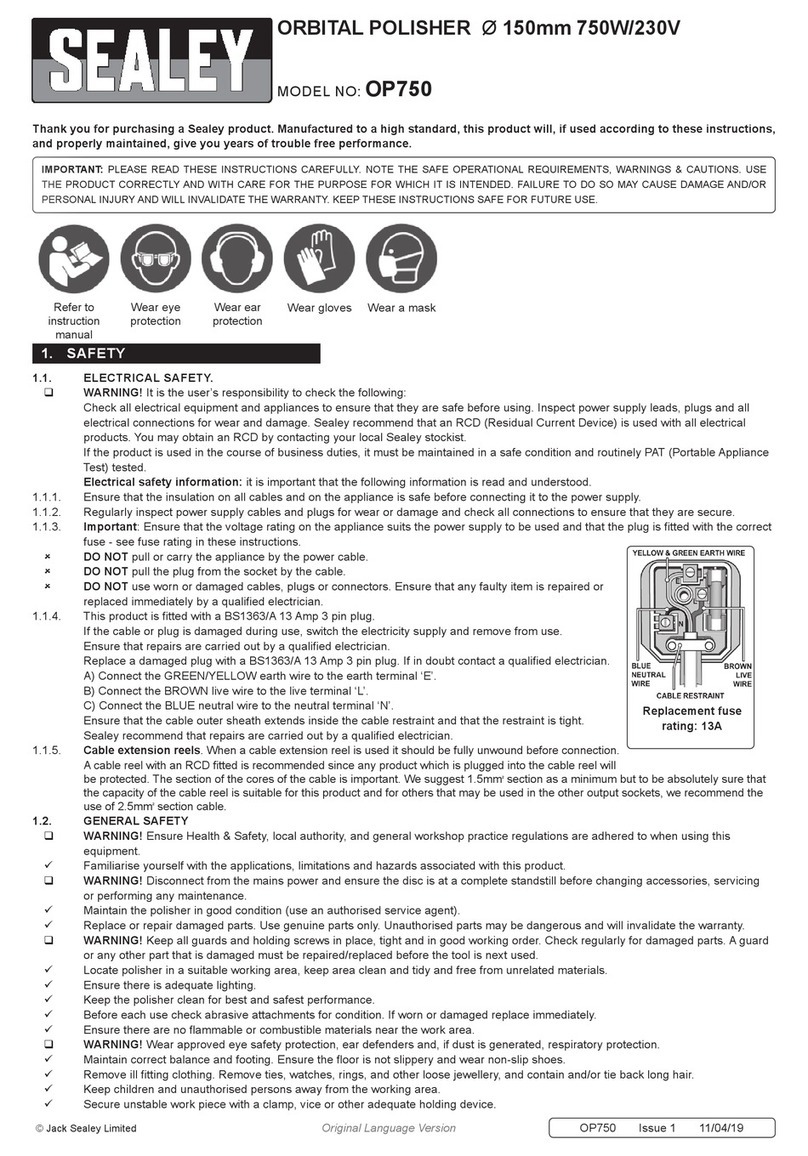
IMPORTANT: PLEASE READ THESE INSTRUCTIONS CAREFULLY. NOTE THE SAFE OPERATIONAL REQUIREMENTS, WARNINGS &
CAUTIONS. USE THE PRODUCT CORRECTLY AND WITH CARE FOR THE PURPOSE FOR WHICH IT IS INTENDED. FAILURE TO DO SO MAY
CAUSE DAMAGE OR PERSONAL INJURY AND WILL INVALIDATE THE WARRANTY. PLEASE KEEP INSTRUCTIONS SAFE FOR FUTURE USE.
Thank you for purchasing a Sealey product. Manufactured to a high standard this product will, if used according to these instructions and properly
maintained, give you years of trouble free performance.
1.2 GENERAL SAFETY
Familiarise yourself with the product’s application and limitations, as well as the specific potential hazards peculiar to the machine.
WARNING! Ensure all Health and Safety, local authority, and general workshop practice regulations are strictly adhered to.
WARNING! Disconnect from the mains power supply before changing accessories, servicing or performing any maintenance.
WARNING! DO NOT sand any materials containing asbestos.
WARNING! Wear approved safety eye / face protection. If dust is generated respiratory protection must be worn.
Maintain the sander and keep in good condition (use an authorised service agent).
Check the alignment of moving parts regularly, for safest performance keep the sander clean at all times.
Use the correct type and size of sanding disc for this sander.
Before each use check sanding disc for condition. If worn or damaged replace immediately.
Replace or repair damaged parts. Use genuine parts only. Non-authorised parts are dangerous and will invalidate the warranty.
Locate the sander in a suitable area, keep area clean, uncluttered and ensure there is adequate lighting.
The sander is for indoor use only. DO NOT get the sander wet or use in a damp location.
Ensure the sander is situated on a solid work surface, adequate for supporting the weight of both the sander and the workpiece.
Ensure there are no flammable or combustible materials near the work area.
Remove ill fitting clothing, ties and loose jewellery, and tie back long hair.
Maintain correct balance and footing, ensure the floor is not slippery and wear non-slip rubber soled footwear.
Keep hands and body clear of the worktable when operating the sander.
Ensure there are no nails, screws etc. protruding from the surface to be sanded.
DO NOT operate the sander when you are tired, under the influence of alcohol, drugs or intoxicating medication.
DO NOT leave the sander running unattended.
Hold workpiece firmly, avoiding hand positions where a slip may cause your hand to come into contact with the sanding disc.
1.1. ELECTRICAL SAFETY.
WARNING! It is the user’s responsibility to read, understand and comply with the following:
You must check all electrical equipment and appliances to ensure they are safe before using. You must inspect power supply leads, plugs and
all electrical connections for wear and damage. You must ensure the risk of electric shock is minimised by the installation of appropriate safety
devices. An RCCB (Residual Current Circuit Breaker) should be incorporated in the main distribution board. We also recommend that an RCD
(Residual Current Device) is used with all electrical products. It is particularly important to use an RCD with portable products that are plugged
into an electrical supply not protected by an RCCB. If in doubt consult a qualified electrician. You may obtain a Residual Current Device by
contacting your Sealey dealer. You must also read and understand the following instructions concerning electrical safety.
1.1.1. The Electricity At Work Act 1989 requires all portable electrical appliances, if used on business premises, to be tested by a
qualified electrician, using a Portable Appliance Tester (PAT), at least once a year.
1.1.2. The Health & Safety at Work Act 1974 makes owners of electrical appliances responsible for the safe condition of the appliance and
the safety of the appliance operator. If in any doubt about electrical safety, contact a qualified electrician.
1.1.3. Ensure the insulation on all cables and the product itself is safe before connecting to the mains power supply. See 1.1.1. & 1.1.2.
above and use a Portable Appliance Tester (PAT).
1.1.4. Ensure that cables are always protected against short circuit and overload.
1.1.5. Regularly inspect power supply, leads and plugs for wear and damage and all electrical connections to ensure that none is loose.
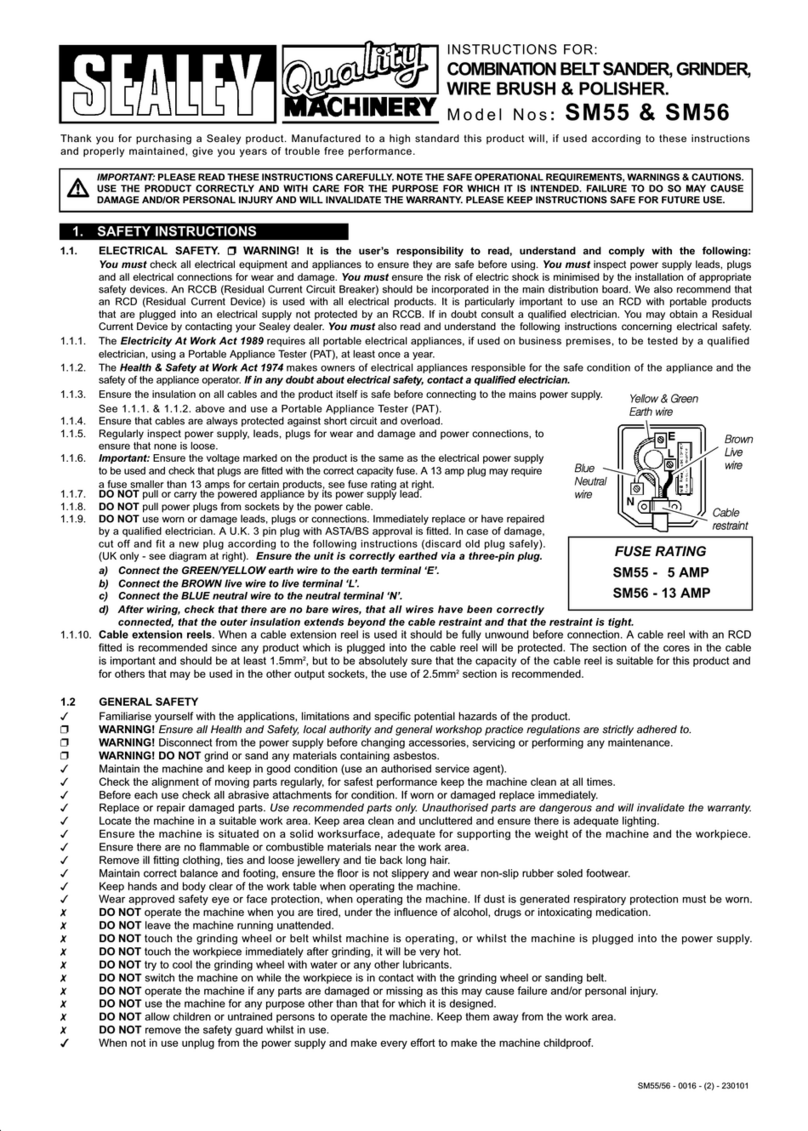
1.1.6. Important: Ensure the voltage marked on the product is the same as the electrical power supply
to be used and check that plugs are fitted with the correct capacity fuse. A 13 amp plug may require
a fuse smaller than 13 amps for certain products (subject to 1.1.10. below) see fuse rating at right.
1.1.7. DO NOT pull or carry the powered appliance by its power supply lead.
1.1.8. DO NOT pull power plugs from sockets by the power cable.
1.1.9. DO NOT use worn or damaged leads, plugs or connections. Immediately replace or have
repaired by a qualified electrician. A U.K. 3 pin plug with ASTA/BS approval is fitted. In case of
damage, cut off and fit a new plug according to the following instructions (discard old plug safely).
(UK only - see diagram at right). Ensure the unit is correctly earthed via a three-pin plug.
a) Connect the GREEN/YELLOW earth wire to the earth terminal ‘E’.
b) Connect the BROWN live wire to live terminal ‘L’.
c) Connect the BLUE neutral wire to the neutral terminal ‘N’.
After wiring, check that there are no bare wires, that all wires have been correctly
connected, that the cable outer insulation extends beyond the cable restraint and that
the restraint is tight.
Double insulated products are often fitted with live (BROWN) and neutral (BLUE) wires only.
Double insulated products are always marked with this symbol . To re-wire, connect the brown & blue wires as indicated
above. DO NOT connect the brown or blue to the earth terminal.
1.1.10. Some products require more than a 13 amp electrical supply. In such a case, NO plug will be fitted. You must contact a qualified
Electrician to ensure a 30 amp fused supply is available. We recommend you discuss the installation of a industrial round pin plug and
socket with your electrician.
1.1.11. Cable extension reels. When a cable extension reel is used it should be fully unwound before connection. A cable reel with an RCD
fitted is recommended since any product which is plugged into the cable reel will be protected. The section of the cores in the cable
reel is important. We suggest 1.5mm² section cable as a minimum but to be absolutely sure that the capacity of the cable reel is
suitable for this product and for others that may be used in the other output sockets, we recommend the use of 2.5mm² section cable.
Blue
Neutral
wire
Yellow & Green
Earth wire
Cable
restraint
FUSE RATING
13 AMP FUSE
Brown
Live
wire
INSTRUCTIONS FOR:
DISC SANDER 305mm
MODEL No: SM31.V3
Original Language Version SM31.V3 Issue: 2 - 24/11/09

