Sealey VS870 User manual

IMPORTANT: PLEASE READ THESE INSTRUCTIONS CAREFULLY. NOTE THE SAFE OPERATIONAL REQUIREMENTS, WARNINGS & CAUTIONS. USE THE PRODUCT
CORRECTLY AND WITH CARE FOR THE PURPOSE FOR WHICH IT IS INTENDED. FAILURE TO DO SO MAY CAUSE DAMAGE AND/OR PERSONAL INJURY AND WILL
INVALIDATE THE WARRANTY. KEEP THESE INSTRUCTIONS SAFE FOR FUTURE USE.
Thank you for purchasing a Sealey product. Manufactured to a high standard, this product will, if used according to these instructions
and maintained properly, give you years of trouble free performance.
Refer to Instruction
Manual
Wear Eye
Protection
Wear Protective
Gloves
1. SAFETY
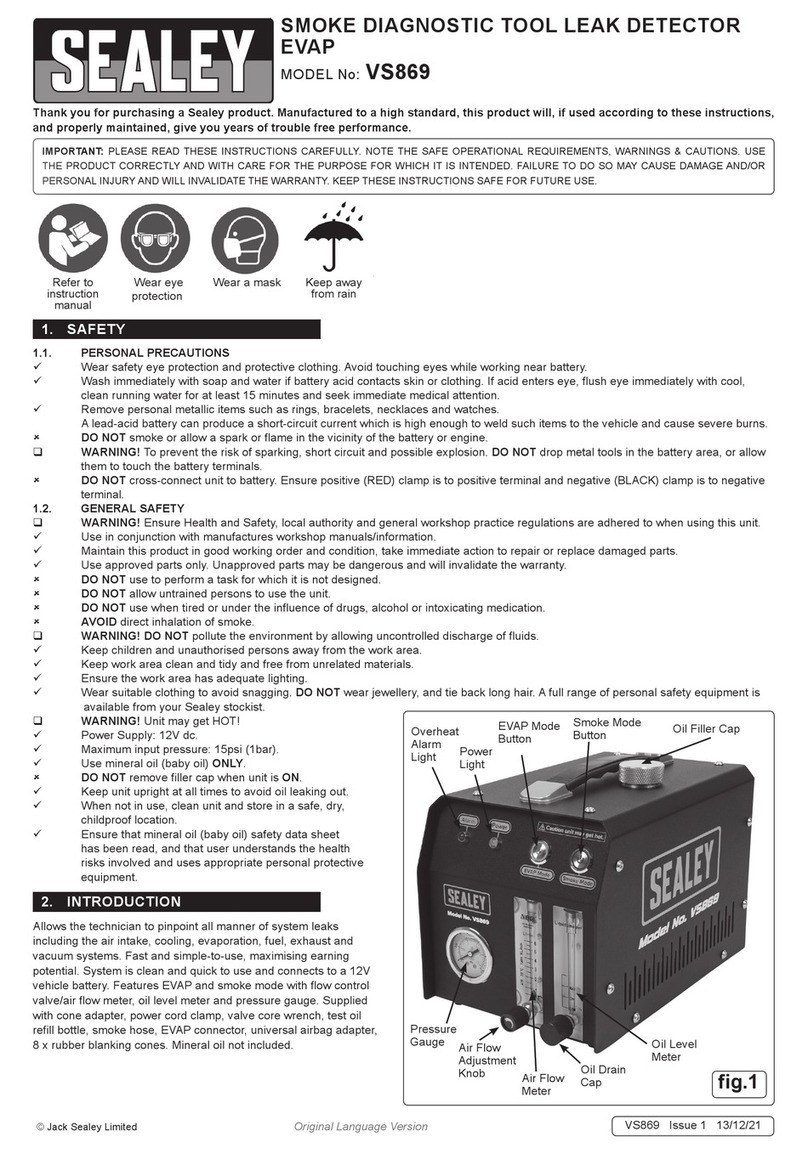
SMOKE DIAGNOSTIC TOOL- LEAK DETECTOR
MODEL N
o
:VS870.V2
1.1. PERSONAL PRECAUTIONS
9Wear safety eye protection and protective clothing. Avoid touching eyes while working near battery.
9 Washimmediatelywithsoapandwaterifbatteryacidcontactsskinorclothing.Ifacidenterseye,usheyeimmediatelywithcool,
clean running water for at least 15 minutes and seek immediate medical attention.
9Remove personal metallic items such as rings, bracelets, necklaces and watches.
A lead-acid battery can produce a short-circuit current which is high enough to weld such items to the vehicle and cause severe burns.
8DO NOTsmokeorallowasparkorameinthevicinityofthebatteryorengine.
WARNING! To prevent the risk of sparking, short circuit and possible explosion. DO NOT drop metal tools in the battery area, or allow
them to touch the battery terminals.
8DO NOT cross-connect unit to battery. Ensure positive (RED) clamp is to positive terminal and negative (BLACK) clamp is to negative
terminal.
1.2. GENERAL SAFETY.
WARNING! Ensure Health and Safety, local authority and general workshop practice regulations are adhered to when using this unit.
9Maintain this product in good working order and condition, take immediate action to repair or replace damaged parts.
9Use approved parts only. Unapproved parts may be dangerous and will invalidate the warranty.
8DO NOT use to perform a task for which it is not designed.
8DO NOT allow untrained persons to use the unit.
8DO NOT use when tired or under the influence of drugs, alcohol or intoxicating medication.
8AVOID direct inhalation of smoke.
WARNING! DO NOT pollutetheenvironmentbyallowinguncontrolleddischargeofuids.
9Keep children and unauthorised persons away from the work area.
9Keep work area clean and tidy and free from unrelated materials.
9Ensure the work area has adequate lighting.
9Wear suitable clothing to avoid snagging. DO NOT wear jewellery, and tie back long hair. A full range of personal safety equipment is
available from your Sealey stockist.
WARNING! Unit may get HOT!
9Power Supply: 12V dc.
9Maximum input pressure: 14psi (1bar).
9Use mineral oil (baby oil) ONLY.
DO NOT removellercapwhenunitisON.
9Keep unit upright at all times to avoid oil leaking out.
9When not in use, clean unit and store in a safe, dry, childproof location.
9Ensure that mineral oil (baby oil) safety data sheet has been read, and that user understands the health risks involved and uses
appropriate personal protective equipment.
VS870.V2 | Issue 2 (4) 21/03/18
Original Language Version
© Jack Sealey Limited

Specication
Model No: ................................................................................................................................................. VS870.V2
Rubber Cone Diameter:.........................................................................10-45mm, 30-65mm, 50-85mm, 70-100mm
Power Supply: ....................................... ........................................................................................................ 12V dc
Air Supply: .............................................................................................................................................. 14psi (1bar)
Oil Type: .........................................................................................................................................Mineral (baby) oil
Oil Reservoir Capacity:.......................................................................................................................................75ml
Heating Duration:.....................................................................................................................................4¾ minutes
Hose Length: ................................................................................................................................................2600mm
Power Lead Length: ........................................................................................................................................... 4mtr
Machine Weight:................................................................................................................................................7.2kg
Smoke Output Pressure: ............................................................................................................. Approximately 1psi
4. OPERATION
WARNING: Wearglovestohandlethebreglasselement/wicktoguardagainstglassbrespenetratingtheskin.
4.1 Beforeinitialuse,soakthebreglasselement/wickinmineral(baby)oil.Failuretocarrythisoutwillleadtothebreglasselementburning
out immediately.
The breglass element is considered to be a consumable item and is not covered by warranty.
4.2 Taketopooilller(g.1)andllwithmineralbasedbabyoil(maximum:75ml).Thesightglassontheright-handsideoftheunitshows
the oil level.
4.3 Connecttoworkshopairsupplyusingthequickconnectorontheleft-handsideoftheunit(seeg.1).Theinletairpressureneedstobe
regulated to no more than 14psi (1bar).
4.4 Connect to 12V battery; green indicator light will show.
4.5 Press Heater Button on front of unit; red light will show indicating that the heater element is active. The heater element is timed to operate
for 4¾ minutes,afterwhichtimeitwillswitchoautomatically.
DO NOT removetheoilllercapwhilsttheunitisoperatingorisconnectedtoanairsupplyasthiswillcauseoil(whichcouldbehot)tobe
forcedfromthellerneck.
4.6 Fromcold,theheatermayneedtobeactivatedmorethanoncetoachievetherequiredtemperaturenecessaryforvaporisation.
4.7 Oncesmokeisstartingtoissuefromthehoseitmaybenecessarytotemporarilyincreasetheairowusingairowcontrol(g.1).Thiswill
clear any excess oil.
4.8 Therequiredvolumeofsmokecanbeachievedbyadjustingtheairowrate,usingtheairowcontrolandgaugeforreference.
4.9 The smoke produced can be used in many ways to indicate the presence of leaks in either pressure or vacuum systems. When smoke is
introducedintothelocalityofthesuspectedleak,itwillbecarriedbytheowofaireithertoorfromtheaperture,dependingonthesystem.
Observing the behaviour of the smoke will pinpoint the problem.
4.10 Alternatively, smoke can be introduced into ducting by unfastening one end of the duct and plugging with a suitable rubber cone from
thoseincludedinthekit(seeg.2).Thehosefromthemachinecanthenbecoupledtothebushintheconeandtheductlledwithsmoke.
Any leak will be displayed by a jet of smoke coming from it.
4.11 The amount of smoke needed will vary with the capacity of the system being investigated.
4.12 If the smoke starts to dwindle, the heater element will need to be switched on for a further time.
g.2 Rubber Cone Dimensions
● Allowsthetechniciantopinpointallmannerofsystem
leaks including air intake, cooling, evaporation, fuel,
exhaust and vacuum systems.
● Fastandsimpletouse,maximisingearningpotential.
● Featuressinglebuttonoperation,flowcontroland
auto power-off.
● Usesmineraloilandworkshopairsupplyto
generate smoke at low pressure whilst connected
to a vehicle.
● Systemiscleanandquicktouseandconnectstoa
12V vehicle battery.
● Fourrubberconesincluded.
● Mineraloilnotincluded.
2. INTRODUCTION
g.1
3. SPECIFICATION
VS870.V2 | Issue 2 (4) 21/03/18
Original Language Version
© Jack Sealey Limited
5.1. If the amount of smoke generated reduces over time, it may indicate that the fibreglass element/wick needs
replacement.
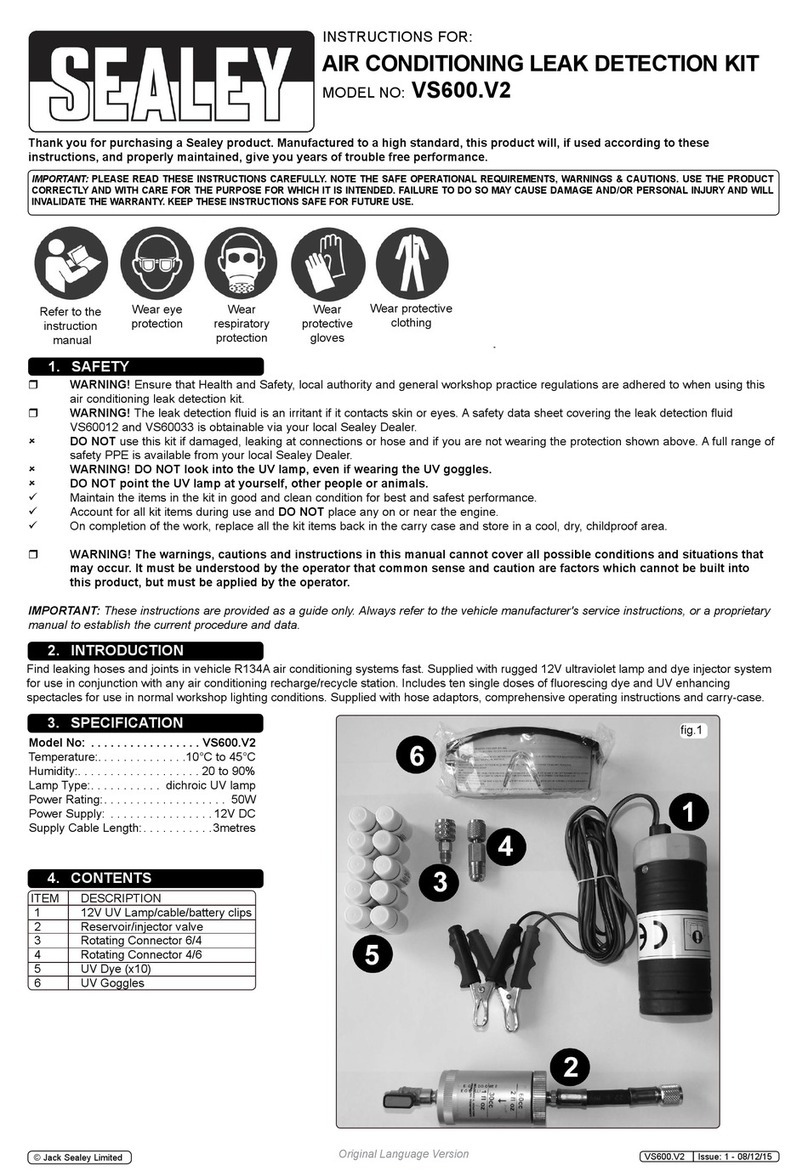
5.2. Thebreglasselementisconsideredtobeaconsumableitem.Thepartnumberforthereplacementis:VS870.01.
5.3. Fibreglass element/wick replacement.
5.3.1. Soak replacement fibreglass element/wick in mineral (baby) oil before starting procedure.
5.3.2. Remove the top cover by loosening the 5 retaining screws.
5.3.3. Remove the 3 screws securing the heater chamber cover (arrowed in fig.3) and remove the cover.
5.3.4. Remove the two 8mm nuts (arrowed in fig.4), releasing the heating wire which encloses the element/wick.
5.3.5. Lift out the element/wick and carefully remove from the heating wire.
5.3.6. Carefully push the element through the heating wire as in fig.5.
5.3.7. Replace the wick/heating wire assembly. placing the heater wire terminals over the terminal posts and replacing
the nuts (fig.4).
5.3.8. Replace the heater chamber cover and top cover.
g.5
Sealey Group, Kempson Way, Suffolk Business Park, Bury St Edmunds, Suffolk. IP32 7AR
01284 757500 01284 703534 sales@sealey.co.uk www.sealey.co.uk
Note: It is our policy to continually improve products and as such we reserve the right to alter data, specifications and component parts without prior
notice.
Important: No Liability is accepted for incorrect use of this product.
Warranty: Guarantee is 12 months from purchase date, proof of which is required for any claim.
ENVIRONMENT PROTECTION
Recycle unwanted materials instead of disposing of them as waste. All tools, accessories and packaging should be sorted, taken to
a recycling centre and disposed of in a manner which is compatible with the environment. When the product becomes completely
unserviceable and requires disposal, drain any fluids (if applicable) into approved containers and dispose of the product and fluids
according to local regulations.
Parts support is available for this product. To obtain a parts, please log on to
www.sealey.co.uk, email sales@sealey.co.uk or telephone 01284 757500
g.4
g.3
5. MAINTENANCE
WEEE REGULATIONS
Dispose of this product at the end of its working life in compliance with the EU Directive on Waste Electrical and Electronic Equipment
(WEEE). When the product is no longer required, it must be disposed of in an environmentally protective way. Contact your local solid
waste authority for recycling information.
VS870.V2 | Issue 2 (4) 21/03/18
Original Language Version
© Jack Sealey Limited
This manual suits for next models
1
Table of contents
Other Sealey Security Sensor manuals

Sealey
Sealey AK2018.V2 User manual

Sealey
Sealey PP4.V2 User manual

Sealey
Sealey PP4.V2 User manual

Sealey
Sealey VS600.V2 User manual

Sealey
Sealey PP4.V2 User manual

Sealey
Sealey AK1998.V3 User manual

Sealey
Sealey PP4.V2 User manual

Sealey
Sealey VS869 User manual

Sealey
Sealey VS0062 User manual

Sealey
Sealey Professional TOOLS AK2018 User manual
Popular Security Sensor manuals by other brands

Fisher Research Labs
Fisher Research Labs XLT-30 operating manual

Etlin-Daniels
Etlin-Daniels SENPIR-CM-02 installation manual

North American Rescue
North American Rescue Talon 60-0027 Instrcutions for use

Intermatic
Intermatic LC2100 Series Instructions for installing

AVE
AVE AF975R-DB quick start guide

FLIR
FLIR VP40 quick start