manuals.online logo
Brands
  1. Home
  2. •
  3. Brands
  4. •
  5. Seametrics
  6. •
  7. Measuring Instrument
  8. •
  9. Seametrics FT420 User manual

Seametrics FT420 User manual

FT420 Flow Computer
Instructions
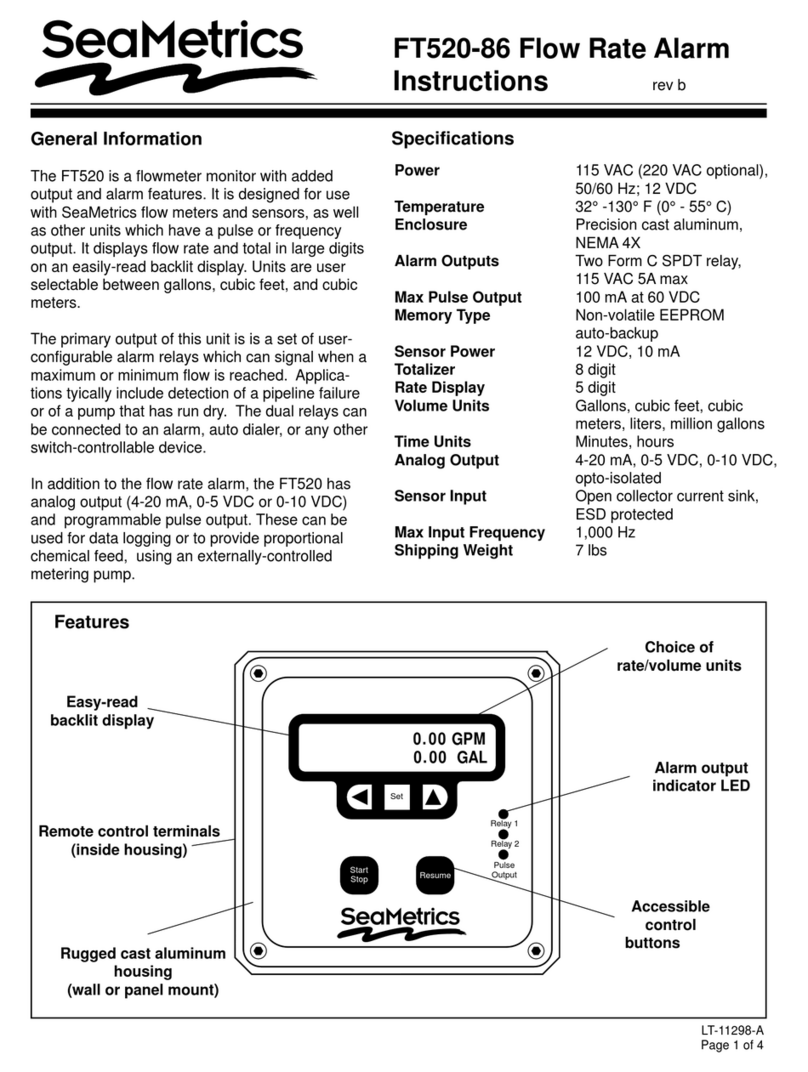
The FT420 is a loop-powered microcontroller-based
transmitter/indicator. It displays rate and total, and pro-
vides a 4-20 mA analog signal proportional to flow. A
programmable pulse output, high flow or low flow alarm
are also standard for metering pump control or data
logging.
Theruggedcast-aluminumhousingisgasketedformaxi-
mum environmental protection, and the electronics are
potted into a solid block of urethane. Amembrane key-
pad allows settings to be changed without removing the
cover. The wall mount version comes with brackets for
mounting. An adapter kit (part No. MK20) allows field
mounting on 80-series flow sensors. The FT420 can
also be factory installed on a TX100/200 series sensor
or WT meter.
SET
Features
Sturdy gasketed cover
with electronics
potted in
Removeablefootbrackets
for wall mounting
Large rate numerals
Easy set-up
prompts Triple bosses for
watertight input/output
connections
10.5
2341678.9
SET KRESET
Two wire
4-20 mA output standard
SpecificationsGeneral Information
Power 4 mA DC (4-20 mA loop),
12-32 VDC
DisplayRate 6-digit autorange, 1/2"
character height
Total 8-digit, 5/16" character
height
Pulse Output • 0.1 second open collector
pulse (scaled)
• high alarm or low alarm
• sensor pulse (unscaled)
Input Pulse frequency + 5 VDC
K factor Range 0.050 - 999999.9
Pulse Output Range 0.1 - 200,000 units/pulse
Flow Alarm Output Range
0.1 - 999999.99
Temperature 0 C - 70 C
Environmental NEMA 4X
LT-10605A
Page 1 of 4
ARCHIVED
0
1
2
3
4
5
6
RUN
BATT
CPU
POWER
CPU
7
OUTPUT 24VDCOUTPUT RELAY
AB INPUT 4-20mA
AB
Installation
To mount the FT420 on a wall, hold the unit in the de-
siredposition, mark the holesin the mounting feet,drill,
and mount with screws.
This unit can also be mounted directly on a flow sensor
for local reading. If the unit was ordered as an FT420,
factory mounted to the top of a 100 or 200 Series flow
sensor, no further installation is required.
To mount the unit on a flow sensor, remove the hous-
ing cover. Place the lower half of the housing in the
groove on the top of the flow sensor. An adapter is in-
cluded in the packaging of the FT420 which threads
into the top of any 80-Series flow sensor. Pull the sen-
sor wires through the hole in the center of this adapter,
then thread the adapter into place. Tighten the adapter
usinga screwdriver. (Seediagram). Connect the wires,
then replace the housing cover, orienting it any direc-
tion as desired for viewing convenience.
Connection
To connect to the FT420 to a flow sensor, follow the
diagram marked “Connections”. This diagram also
shows the connections for an external device, such
as a chemical metering pump.
If the 4-20 mA current signal is not required, connect
the power terminals to any 12-30 VDC current
source.
Programming
At a minimum, every FT420 must be programmed with
the “K-factor”. This is simply the number of pulses per
gallon which the meter or flow sensor produces. (If you
wish the FT420 to read in another unit, enter the num-
ber of pulses per that unit. For example, if the desired
units are liters, the K-factor is the number of pulses per
liter that the flow sensor produces.)
To find the K-factor on any SeaMetrics flow sensor fit-
tingor in-line meter,look on themodel-serial label.The
linereading K = xxxx is the desired number. For adjust-
able sensors (101,201,115,215) look in the instruction
manual under your pipe size.
Set K. BeginbypressingthekeySETonce.Theprompt
SETK should appear on thedisplay.The digitto the far
right will be blinking. Use the up arrow key to reach
yourdesireddigit.Then press the left arrow key to move
to the next digit. Repeat the process until the entire
number is entered. (Note that the decimal is fixed at
three places. If you only have two decimal places for
your K-factor, enter a zero for the third digit.)
2 of 4
Typical 4-20 mA Application
!
Caution: If output is being used
tocontrol an external device, such
as a metering pump, do not con-
nect the device until programming
is completed. If malfunction or in-
correct programming of the output could cause
personal injury or property damage, separate
safeguards must be installed to prevent such in-
jury or damage.
power
supply
Chemical
FT420
on TX81
Control Pulses
Flow
Proportional
Chemical
Typical Chemical Metering Pump
Applications
Loop power supply
(if not provided
on PLC)
ARCHIVED
Sensor Mount: Step 1 Sensor Mount: Step 2
Sensor Wires
Sensor Wires
3 of 4
Standard Connections
To Other
Control
Pulse Responsive
Metering Pump
PULSE
SCALED
PULSE
PASSTHRU
-
+
-
+
12-30 VDC
Loop Power,
4-20 mA Output
POWER
4-20 mA
Red
White
Black
SENSOR
INPUT
TX81
Flow Sensor
Optional Chart
Recorder or Other
4-20 mA Device
ARCHIVED
Operation
To return to normal operation after entering settings,
press SET for a sixth time. The rate and total indicator
numbers should appear in the display. If the unit is con-
nected to an operating flow sensor, the larger-sized dig-
its indicate flow rate and the smaller-sized digits
indicate total.
Unless the unit has been ordered with the non-reset op-
tion, a RESET prompt is constantly visible in the lower
right corner, above the up arrow key. Press this key at
any time to reset the totalizer to zero.
Set P. The second time the SET key is pressed, SETP
will appear. Follow the same process as above to enter
the desired pulse rate. This is the number of gallons (or
otherunits,ifyouare using them) between pulses. Note:
If the pulse output feature is not being used, this
step can be skipped. The P (pulse output) setting
does not affect anything if it is not being used.
Special Function: Flow Alarm. If a flow alarm is
needed, pressing all three buttons at once will
bring up the appropriate settings while Set P is
showing.Pressingtheuparrow key changes from
P (pulse output) toAL HI (high flow alarm). Press
the up arrow key again changes to AL LO (low
flow alarm). Press the SET key to set the alarm
rate. Use the up arrow and left arrow as above to
reach the desired digits. Note: Using flow rate
alarms eliminates the pulse output function.
Set 20 mA. Press the SET key the third time, to set the
flow rate, in units per time unit, at which 20 mA is de-
sired. The processor will automatically scale the 4-20
mA loop accordingly, with 4 mA at zero flow.
Set Decimal Point. The fourth time the SET key is
pressed, a D prompt appears. Pressing the up arrow
key switches between no decimal place, one decimal
place or two decimal places.
Dimensions
FT420
Sensor-Mount
FT420
with Wall Mount Brackets
20419 80th Ave. So., Kent, WA 98032 USA
Phone: 253-872-0284 Fax: 253-872-0285
www.seametrics.com 1-800-975-8153
4 of 4
2.78"
2.57"
SET
3.93"
4.52"
3.93"
2.06"
2341678.9
10.5
SET
SEC
MIN
HR
DAY
10.5
2341678.9
RESET
Set Time Unit. Thefifth time the SETkey is pressed, a
blinking time unit appears. Press the up arrow key
to select SEC (seconds), MIN (minutes), HR (hours) or
DAY (days).
ARCHIVED

Other manuals for FT420

3

Other Seametrics Measuring Instrument manuals

Seametrics AG90 User manual

Seametrics

Seametrics AG90 User manual

Seametrics IP100 Series User manual

Seametrics

Seametrics IP100 Series User manual

Seametrics EX80 Series User manual

Seametrics

Seametrics EX80 Series User manual

Seametrics FT400 User manual

Seametrics

Seametrics FT400 User manual

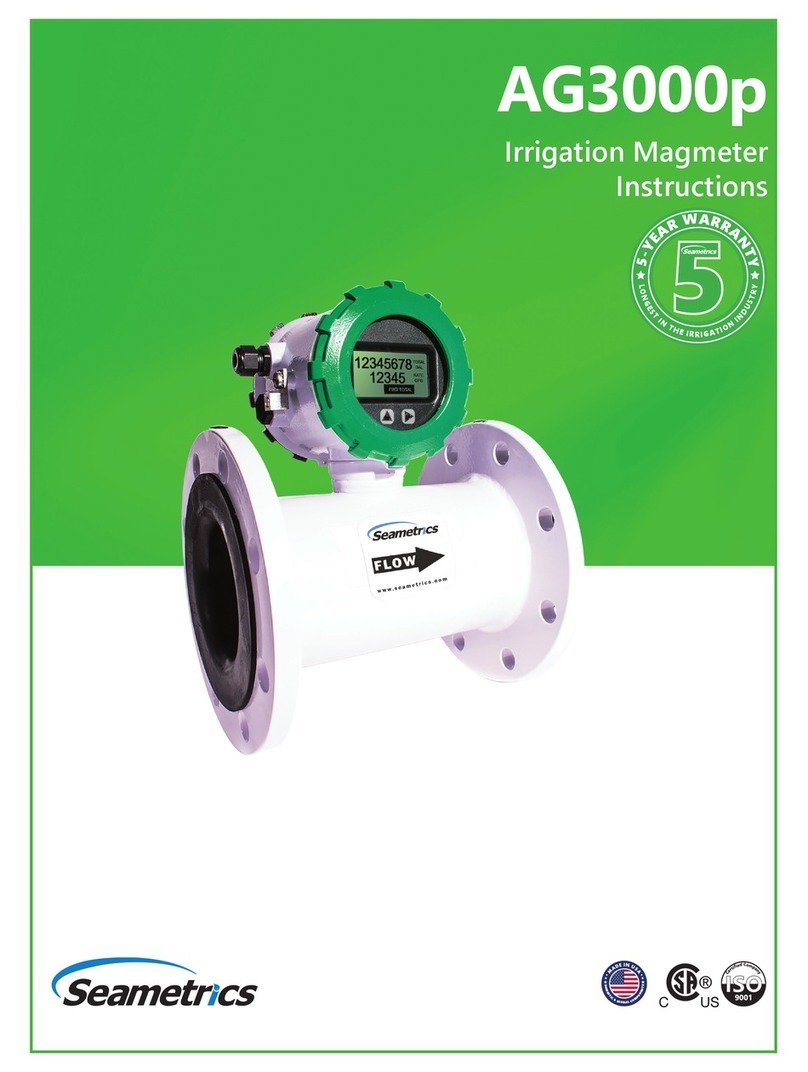
Seametrics AG3000p User manual

Seametrics

Seametrics AG3000p User manual

Seametrics jWAVE User manual

Seametrics

Seametrics jWAVE User manual

Seametrics AG3000p User manual

Seametrics

Seametrics AG3000p User manual

Seametrics FT420 User manual

Seametrics

Seametrics FT420 User manual

Seametrics S Series User manual

Seametrics

Seametrics S Series User manual

Seametrics iMAG 4700 User manual

Seametrics

Seametrics iMAG 4700 User manual

Seametrics FT400 Configuration guide

Seametrics

Seametrics FT400 Configuration guide

Seametrics MJ Series User manual

Seametrics

Seametrics MJ Series User manual

Seametrics WTP-400 User manual

Seametrics

Seametrics WTP-400 User manual

Seametrics FT400 User manual

Seametrics

Seametrics FT400 User manual

Seametrics IP80 Series User manual

Seametrics

Seametrics IP80 Series User manual

Seametrics AG90 User manual

Seametrics

Seametrics AG90 User manual

Seametrics WMP Series User manual

Seametrics

Seametrics WMP Series User manual

Seametrics EX800 Series User manual

Seametrics

Seametrics EX800 Series User manual

Seametrics iMAG 4700r User manual

Seametrics

Seametrics iMAG 4700r User manual

Seametrics PD10 User manual

Seametrics

Seametrics PD10 User manual

Seametrics WMX SERIES User manual

Seametrics

Seametrics WMX SERIES User manual

Seametrics iMAG 4700 User manual

Seametrics

Seametrics iMAG 4700 User manual

Seametrics WMP Series User manual

Seametrics

Seametrics WMP Series User manual

Seametrics EM101 User manual

Seametrics

Seametrics EM101 User manual

Popular Measuring Instrument manuals by other brands

Keysight Technologies E4980A Configuration guide

Keysight Technologies

Keysight Technologies E4980A Configuration guide

Rion VM-82A Concise Manual

Rion

Rion VM-82A Concise Manual

Dynojet 250i installation guide

Dynojet

Dynojet 250i installation guide

Rigol DS1102Z-E user guide

Rigol

Rigol DS1102Z-E user guide

Santec MPM-210H Operation manual

Santec

Santec MPM-210H Operation manual

SWI L500S Installation and operation manual

SWI

SWI L500S Installation and operation manual

IUL HALOES CALIPER user guide

IUL

IUL HALOES CALIPER user guide

Renishaw PH10 user guide

Renishaw

Renishaw PH10 user guide

Skil CROSS-LINE LASER 1910 Original instructions

Skil

Skil CROSS-LINE LASER 1910 Original instructions

Korman 504101 Original instructions

Korman

Korman 504101 Original instructions

Endress+Hauser Levelflex FMP51 operating instructions

Endress+Hauser

Endress+Hauser Levelflex FMP51 operating instructions

Endress+Hauser Cerabar M PMC51? Cerabar M PMP51 technical information

Endress+Hauser

Endress+Hauser Cerabar M PMC51? Cerabar M PMP51 technical information

Brultech GreenEye GEM-WE Setup

Brultech

Brultech GreenEye GEM-WE Setup

Aclara SGM3000 Series user manual

Aclara

Aclara SGM3000 Series user manual

Scarlet Tech WR-3 Plus user guide

Scarlet Tech

Scarlet Tech WR-3 Plus user guide

Fluke FOM Service information

Fluke

Fluke FOM Service information

AccuLine 40-6500 instruction manual

AccuLine

AccuLine 40-6500 instruction manual

Rigol DS6000 Series Application note

Rigol

Rigol DS6000 Series Application note

manuals.online logo
manuals.online logoBrands
  • About & Mission
  • Contact us
  • Privacy Policy
  • Terms and Conditions

Copyright 2025 Manuals.Online. All Rights Reserved.