manuals.online logo
Brands
  1. Home
  2. •
  3. Brands
  4. •
  5. SECO-LARM
  6. •
  7. Security Sensor
  8. •
  9. SECO-LARM ENFORCER RM-R100-TBQ User manual

SECO-LARM ENFORCER RM-R100-TBQ User manual

Overview
:
Installation
:
Changing the Message Plate:
P
rint your own message plate on
card stock, no
thicker than the included plate, and trim to fit.
1. Use a screwdriver to pry off the transparent lens.
2. Keep the spacer plate in place, and replace current
plate with the desired message plate.
3. Carefully snap the lens assembly back on.
Message
Plate
Transparent
lens
Spacer
Plate
Changing the Battery (RM-R100-TBQ):
RM
-
R100
-
TBQ
Wall-Mount Help Button
Battery clip
9V Alkaline
battery
Request
button
LED Indicator
Off: No transmission
Blue: Transmitting
Red: Low battery
Push
for Help
1.
Find a suitable location for the W
all
-
Mount
Help
Button. Do not house in a metal box.
2. Pair the Wall-Mount Help Button with an
RM-R100-RB1Q, or an SK-910 (433.92MHz)
series receiver, and test before mounting.
NOTE: See reverse side for pairing instructions.
3. The Wall-Mount Help Button can either be wall
mounted (taller side of back box on bottom), or
placed on a desktop (taller side on top).
4. According to the appropriate orientation above,
secure the Wall-Mount Help Button to the back
box with the two included screws. Apply the
included rubber feet for desktop applications.
The Wall
-
Mount
Help Button
has a dual
-
color
LED
that illuminates blue when the button is pressed, and
red when the battery begins to run low.
To change the battery:
1. Remove the two screws from the front of the
plate and remove the plate from the back box.
2. Remove the battery clip from the 9V battery and
remove the battery from the bracket.
3. Place the new battery in the bracket and snap
the battery clip to the new battery.
4. Test the unit with the new battery. The LED
should illuminate blue.
5. Put the plate back in the back box and secure it
to the back box using the screws on the front.
RM
-
R100
-
TH2Q
Indicator Remote
Features:
Use as a service button in restrooms, fitting or
changing rooms, waiting rooms, etc.
 Powered by 9VDC battery (included)
 LED Indicates transmission and low battery
 Desktop or wall mounted
 Transmits up to 100ft (30m)
Use to reset a 1
-
Room Indicator remotely
,
after
it has
been triggered by a Wall-Mount Help Button.
 Powered by CR2032 battery (included)
 LED Indicates transmission
 Belt clip or wall mounted
 Transmits up to 500ft (150m)
Features:
ENFORCER Room Monitor Accessories
2 SECO-LARM U.S.A., Inc.
LED does not light

Check battery connection
 Replace battery
LED illuminates, but does not
trigger/reset indicator

Ensure Wall-Mount Help Button is not housed in a metal box
 Test closer to the receiver
 Clear codes from Indicator and re-pair devices.
Troubleshooting:
Parts List:
How to Pair to
a
1
-
Room Indicator
(RB
-
R100
-
RB1Q)
:
FCC COMPLIANCE
STATEMENT
FCC ID:
K4ER100TBQ
(RM
-
R100
-
TBQ) and K4E939TP4H (RM
-
R100
-
TH2Q)
THIS DEVICE COMPLIES WITH PART 15 OF THE FCC RULES. OPERATION IS SUBJECT TO THE FOLLOWING TWO
CONDITIONS: (1) THIS DEVICE MAY NOT CAUSE HARMFUL INTERFERENCE AND (2)
THIS DEVICE MUST ACCEPT
ANY INTERFERENCE RECEIVED, INCLUDING INTERFERENCE THAT MAY CAUSE UNDESIRED OPERATION.
Notice: The changes or modifications not expressly approved by the party responsible for compliance could void the user’s
authority to operate the equipment.
IMPORTANT NOTE: To comply with the FCC RF exposure compliance requirements, no change to the antenna or the device
is permitted. Any change to the antenna or the device could result in the device exceeding the RF exposure requirements
and void user’s authority to operate the device.
PITSW1
Order Part# 763
-
190
%
MI_RM
-
R100
-
TxxQ_190123.docx
® U.S.A., Inc.
16842 Millikan Avenue, Irvine, CA 92606
Website:
www.seco
-
larm.com
Phone: (949) 261
-
2999 | (800) 662
-
0800
Email: sales@seco
-
larm.com
NOTICE:
The SECO
-
LARM policy is one of continual development and improvement. For that reason, SECO
-
LARM reserves
the right to change specifications without notice. SECO-LARM is also not responsible for misprints.
All trademarks are the
property of SECO-LARM U.S.A., Inc. or their respective owners. Copyright © 2019 SECO-LARM U.S.A.,
Inc. All rights
reserved.
WARRANTY:
This SECO
-
LARM product is warranted against defects in material and workmanship whil
e
used in normal
service
for
one
(
1
)
year
from the date of sale to the original customer.
Each channel of an Indicator can learn the codes of up to 15 different
buttons
on a first
-
in, first
-
out basis. The
procedure for pairing a new Wall-Mount Help Button / Indicator Remote to a Room Indicator is as follows:
1. Once the Indicator has been powered on for over 5 seconds, press the pairing button of the service
channel for 3 seconds or more. The Indicator's channel LED will start to flash quickly.
2. While the LED is flashing, press the button to be learned one time. The Indicator's channel LED will flash
once to indicate the button has been successfully paired. After the button has been paired, the Indicator
will automatically exit learning mode. Repeat the above steps to pair additional Buttons/Remotes.
NOTES:
 The channel's LED indicator will flash a maximum of 30 seconds. If no device is paired during this time,
the Indicator will automatically exit learning mode, and the LED will turn off.
 If the Wall-Mount Help Button / Indicator Remote being paired has already been paired before, the
channel indicator LED will turn steady ON and then start flashing. It will not be paired twice.
 One channel can be paired with a maximum of 15 buttons. If you attempt to pair a sixteenth button, the
earliest button paired will be deleted and the new button will be paired.
1x
Wall
-
Mount Help Button
1x
Back box
2x
Mounting screws
2x
Wall anchors
4x
Adhesive rubber feet
2x
Wall
plate screws
1x
9V Alkaline battery
1x
Manual
1x
Indicator
Remote
1x
Bracket /
Belt clip
1x
Manual
RM
-
R100
-
TBQ:
RM
-
R100
-
TH2Q:

This manual suits for next models

1

Other SECO-LARM Security Sensor manuals

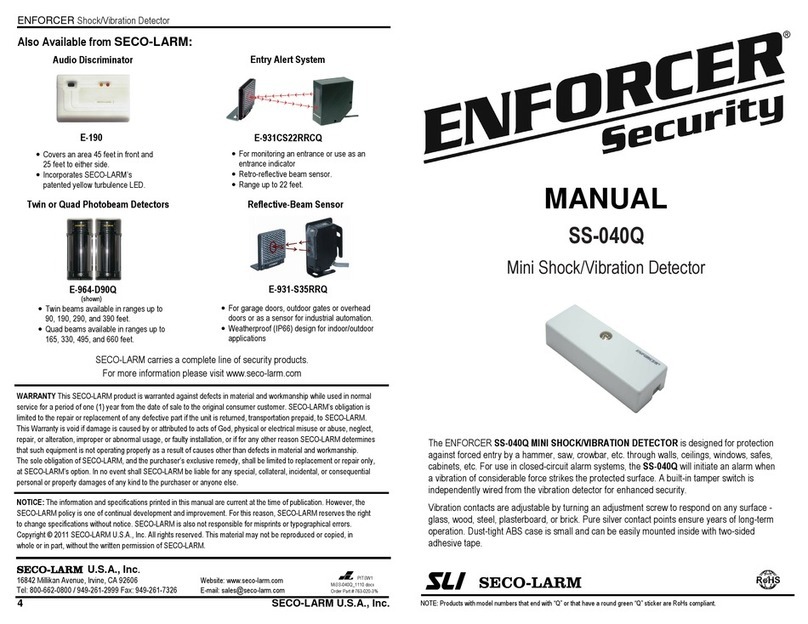
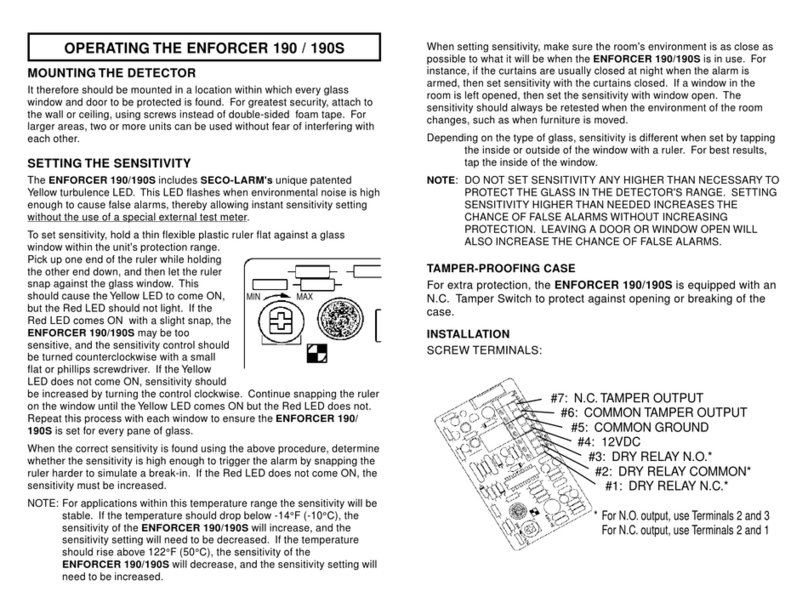
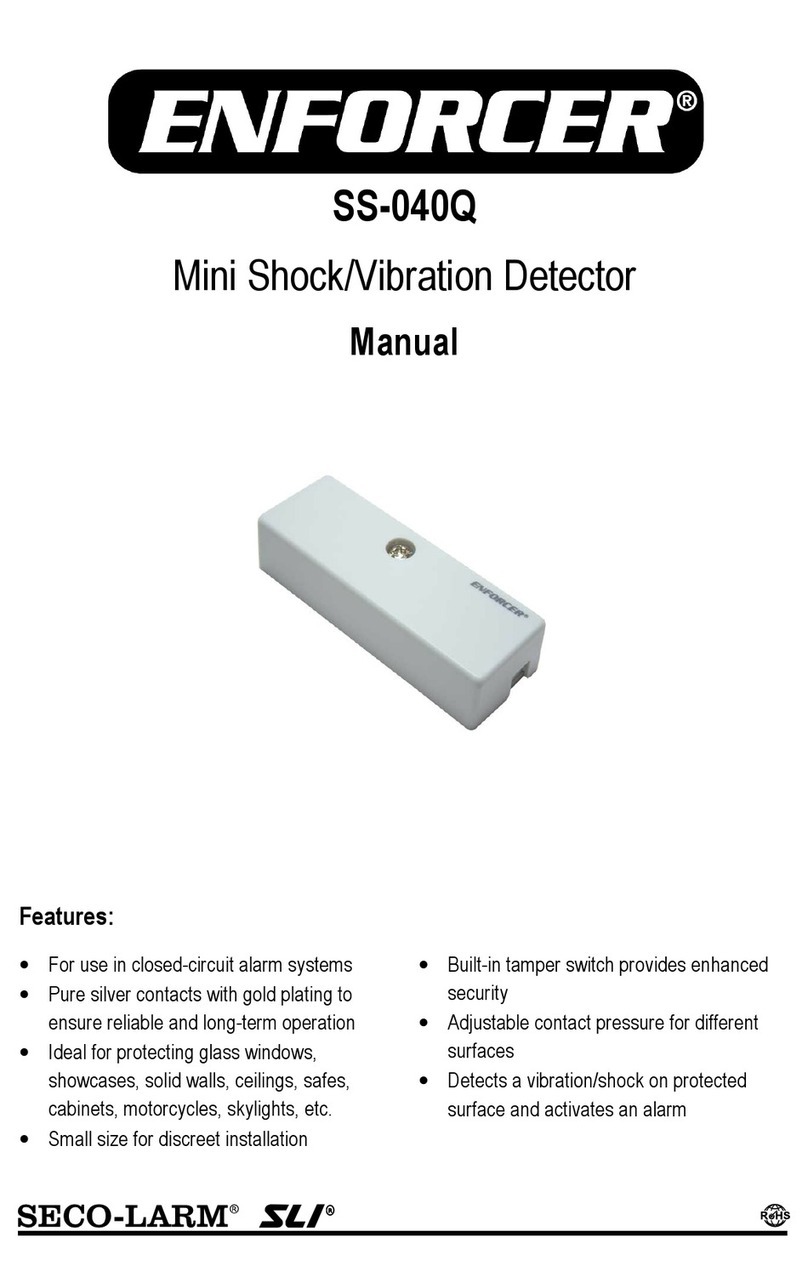
SECO-LARM ENFORCER SECURITY SS-040Q User manual

SECO-LARM

SECO-LARM ENFORCER SECURITY SS-040Q User manual

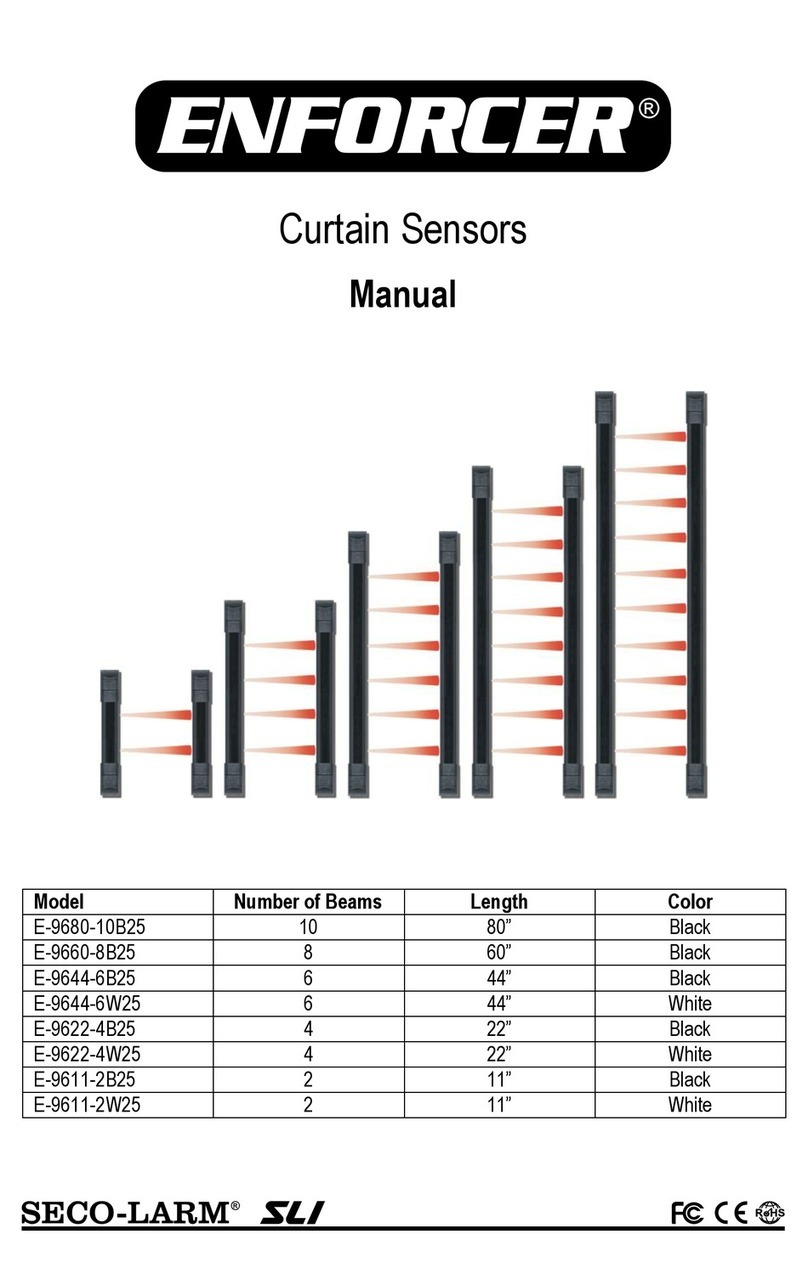
SECO-LARM Enforcer series User manual

SECO-LARM

SECO-LARM Enforcer series User manual

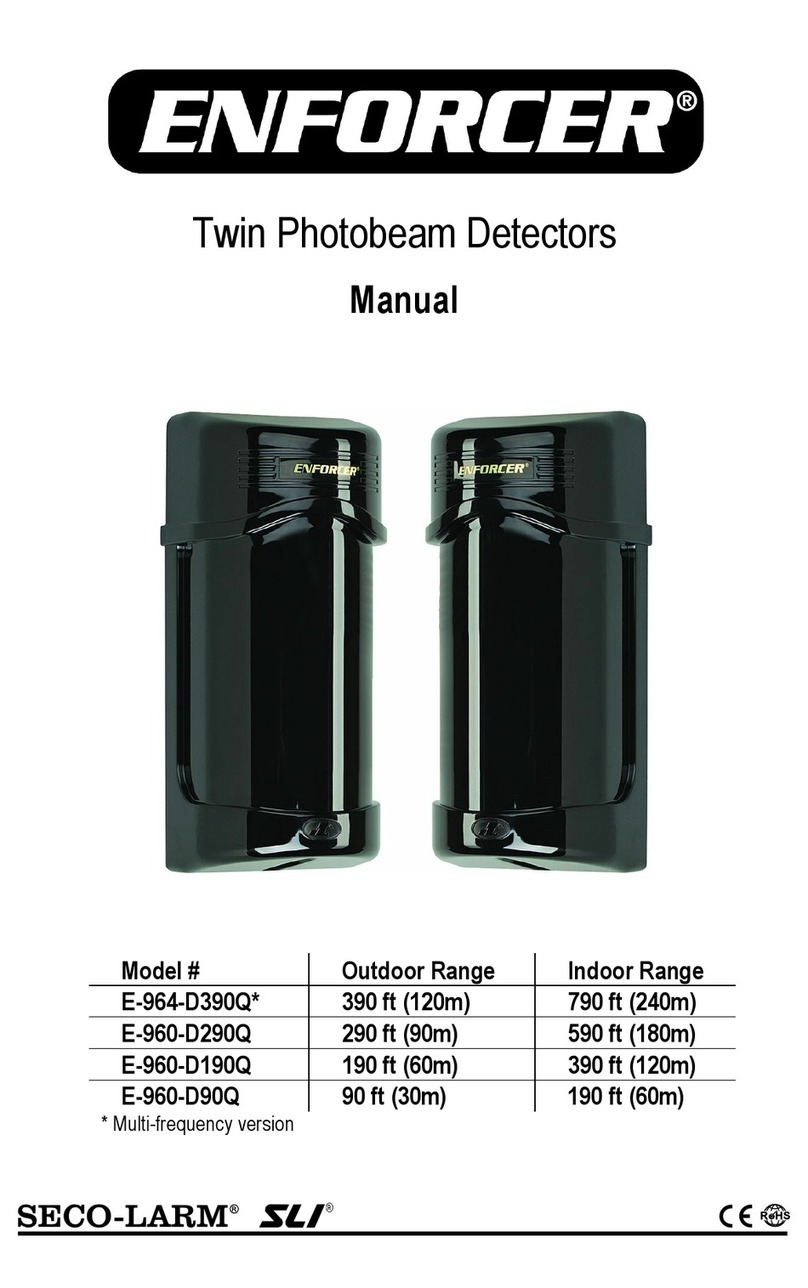
SECO-LARM SLI Enforcer E-964-D390Q User manual

SECO-LARM

SECO-LARM SLI Enforcer E-964-D390Q User manual

SECO-LARM ENFORCER 190 User manual

SECO-LARM

SECO-LARM ENFORCER 190 User manual

SECO-LARM SLI Enforcer E-964-D390Q User manual

SECO-LARM

SECO-LARM SLI Enforcer E-964-D390Q User manual

SECO-LARM SLI Enforcer SS-040Q User manual

SECO-LARM

SECO-LARM SLI Enforcer SS-040Q User manual

SECO-LARM ENFORCER E-964-Q660Q User manual

SECO-LARM

SECO-LARM ENFORCER E-964-Q660Q User manual

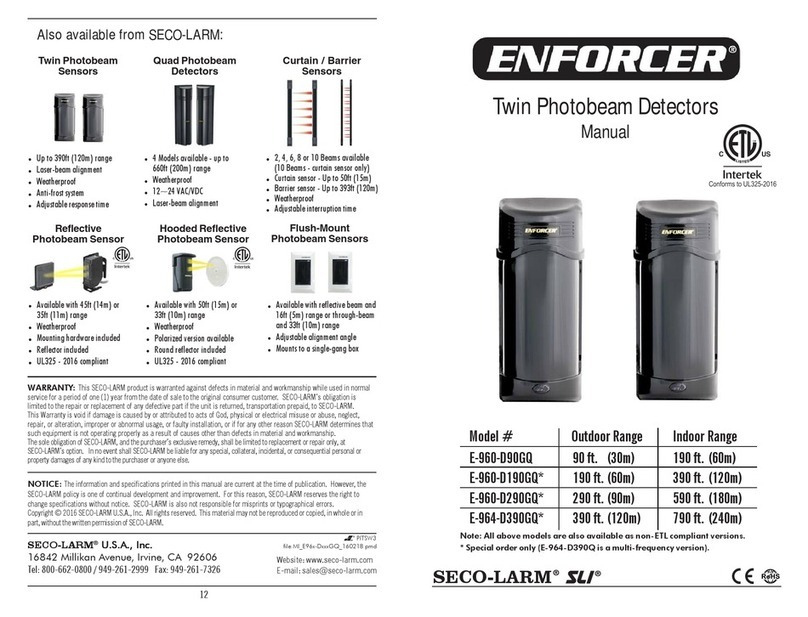
SECO-LARM E-960-D90GQ User manual

SECO-LARM

SECO-LARM E-960-D90GQ User manual

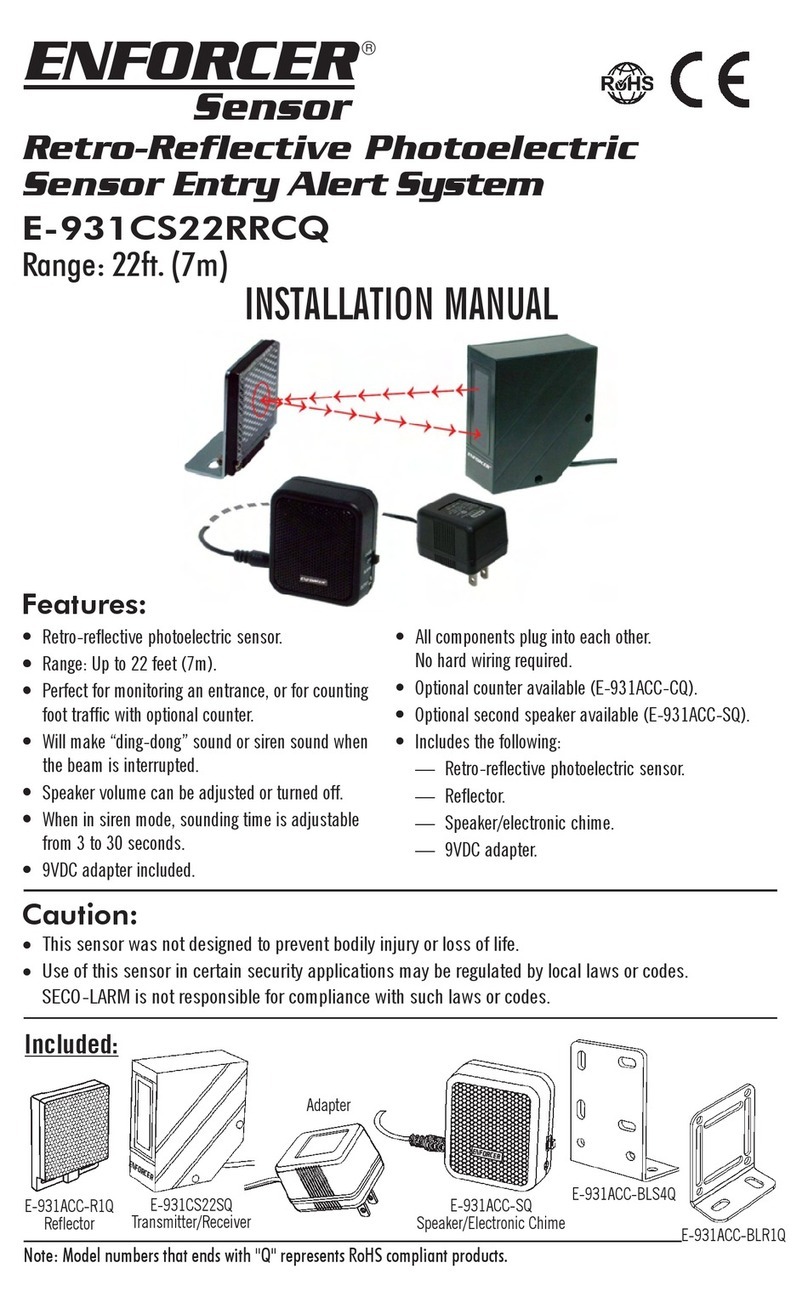
SECO-LARM E-931CS22RRCQ User manual

SECO-LARM

SECO-LARM E-931CS22RRCQ User manual

Popular Security Sensor manuals by other brands

Clifford Proximity Sensor 4 owner's manual

Clifford

Clifford Proximity Sensor 4 owner's manual

Altronix ABH-B Series installation guide

Altronix

Altronix ABH-B Series installation guide

HME VDB103 installation instructions

HME

HME VDB103 installation instructions

Honeywell FlexGuard FG-1625 installation instructions

Honeywell

Honeywell FlexGuard FG-1625 installation instructions

Troyka Med MD-100 Operator's manual

Troyka Med

Troyka Med MD-100 Operator's manual

Uni-Trend UT12B operating manual

Uni-Trend

Uni-Trend UT12B operating manual

GD Import 046555 manual

GD Import

GD Import 046555 manual

Hygood FM-200 installation manual

Hygood

Hygood FM-200 installation manual

Niko 351-0314 Series manual

Niko

Niko 351-0314 Series manual

NAVIS WS 010-1 manual

NAVIS

NAVIS WS 010-1 manual

UEi CD100A instruction manual

UEi

UEi CD100A instruction manual

Omron F3SJ-E0185P25 user manual

Omron

Omron F3SJ-E0185P25 user manual

MSA FlameGard 5 UV/IR-E quick start guide

MSA

MSA FlameGard 5 UV/IR-E quick start guide

Mannesmann 99980 instruction manual

Mannesmann

Mannesmann 99980 instruction manual

brennenstuhl BW 1201 operating instructions

brennenstuhl

brennenstuhl BW 1201 operating instructions

Optex CX-702S installation instructions

Optex

Optex CX-702S installation instructions

Rielta ORLAN-2 installation guide

Rielta

Rielta ORLAN-2 installation guide

NAPCO GEMC-NL-MOD installation instructions

NAPCO

NAPCO GEMC-NL-MOD installation instructions

manuals.online logo
manuals.online logoBrands
  • About & Mission
  • Contact us
  • Privacy Policy
  • Terms and Conditions

Copyright 2025 Manuals.Online. All Rights Reserved.