manuals.online logo
Brands
  1. Home
  2. •
  3. Brands
  4. •
  5. Seconique
  6. •
  7. Indoor Furnishing
  8. •
  9. Seconique SEVILLE 500-501-012 User manual

Seconique SEVILLE 500-501-012 User manual

Other Seconique Indoor Furnishing manuals

Seconique MONTREAL User manual

Seconique

Seconique MONTREAL User manual
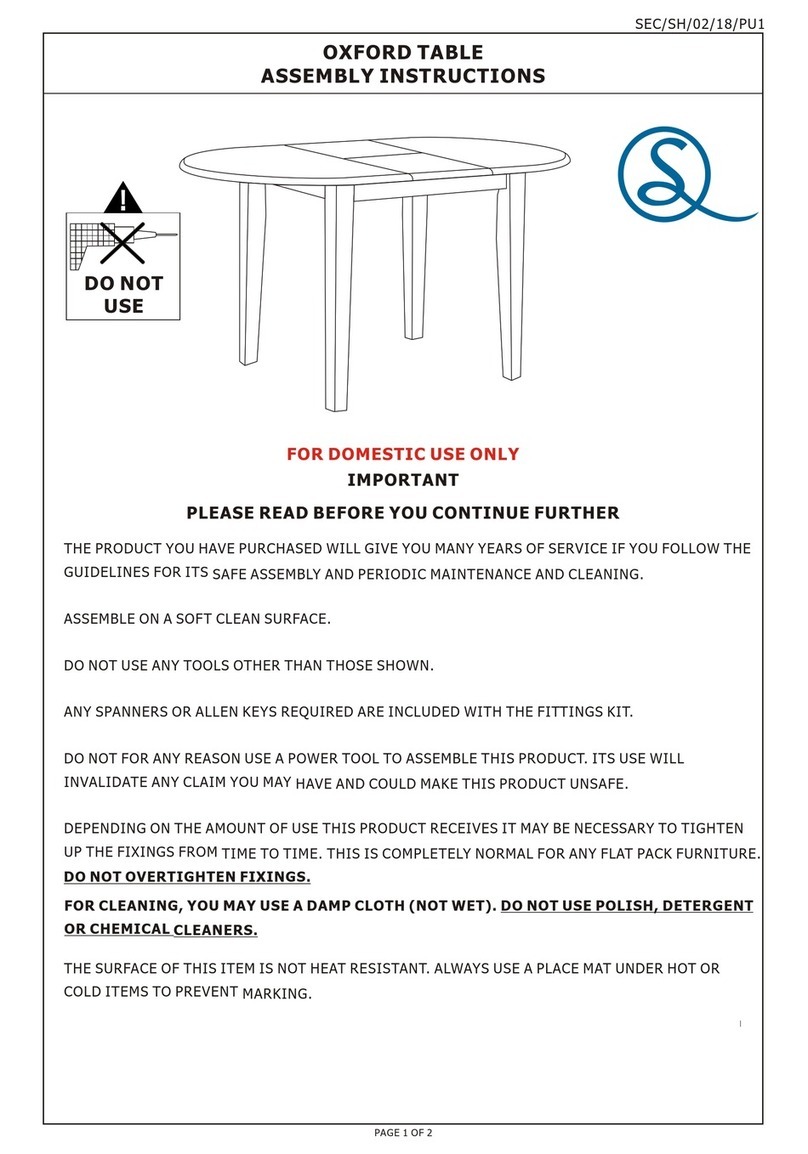
Seconique OXFORD TABLE User manual

Seconique

Seconique OXFORD TABLE User manual

Seconique ASTORIA SOFA BED User manual

Seconique

Seconique ASTORIA SOFA BED User manual

Seconique Lisbon Shoe Cabinet User manual

Seconique

Seconique Lisbon Shoe Cabinet User manual

Seconique Corona Budget Table 400-401-152 User manual
Seconique

Seconique Corona Budget Table 400-401-152 User manual

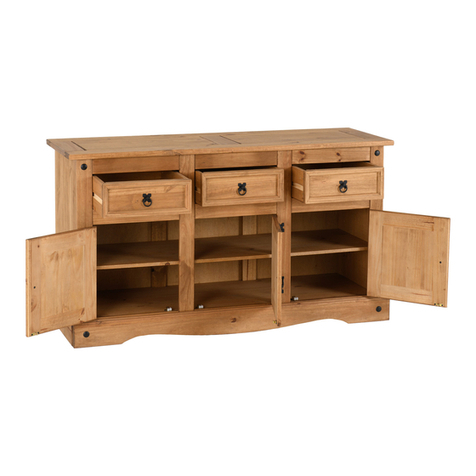
Seconique Corona 3 Door 3 Drawer Sideboard User manual
Seconique

Seconique Corona 3 Door 3 Drawer Sideboard User manual

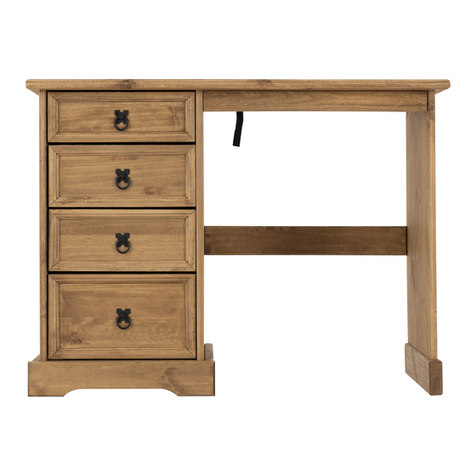
Seconique CORONA 4 DRAWER DRESSING TABLE User manual

Seconique

Seconique CORONA 4 DRAWER DRESSING TABLE User manual

Seconique MONACO User manual

Seconique

Seconique MONACO User manual

Seconique SOL User manual

Seconique

Seconique SOL User manual
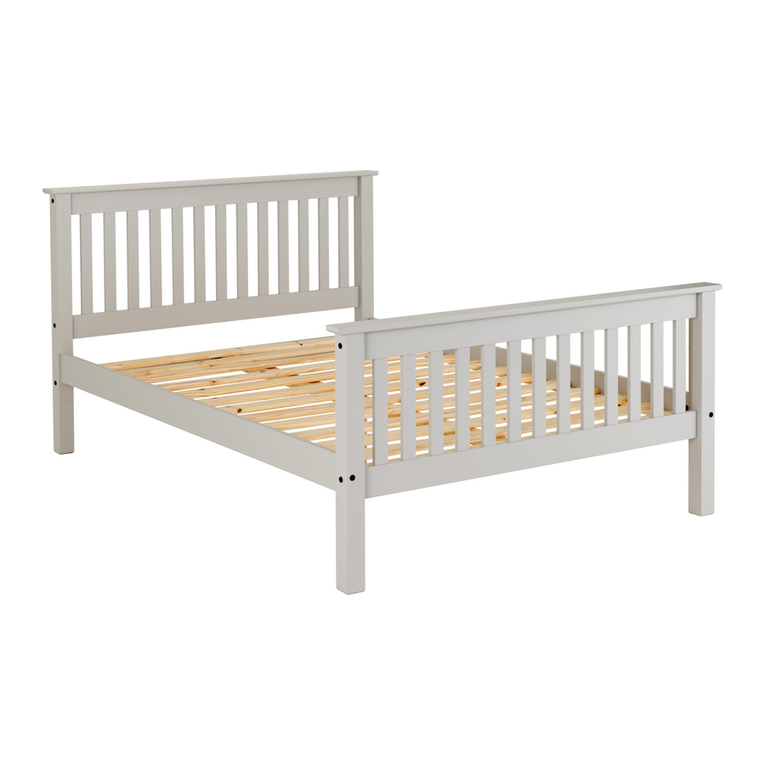
Seconique MONACO User manual

Seconique

Seconique MONACO User manual

Seconique Corona 300-305-009 User manual
Seconique

Seconique Corona 300-305-009 User manual

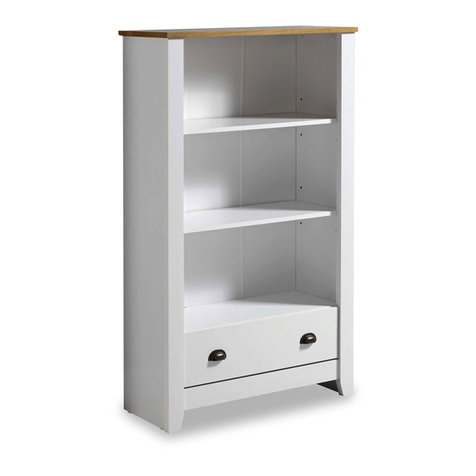
Seconique LUDLOW BOOKCASE User manual

Seconique

Seconique LUDLOW BOOKCASE User manual
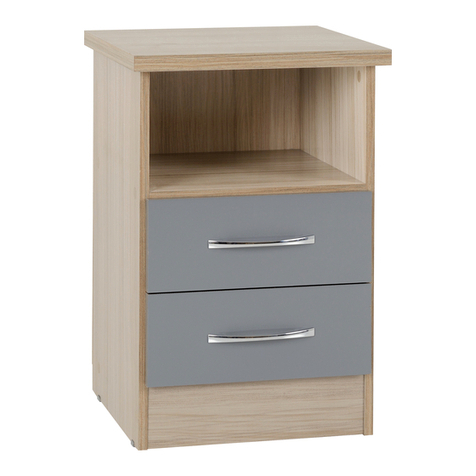
Seconique NEVADA 2 DRAWER BEDSIDE User manual
Seconique

Seconique NEVADA 2 DRAWER BEDSIDE User manual

Seconique Corona User manual

Seconique

Seconique Corona User manual
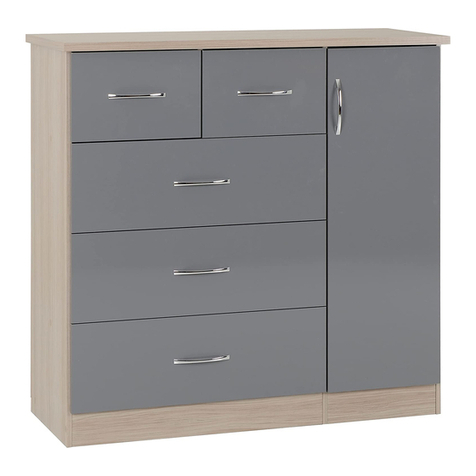
Seconique NEVADA 5 DRAWER LOW WARDROBE User manual

Seconique

Seconique NEVADA 5 DRAWER LOW WARDROBE User manual

Seconique CORONA 4 DRAWER CD CHEST User manual

Seconique

Seconique CORONA 4 DRAWER CD CHEST User manual

Seconique Milan Dining Table 400-401-134 User manual

Seconique

Seconique Milan Dining Table 400-401-134 User manual

Seconique TORTILLA User manual

Seconique

Seconique TORTILLA User manual
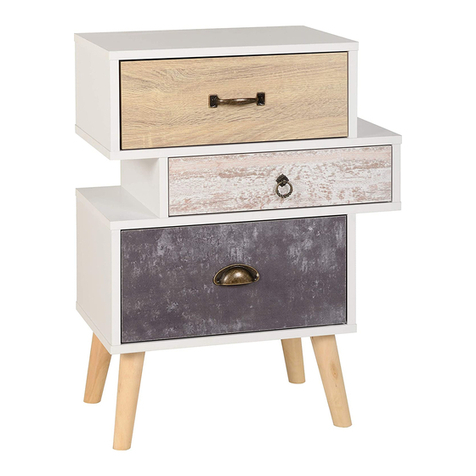
Seconique NORDIC 3 DRAWER BEDSIDE User manual
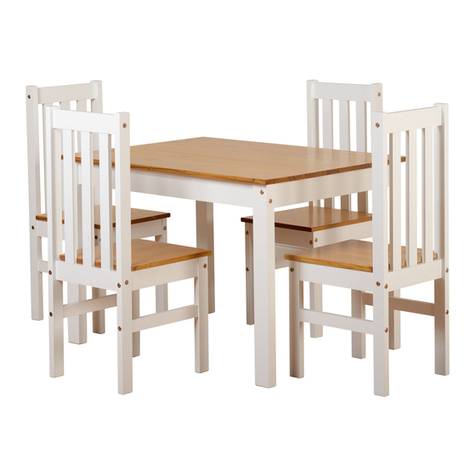
Seconique

Seconique NORDIC 3 DRAWER BEDSIDE User manual

Seconique LUDLOW 1+4 DINING TABLE User manual

Seconique

Seconique LUDLOW 1+4 DINING TABLE User manual

Seconique NEPTUNE TRIPLE SLEEPER User manual

Seconique

Seconique NEPTUNE TRIPLE SLEEPER User manual

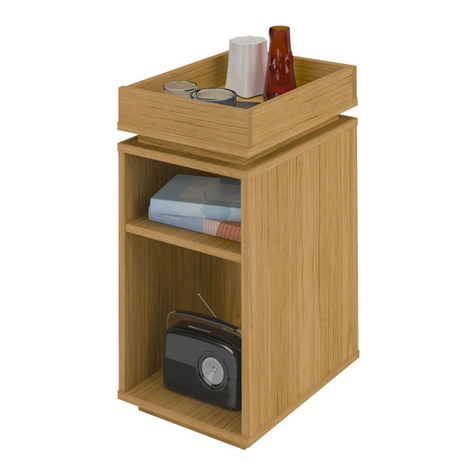
Seconique OAK EFFECT NAPLES STORAGE SIDE TABLE User manual

Seconique

Seconique OAK EFFECT NAPLES STORAGE SIDE TABLE User manual

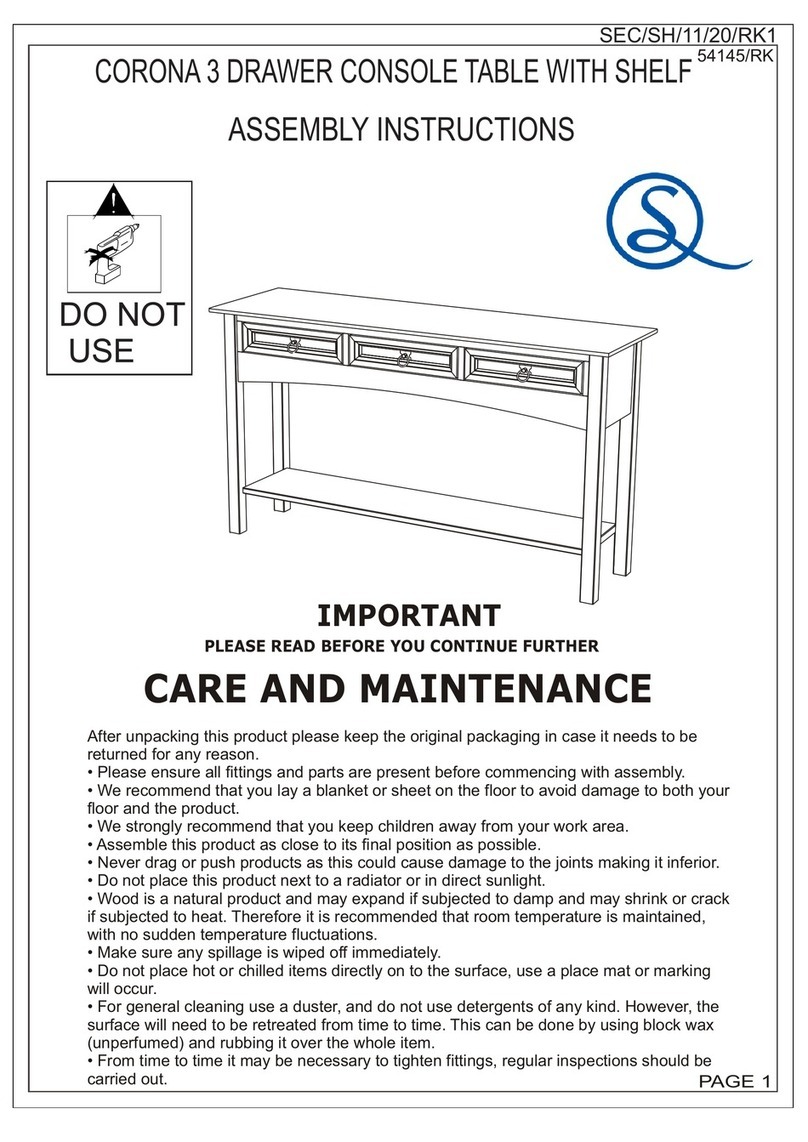
Seconique CORONA 3 DRAWER CONSOLE TABLE WITH SHELF User manual

Seconique

Seconique CORONA 3 DRAWER CONSOLE TABLE WITH SHELF User manual

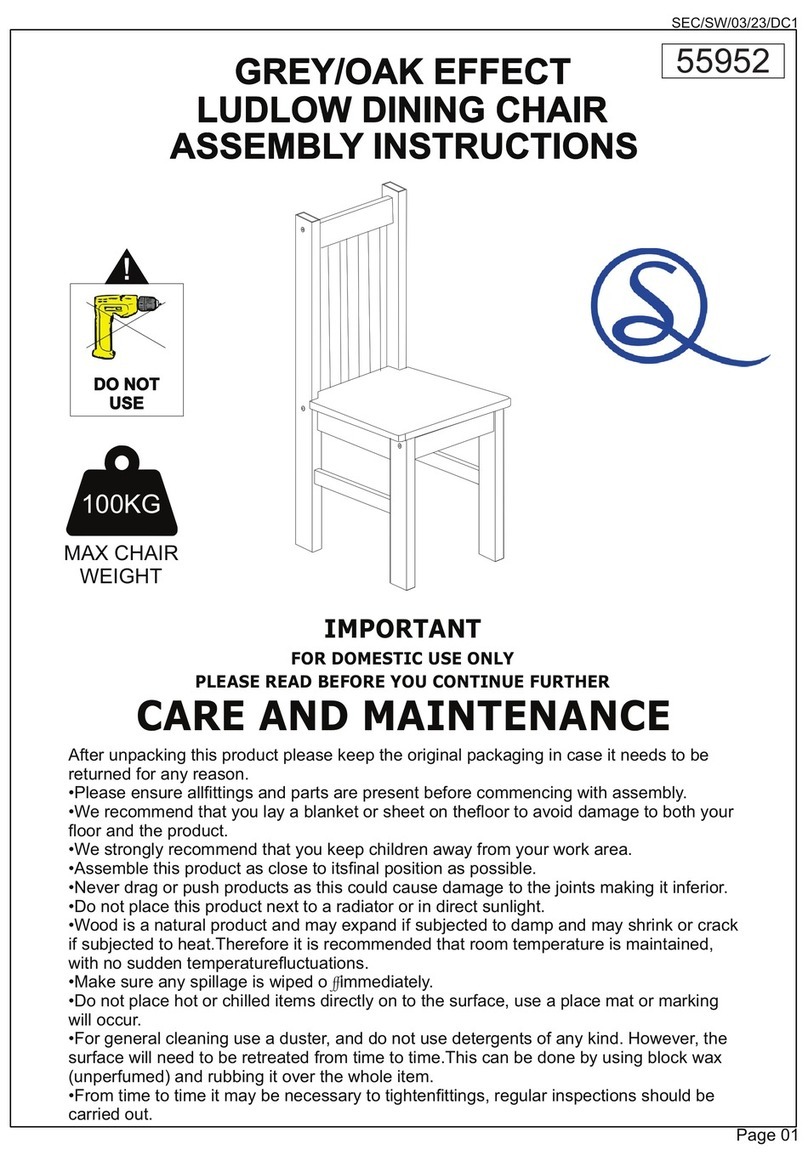
Seconique LUDLOW 55952 User manual

Seconique

Seconique LUDLOW 55952 User manual

Popular Indoor Furnishing manuals by other brands

Regency LWMS3015 Assembly instructions

Regency

Regency LWMS3015 Assembly instructions

Furniture of America CM7751C Assembly instructions

Furniture of America

Furniture of America CM7751C Assembly instructions

Safavieh Furniture Estella CNS5731 manual

Safavieh Furniture

Safavieh Furniture Estella CNS5731 manual

PLACES OF STYLE Ovalfuss Assembly instruction

PLACES OF STYLE

PLACES OF STYLE Ovalfuss Assembly instruction

Trasman 1138 Bo1 Assembly manual

Trasman

Trasman 1138 Bo1 Assembly manual

Costway JV10856 manual

Costway

Costway JV10856 manual
moss DESIGN Caisson Credenza Assembly instructions

moss DESIGN

moss DESIGN Caisson Credenza Assembly instructions

Aquaglide FULL DECK 15.0 owner's manual

Aquaglide

Aquaglide FULL DECK 15.0 owner's manual

AREBOS AR-HE-SW30 user manual

AREBOS

AREBOS AR-HE-SW30 user manual

Till-Hilft Fulda 87005.330 Assembly instructions

Till-Hilft

Till-Hilft Fulda 87005.330 Assembly instructions

Twoey Outside 2010 quick start guide

Twoey Outside

Twoey Outside 2010 quick start guide

Hettich Easys 200 operating instructions

Hettich

Hettich Easys 200 operating instructions

The bedboss RELAX 404 Series owner's manual

The bedboss

The bedboss RELAX 404 Series owner's manual

Oeseder Möbelindustrie Bern 991 720 Assembly instructions

Oeseder Möbelindustrie

Oeseder Möbelindustrie Bern 991 720 Assembly instructions

Costway HW68469 user manual

Costway

Costway HW68469 user manual

Next ALIX A27743 Assembly instructions

Next

Next ALIX A27743 Assembly instructions

BROSA Hans Assembly guide

BROSA

BROSA Hans Assembly guide

Prodigg MINIKA PBA015T-FUR installation manual

Prodigg

Prodigg MINIKA PBA015T-FUR installation manual

manuals.online logo
manuals.online logoBrands
  • About & Mission
  • Contact us
  • Privacy Policy
  • Terms and Conditions

Copyright 2025 Manuals.Online. All Rights Reserved.

SEVILLE 2 DRAWER SLIDER DESK
ASSEMBLY INSTRUCTIONS
DO NOT
USE
!
SEC/SH/09/21/ZF1
Page 01
WHITE GLOSS
PART LIST
Page 02
Part Code
Part Number Part Description Quantity Carton
1
2
3
4
5
6
7
8
9
10
11
S500-501-013-ZF1-01 Top Panel (Drawer) 11/2
S500-501-013-ZF1-02
S500-501-013-ZF1-03
S500-501-013-ZF1-04
S500-501-013-ZF1-05
S500-501-013-ZF1-06
S500-501-013-ZF1-07
S500-501-013-ZF1-08
S500-501-013-ZF1-09
S500-501-013-ZF1-10
S500-501-013-ZF1-11
1
1
1
2
2
2
2
1
1
Centre Support Panel
Back Boom Crossbar
Le Drawer Side
Drawer Back
Right Drawer Front
Right Side Panel
1/2
1/2
1/2
2/2
2/2
2/2
1/2
1/2
1/2
2/2
Back Top Crossbar
1
Right Drawer Side
Drawer Support
Le Drawer Front
SEC/SH/09/21/ZF1
12
13
14
15
16
17
18
19
20
S500-501-013-ZF1-12
S500-501-013-ZF1-13
S500-501-013-ZF1-14
S500-501-013-ZF1-15
S500-501-013-ZF1-16
S500-501-013-ZF1-17
S500-501-013-ZF1-18
S500-501-013-ZF1-19
S500-501-013-ZF1-20
1
1
1
1
1
1
2
1
Le Side Panel
Le Side Panel
Right Side Panel
Back Panel
Right Panel
2/2
1/2
2/2
2/2
1/2
1/2
2/2
2/2
2/2
Top Panel
1
Shelf Panel
Drawer Base
Le Panel
113
23
4
55
6
6
77
8
8
9
10
11
12
14
15
16 17
18 18
19
20
PO
WHEN FITTING CAM NUT. ENSURE STARTING
POSITION IS CORRECT BEFORE YOU INSERT
CONNECTING CAM BOLT TURN CLOCKWISE UNTIL
SECURE
CORRECT WRONG
TIPS FOR FITTINGS CAM-LOCKS
P
O
Cam bolt head needs to be in centre
CAMBOLT
Tighten until shoulder in flush with
panel. Do not overtighten or
undertighten (see example below) Shoulder
Panel Panel
HARDWARE LIST
Page 03
A
No. Part Name Qty
Wooden Dowel (6x25mm)
B65mm Screw (4x65mm)
C
D
x33
x12
E
F
G10" Handle (192mm)
H
Cam Nut (1512)
I14” Drawer Slide
K
20mm Handle Screw
L
M
x10
x28
x18
x18
x2
x2set
x4
x15
x4
Cam Bolt (8032T)
38mm Screw (4x38mm) 4x38mm
14mm Screw (3.5x14mm) 3.5x14mm
x10
6/8" Nail
Plastic Foot
4x65mm
Nx1
Wall Fixing (4x20mm=1pc)
SEC/SH/09/21/ZF1
Ox2
Nylon Castor (Vk25 - Stop)
Screw Cover ( Sticker 12mm )
Jx1set
Extension Drawer Slide
( 35x390mm )
14 - x1
LEFT SIDE PANEL
STEP 1
PARTS REQUIRED
TOOLS REQUIRED
HARDWARE REQUIRED
D04
STEP 2
14 - x1
LEFT SIDE PANEL
PARTS REQUIRED
TOOLS REQUIRED
HARDWARE REQUIRED
A04
SEC/SH/09/21/ZF1
Page 04
15 - x1
RIGHT SIDE PANEL
15 - x1
RIGHT SIDE PANEL
J01
3.5x14mm
BACK FRONT
Last in the 6 small hole 2nd small hole
FRONT BACK
switch button
35D
Switch Button
14 15
D
D
D
DD
D
14 15
A
AA
A
M
MM
M
M04
JJ
3 - x1
BACK TOP CROSSBAR
STEP 3
PARTS REQUIRED
TOOLS REQUIRED
HARDWARE REQUIRED
STEP 4
SEC/SH/09/21/ZF1
Page 05
4 - x1
BACK BOTTOM CROSSBAR
PARTS REQUIRED
TOOLS REQUIRED
HARDWARE REQUIRED
B06
13 - x1
TOP PANEL
E
E
E
E
E
A
A
AA
A
A
A
A
A
13
3
4
A09
E04
3 - x1
BACK TOP CROSSBAR
4 - x1
BACK BOTTOM CROSSBAR
14 - x1
LEFT SIDE PANEL
15 - x1
RIGHT SIDE PANEL 3
14
15
4
B
4x65mm
B
B
B
B
B
B
K
B
K06
13 - x1
TOP PANEL (DRAWER)
STEP 5
PARTS REQUIRED
TOOLS REQUIRED
HARDWARE REQUIRED
STEP 6
11 - x1
RIGHT SIDE PANEL
PARTS REQUIRED
TOOLS REQUIRED
HARDWARE REQUIRED
SEC/SH/09/21/ZF1
Page 06
F04
Ensure the starting position is correct before you insert
the connecting bolt, turn clockwise until secure.
When Fitting Cams
A08
13
F
F
F
E
12 - x1
LEFT SIDE PANEL
19 - x1
RIGHT PANEL
20 - x1
LEFT PANEL
E02
F02
20 19
11
12
A
A
A
A
A
A
A
A
FF
EE
11 - x1
RIGHT SIDE PANEL
STEP 7
PARTS REQUIRED
TOOLS REQUIRED
HARDWARE REQUIRED
STEP 8
PARTS REQUIRED
TOOLS REQUIRED
HARDWARE REQUIRED
D04
SEC/SH/09/21/ZF1
Page 07
I02
20 19
11
12
12 - x1
LEFT SIDE PANEL
19 - x1
RIGHT PANEL
20 - x1
LEFT PANEL
D
DD
D
ID
D
I
DD
3.5x14mm
20 19
12 11
Switch Button
Switch Button
STEP 9
PARTS REQUIRED
TOOLS REQUIRED
HARDWARE REQUIRED
D04
STEP 10
2 - x1
CENTRE SUPPORT PANEL
PARTS REQUIRED
TOOLS REQUIRED
HARDWARE REQUIRED
SEC/SH/09/21/ZF1
Page 08
D
4x38mm
4x38mm
Left Side
Right Side
To Assembly the three part drawer slide, please follow the steps below
FRONT BACK
1st hole
switch button
3rd hole
J
D D
D
DD
D
A04
4x38mm
D04
I01
ID
D
I
DD
A
A
A
A
D
D
D
D
J01
22
19
11
20
12
STEP 11
PARTS REQUIRED
TOOLS REQUIRED
HARDWARE REQUIRED
STEP 12
PARTS REQUIRED
TOOLS REQUIRED
HARDWARE REQUIRED
B04
SEC/SH/09/21/ZF1
Page 09
Ensure the starting position is correct before you insert
the connecting bolt, turn clockwise until secure.
When Fitting Cams
2 - x1
CENTRE SUPPORT PANEL
K04
B
4x65mm
16
2
16 x1
SHELF PANEL
-
A04
B02
B
BA
A
A
A
K
B
B
4x65mm
B
B
B
TOOLS REQUIRED
HARDWARE REQUIRED
STEP 13
PARTS REQUIRED
TOOLS REQUIRED
HARDWARE REQUIRED
E06
STEP 14
PARTS REQUIRED
SEC/SH/09/21/ZF1
Page 10
E
E
1 - x1
TOP PANEL(DRAWER)
E
E
E
E
E
1
1 - x1
TOP PANEL
1
F06
F
F
F
F
TOOLS REQUIRED
HARDWARE REQUIRED
STEP 15
PARTS REQUIRED
TOOLS REQUIRED
HARDWARE REQUIRED
STEP 16
PARTS REQUIRED
SEC/SH/09/21/ZF1
Page 11
17 - x1
BACK PANEL
17
D04
L15
L
D
D
O02
O
STEP 17
PARTS REQUIRED
TOOLS REQUIRED
HARDWARE REQUIRED
A04
STEP 18
PARTS REQUIRED
SEC/SH/09/21/ZF1
Page 12
5 - x2
LEFT DRAWER SIDE
5
6
8
X2
6 - x2
RIGHT DRAWER SIDE
8 - x2
DRAWER SUPPORT
F06
TOOLS REQUIRED
HARDWARE REQUIRED
C10
5 - x2
LEFT DRAWER SIDE
6 - x2
RIGHT DRAWER SIDE
7 - x2
DRAWER BACK
8 - x2
DRAWER SUPPORT
X2
5
6
7
8
C
4x38mm
A
A
F
F
F
C
C
C
C
C
X2
X2
STEP 19
PARTS REQUIRED
TOOLS REQUIRED
HARDWARE REQUIRED
STEP 20
PARTS REQUIRED
SEC/SH/09/21/ZF1
Page 13
18 - x2
DRAWER BASE
9 - x1
RIGHT DRAWER FRONT
18
TOOLS REQUIRED
HARDWARE REQUIRED
E06
E
10 - x1
LEFT DRAWER FRONT
E
E
E
9
E
E
E
10
X2
STEP 21
PARTS REQUIRED
TOOLS REQUIRED
HARDWARE REQUIRED
STEP 22
PARTS REQUIRED
SEC/SH/09/21/ZF1
Page 14
9 - x1
RIGHT DRAWER FRONT
Ensure the starting position is correct before you insert
the connecting bolt, turn clockwise until secure.
When Fitting Cams
10 - x1
LEFT DRAWER FRONT 910
+
TOOLS REQUIRED
HARDWARE REQUIRED
D08
I02
D
D
3.5x14mm
I
I
X2
X2
STEP 23
PARTS REQUIRED
TOOLS REQUIRED
HARDWARE REQUIRED
G02
STEP 24
PARTS REQUIRED
SEC/SH/09/21/ZF1
Page 15
X2
H04 E
E
G
TOOLS REQUIRED
HARDWARE REQUIRED
STEP 25
PARTS REQUIRED
TOOLS REQUIRED
HARDWARE REQUIRED
STEP 26
PARTS REQUIRED
SEC/SH/09/21/ZF1
Page 16
TOOLS REQUIRED
HARDWARE REQUIRED
N01