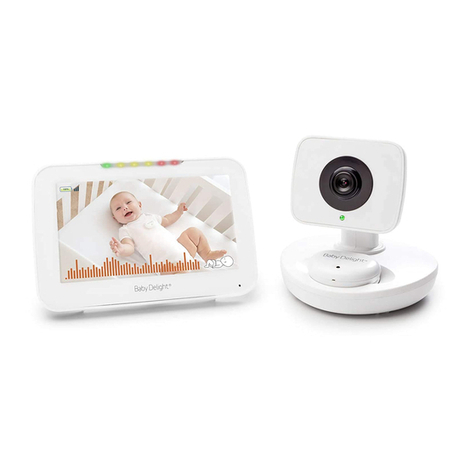
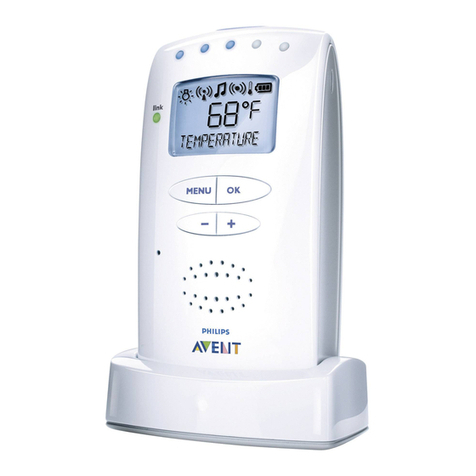
SecurityMan SM-8209R User manual

Add-on wireless receiver/monitor of
PalmWatch III w/2.4” LCD (900MHz)
User Guide (SM-8209R)
PACKAGE CONTENTS :
SPECIFICATION :
1 x SM-8209R receiver/monitor• 1 x 8V Power adapter•
PRODUCT BASIC :
Volume Switch
Power on/off
Channel Indicator
Eliminate Alarm Button
Alarm Indicator
Antenna Battery compartment
AV out
Power
Socket
Sleep Button
Channel Button
Speaker
TFT-LCD
Power Indicator
LCD Screen Type 2.4 inches TFT-LCD
Effective Pixels 480x240
Receiving Sensitivity ≤-85dBm
Video System NTSC
Battery Working Time 5 hours (4xAA)
Color Configuration R.G.B.delta
Consumption Current 200mA(Max.)
Sound Detection Sensitivity >63dB
Power Supply DC +8V
Dimensions (WxDxH) 86x54x143mm
Weight 142g

CAMERA INSTALLATION :
OPERATION OF RECEIVER :
Copyright 2008 by SecurityMan v1.0
This manual is furnished under license and may be used or copied only in accordance with the terms of such license. Except as permitted by such license, no part of this publication may be reproduced, stored in a retrieval system, or transmitted, in any form
or any means, electronic, mechanical, recording, or otherwise, including translation to another language or format, without the prior written permission of SecurityMan. The content of this manual is furnished for informational use only, is subject to change
without notice, and should not be construed as a commitment by SecurityMan. SecurityMan assumes no responsibility or liability for any errors or inaccuracies that may appear in this book. All other product names, trademarks and registered trademarks in
this document are the properties of their respective holders.
FCC Information
Notes on FCC’s “Consistent Statement of Information” This product meet the requirements specified in Part 15 of FCC Regulation. Operation rests with the following two conditions:
(1) The equipment should not cause any harmful interference.
(2) The equipment must receive and process any interference, including any possible interference caused by operation mistakes.
After testing the product, we confirm that the camera complies with the provision for class C digital equipment in the 15th part in FCC regulations; and the receiver complies with the limitations for class B digital equipment in Part 15 of FCC regulation. The
product generates, applies and emits radio waves. It might cause harmful interferences to wireless communication if not be installed and used following the description of the manual.
The product may cause interference in residential area, and the customer should take remedies to eliminate the interference on their own costs.
If the product causes any harmful interference to wireless equipment or disturbs the receiving of TV signals (it can be identified by turning on and off the product), you can solve the trouble by
following methods:
- Readjust the product or put it in another place.
- Extend the distance between the equipment interfered and the product.
- Refer to dealers or experienced radio electrician for help.
Warranty
SecurityMan warrants that this product will be free from defects in material and workmanship for a period of time specified on the product on the product package. This limited warranty shall commencefrom the date of purchase. SecurityMan Products
warranty is not transferable and is limited to the original purchaser. If the product is found to be defective then, as your sole remedy and as the manufacturer’s only obligation, SecurityMan will repair or replace the product . This warranty shall not apply to
products that have been subjected to abuse, misuse, abnormal electrical or environmental conditions, normal wear and tear or any condition other than what can be considered normal use.
Limitation of Liability
The liability of SecurityMan arising from this warranty and sale shall be limited to a refund of the purchase price. In no event shall SecurityMan be liable for costs of procurement of substitute
products or services, or for any lost profits, or for any consequential, incidental, direct or indirect damages, however caused and on any theory of liability, arising from this warranty and sale.
These limitations shall apply not with standing any failure of essential purpose of any limited remedy.
SecurityMan
4601E. Airport Drive, Ontario CA91761Tel: 888-977-3777 or 909-230-6668 Fax: 909-230-6889 Email: [email protected] Website: http://www.securitymaninc.com
1. Connect the receiver to the adapter and then slide
the power switch to ON position.
Note:
1. The receiver can also be battery powered. Please use 4 AA battery to
install into the battery compartment located at the back of the receiver.
Be sure to match the polarities, positive to positive and negative to
negative.
2. If both the A/C and battery are in use the receiver will draw it’s power
from the AC adapter instead of from the battery.
3. If the receiver is not in use for a long period of time, please unplug the
adapter and remove the battery to avoid short circuit.
* Battery power can last up to 5 hours (IR OFF)
2. Adjust the volume control to a desired level.
3. Set the channel of the receiver to match the camera
by pressing the “CH“ button to toggle between CH1 and
CH2 for active corresponding camera(s). The picture
of the corresponding camera(s) will display on the LCD
screen.
(Not included)
1. Volume Adjustment
Slide “Volume” dial to adjust the volume on the receiver.
2. Channel Selection
Press the “CH” button to select the appropriate channel.
3. Channel Looping
Press and hold down the “CH” button for 3 seconds to enter channel auto dwell mode. All available channels will display one by one (default inter
val is xed at 3 seconds).
4. Sleep Mode
Press the “Sleep” button to shut down the LCD display to conserve power and enable stand-by mode for alarm sound trigger. If the camera is setup
for motion or sound alarm and it triggers, then the LCD will create an alarm sound through the built-in speaker. The alarm sounds is xed for 2
minutes or press the Eliminate Alarm button to snooze for 35 seconds and reset the alarm setup cycle.
Note: In “Sleep” mode, the LCD will not display any camera image, even when the alarm is triggered.
5. Eliminate Alarm Button
Press the “Eliminate Alarm” button to eliminate alarm sound for 35 seconds. After the 35 seconds is up, the alarm will automatically be on
stand-by mode ready for the alarm to re-occur.
Note:
For larger picture, please connect the LCD receiver to another monitor/TV using
the AV cable (yellow for video and red for audio).
AV cable
Other SecurityMan Baby Monitor manuals


