Sedna SE-3360MP-N User manual

User Manual
3.5"’HDD Multimedia Player
Multicodec Media Player

07
Part Two |Installation and Connection
07
08
08
09
09
10
CONTENTS
Part Three |Remote Controller
Remote Controller Descriptions
Remote Controller ButtonDescriptions
11
12
Part Five |USB Connection with PC
Firmware Upgrade
USB Connection withPC
Trouble Shooting
21
21
Introduction
Features
Specifications
Pre-cautions
Installation
01
02
03
04
Part One
05
Video Setup
Photo Setup
Audio Setup
Network Setup
Skin Setup
Misc Setup
Firmware setup
Play AllKinds of Mediaof File
Play Video File
Play AudioFile
Play Photo File
Part Four |Setup Menu
13
13
14
14
17
17
18
19
19
20
Connection with compositeTV output
Connection with S-Video output
Connection with component output
Connection with 2chof normal TV
Connection with coaxialoutput
Connection with opticaloutput
Connection with computer
Connection with DVIoutput & LAN output
10
20
22

DVIDVIDVIDVI
0201
You can enjoy favorite movies and home video on TV, because the
player Supports most of the video formats including MPEG1, MPEG2,
MPEG4, AVI, Divx3.11, 4x, 5x, XviD, DVD (IFO, VOB), VCD (DAT)etc.
Enjoy Your Movies on TV!
The player can play various audio files such as AC3, MP2, MP3, DTS
pass through, WMA, OGG through the TV speaker or your existing
audio system.
Digital Music Box
The player can play digital photo files and display them to TV or projector.
Store JPEG photos directly from a PC through the USB2.0 interface and
enjoy a slide show for your family and friends without using a computer
PHOTO Album
The player can download latest firmware very easily through internet
site and it can support latest Divx file format without any trouble.
Easy firmware upgrading
The player uses 3.5" HDD and it works just like a external USB2.0 hard
drive when you connect it to your PC and USB2.0 interface can support
data transfer rate 480Mbps.
Portable HDD Storage
10/100Mbps local networking connectivity, Steam & transfer
multimedia files via LAN.
Networking Connectivity
DVI connects all to your displays which have DVI port, Enjoy better
video quality on your display.
Digital Visual Interface
BACK VIEW
Part One
Feature
Part One
Introduction
Power
DOWN SETUP
STOP
PLAY
PAUSE
UP
RIGHT
MP3
LEFT
R/M
FRONT VIEW
Network LED
HDD LED
USB LED
POWER LED
1Y (green)
2 Pb (blue)
3 Pr (red)
4 Coaxial (black)
5 Video (yellow)
6 R(Audio) (red)
7 L(Audio) (white)
8 S-Video (black)
1
2
3
4
5
6
7
8

Part One
Pre-caution
Part One
Specification
04
03
We strongly recommend to read the below
"Pre-Cautions"
If unformatted HDDis inserted into t , a PCcan not detect the player. Make sure that the
HDD is formatted.For"How to format a HDD",contact HDD manufacturer or the seller.
he player
01
We strongly recommendyou to backup the datato another safe media, We are responsible for
the hardware ofthe only but don'thave the responsibility for data damage or loss in a HDD.player
Don't power off while a fileis playing.
Be careful ofdropping or impact or shock . If a HDD is damaged by dropping .shocking,then
contact manufacturer orthe seller.
Be away from water ,heavy moisture .If t has a liquid ,unplug t from a PC right
away.If you use t under this condition, the HDD may be fired or you may have electric shock
he player he player
he player
Be away from devices that transmit strong magneticsignal. It may causedata damage or loss
the on HDD.
Don't touch t by wet hands. It may cause electric shock.he player
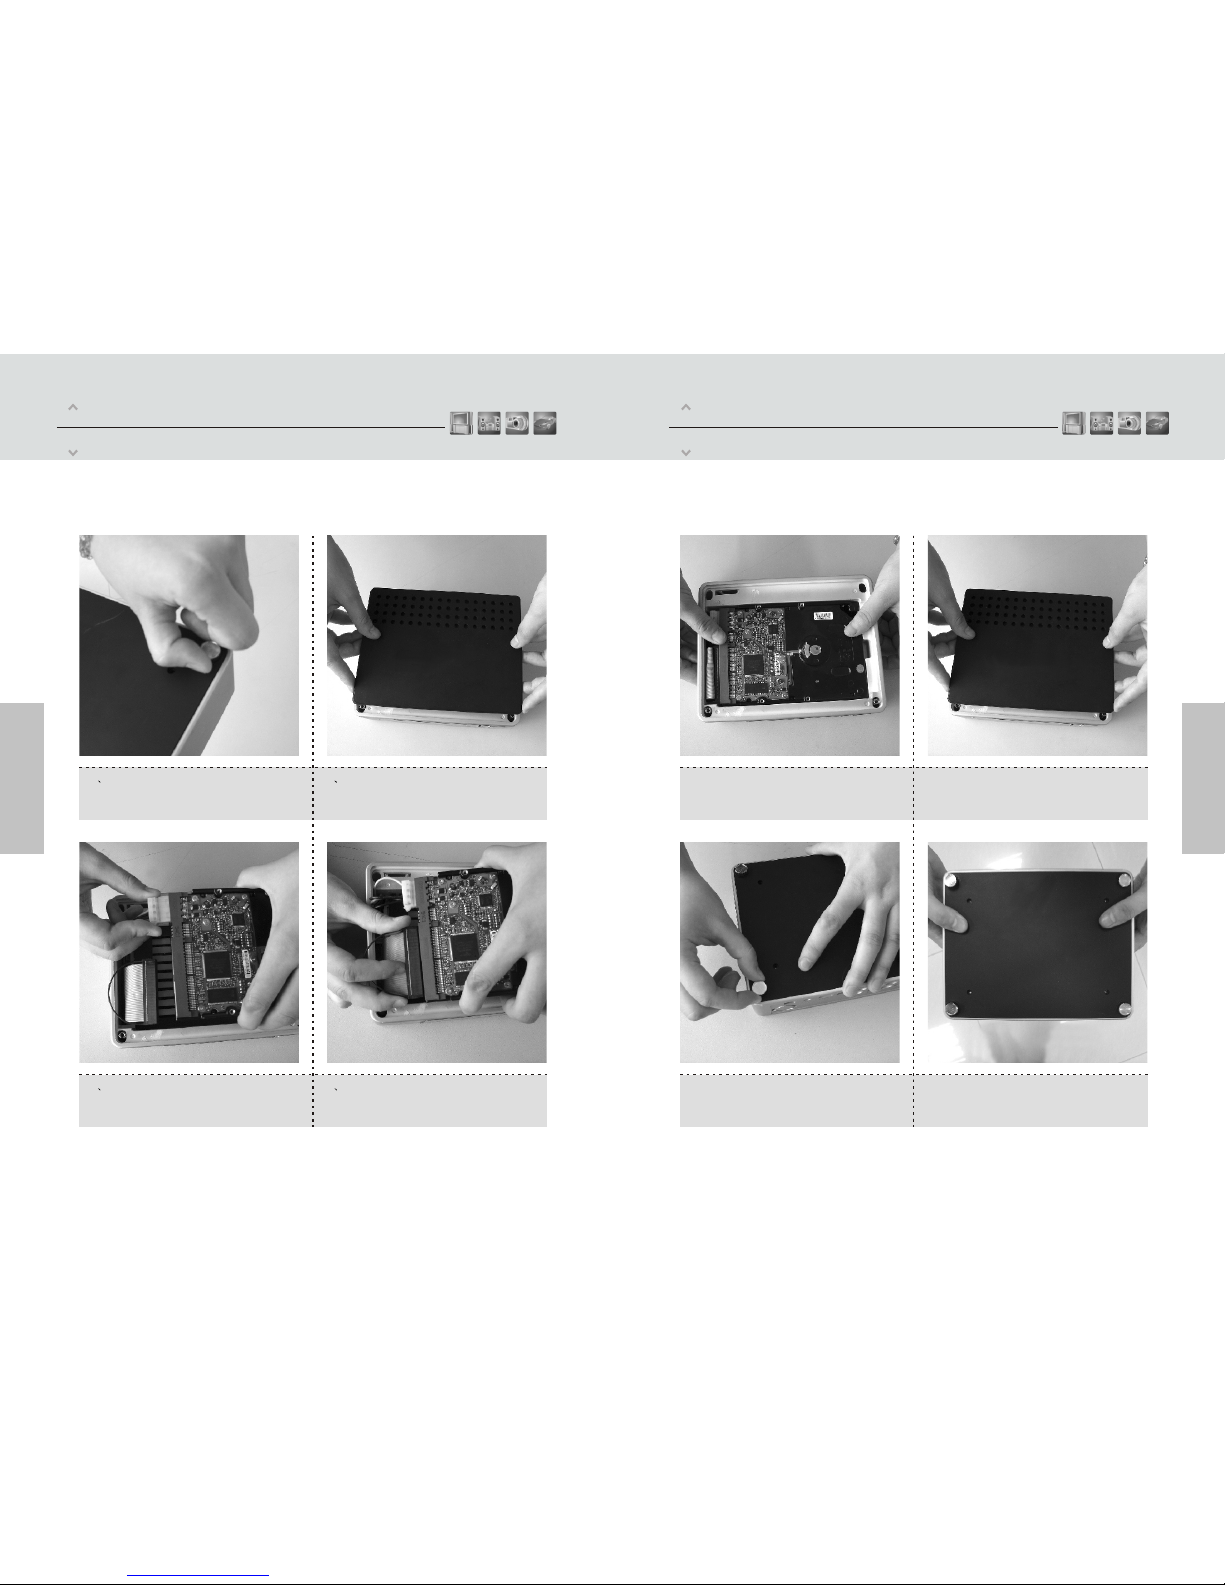
Don't disassemble as the user's own accord. It may cause t to be damaged or lose the data.he player
In a car,we recommend you to use the supplied cigarette jack(option) and we are not
responsible for the damageor loss of data in a HDD by using another cigarette jack.
02
03
04
05
06
07
08
09
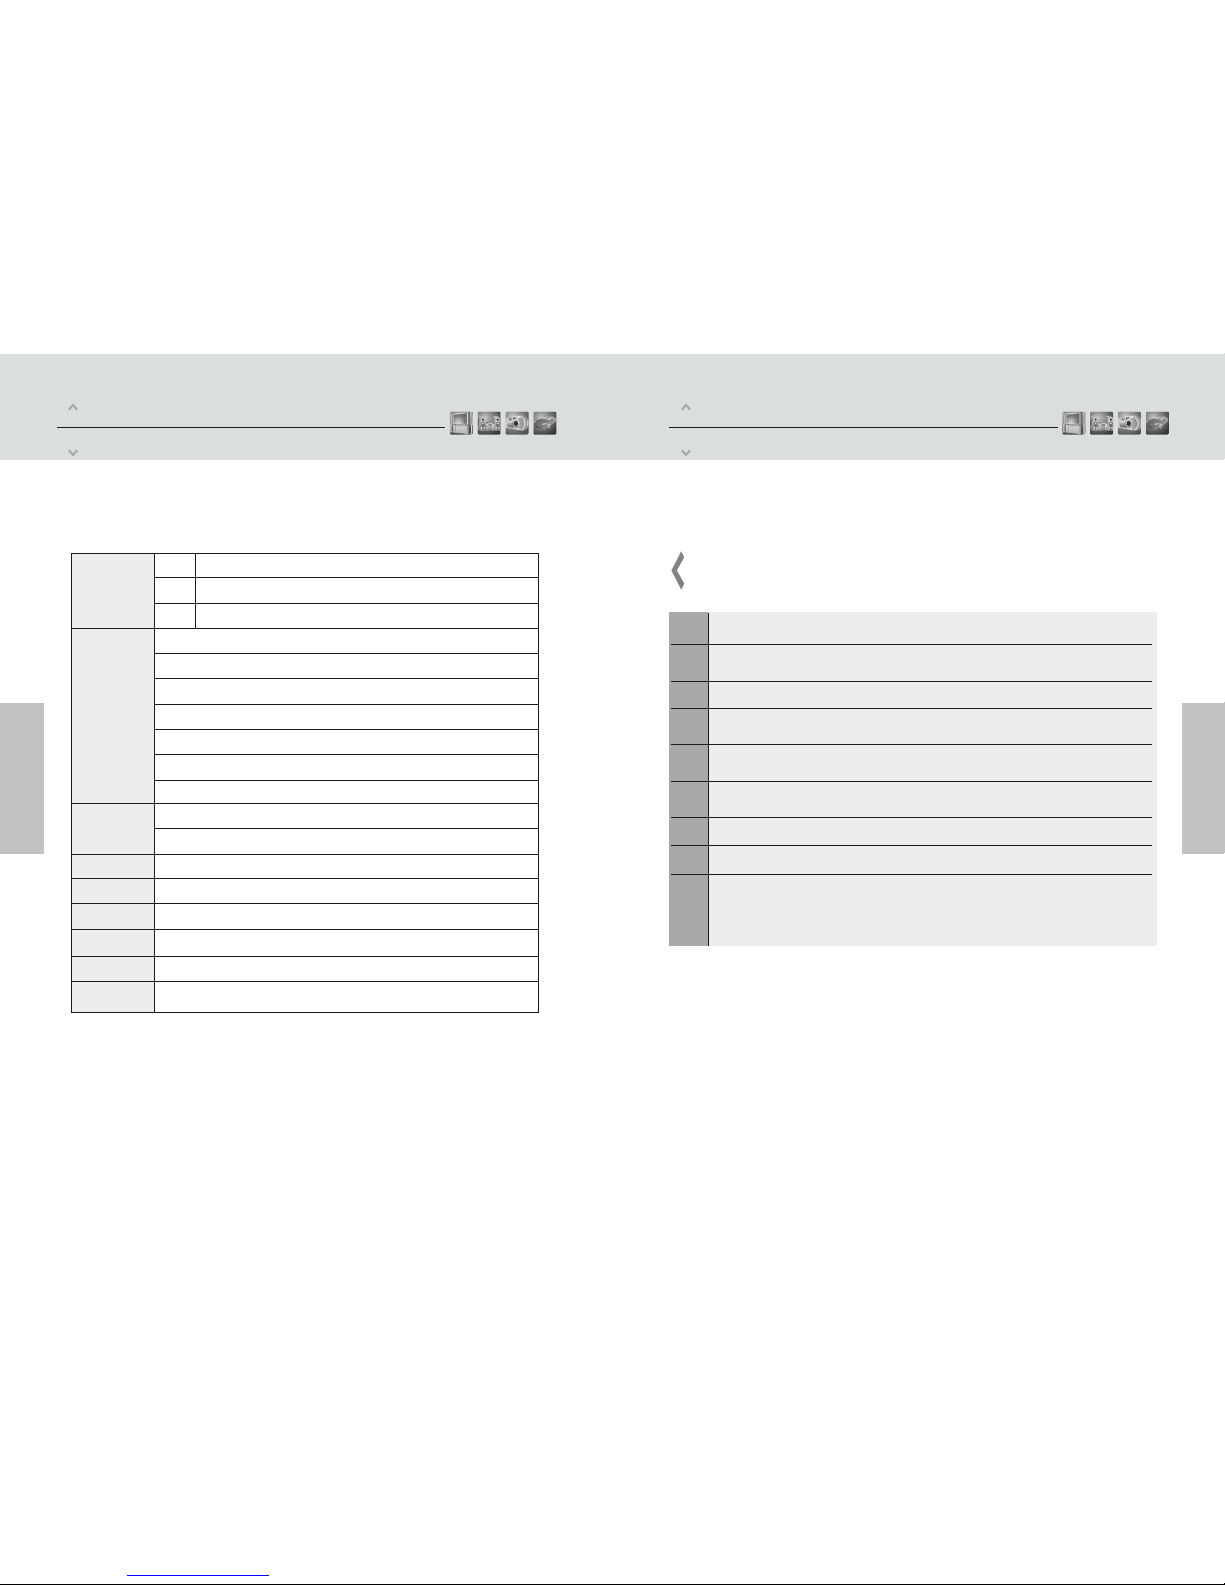
MPEG1/2,Div3.11.div4.0.div5.0.divx,Xvid,DVD(IFO,VOB),VCD(DAT),M2V
AC3.MP2,MP3,DTS pass throughOgg,WMA.MPGA, MPA
JPEG
USB2.0(Cypress chipset)
Component Video: RCAY,Pr,Pb
Composite Video: RCAand S-Video
Audio: RCAL/R/ Coaxial .Optical
IR-Ext
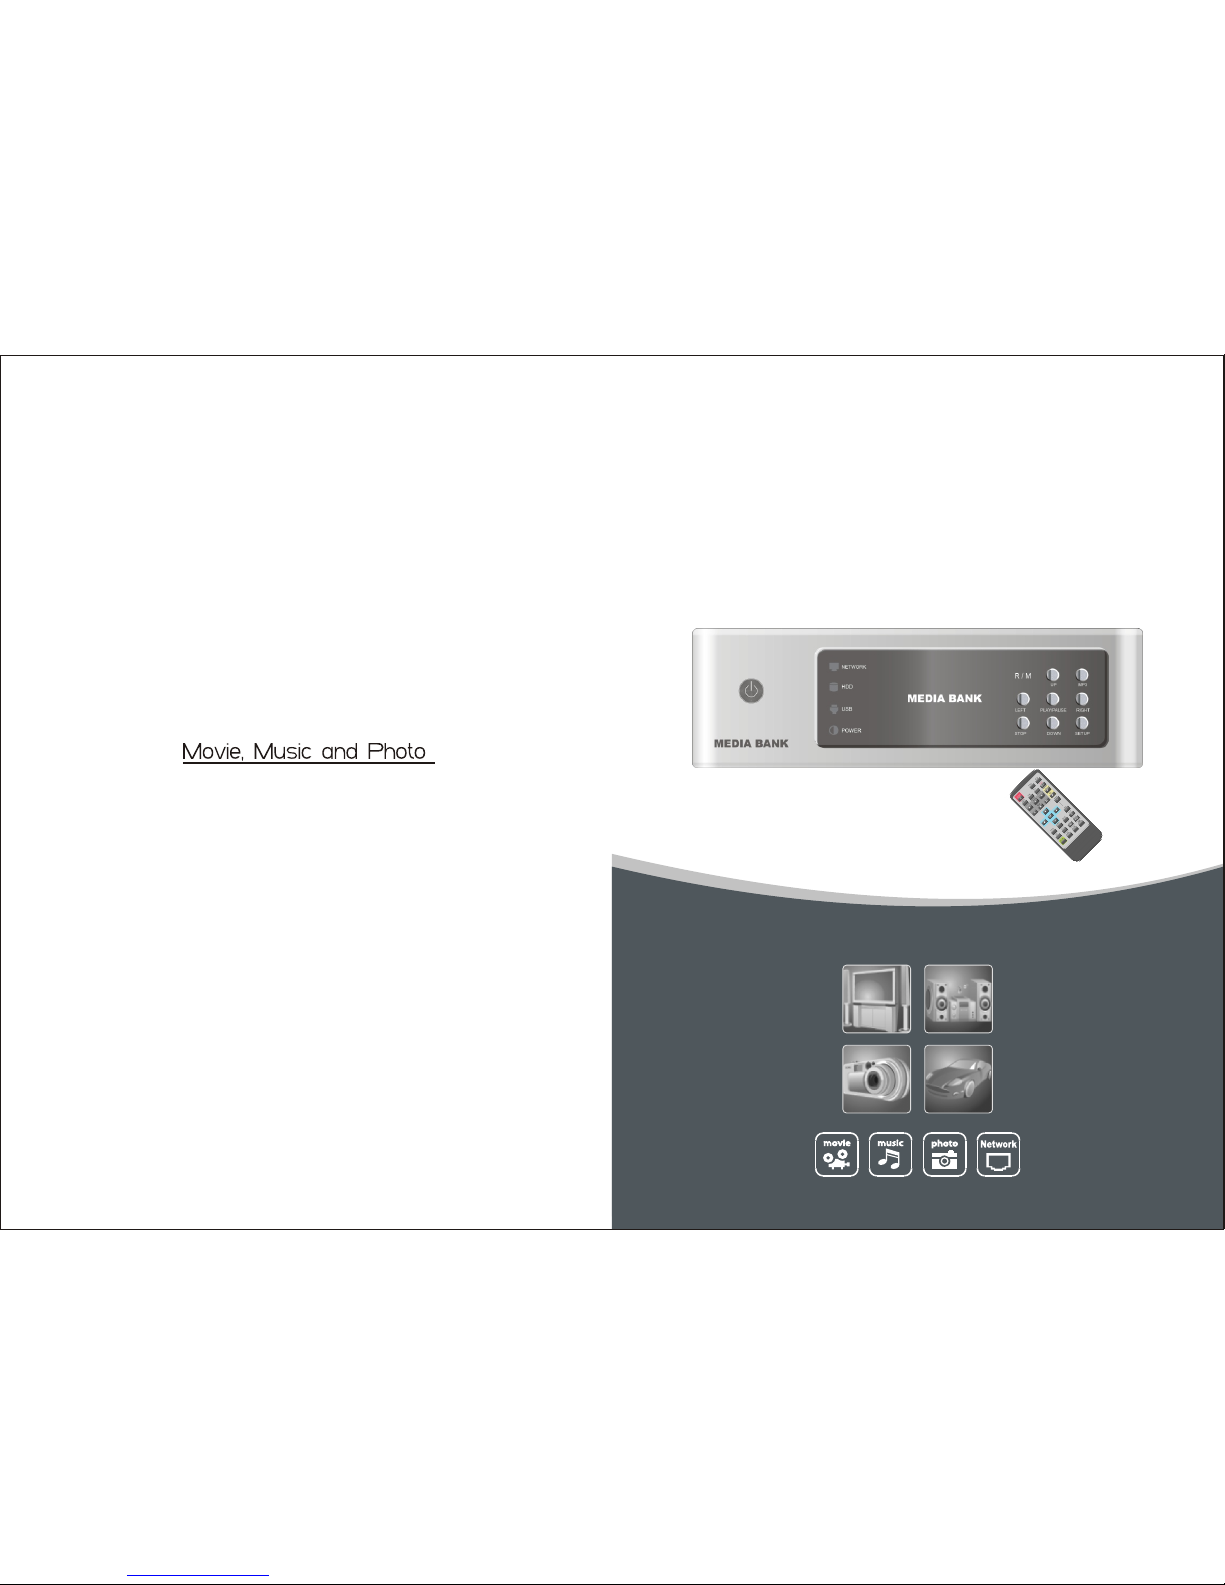
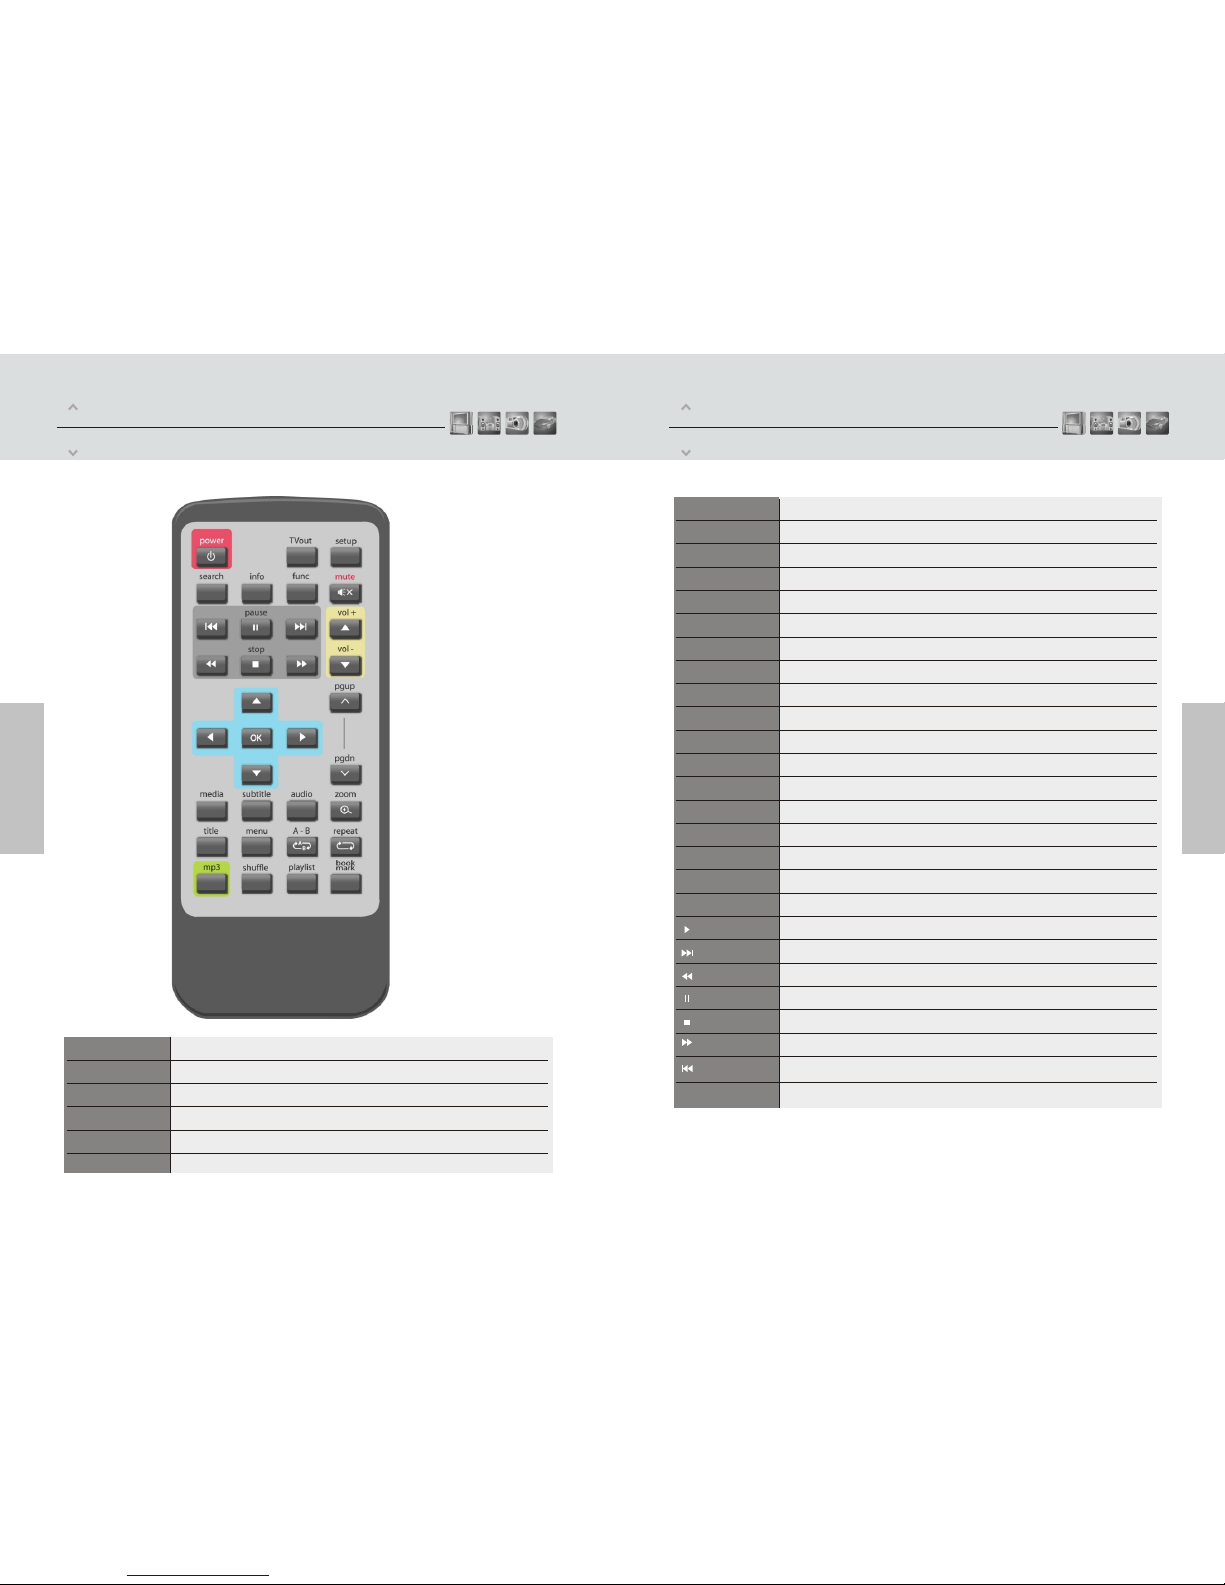
Full featured IR-Remotecontrol
Button:Power .Play/Pause ,Stop,Cancel,Up,Down,Left,Right,mp3
Supported File
Video
Audio
Photo
Input & Output
User Interface
Windows 98SE ,ME,2000, XP orlater
FAT32.NTFS
External 12V/2.5ADC adapter
Multilingual
182*143*56(mm)
The player,AV Cable ,USB Cable(for PC), Adapter,Manual,Driver CD, Remote
Controller, MultiI/O Cable
OS
Partition Type
Power
Language
Size
Include
DVI- I(Digital Visualinterface, Support analog signalsand digital signals)
LAN (10/100Mbps, auto MDIX)

Part One
Installation
Part One
Installation
0605 1 Screw off 2 Open the backcover
3 Connect power cable 4 Connect IDE cable
5.Insert HDD 6.Close the backcover
7. Screw on 8.OK

Part Two
Installation and Connection
Part Two
Installation and Connection
Connection with ordinary (Composite) TV output
Yellow Cable
Connection with S-Video output
Black round Cable
Connect t and your TVusing
the yellow videocable .Turn on t
and TV .Select appropriate
video input modeon your TVuntil you
can get theinitial t screen.
he player
he
player
he player
Connect t and your TVusing the
S-Video cable .Turn on t and TV,
select appropriate videoinput mode on
your TV untilyou can getthe initial
screen.
he player
he player
Connection with Component output
Connect t and your TV with
component cable as instruticted.Turn
on t and TV.Select appropriate
video input modeon your TV(in this
case ,Component input mode.)
he player
he player
Connection with 2 CH of Normal TV
Connect left (white ).right (red) sound outputto
the appropriate terminal of your TV orHi-Fi
Red, Blue, Green, Cable
White,Red,Cable
0807

Connection with DVI output & LAN output
Part Two
Installation and Connection
Part Two
Installation and Connection
Connection with Coaxial output
Connection with Optical output
When you havea multi channel
decoder/amplifier with optical
input,you can enjoy5.1 high
quality sound throughoptical
cable .The illustrationon the top
shows how to connect with
optical cable.
Connection with computer
When you havea multi channel decoder / amplifier
with coaxial input ,you can enjoy 5.1CHhigh quality
sound through coaxialcable . The illustration on the
top shows howto connect with coaxial cable
Coaxial Cable
Connect t with
your computer by USB
cable data willbe
transferred from pc tot
. (t should
be power on)and then
can check newdrive at pc
without installing driverat
Windows
ME/2000/XP.(Windows
98se should installdiver
with enveloped cd.)
he player
he
player he player
1009
Optical Cable
1. Connect the player and your TV with DVI cable, Turn on the player and your TV, please confirm your TV is on
DVI mode, then set the player to DVI mode by pressing “TV out” button of the remote controller several times
until the picture appears (player default setting is NTSC/S-VIDEO, meanwhile, it also supports computer
displayer with a DVI-RGB adapter)
2. Connect the player and your computer or switch hub with UTP/STP cable, set media files on the computer
which you connected as shared ones. Then you can play the shared audio/video files with the player.

Part Three
Remote Controller button Descriptions
Part Three
Remote Controller Descriptions
Enter/Exit the setupmenu.
SETUP
VOLUME DOWN
VOLUME UP
Mute ON/OFF
Power ON/OFF
Change the display mode( NTSC/S-VIDEO, PAL/S-VIDEO, 480p, 720p......)
VOL-
VOL+
MUTE
POWER
Tvout
1211
Popup the video information OSD during Video Play.
INFO
Popup the randomaccess OSD.
Page Up
Page Down
Select the file &OK
Move cursor
Direct play file inBookmark
Popup the subtitlecontrol OSD during Video Play
Popup the audioselection OSD during Video Play
Play all music filesin current directory.
Play the PLAYLIST directly.
Random play In currentdirectory.
Menu button duringDVD IFO play
Title button duringDVD IFO play
A B Repeat during Videoplay
REPEAT currentfile
Seek Next
Fast Reverse
Stop the play
Fast Forward
Seek last
SEARCH
PG UP
PG DOWN
OK
LEFT,RIGHT,
UP,DOWN
BOOKMARK
SUBTITLE
Aduio
MP3
PLAYLIST
SHUFFLE
MENU
TITLE
A-B
REPEAT
Zoom during VideoPlay
ZOOM
Popup the misc function ( Timer, Volume Valance, Saturation, Brightness, Contrast ) OSD
FUNC
Pause
Play
Choose all type,movie,music,photo mode
MEDIA

Part Four
Setup Menu
Part Four
Setup Menu
Video Setup
1) Video Out:Support NTSC/S-Video ,YPbPr480i,YPbPr480p. YPbPr720p,
YPbPr1080i, DVI/480P, DVI/720P, DVI/1080i, PAL/S-Video , YPbPr/PAL.
2) TV Type : Support 4 3 ,Letter Box 16:9
3) Brightness:Youcan control thebrightness in therange 0 100
4) Contrast :You cancontrol the contrastin the range0 100.
5) Saturation :You can control the saturation in the range 0 100
6) Screen Calibration:Setting
7) DVI Pos/size: Position/size
Photo Setup
Audio Setup
14
13
1)Photo Preview:on,off
2)Slide Period: You can set the slide show time interval(2 100sec)
3)Slide Effect:Fade in/Out,Zoom in/out, Slide In/Out, NoEffect
1) Audio Out:Analog ,Digital, both
2) Volume:You cancontrol the volume in the range 0 100
3) VolumeBal :Youcan control thevolume bal inthe range 0 100
4) ID3 Info:turn on/off information
Network Setup (1)
1) IP SettingType: staticaddress
2) Please inputthe IPAddress which matches with your router by remote controller
button "up" , "down","left", "right"
3) Press "setup"to save your configuration
4) Press "OK"than you can get the menu as below.

Part Four
Setup Menu
Part Four
Setup Menu
Network Setup (5)
Network Setup (4)
Network Setup (3)
Network Setup (2)
15
1)IP setting Type: Dynanic IPAddress
2) Press "setup"to save your configuration
3) Press "OK"than you can get the menu as below.
16

Part FourPart Four
Misc Setup
1) Language :Multilingual
2) Sys Default: You can change thesetting of thesys default
3) Subtitle Size:You canselect the subtitle font size (Middle/Large)
4) Subtitle Color:You canchange the color ofthe subtitle and itsoutline (Black
/White ,Black/Yellow, White/Yellow)
5) AutoRun: by name, by random, off
6) Auto Play:from First, fromselect bar, Random.
Firmware Setup(1)
18
17
Setup MenuSetup Menu
Firmware upgrade :
Toupgrade firmware ,should make " firmup" folder at root directory and should
copy download fileat " firmup" folder .And then you can browser this file at setup
F/W menu (moreinfo ,at page 19)
1)Skin Type:DefaultSkin
Skin Setup
Firmware Setup(2)

Part Four
Setup Menu
20
19 Select [Media] ->Music->Then you will see video files you saved into the player.
Select a fileyou would prefer and press [OK] button then the file will be played
Play Audio Files
Part Four
Setup Menu
Play Video Files
Select [Media] ->Movie-> Then youwill see video files you saved into the player.
Select a fileyou would prefer and press [OK] button then the file will be played.
Select [Media] ->Picture->Thenyou will see video files you saved into the player.
Select a fileyou would prefer and press [OK] button then the file will be played.
Play Photo Files
1) Youwill see afull list of all kinds media files saved on the player.
2) Use up/down keyon your remote toselect the files youwould like play andpress[OK]
Play All Kinds of Media Files(default)

Part Five
Firmware Upgrade
21
Firmware Upgrade
1.Connect the playerto your TVand turn onthe player
2.Navigate with buttonsto move to F/W menu and check your current firmware version.
3.Check the latest firmwareversion of the playerfrom seller's website
1.Download the latestfirmware from seller's website to your PC.
2.Connect the playerwith your PC through USB cable and turn it on.
3.Your systemwill recognize theplayer as anexternal hard drive.
4.Make firmup folder at root directory.
5.Copy firmware files into firmup folder at the player hard drive.
6.Turn off the player and bring it to your TV for firmware upgrade.
1.Connect the playerto your TVand turn onthe player.
2.Move to setupfirmware upgrade menu
3.Press "OK" button more than 3 seconds.
Firmware version checkFirmware version check
How to download firmware
How to upgrade firmware
1.Windows ME/XP/2000 offerdriver by itself.So you don t need to install software.
2.The PC will automatially recognize the player mediaplayer as soon asit is connected viathe USB
interface
3.You will be able to see the new HDD disk drive inside the player on the Device Manager tab
USB Connection with PC
1.Please run setup.exe file before connecting the player.
2.Please reboot after finishing installation.
3.After reboot thesystem . Please connect the player.Add New Hardware.
4.You will be able to see the new HDD disk drive inside the player on the Device Manager tab
Windows 98SE Driver Installation
Windows ME/XP/2000 Driver Installation
Part Four
Trouble shooting
22
Description Solution
Player doesn't respond to
the remote controller
1. Make sure to have the remote controller towards the player
receiver on thefront panel.
2. Reduce thedistance of remote controller and player
3. Replace thebatteries of the remote controller.
No display on theTV 1. Make sure thevideo cable connection iscorrect
2. Choose the right mode to match with your TV by pressing “TV
out” button on theplayer remote controller, (PALor NTSC)
3. Make sure your TV is set properly, then set the player by
pressing “TV out” button of theremote controller severaltimes until
the picture appears. Playerdefault setting is NTSC/S-VIDEO
Upgrade fail 1. Make sure theupgrade firmware is correct
2. The upgradefirmware should bein the directory of firmup
Check Page 18for upgrade detail.
Displays pictures or video
or audio file only
Press “ Media “ button of the remotecontroller and select“all type”
among the mediaoptions of “all type” “Music”“Photo” “Video”
Trouble shooting
Table of contents