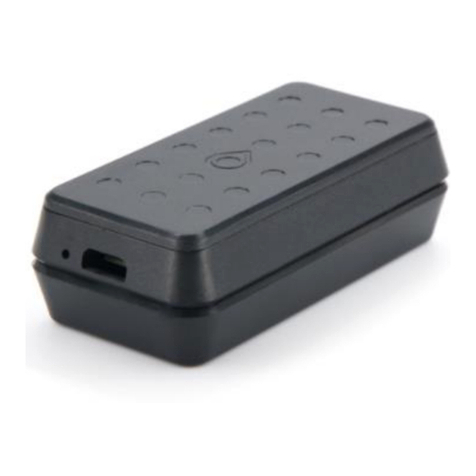
Seeworld S117 User manual

1
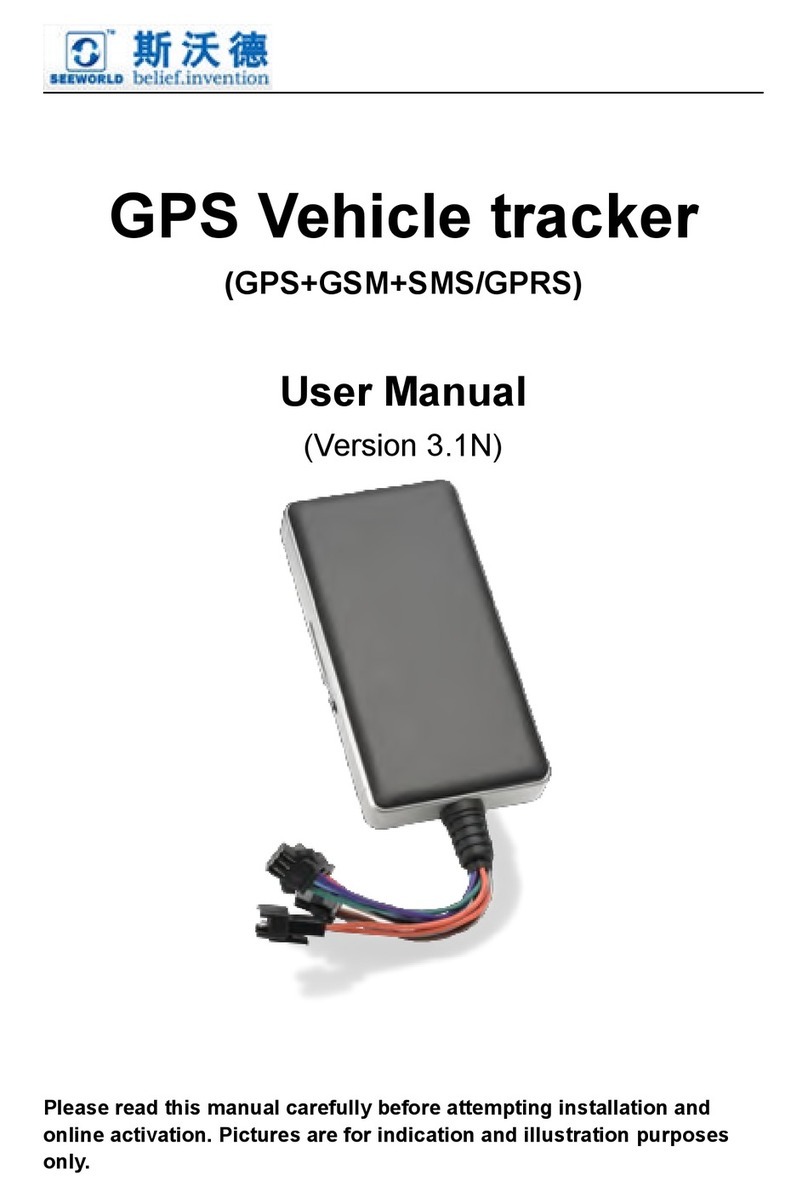
GPS Vehicle tracker
(GPS+GSM+SMS/GPRS)
SEEWORLD S117
User Manual

2
Please read this manual carefully before attempting
installation and online activation. Pictures are for
indication and illustration purposes only.
1.Accessories:

3
2. Technical parameter
Detail Specifications
Size 85MM*63MM*25MM(3.3"*2.5"*0.98")
Weight 110g
Network GSM/GPRS/GPS
GSM 850/900/1800/1900Mhz
Chip MT6252
GPS Chip MT3326
GPS Sensitivity -159dBm
GPS Precision 10m
GPS locating time Cold start 45S
Warm start 35S
Hot start 1S
Working Voltage 10V---36V
Built-in Battery 3.7V 180mAH
Stand-by Time 2 hours (The specific time long myopia GSM
network conditions)
Storage temperature -40C to +85C

4
Working temperature -20C to +55C
Wet degree 5%--95% non-condensing
3.Out Look
4. Device status indicators
Red LED(GSM Signal state)
4.1 When GSM signalis normal, the red LED lamp shining; continuously or
not bright says thereis no GSM signal. When GPRS works, the red LED
lights flashes.
4.2 The green LED glistens when searching the GPS signals. When GPS
works, the LED lights continuously.

5
5. Installation
5.1 Preparation for the installation
5.1.1 Product Check. Open the packing box and check the device‘s model
and accessories. If the model is wrong or the accessories not complete,
please contact the dealer.
5.1.2 Choose SIM card. Please insert a SIM card to the device. Please take
dealer’s advice as reference.
5.1.3 SIM card installation. Discharge the cover of the device and uncover
the SIM card holder. Then insert the SIM card and cover SIM card
holder (as follows).
5.1.4 Connect the device to the 9-24V power supply.(the red LED constant
glow)
5.1.5 Install the device in the hidden place of the car;
NOTE:
Put back the front cover and screw it up.
The SIM card must be with GPRS function and enough deposit. If your
SIM card need input PIN when power on, please cancel it.
5.2 Installation
The GPS tracker must be installed under professional personnel.

6
Note:
1) Please install the device in the hidden place as followings:
Under Front windshield;
In the front instrument panel;
Under back windshield;
2) Avoid being placed with signal radiators like reverse sensor ;
3) The device has GSM antenna and GPS antenna inside. Please
ensure the receiving side of the device is face up and without metal
cover.
Note:The metal cover will lessen the receiving of GPS signals.
6.Device wiring requirements
6.1 The device power supply is DC 9-24V. The red line is positive pole while
the black line is negative pole.
6.2 The negative pole of power supply connects with ground or the metals.
Please do not connect with other ground lines.
6.3 When finishing the power supply wire connection, please make the plug
of power supply to the device.
6.4 Concealed installation, power connecting line selection of original factory
provides the main power cord (such as product fitting chart), infrared end
series have FUSE box (2 a FUSE) can have a short circuit over-current
protection.

7
Installation steps: (the following operation are terminal no
electric power, otherwise will appear dangerous)
Terminal fault oil line: yellow line
joint relay 86 feet, 85 feet after 12
v DC battery anode, 87 a feet and
Terminal power line: white line joint
relay 86 feet, 85 feet after 12 v dc
battery anode, 87 a foot and 30

8
6.5 equipment start
6.5.1 Join equipment in to the car, then insert SIM card to the equipment,
until the red indicator light is lit up. Go to the outdoor where have
satellite signal place each time when you use it.
6.5.2 At first use, please initialization to default Settings state.。
6.5.3 Between 10 and 40 seconds, the equipment will search to GSM and
GPS signal and began to normal work, in normal condition equipment
LED light long bright. (red light flash to indicate the GMS didn't signal
Emergency trigger alarm circuit:
red line contact send alarm button
positive, black line contact car
battery negative。
Terminal power supply circuit:
red line connect the 12 v dc
battery anode, black line connect
car battery negative

9
or didn't read card; green light flash to indicate the GPS no
positioning; if the light continuously says working properly, five
minutes after the light will put out; if want to see the light condition,
you should call the number of equipment, the light will open again.
6.5.4. When the equipment GSM working normaly,you can set up any
instruction in the manual.
7.0 The Device Working
7.1Power on: The device will be power on when connecting to the current..
Then the red power light indicators will light continuously. Green
GPS light shining (saids GPS already positioning), red GSM lamp
shining (saids SIM card work normal). The terminal every time
(the default 20 s) service platform to upload a current position
information, when vehicle long time in static state, terminal will
automatically enter the energy saving mode and start static drift
inhibition mechanism, thus effectively control GPS static drift data
problem, make the terminal work more save electricity, more
intelligent, more accurate path.
7.2 Power off:Pull off the power plug then power off the device.
7. 3 ACC detection:Testing wether the automobile power is open, Can
be in platform shows that ACC state.
8. SOS alarm
Hold the SOS switch button for 2 seconds and began to platform alarm cycle
call administrator and authorization number, until the phone get through. It
will automatic hang up after 3 minutes.
9. Power-off alarm
When the equipment of power supply is cut off, then to the administrator or
authorization number send cut-off warning information, "please note, the
power supply has been cut off!"

10
10. Monitor or position reply
When open monitoring function, the administrator or authorization number
dialed telephone terminal, after 5 seconds in the monitoring state, when didn't
open monitoring function, the administrator or authorization number dialed
telephone terminal, after 5 seconds, in positioning state recovery position
links, when not positioning reply a short information says "GPS not
localization"
11. The platform website position querying
If you have login information for the platform , you can directly landing
platform service website. Otherwise, please contact your dealer for you to
open the online landing account, provide login name and password. On your
computer browser address bar input service platform website, fill in the
acquisition of the login account and password, then click the 【landing 】to
service platform.
The function of the service platform operation, please you to the dealer
for "service platform operation use guide".
12. Trouble shooting
12.1 The device is not online or offline on the web platform
12.1.1 First, please check the three LED working state. If possible. You can
call the device’s number to check.
●If there is no connect, indicating that the terminal temporarily not connected
or not in the service area.
Terminal area may not cover GSM signal or in the basement of the weak
signal and the place, please drive to have signal place to use.
●If there is no connect, indicating that the terminal balance shortage or

11
already when stop machine.
Terminal SIM card already owe, please therefore SIM card to top up.
●If there is on and heard "du.... du.... du...." When the sound.
Terminal SIM card installed correctly and still has remaining sum, please
consult this card's operators have opened GPRS service ; You can also use
mobile phones in the browser input you commonly used web site, to see
whether can open a web page, If can't open,Show that your SIM card have
not open GPRS service, please contact the operator opening for you.
●If reminding the device is power off, please turn back the device and
proceed as followings:
1) Check if the red LED is in constant glow. If the LED is dark, please
check the power connecting. If fuse is broken, please return the device to the
seller.
2) If power light long light, blue GSM light no shining, please check the
SIM card is correct installation, if the installation of no problem please change
another a SIM card to use.
12.2 Please check the offline area in order to judge if the network problem
of operators.
12.3 When the device cannot receive the GSM signal, please check the SIM
card installation. If the GSM signals cannot reach your location (such as
the basement), please drive to the open sky.
12.4 The red LED is not glow when power on. Check the fuse of the
power line. If the fuse is fused, please change the fuse with the
seller. And check out terminal internal fault rear can again power
on work.
13 User Settings
13.1 S117 Set class instruction

12
1)CENTER
Text
command Parameter Sample
CENTER Add CENTER,A,number# CENTER,A,13500135000#
CENTER Del CENTER,D# CENTER,D#
Command
Description
1)Center number can control the oil and power and
resume factory settings
2) Center number can receive the call and text of vibration
alarm and over speeding alarm.
3) SIM must display the income call number to control oil
and power.
4) Only one number can be center number.
5) Change center number must resend the command.
6)Add new center number by CETNER,A, and delete by
CENTER,D
Command
Feedback Successful Setting:SET CENTER TEL OK!
2)RELAY
Text
command Parameter Sample
RELAYParam
eter1 RELAY,1# RELAY,1# cut off oil and power
RELAYParam
eter2 RELAY,0# RELAY,0# recover oil and power

13
Command
Description
1)RELAY control the start and closeness of the relay
2) Only the center number can operate.
3)the device only cut off the oil circuit on the condition of
the driving speed below 20KM/H or in static state.
4)When send the command, the device will reply “please
waiting “When the vehicle speed is over 20KM/H, the
device will cut off the oil or the power when the speed
below 20KM/H.
Command
Feedback Successful Setting:Relayed enable OK!
3)SOS
Text
command Parameter Sample
SOS increase SOS,A,NO.1,
NO.2, NO.3,
NO.4, NO.5#
SOS,A,13500135000,13800138000,13
850000000#
Set 3 numbers one time
SOS,A,13500135000#
Said set the first SOS number
SOS,A,,13500135000#
Said set the second SOS number
SOS, A,,,,,,, 13500135000 #
Said setting the third SOS number
SOS Delete
SOS,D,NO.1,
NO.2, NO.3,
NO.4, NO.5#
SOS,D,Serial
NO.1, Serial
SOS, D, 1 # said delete the first SOS
number
SOS, D, 3 # said delete the third SOS
number
SOS, D, 1, 3 #

14
NO.2,
SerialNO.3,
SerialNO.4,
SerialNO.5#
Said to delete the first and third SOS
number
SOS, D, 13800138000 #
Delete the SOS said the number;
Instruction
application
1) SOS number used for long by SOS alarm button
receiving equipment send text messages and telephone;
2) can set up five number as the center number
3) increase SOS please refer to increase SOS examples
of several methods
4) delete SOS please refer to delete SOS examples of
several methods
Instruction
return
Success is increased: SET SOS OK!
Deleted successfully: DEL SOS OK!
4)APN
Text
command Parameter Sample
APN Setting APN,apn[,usernam
e, password]
1:APN,intenet,123,123#
2:APN,cmnet#
Command
Description
APN differs according to the local telecom operators.
For example :APN request password ,please refer to
Sample1,and Sample2 for no password.
Command
Feedback Successful Setting:SET APN OK!
5)TIMER
Text
command Parameter Sample
TIMEER TIMER, uploading interval# TIMER,30#

15
Parameter
setting
Command
Description
Time scope:0,10~60 seconds;0,no data uploading;
10~60,means time interval ;the default value is 10
seconds!
Command
Feedback Successful Setting:SET TIMER OK!
6)STATIC
Text
command Parameter Sample
STATIC STATIC, time
interval# STATIC,10#
Command
Description
Time scope :1~60 seconds ;The device
has3Dtransmission and the default time interval are 6
minutes.
Command
Feedback Successful Setting:SET STATIC TIME OK!
7)SERVER
Text
command Parameter Sample
SERVER
Parameter
SERVER,1/0,
domain/IP,por
t#
1)SERVER,1,gm902.szdatasource.com
,8841#
2)SERVER,0,121.14.139.39,8080#
Command
Description
Change the IP and port when move to a new server
port:10~65535
1 is domain and 0 is IP;
Command
Feedback Successful Setting:SET SERVER OK!

16
8)GMT
Text
command Parameter Sample
GMT
GMT,location,
time zone[,half
time zone]#
GMT,E,8#
GMT,E,5,30#
Command
Description
The default time zone is Beijing time. If time zone need
revised, please operate according to the above command.
Command
Feedback Successful Setting:SET GMT OK!
9)VIBRATION
Text
command Parameter Sample
VIBRATION
Parameter
VIBRATION,
alarming
level[,alarming
way]#
1)VIBRATION,2,3#
2)VIBRATION,2#
Command
Description
the sensitivity value of the vibration is from 1 to 5,1is the
most sensitive and o is close. Alarming ways: 1, calling 2,
texting, 3 calling and texting.
Must set the center number and receiving number.
Command
Feedback Successful reply:SET VIBRATION OK!
10)SPEEDING
Text
command Parameter Sample
SPEEDING SPEEDING, speed 1)SPEEDING,120,3#

17
Parameter [alarming way]# 2)SPEEDING,120#
Command
Description
The speed scope is form 60-220, if the speed is
nothiscope, the alarm is off.
Alarming :1, calling 2, texting, 3 calling and texting.
Must set the center number and receiving number.
Command
Feedback Successful Setting:SET SPEEDING OK!
11)LANG
Text
command
Parameter Sample
LANG
Parameter
LANG,1#
LANG,0#
LANG,1#
1:CHINESE,0:ENGLISH
Command
Description
;When check the location, it will reply the Chinese location
in Chinese language setting; while reply the URL link when
in English language setting.
Command
Feedback Successful Setting:SET LANG OK!
12)RESET
Text
command Parameter Sample
RESET RESET# RESET#
Command
Description Reset the device
Command
Feedback Successful Setting:RESET OK!

18
13)FACTORY
Text
command Parameter Sample
FACTORY FACTORY# FACTORY#
Command
Description
Restore the factory setting
Only center number can initial this function
Factory setting will recover to the original setting
Command
Feedback Successful Setting:FACTORY OK!
SEEWORLD Technology Co., Ltd
Tel: +86 20 36604699
Fax:+86 20 36636771
Email: sales01@seeworld.hk
Skype:seeworldgps
Address:The 21Floor,No.565 Tianhe Road North,Tianhe
District,Guangzhou,China.510070
Web: www.seeworld.net.cn
Table of contents
Other Seeworld GPS manuals
