Sel SEL-751A User manual

Package Contents
Panel Cutout Template Manual CD & ACSELERATOR
QuickSet®Software CD
No. 8-32 Mounting Screws,
Gasket, & Serial Port Cover
Configurable Label Kit
(if equipped)
Label Removal Tool
Blank Pushbutton LED Label
198–0424RIGHT
UP
Blank Target LED Label
198-0424LEFT UP
For Additional Technical Assistance Call +1.509.332.1890
Express Installation Guide
SEL-751A Feeder Protection Relay
Courtesy of NationalSwitchgear.com

2
RX
TX
+
—
+
—
+
—
+
—
+
—
+
—
+
—
+
—
+
—
+
—
5 4 3 2 1
9 8 7 6
5 4 3 2 1
9 8 7 6
Port 4 DeviceNet
(Optional)
Open-Delta Potential and Residual Ground CT Connections
Typical Wiring
Prot.
Alarm
OUT101
OUT102
OUT103
A01 A02 A03 A04 A05 A06 A07 A08 A09 A10 A11 A12
IRIG-B
IA IB IC IN
Z07Z06Z05Z04Z03Z02Z01 Z08
TX+
TX–
RX+
RX–
SHIELD
(Optional)
Port 4A EIA-485
IRIG-B Time Source
500 m
FO Cable**
1–12 RTDs
Optional Input Output Cards
10 RTDs
4 Digital Inputs / 4 Digital Outputs
3 Digital Inputs / 4 Digital Outputs / 1 Analog Output
8 Analog Inputs
4 Analog Inputs / 4 Analog Outputs
Front
Port 3
TCCC
8 Digital Inputs
(+)
(–) 52B 52A
Close
Circuit
Trip
Circuit
IN101 IN102
CONTROL INPUTS
INPUT POWER OUTPUT CONTACTS
SEL-751A Feeder Protection Relay
A diagram for a
four-wire wye
connection is also
available in the
instruction manual.
Power Supply
110–230 Vac
24–48 Vdc
110–250 Vdc
(Optional
485)
(Optional)
Fiber-Optic Input
Fiber-Optic Output
SEL-2600 Series
External
RTD Module
(Optional)
** SEL Fiber Optic Cables
240-1506 — 1 m (3.3 ft) ST/ST
240-1507 — 5 m (16.4 ft) ST/ST
240-1508 — 15 m (49.2 ft) ST/ST
Other lengths available by request
A
C
B
Line
52
Bus
Optional Ethernet (single or dual)
Copper Wire
OR
Multimode Fiber
(+) (–)
CURRENT INPUTS
VOLTAGE INPUTS (Optional)
TX RX TX RX TX RX TX RX
E07 E08 E09 E10
AF1 AF2 AF3 AF4
ARC-FLASH INPUTS (OPTIONAL)
To SEL-C804
Sensors
VA VB VC N VS NS VBAT VBAT
E01 E02 E03 E04 E05 E06 E07 E08
V—
CAN_L
SHIELD
CAN_H
V+
GND +/H -/N
Typical Connections
Courtesy of NationalSwitchgear.com

3
Mount the SEL-751A in a sheltered indoor environment (a building or an enclosed cabinet) that does not exceed the
temperature rating of –40°C to +85°C. For mounting consideration, the relay dimensions are shown below.
New Control Center
Retrofitting
1. Place the enclosed Panel
Cutout over desired
mounting location and
trace.
2. Make smooth cut around
cutout.
3. Place mounting gasket
around relay and insert
unit into hole. (The
photo displays optional
appearance bezel.)
4. Fasten relay to mounting
plate with included screws.
1. Remove old relay. 2. Insert retrofitting plate and
fasten (see www.selinc.com/
sel-751a.htm for retrofits).
3. Place mounting gasket
around relay and insert
unit into retrofitting plate.
4. Fasten relay to mounting
plate with included screws.
Rack Mounting
Courtesy of NationalSwitchgear.com

4
Shown for the SEL-751A with Ethernet, Fiber Optic, IRIG-B, EIA-232, 4 DO/3 DI/1 AO Option, 8 DI Option, and Voltage
Option. Refer to the SEL-751A manual for additional details and other options.
Wire sizes for connections are dictated by the terminal blocks and expected load currents. You may use the following table
as a guide in selecting wire sizes:
Connection Type Minimum Wire Size Maximum Wire Size
Grounding (Earthing) Connection 18 AWG (0.8 mm2) 14 AWG (2.5 mm2)
Current Connection 16 AWG (1.5 mm2) 12 AWG (4 mm2)
Potential (Voltage) Connection 18 AWG (0.8 mm2) 14 AWG (2.5 mm2)
Contact I/O 18 AWG (0.8 mm2) 14 AWG (2.5 mm2)
Other Connection 18 AWG (0.8 mm2) 14 AWG (2.5 mm2)
Card Slot A: Power Supply Card With 2 DI/3 DO
Step 1. Connect ground terminal GND to a rack frame or switchgear ground for proper safety and performance.
Step 2. Connect appropriate power supply to terminal 01 (+/H) and terminal 02 (–/N). Note that power terminals are
isolated from chassis ground.
Step 3. Connect up to 2 digital inputs, per application requirements, to optoisolated inputs IN101 (terminals 10 and 11)
and IN102 (terminals 11 and 12).
Step 4. Connect the 3 output contacts, per application requirements, to OUT101 (terminals 03 and 04), OUT102
(terminals 05 and 06), and OUT103 (terminals 07, 08, and 09).
Card Slot B: Main Board With Ethernet, Fiber Optic, IRIG-B, and EIA-232
Step 1. Connect communications devices as required to front DB-9 serial Port F (EIA-232), rear Port 3 (EIA-232),
10/100BASE-T Ethernet (RJ-45 connector) Port 1 and fiber-optic (ST®connector) serial Port 2.
Step 2. Connect IRIG-B time-code input to terminals 01 (+) and 02 (–).
Card Slot C: 3 Digital Inputs, 4 Digital Outputs, 1 Analog Output Card (3 DI/4 DO/1 AO)
Step 1. Connect additional digital inputs (IN_01, IN_02, IN_03) and outputs (OUT_01, OUT_02, OUT_03, OUT_04),
if required by application, using the connection diagram.
Step 2. Connect the analog (transducer) output AO_01 using terminals 09 and 10.
+5 Vdc
RXD
+IRIG–B
TXD
GND5
–IRIG–B
RTS
GND
PORT 3
E IA–232
IRIG–B
PORT 2
FIBER OPTI C
TX
RX
1
2
4
3
6
8CTS
7
9
02
PORT 1
ETHERNET
01
+
—
10/100BASE–T
Connections
Courtesy of NationalSwitchgear.com

5
Card Slot D: 8 Digital Inputs Card (8 DI)
Connect up to 8 digital inputs per application requirements to inputs IN_01 (terminals 01 and 02), IN_02 (terminals 03
and 04), . . ., IN_08 (terminals 15 and 16).
Card Slot E: Voltage Inputs Card
Connect 4-wire wye-connected PTs or open-delta connected PTs as shown in the typical connections diagram. For other
PT connection options refer to Section 2 of the SEL-751A manual.
Card Slot Z: Current Inputs Card
Connect phase current and neutral current inputs as shown in the typical connections diagram.
Step 1. Connect Phase A, Phase B, and Phase C current inputs to terminals 01 and 02; terminals 03 and 04; and
terminals 05 and 06, respectively, following the convention shown in the typical connections diagram.
Step 2. Connect neutral current IN inputs to terminals 07 and 08.
Connections
Courtesy of NationalSwitchgear.com

6
There are three ways of communicating with the SEL-751A. You can communicate with the relay using the Human
Machine Interface (HMI) on the front panel, remote communications, or a direct computer connection. For direct serial
communications, the computer must have a serial port (or USB port if using SEL-C662 USB cable) and the operating sys-
tem should be Windows®2000 or newer. A standard EIA-232 crossover cable or an SEL-234A cable will also be required.
HMI Pushbuttons
Computer Connection Steps
Step 1. Connect the PC and the relay using a serial communications cable.
Step 2. Apply power to both the PC and the relay.
Step 3. Open a terminal emulation program.
Option 1: ACSELERATOR QuickSet SEL-5030 Software
Open ACSELERATOR QuickSet and proceed to Step 4. If you do not
have ACSELERATOR QuickSet, you can download the program from
www.selinc.com/sel-5030.htm. Refer to Section 3 of the SEL-751A
manual for more information about ACSELERATOR QuickSet.
Option 2: HyperTerminal
To open HyperTerminal go to Start > Programs > Accessories >
Communications > HyperTerminal. Once there you will be prompted
to enter a name of your choice for the connection. Then you will choose
which port to connect through. Make sure you select the same port that
you connected the cable to, then click OK.
Step 4. Set the PC terminal emulation program to the same communications
port settings as shown in the figure to the right and click OK.
Step 5. Press the <Enter> key on the PC keyboard to check the
communications link. You should see the = prompt. If you do not see the
= prompt, check the cable connections, confirm that the settings in the
terminal emulation program are the default values, and that the
emulation mode is set to VT100.
Step 6. Once connected, you can set all other relay settings and obtain values as
needed. Refer to Section 6 in the SEL-751A manual for more
information.
Press the TARGET RESET pushbutton
to clear targets that have been alarmed.
Press the ESC pushbutton
to return to previous menu.
Press the directional (up, down, left, right)
pushbuttons to scroll through options.
Press the ENT pushbutton
for selection to see next menu.
ENT
ESC
TARGET
RESET
SEL-751A Relays are shipped with default passwords. To prevent unauthorized access, change default passwords to
private passwords at installation. SEL shall not be responsible for damage resulting from unauthorized access.
Communication With Relay
Courtesy of NationalSwitchgear.com

7
This section of the Express Installation Guide provides step-by-step instructions for a typical application of the SEL-751A
Feeder Protection Relay. For more information on the setting procedures, please refer to the SEL-751A manual, or contact
your local SEL representative. For more information on relay setting using ACSELERATOR QuickSet SEL-5030 Software as
shown in this example, refer to Section 3 in the SEL-751A manual.
Feeder protection applications of the SEL-751A will require the setting the relay, including the current and voltage trans-
former (if used) ratios and configurations, to match the feeder installation. The relay is equipped with a wide selection of
protection and logic elements. Section 4 in the SEL-751A manual describes all the protection and logic functions of the
relay, together with the necessary settings.
Design the specific protection, logic, and communications system for your feeder protection application. Use the Settings
Sheets provided in Section 6 of the manual to record the relay settings, or connect the relay to a personal computer (PC) and
use ACSELERATOR QuickSet software to enter the settings. Follow the steps below to set the relay.
NOTE: Make sure to evaluate and confirm all relay settings before implementing this application on an actual feeder protection application.
Step 1. Connect to the SEL-751A using ACSELERATOR QuickSet SEL-5030 Software.
a. Connect the relay to a PC using an SEL-C234A serial or SEL-C662 USB cable.
b. Apply power to the relay.
c. Start the ACSELERATOR QuickSet software program and establish communication with the relay.
d. Click on the Read Settings From Device icon to download the current settings from the relay.
e. Save the downloaded setting file into your ACSELERATOR QuickSet database.
Step 2. Gather the SEL-751A relay application data.
Record the information gathered in this step for use in the following steps.
➤Highest expected load current
➤Current transformer primary and secondary ratings and connections
➤System phase rotation and nominal frequency
➤Voltage transformer ratios and connections, if used
➤Type and location of arc-flash detectors, if arc-flash protection is used
➤Type and location of resistance temperature devices (RTDs), if used
➤Expected fault current magnitudes for ground and three-phase faults
Step 3. Edit the ACSELERATOR QuickSet relay settings file.
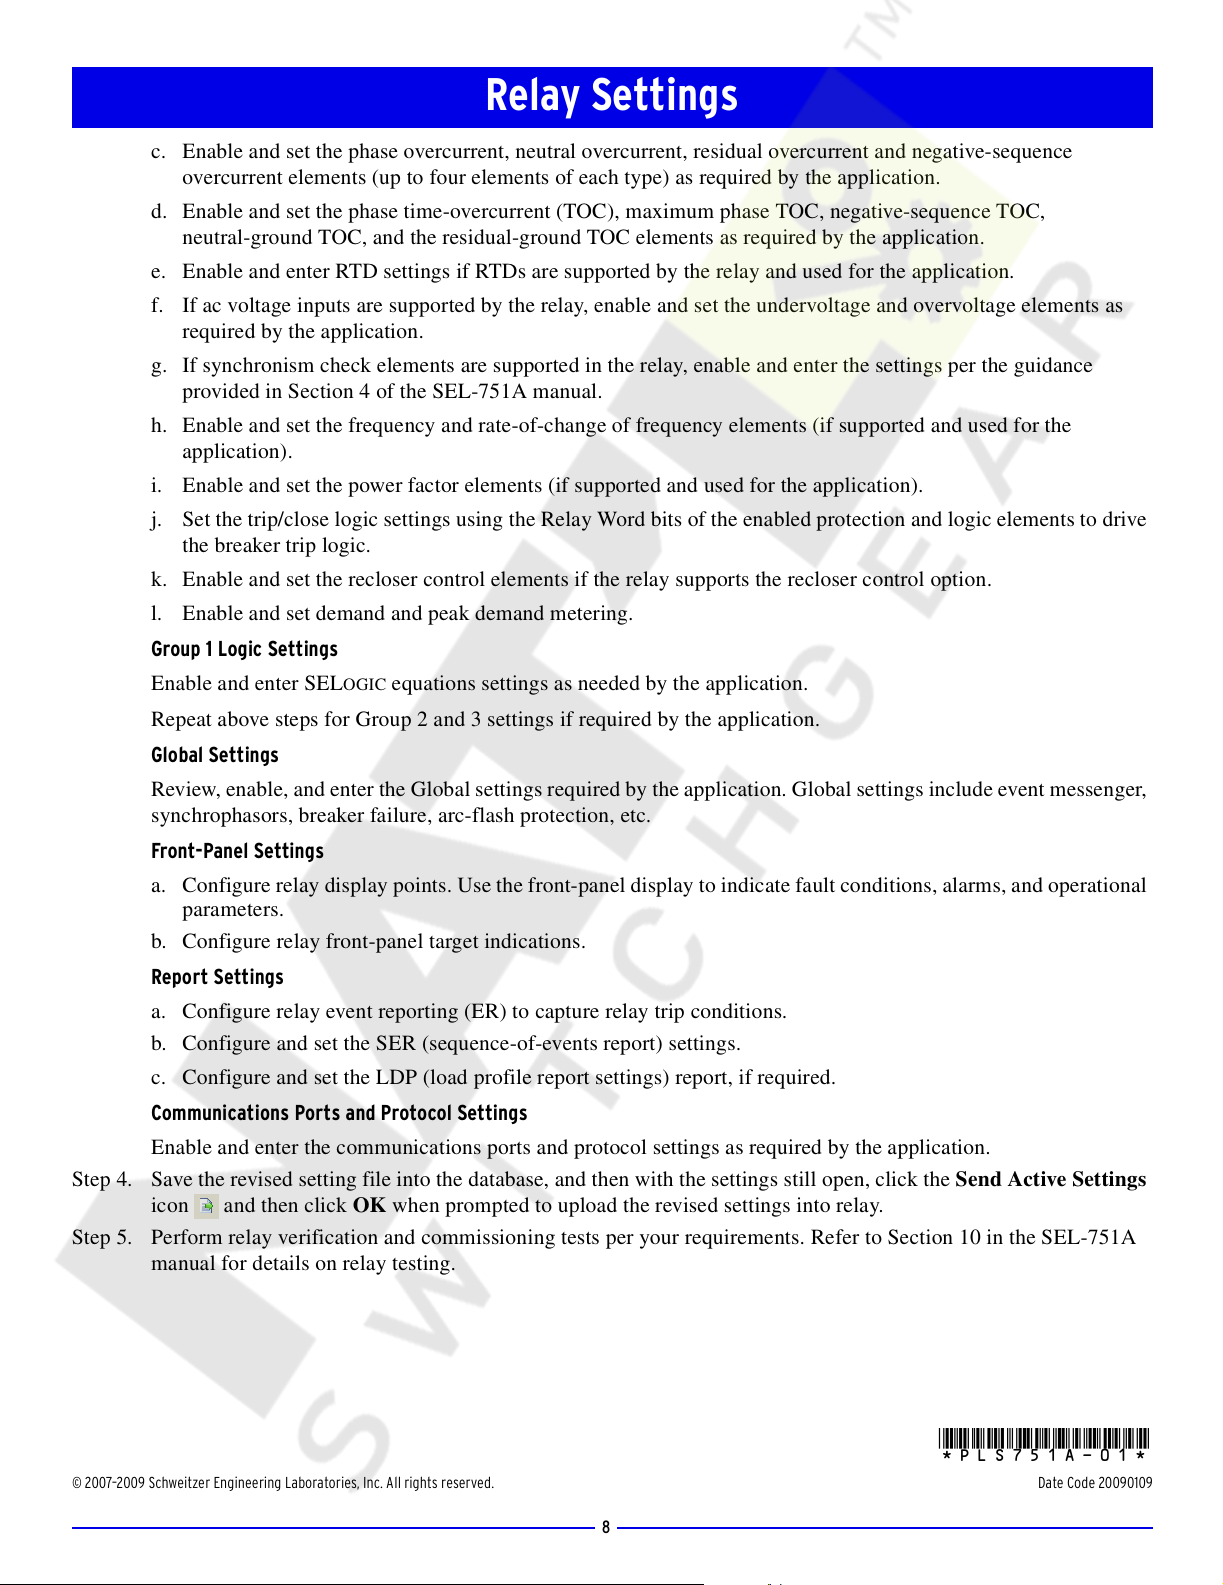
Group 1 Settings
a. Open and edit the Group 1 Main settings
(as shown in accompanying graphic).
Typically, the feeder application
configuration information will be the same
for all protection settings groups used in
the SEL-751A.
b. Set the CT ratio settings (CTR and CTRN)
using the application data collected from
Step 2.
If the relay is using ac voltage inputs,
including synchronizing voltage input, set
the PTR (PT ratio) and PTRS settings,
together with the delta-wye transformer
connection and nominal voltage VNOM
settings.
Relay Settings
Courtesy of NationalSwitchgear.com

8
c. Enable and set the phase overcurrent, neutral overcurrent, residual overcurrent and negative-sequence
overcurrent elements (up to four elements of each type) as required by the application.
d. Enable and set the phase time-overcurrent (TOC), maximum phase TOC, negative-sequence TOC,
neutral-ground TOC, and the residual-ground TOC elements as required by the application.
e. Enable and enter RTD settings if RTDs are supported by the relay and used for the application.
f. If ac voltage inputs are supported by the relay, enable and set the undervoltage and overvoltage elements as
required by the application.
g. If synchronism check elements are supported in the relay, enable and enter the settings per the guidance
provided in Section 4 of the SEL-751A manual.
h. Enable and set the frequency and rate-of-change of frequency elements (if supported and used for the
application).
i. Enable and set the power factor elements (if supported and used for the application).
j. Set the trip/close logic settings using the Relay Word bits of the enabled protection and logic elements to drive
the breaker trip logic.
k. Enable and set the recloser control elements if the relay supports the recloser control option.
l. Enable and set demand and peak demand metering.
Group 1 Logic Settings
Enable and enter SELOGIC equations settings as needed by the application.
Repeat above steps for Group 2 and 3 settings if required by the application.
Global Settings
Review, enable, and enter the Global settings required by the application. Global settings include event messenger,
synchrophasors, breaker failure, arc-flash protection, etc.
Front-Panel Settings
a. Configure relay display points. Use the front-panel display to indicate fault conditions, alarms, and operational
parameters.
b. Configure relay front-panel target indications.
Report Settings
a. Configure relay event reporting (ER) to capture relay trip conditions.
b. Configure and set the SER (sequence-of-events report) settings.
c. Configure and set the LDP (load profile report settings) report, if required.
Communications Ports and Protocol Settings
Enable and enter the communications ports and protocol settings as required by the application.
Step 4. Save the revised setting file into the database, and then with the settings still open, click the Send Active Settings
icon and then click OK when prompted to upload the revised settings into relay.
Step 5. Perform relay verification and commissioning tests per your requirements. Refer to Section 10 in the SEL-751A
manual for details on relay testing.
*PLS751A-01*
© 2007–2009 Schweitzer Engineering Laboratories, Inc. All rights reserved. Date Code 20090109
Relay Settings
Courtesy of NationalSwitchgear.com
Table of contents
Other Sel Relay manuals
Popular Relay manuals by other brands

macromatic
macromatic PMP Series installation instructions

Victron energy
Victron energy BatteryProtect BP-65 Installation

BECKWITH ELECTRIC
BECKWITH ELECTRIC SYNCROCLOSER M-0188A Instruction book

Omron
Omron K8DT-AW Series manual

GRUP ARGE
GRUP ARGE SMART S12 instruction manual

Schrack
Schrack LSZ6W Series Assembly