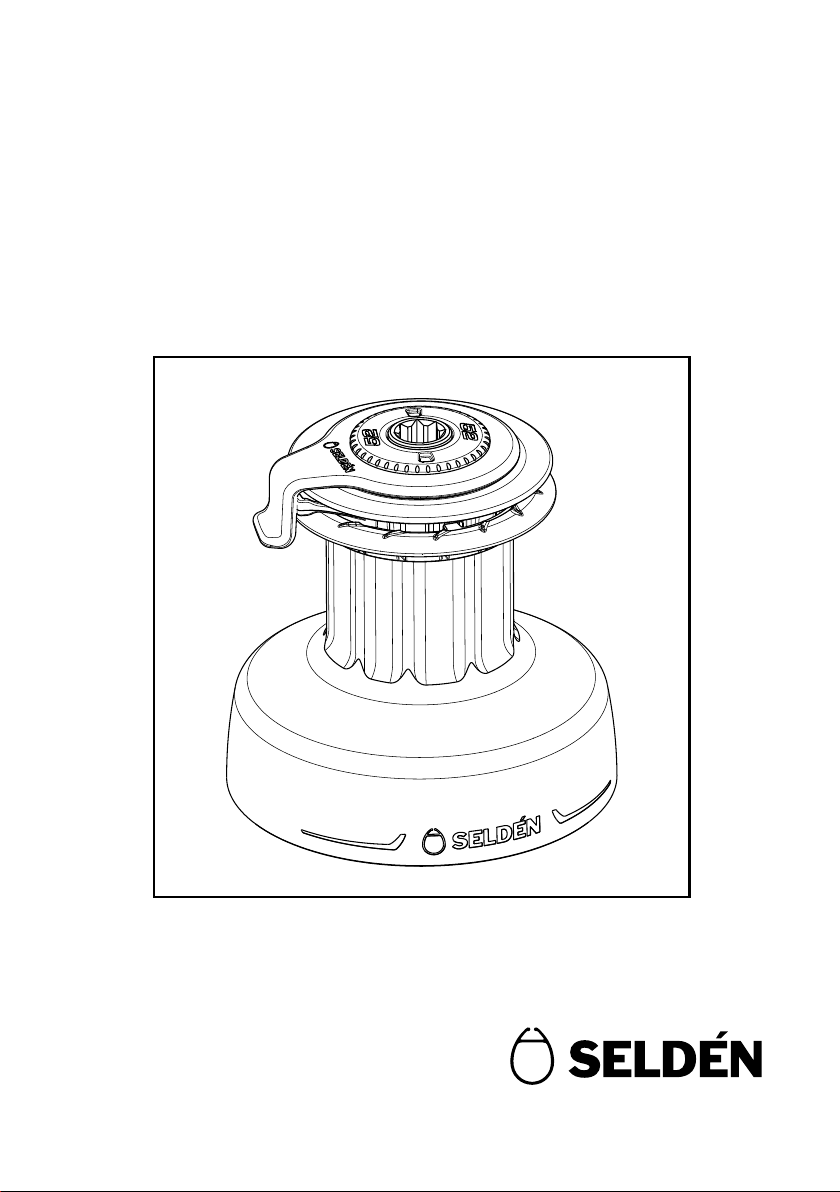
Selden S30 User manual

597-489-E
2023-10 -30
Manual
2-speed self-tailing winches
S30, S40, S46, S52, S60
& S66

2
Contents
1 Introduction………………………………………………………................. 3
2 Self-tailing winch, S30-S66 ………………………..…………….............. 4
2.1 Included parts………………………………………………............ 4
2.2 Optional parts ………………………………………………........... 5
2.3 Technicalspecication……………………………………............ 6
3 Installation……………………………………………………………............ 8
3.1 Installation preparation……………………………………............ 9
3.2 Fitting the winch……………………………………………........... 10
3.3 Adjusting the self-tailing arm …………………………............... 12
4 Operation……………………………………………………………............ 13
5 Trouble shooting ………………………………………………….............. 15
6 Service and maintenance ……………………………………….............. 16
6.1 Yearly maintenance ………………………………………........... 16
7 Spare parts ....…………………………………………………...…........... 19
8 Disposal ....…………………………………………………………............ 20
9 Warranty ....…………………………………………………………........... 21

3
1. Introduction
Congratulations on the purchase of your new Series S, self-tailing winch.
This manual cover installation and operating instructions for the S30, S40, S46,
S52, S60 and S66 self-tailing winches. The model designation is found on the
top cover of the winch. Serial number is found on top of the winch base.
Please read the entire manual before assembly/usage and keep the manual
available for future reference. The latest version of this manual is available at
www.seldenmast.com.
Safety Precautions
Carefully pay attention to, and follow, the instructions with the following symbols:
ATTENTION
This symbol indicates a critical moment in the assembly or technical advice.
WARNING
This symbol indicates a potentially hazardous situation. If not avoided, this could
result in serious personal injury or damage to property.
Choosing the correct version of S-winch for your boat:
The key to a safe and properly working installation is correct dimensioning in
relation to the boat size the products shall be used on. Seldén provides dimen-
sioningguidelinesincatalogues,leaetsandonthewebsite.Ifthereareany
questions about selecting the right product, please consult an authorized Seldén
dealer. All dealers are listed at www.seldenmast.com and divided in categories
describing their competence.
Serial number
placed here.

4
2 Seldén Series-S winch, S30-S66
The Seldén S-winches are manually operated and of self-tailing type with two gears forward.
Description Item No. Illustration
Seldén Series S-winch
S30 Aluminium drum 475-130-01
S40 Aluminium drum 475-140-01
S46 Aluminium drum 475-146-01
S52 Aluminium drum 475-152-01
S60 Aluminium drum 475-160- 01
S66 Aluminium drum 475-166-01
Drilling template
S30 597-198-E
S40 597-509-E
S46
597-511-E
S52
S60
597-512-E
S66
Manual for assembly and operation 597- 489-E
Winch tool 473-010
2.1 Included parts

5
2.2 Optional parts
Description Item No. Illustration
10” Race GRIP winch
handle
474 - 501-10
8” Race GRIP winch
handle
474 - 401-10
10” STANDARD winch
handle
474 -301-10
8” STANDARD winch
handle
474 -201-10
Seldén lubrication grease 312–501
Pawl oil (50 ml) 312-709-01

6
2.3 Technical specification
Main components
Top Cover
Self-tailing arm
Drum assembly
Locator
bracket
Winch base
assembly

7
Model Height
(mm)
Base
Ø
(mm)
Drum Ø
(mm)
Suitable
line dimen-
sions
(mm)
Power ratio Weight
(kg)
Safe Wor-
king Load
(SWL, kN)
High
Gear
Low
Gear
S30 150 Ø139 Ø75 8-12 12:1 30:1 2,9 8,4
S40 162 Ø152 Ø75 8-12 13:1 40:1 3,5 11,2
S46 186 Ø184 Ø90 8-14 13:1 46:1 5,8 12,9
S52 186 Ø184 Ø90 8-14 15:1 52:1 5,8 14,6
S60 239 Ø245 Ø120 8-16 18:1 60:1 13,0 16,8
S66 239 Ø245 Ø120 8-16 20:1 66:1 13,1 18,5
Exceeding the recommended max line dimensions may damage the
self-tailing halves and may also cause other damages and/or injury.
Dimensions and technical data

8
3 Installation
Installation of a Seldén Winch must be carried out by a competent installer
who has read and understood this installation manual, the purpose and
function of the winch and has checked the loads, winch sizing and mounting
requirements prior to installation.
Winch orientation, position relative to associated components and location
regarding deck reinforcement and suitability must be checked and any reinforce-
ment work carried out prior to installation. The installer takes full responsibility to
ensure these checks have been undertaken. This may require the assistance of a
boatyardorcertiedmarineengineers.
Seldén Mast does not provide fasteners. The installer is responsible for the sour-
cing and specifying load capacity of the fasteners, ensuring they are rated for the
expected loads from the winch. Any fastener should be made from marine grade
stainless steel.
Seldén Mast AB does not take responsibility for the incorrect installation of a
winch,theinsucientreinforcementofthedeckatthelocationofthewinch,
wateringressduetoinsucientsealingoranydamagetointeriorasaresultof
water ingress.
S30 5 pcs Countersunk M6 screws
S40 4 pcs Countersunk M8 screws
S46/S52 5 pcs Countersunk M8 screws
S60/S66 5 pcs Countersunk M10 screws
Fastener recommendations:

9
3.1 Installation preparation
Winch orientation
For optimum performance during use, the winch must be oriented correctly for
the intended application.
If the winch is to be used for handling of multiple lines, e.g. placed on the coach
roof for use as a halyard winch in combination with running spinnaker or gennaker
sheets, the winch shall be oriented and optimized for the highest load.
LOAD SIDE

10
3.2 Fitting the winch
1.
Use the provided drilling template and
mark and drill holes suitable for the
intended fastening method.
Take special consideration for the winch
orientation before drilling to allow compli-
ance with chapter 3.1, Winch orientation.
(If needed, the drilling template can be
downloaded from www.seldenmast.com.
When printing from the web, scaling
issues may occur. Verify the template
before using.)
2.
Unscrew the top cover using the winch
tool that was supplied with the winch.
3.
Remove the top-cover, the self-tailing
arm and the locator bracket.
4.
Remove the drum.

11
5.
Fit the winch with countersunk screws.
Take measures to seal the interface
between the hull and the winch to avoid
water ingress. Recommended fasteners
can be found under fastener recommen-
dations on page 8.
The hull and deck must be
properly reinforced in the mounting
area to keep its integrity with the
provided tightening torques as well as
withstanding the loads applied on the
winch.
6.
Ret the drum, the top-cover, the self-
tailing arm and the locator bracket.
Adjust the self-tailing arm to have the line
exiting the self-tailing jaws in the desired
direction.
7.
Make sure that the line stripper is posi-
tioned in line with, and held captive by,
the self-tailing arm before retting the top
cover.
Tighten the top cover using the supplied
winch tool.

12
3.3 Adjusting the self-tailing arm
1.
The self-tailing arm can be adjusted
to feed the line into the cockpit. To do
this, unscrew the top cover and lift the
self-tailing arm
The self-tailing arm can now be
rotated to allow the line to feed properly.
Be sure to ret the self-tailing arm
correctly to the grooves on the locator
bracket.
2.
Make sure that the line stripper is
positioned in line with, and held captive
by, the self-tailing arm before retting
the top cover.
Tighten the top cover using the supplied
winch tool.

13
1.
Apply 2-3 turns on the winch
drum and pull any slack in the
line. Fewer or more turns may
be required depending on the
conditions.
NOTE: More turns on the winch
drum increases the risk of over-
ride.
2.
Add more turns if required
and then feed the line over the
self-tailing arm and lock it in the
self-tailing jaws.
Pull any remaining slack in the
line.
3.
Use a winch handle to trim the
rest of the line until desired
shape of the sail and/or tension
of the sheet or halyard has been
reached.
Rotating the winch handle
anti-clockwise will engage the
high speed. If more power is
needed, rotating the winch
handle clockwise will engage the
low speed.
4 Operation

14
Emergency situations
Override:
In an override situation, secure the line on the load side to relief tension in the line
aroundthewinch.Ifthisdoesnotreleasetheridingturns,ttingasecondaryline
may be required to acquire relief. Severe cases may require cutting the original
line after the new line has been attached and pulled.
Winch malfunction, diverting the line:
If the winch stops working all together, diversion of the line to another winch may
be required.Consider any forces that may cause further damage to the boat and/
or any equipment and/or persons before attempting this strategy.

15
5 Trouble shooting
Problem Problem cause Action
Loss of self-tailing
function
1. Line not properly
seated in self-tailing
jaws
1. Check line seating in
self-tailing jaws.
2. Too few turns on
winch-drum
2. Add turns until self-tailing
function is resumed.
Winch is not
ratcheting
1. Faulty reassembly of
ratchet gears
1. Flip ratchet gears to
match pawl egegment.
2. Winch is in need of
service
2. Perform service.

16
To maintain top performance and assure longevity for all parts of your self-tailing winch,
it is recommended to rinse the winch thoroughly with freshwater after each use.
6.1 Yearly maintenance
6 Service and maintenance
1.
Unscrew the top cover using the
Winch tool supplied with the winch.
Remove top cover, self-tailing arm
and locator bracket.
2.
Remove the drum assembly.
3.
Remove drum washer, bearings, and
drive shaft, followed by the two (2)
gear axles. If needed, a small at-
head screwdriver can be inserted into
the slot on either of the axles to ease
removal.

17
4.
Remove the main/drive- and
secondary gear assemblies.
Pay attention to the washers.
5.
Disassemble the gears and clean all
parts thoroughly using white spirits.
Inspect pawls and springs and
replace if worn or damaged.
When clean, apply pawl oil on the
pawls and apply a thin layer of
grease to the cylindrical surface
of the small hub.
Re-assemble the gears.
6.
Ret the gears and lock them in place
with the gear-axles. Grease the axles.

18
7.
Re-t bearings, drum washer and
drive shaft. Apply grease to all
gears and ret the drum.
8.
Fit the locator bracket, the
self-tailing arm and the top cover.
Make sure that the line stripper is
positioned in line with, and held
captive by, the self-tailing arm
before retting the top cover.
Tighten the top cover using the
supplied winch tool.

19
Description Art. No.
Gear Service kit
S30/40 470- 0 29 -11R
S46/52 470-029-12R
S60/66 472-0 05-11R
Bearing kit
S30/40 473-548-10R
S46/52 473-547-10R
S60/66 473-549-10R
Self-tailing jaws kit
S30/40 473-429-10R
S46/52 473-525-10R
S60/66 473-625-10R
Spring kit
S30/40 308-000-10R
S46/52 308-069-10R
S60/66 308- 069 -10R
Top cover
S30 473-314R
S40 473-414R
S46 473-524R
S52 473-514R
S60 473-624R
S66 473-614R
Line stripper
S30/40 473-427R
S46/52 473-527R
S60/66 473-627R
Winch tool
S30/40 473-010R
S46/52
S60/66
7 Spare parts
The following parts can be purchased as spare parts for your Seldén winch:

20
8 Disposal
For proper treatment, recovery and recycling, please take
this product(s) to designated collection points where it will
be accepted free of charge. Alternatively, in some countries,
you may be able to return your products to your local retailer
upon purchase of an equivalent new product.
Disposing of this product correctly will help save valuable
resourcesandpreventanypotentialnegativeeectson
human health and the environment, which could otherwise
arise from inappropriate waste handling.
Please contact your local authority for further details of your nearest designated
collection point.
Other manuals for S30
3
This manual suits for next models
5
Table of contents
Other Selden Winch manuals
Popular Winch manuals by other brands

Comeup
Comeup CP-500T quick start guide

Comeup
Comeup CWL-301L quick start guide

Ingersoll-Rand
Ingersoll-Rand LIFTSTAR Series Installation and operation manual

Sealey
Sealey RW8180 quick start guide

Westfalia
Westfalia 82 45 37 instruction manual

Farmi Forest Corporation
Farmi Forest Corporation 290 OPERATION, MAINTENANCE AND SPARE PARTS MANUAL

Come.up Winch
Come.up Winch Seal Gen2 9.5rs manual

Come.up Winch
Come.up Winch DV-3500i manual

Keeper
Keeper KW7.5RM Assembly & operating instructions

Superwinch
Superwinch PRO Series owner's manual

Warn Industries
Warn Industries VRX 25-S Basic guide

VIIG
VIIG KBF Assembly- and operational instructions and spare parts list