Huchez EP3500 Series User manual

EN - ENGLISH - 09/2019
USER MANUAL
Translation of original instructions 2EN Reproduction is prohibited
USER MANUAL
ELECTRIC WINCH
EP3500 / EP4500

EN - ENGLISH - 09/2019

EN - ENGLISH - 09/2019
Translation of original instructions 2EN Reproduction is prohibited
CONTENTS
01. INTRODUCTION ................................................................................................................2
02. GENERAL SAFETY INFORMATION.............................................................................. 3
03. WARRANTY ......................................................................................................................4
04. RECEIPT OF EQUIPMENT .............................................................................................4
05. USAGE RESTRICTIONS ................................................................................................. 5
06. EQUIPMENT INFORMATION .......................................................................................6
07. MOUNTING -INSTALLATION ......................................................................................8
08. COMMISSIONING -USAGE......................................................................................... 10
09. MAINTENANCE ............................................................................................................. 13
10. DECOMMISSIONING.................................................................................................... 14
11. SPARE PARTS .................................................................................................................. 14
12. TROUBLESHOOTING ....................................................................................................15
13. EC DECLARATION OF CONFORMITY........................................................................ 16
14. EXPLODED-VIEW DRAWINGS ......................................................................................17
01INTRODUCTION
Dear customer,
Thank you for choosing this high-quality winch, which has been designed and manufactured to
strict specifications.
This manual has been carefully produced to provide you with all the necessary information for
optimal installation and use of your equipment.
We recommend that you read it carefully before use and keep it close to hand for future reference.
We also reserve the right to make changes, without notice, as part of our continuous improvement
of this product.
Please, do not hesitate to contact your RUNVA distributor if you wish to obtain more information:
4, rue Michel Hammid
60420 FERRIERES (France)
: 03 44 51 11 33
WARNING
Please read, study and follow all instructions before using this equipment.
Failure to follow these instructions could result in serious injury
and/or damaged equipment.

EN - ENGLISH - 09/2019
Translation of original instructions 3EN Reproduction is prohibited
02GENERAL SAFETY INFORMATION
All users should read the usage instructions carefully before first use. These instructions should
enable the user to familiarise themselves with the winch and achieve the best performance
possible. The usage instructions contain important information about how to use the winch
correctly and safely. By acting in accordance with these instructions, you will avoid hazards,
reduce repair costs, reduce downtime and increase reliability and extend the life of the winch. The
instruction manual should always be available at the winch’s point of use. In addition to the usage
instructions and the relevant regulations for the prevention of accidents, it is also important to
consider the applicable health and safety regulations in force in each country.
The winch can produce significant pulling forces. If it is used in an unsafe or inappropriate way, it
could result in damaged equipment, serious injury or death. Throughout this manual, you will find
the following symbols, indicating cautions, warnings and hazards. Pay particular attention to the
notes accompanying these symbols because they are written for your own safety. As the operator,
you are responsible for using this device safely.
CAUTION
This indicates a potentially hazardous situation which, if not
avoided, could result in minor or moderate injury. This symbol is
also used to warn you against unsafe practices.
WARNING
This indicates a potentially hazardous situation which, if not
avoided, could result in death or serious injury.
These winches allow loads to be moved using an appropriate steel or synthetic cable. They have
been designed to pull up to a determined rated load and with a static system safety factor of 3.
The rated load indicated on the winch corresponds to the maximum operating load; this must
not be exceeded under any circumstances.
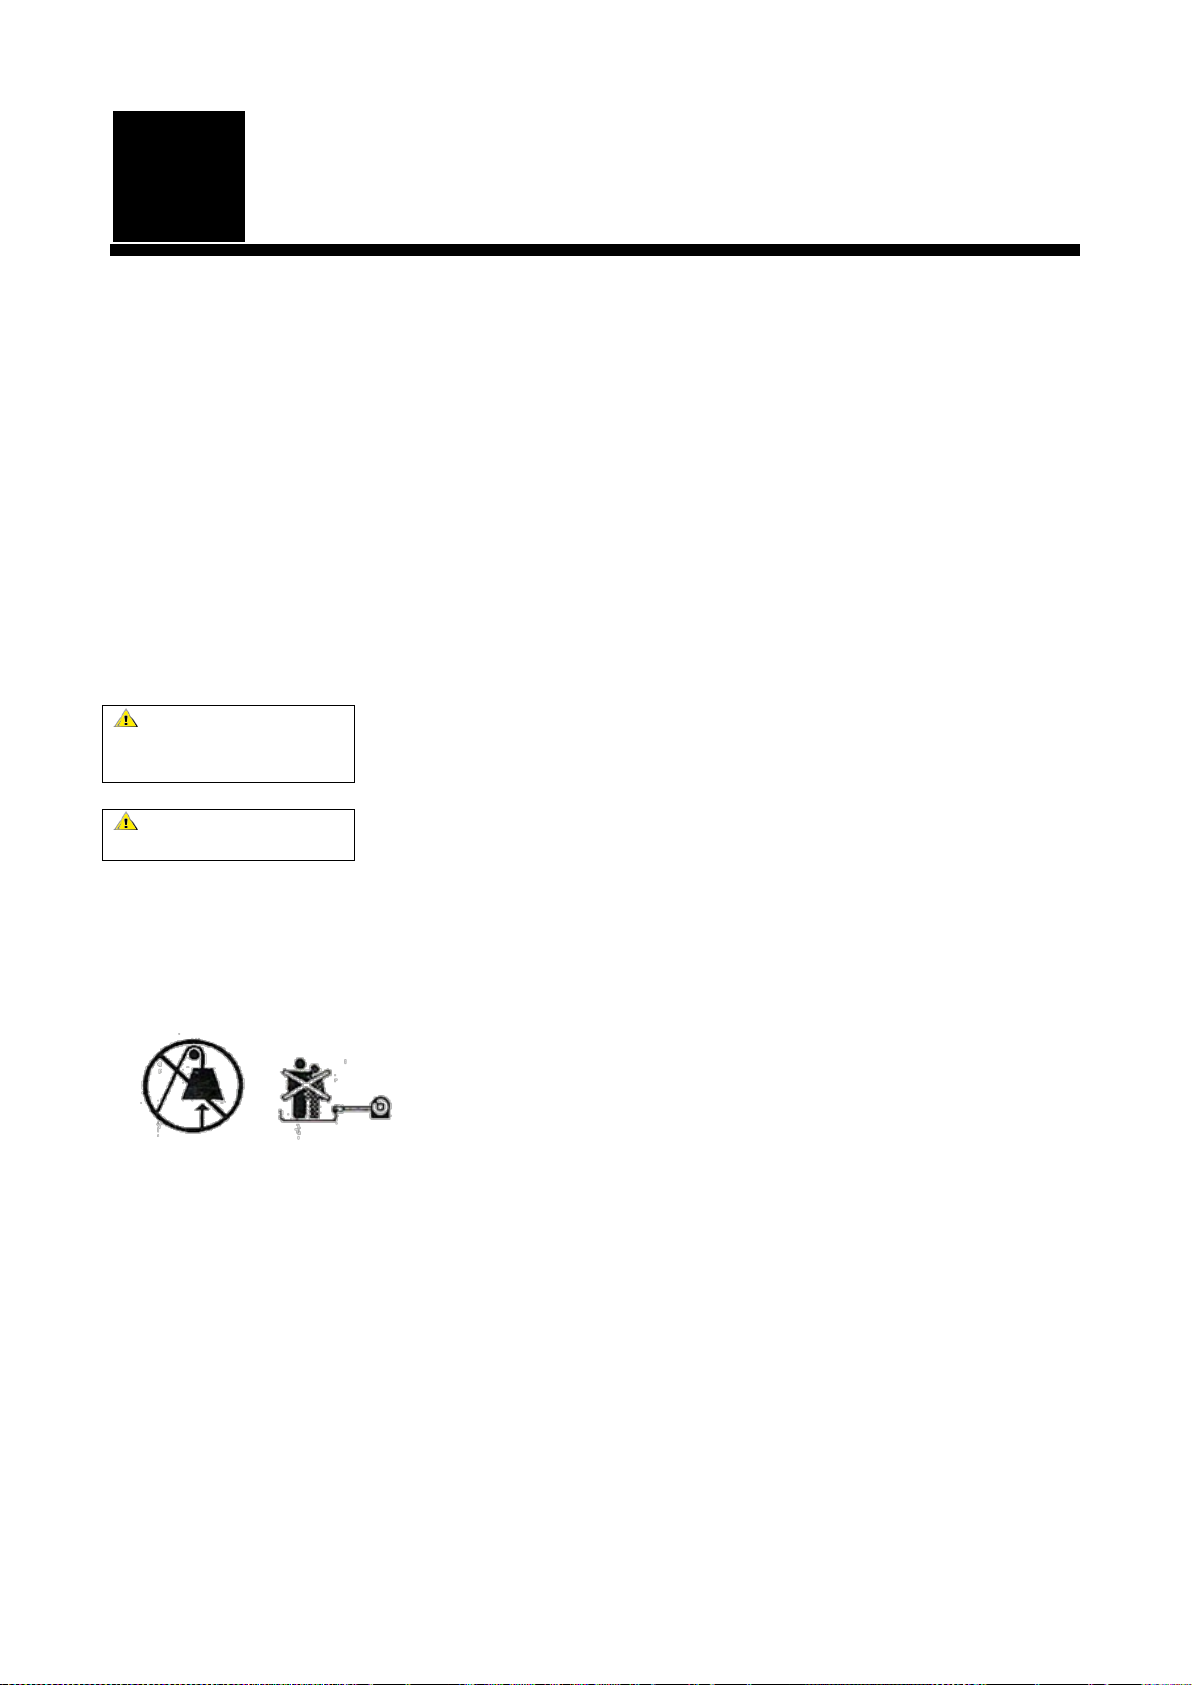
UNDER NO CIRCUMSTANCES MAY THIS WINCH BE USED FOR
HOISTING OR TO LIFE OR MOVE PEOPLE.
Do not start pulling the load until it has been correctly secured and all personnel have left the
danger area.
Before each use, the operator must verify that the winch, its cable, its hook, its markings and its
mounting are all in good condition.
The operator must ensure that the load is attached in such a way that the winch, cable and load
do not pose a danger to themselves or others.
The use of winches requires strict compliance with the relevant health and safety practices in the
country in which the winch is used.
HUCHEZ does not accept any responsibility for consequences resulting from the use or
installation of devices not covered in this manual, nor does HUCHEZ accept any responsibility
for the consequences of disassembly, modification or replacement of original parts or
components with third-party parts or components without HUCHEZ’s written consent.

EN - ENGLISH - 09/2019
Translation of original instructions 4EN Reproduction is prohibited
This device is subject to European regulations and in particular to Machinery Directive 2006/42/EC
and European Standard EN 14492/1.
ANY APPLICABLE REQUIREMENTS AND REGULATIONS IN YOUR COUNTRY MUST ALSO
BE COMPLIED WITH.
03WARRANTY
These electric winches are covered by a 1-year warranty, starting from the date of shipment (from
the factory).
This warranty does not cover any wear or damage resulting from a lack of regular maintenance. It
also does not cover damage due to a lack of supervision, incorrect operation or improper use of
the device, in particular as a result of overloading, pulling diagonally, incorrect supply voltages or
faulty connections.
The warranty shall not apply in cases of disassembly, modification or the changing of mechanical
or electrical parts without our agreement or by an unauthorised party. The warranty shall only apply
to original manufacturer parts. For the duration of the warranty, the seller is obliged to replace or
repair any parts recognised as faulty following examination by their approved and qualified service.
This warranty excludes any other provision or compensation.
All repairs under warranty shall be undertaken by the seller or by an agent authorised by the
manufacturer. Any parts replaced shall become the property of the seller and must be returned to
them.
For particular parts which are not manufactured by the seller and which bear the brand name of
specialist manufacturers, the warranty (which may vary depending on the manufacturer), shall be
the same as that granted by that manufacturer.
04RECEIPT OF EQUIPMENT
Carry out a visual inspection of the packaging to verify that it is in good condition.
In the case of a fault or problem, write down your concerns on the delivery slip.
Check that the winch corresponds to the one you ordered.

EN - ENGLISH - 09/2019
Translation of original instructions 5EN Reproduction is prohibited
05USAGE RESTRICTIONS
WARNINGS
•Do not exceed the rated load capacity indicated in this manual.
•Intermittent use only. Allow the winch to cool between each use.
•Do not use the winch to lift a load (vertically).
•NEVER use the winch to lift or move people in any way.
•NEVER cut, weld or modify any part of the winch or the cable.
•A minimum of five turns of steel cable around the drum are required to pull and hold the
rated load. For synthetic cable, ensure a minimum of 10 turns.
•When the winch is in use, please ensure that all people present (including yourself) are
a safe distance away from the cable.
•The cable (whether steel or synthetic) may break before the motor stalls. For heavy
loads (at or near rated load capacity), use a pulley block to reduce the load on the
cable.
•Never step on a cable and never approach a loaded cable.
•Do not move the towing vehicle in order to pull the load with the winch cable. This
could cause the cable to break.
•Please ensure that the remote control and battery cables are disconnected when not in
use.
•Please avoid jolting the cable by using the controls intermittently to remove slack in the
cable. Jolts can far exceed the load capacity of the cable and the drum.
•Do not exceed the maximum rated pulling capacity indicated in this manual.
•When winding the cable, please ensure that it is wound in the correct direction and that
it winds around the drum from the bottom and not from the top. To ensure that the
cable is wound correctly, you should apply light tension to the cable while pressing the
button on the remote control to pull the cable. Move towards the winch to avoid the
cable slipping between your hands. Do not move your hands within 30 cm of the winch
when winding. Turn off the winch and repeat this process until there are only a few cm
of cable left. Disconnect the remote control and finish winding the cable by
disengaging the clutch and turning the drum by hand. Keep your hands away from the
roller fairlead and the drum when the winch is powered.
•Failure to pay attention to these warnings may result in personal injury and/or damaged
property.
•Use gloves to protect your hands when handling the cable. Never allow the cable to slip
between your hands.
•Never attach the cable to itself. When the vehicle is on a slope, apply chocks to the
wheels. When pulling a load, the winch should be run for the shortest time possible. If
the motor becomes too hot to touch, stop winching immediately and allow the motor to
cool for a few minutes. Do not run the winch for more than a minute if you are at or near
the rated load.

EN - ENGLISH - 09/2019
Translation of original instructions 6EN Reproduction is prohibited
•Never attach the cable to itself. When the vehicle is on a slope, apply chocks to the
wheels. When pulling a load, the winch should be run for the shortest time possible. If
the motor becomes too hot to touch, stop winching immediately and allow the motor to
cool for a few minutes. Do not run the winch for more than a minute if you are at or near
the rated load.
CAUTION
•If the motor stalls, do not continue to apply power to the winch. Electric winches are
designed and manufactured for intermittent use. They should not be used for
continuous usage applications.
•Never disengage the clutch while the winch is loaded.
•Use the safety strap when handling the hook to wind or unwind the cable.
06EQUIPMENT INFORMATION
6.1. General information
This winch is a powerful machine which must be handled with extreme caution with attention paid
to all cautions and warnings indicated in this manual. It is important that you understand its
specifications and the basics of how it works so that you can use it safely and with complete
confidence whenever you need to.
Below, you will find a list of the winch’s components and their functions. We recommend that you
practice using the winch before finding yourself in a situation where you need to use it.
1. This winch is designed for maximum pull strength with a single layer of cable wound around
the winch drum (the first layer).
2. The motor is fed by a 12-volt battery which powers the gear mechanism that spins the drum
and winds the cable. Before use, ensure the winch is connected to the correct supply voltage.
3. The winch drum is the cylinder around which the cable is wound. It can unwind or rewind the
cable, depending on which button is pressed on the remote control.
4. The winch may be equipped with a cable (galvanised steel aircraft cable or synthetic cable,
depending on the model), which is specifically designed for a rated pulling load. The cable is
wound around the drum from the bottom through the roller fairlead and has a loop at the end to
allow the hook to be attached.
5. When the winch is used at an angle, the roller fairlead guides the cable onto the drum. This
minimises damage to the cable caused by abrasion on the winch support or the vehicle
bumper.
6. The gearbox converts the power of the motor into an extreme pulling force.

EN - ENGLISH - 09/2019
Translation of original instructions 7EN Reproduction is prohibited
7. A braking action is automatically applied to the drum when the motor is stopped and the cable
is loaded. The braking action is complemented by a separate mechanical brake.
8. This winch has been designed to be used for multiple winching operations. It can be operated
via a wired or wireless remote control.
9. The clutch allows the operator to manually disengage ("DISENGAGE") the drum from the
gearbox. "ENGAGE" locks the drum to the gearbox.
10. Solenoid: Power from the vehicle battery feeds the winch motor via a sealed switch.
11. The power switch cables have a double switch to turn the winch on or off. The remote control
allows you to keep a safe distance from the cable when it is loaded.
12. The wireless remote control (optional, contact us): allows you to control the winch from a
distance of up to approx. 15 metres.
13. The winch is supplied with a mounting plate which can be mounted on most flat surfaces such
as trailers, bumper steps, truck beds, etc. The mounting plate also has holes for attaching the
roller fairlead.
14. The winch can also be supplied with a pulley block (optional, contact us) to double the winch’s
pulling power or change the pulling direction without damaging the cable. We recommend that
you use a double line and a pulley block when pulling more than 70% of the rated pulling load.
6.2. Technical specifications
Specification EP3500U EP4500U
Rated Force 1,588 kg 2,041 kg
Motor: in series 12 V 12 V
Input: 2.4 kW
Output: 1.0 kW
Input: 2.5 kW
Output: 1.1 kW
Gear ratio 170: 1 166: 1
Cable (Dia. × L) Ø 5.4 mm × 12.8 m Ø 6 mm × 14.5 m
Drum size (Dia. × L) Ø 37 mm × 80 mm Ø 50.4 mm × 125 mm
Mounting dimensions / Mounting
bolts
124 mm x 76 mm / 2 – M8 168 mm x 76.2 mm / 4 – M8
Net weight (kg) 10.0 15.5
Table of load capacity per layer:
EP3500U EP4500U
1st layer pulling load
(kg)
Speed
(m/min)
Current
(A)
1st layer pulling load
(kg)
Speed
(m/min)
Current
(A)
0 3.2 20 0 3.9 28
454 2.7 75 454 3.0 80
907 2.3 130 907 2.6 120
1,588 1.4 200 1,361 2.1 160
2,041 1.4 220

EN - ENGLISH - 09/2019
Translation of original instructions 8EN Reproduction is prohibited
Table of cable capacity per layer:
Ref. EP3500U EP4500U
Layer Rated Force (kg) Cable drum capacity
(m) Rated Force
(kg) Cable drum capacity (m)
1 1,588 1.8 2,041 3.7
2 1,265 4.1 1,742 8.0
3 1,052 6.7 1,501 12.8
4 900 9.5 1,319 14.5
5 786 12.8
6.3. Dimensions
EP3500U
EP4500U

EN - ENGLISH - 09/2019
Translation of original instructions 9EN Reproduction is prohibited
07MOUNTING - INSTALLATION
Accessories you will need which are not included with the winch:
•Gloves for handling the cable and hook safety strap.
•Anchoring sling/chain.
•Blanket to throw over the cable to absorb the energy if the cable breaks.
1. The winch is designed with a standard bolt pattern for this class of winch. Many winch
mounting kits use this bolt pattern for common vehicles and mounting plates. If you wish to use
a mounting plate, ensure that it is mounted on a flat surface so that the motor, drum and
gearbox housing are correctly aligned. Correct alignment of the winch will ensure uniform
distribution of a rated load.
2. Begin by assembling the roller fairlead and the mounting plate using 2 screws. Ensure that the
screws are inserted through the mounting plate from the inside and through the roller fairlead. This
will ensure that there is enough space for the winch to be placed on the plate.
3. Assemble the winch on the mounting plate by pulling and turning the clutch switch to the
"DISENGAGE" position. Pull a few centimetres of cable from the drum and pass the cable loop
through the opening at the front of the mounting plate and through the roller fairlead. You may
now attach the winch to the mounting plate using the remaining screws.
4. Connect the battery and the motor cables as shown in the diagram below. Bear in mind that
each type of winch is different.
CAUTION
Batteries contain inflammable and explosive gases. Always wear protective goggles during
installation and remove all jewellery beforehand. Do not lean over the battery while making
the different connections.
5. Attach the clevis hook to the cable: remove the pin from the hook, connect the hook to the
cable and replace the pin.
6. Always use the safety strap when winding or unwinding the cable. Using the nylon strap will
help you to keep your hands and fingers away from the drum when it is rotating.
7. Check that the drum rotates correctly. Pull and turn the clutch switch to the "DISENGAGE"
position. Manually pull out some of the cable and then, turn the clutch switch to the "ENGAGE"
position to lock the gearbox to the drum. Press the "OUT" button on the remote control. If the
drum turns and unwinds the cable, your connections are correct. If the drum turns and winds up
the cable, swap the motor connections. Repeat and check the drum rotation.

EN - ENGLISH - 09/2019
Translation of original instructions 10EN Reproduction is prohibited

EN - ENGLISH - 09/2019
Translation of original instructions 11EN Reproduction is prohibited
08 COMMISSIONING - USAGE
Do not use this equipment without having first fully read and understood the user manual. Failure
to pay attention to these instructions whilst using this equipment poses a risk to your safety.
Before using the equipment, please, observe and apply the following safety instructions:
•The rated load of the winch indicates the force applied to the first layer on the drum.
Overloading can damage the winch, motor or cable. For loads greater than 70% of the rated
load, we recommend using a double-line with pulley block. This will reduce:
- the number of layers of cable on the drum,
- the load on the cable by 50%. When you double the line and attach the return line to the
vehicle, attach it to the chassis or another load-bearing part.
•The vehicle engine must be kept running while the winch is running in order to minimise the
drain on the battery and maximise the power and speed of the winch. If the winch is operated
for a considerable time with the engine off, the battery will drain and you may not be able to
restart the engine.
•Get to know your winch before you actually need to use it. We recommend that you carry out
some trial runs to practice attaching the cable, familiarise yourself with the sounds your winch
makes under different loads, observe the way the cable is wound around the drum, etc.
•Inspect the cable and equipment before each use. A frayed or damaged cable must be replaced
immediately. Only use a cable that meets the specifications recommended by the manufacturer.
•Inspect the winch’s installation and bolts to ensure that all bolts are secure before each use.
•Never attach the cable to itself or it may become damaged. Always use a pulley block, sling or
an appropriate-strength chain, as shown in the illustrations.
•Store the remote control inside your vehicle in a place where it will not get damaged.
•Any winch that looks to be damaged in any way, is found to be worn, or is not functioning
correctly should no longer be used.
•When towing a vehicle, only pull on parts specified by the vehicle manufacturer.
•Only accessories and/or adapters supplied by the manufacturer should be used.
•Before using your winch, briefly test it in both directions. Even if the drum is only at an angle of a
few degrees, ensure that the winch is well balanced, especially if you have used the clutch. The
test will engage the gearbox with the drum once again if necessary.

EN - ENGLISH - 09/2019
Translation of original instructions 12EN Reproduction is prohibited
8.1. Winch cable techniques
Auto-recovery
NOT CORRECT CORRECT
Figure 1
Identify a suitable anchor point. When choosing an
anchor point, choose a strong, firm point such as a
tree trunk or rock.
Always use a sling as an anchor.
CAUTION
Do not attach the hook to the cable as shown
in Fig. 1, it could become damaged.
Figure 2
CAUTION
Do not winch at an acute angle. Doing so will
cause the cable to wind on one side of the drum,
which could damage the cable and the winch, as
shown in Fig. 2
Short angle pulls can be used to straighten the
vehicle. Long pulls should be done with the cable at a
90° angle to the winch/vehicle.
Figure 3
When pulling a heavy load, throw a blanket or jacket
over the cable about 1.50 m from the hook. This way,
if the cable breaks, the whiplash will be absorbed. For
extra protection, open the bonnet of your vehicle as
shown in Fig. 3.
With 1 line With2 lines
Figure 4
For pulling loads greater than 70% of the rated load,
we recommend using a pulley block to double the
line. Fig. 4.
This will reduce the load on the winch and the tension
on the cable by up to 50%, depending on the angle.
Figure 5
WARNING
Never use the winch for hoisting or lifting
or moving people. Fig. 5.
8.2. Operating the winch

EN - ENGLISH - 09/2019
Translation of original instructions 13EN Reproduction is prohibited
Preparation before winching
1. Take some time to assess the situation and prepare your winching operation appropriately.
2. Wear gloves to protect your hands.
3. Disengage the clutch by turning the switch to the DISENGAGE position. This will allow the
cable to unwind freely and will save energy.
4. Attach the safety strap to the hook.
5. Pull the cable to the desired anchor point using the safety strap.
6. Attach the hook to the anchor point using a sling, chain or a pulley block. Do not hook the
cable onto itself.
7. Engage the gearbox by turning the switch to the ENGAGE position.
8. Connect the remote control to the winch.
9. Start the vehicle engine to ensure that the battery is charging. The vehicle engine must be
running to provide maximum power to the winch. The vehicle should be in neutral with the
handbrake applied. Chock the wheels to prevent it from moving.
10. Gradually put the cable under tension by gently guiding it. Once the cable is under tension,
keep a safe distance. Never step on the cable.
11. Disengage the clutch to allow the drum to turn freely and to save energy.
12. Inspect the cable. Make sure there are the minimum number of turns required around the drum.
13. Place a blanket or jacket over the cable about 1.50 m from the hook. Open the vehicle bonnet
for extra protection.
14. Make sure the area is clear. Ensure that all other people keep a safe distance away and that
no one is directly in front of or behind either the vehicle or the anchor point.
Winching operation
15. Start winching. Ensure the cable wraps evenly and tightly around the drum. The towing vehicle
may be driven slowly to assist the winching process. Avoid jolting the cable. Keep the cable
under tension.
16. If towing a vehicle, the vehicle in question must be in neutral with handbrake released. Only
release the brake pedal when maximum tension is reached. Avoid jolting the load as this could
damage the winch, the cable and the vehicle.
17. The winch is designed for intermittent use. When pulling a full load with a single line, do not
winch for more than one minute at a time. Allow the motor to cool for a few minutes, then
resume winching.
18. Winching is complete once the vehicle in question is on stable ground and can be driven under
its own power.
19. Secure the vehicle. Be sure to park the vehicle and apply the brakes.
20. Release the tension on the cable. The winch is not designed to hold the vehicle for a long
time.
21. Detach the cable from the anchor point.
22. Rewind the cable. Ensure that all of the cable already wrapped around the drum has been wound
correctly. If this is not the case, pull the cable out and wind it again with the cable under tension.
23. Keep your hands away from the drum and the roller fairlead whilst winding the cable around
the drum.

EN - ENGLISH - 09/2019
Translation of original instructions 14EN Reproduction is prohibited
24. Secure the hook and the safety strap.
25. Unplug the remote control and store it in a suitable, dry place.
26. Clean and inspect the connections and mounting equipment for the next winching.
09MAINTENANCE
9.1. Winch
1. Periodically check the tightness of the mounting bolts and electrical connections. Remove any
dirt or corrosion and ensure the winch is always kept clean.
2. Do not attempt to disassemble the gearbox.
3. The gearbox has been lubricated with high-temperature lithium grease and is factory-sealed.
No internal lubrication is required.
9.2. Cable
If the cable is worn or begins to show signs that it might break, it must be replaced before using the
winch.
1. Move the switch to the "DISENGAGE" position.
2. Pull out the full length of the cable. Take note of the manner in which the existing cable is
attached to the drum.
3. Remove the old cable and attach a new cable to the drum. Insert the end of the new cable and
tighten the M6x8 screw (Ref. P0450011).
4. Ensure that the new cable is wound around the drum in the same direction as the old one. The
cable must leave the drum from underneath the drum.
5. Move the switch to the “ENGAGE” position.
6. Wind the cable around the drum. The first five turns of steel cable (first 10 for synthetic cable)
should be done carefully so that the cable is wound correctly. Next, the cable should be wound
onto the drum with a load of at least 10% of the rated pulling force.
WARNING
Any replacement cable must meet the same specifications as those recommended by the
manufacturer.

EN - ENGLISH - 09/2019
Translation of original instructions 15EN Reproduction is prohibited
10DECOMMISSIONING
If the equipment is in a condition which is likely to be hazardous, the user is obliged to ensure that
the equipment is disposed of by decommissioning it and, where necessary, dismantling it.
11SPARE PARTS
If you notice during maintenance tasks that certain parts of your winch need replacing, only original
parts from the manufacturer should be used.
When ordering spare parts, please provide the following information:
•The type and force rating of the winch.
•The series number.
•The number or description of the desired parts (see exploded-view diagrams).

EN - ENGLISH - 09/2019
Translation of original instructions 16EN Reproduction is prohibited
12TROUBLESHOOTING
SYMPTOM
POSSIBLE CAUSE
SUGGESTED ACTION
The motor does
not start
- The remote control is
not connected
correctly
- The battery
connections are not
tight enough
- Faulty remote control
- Faulty motor
- Water has entered
the motor
- Reconnect the remote control correctly.
- Tighten the nuts on all cable connections.
- Replace the remote control.
- Check that there is power by pressing the button
on the remote control. If there is power, replace the
motor.
- Let the motor drain and dry. Operate the winch
intermittently with no load until completely dry.
The motor runs,
but the drum
does not turn
- Clutch not engaged
- Place the clutch in the "ENGAGE" position. If the
problem persists, the winch should be checked and
repaired by a qualified technician.
The motor runs
slowly or does
not run at normal
power
- Low current or
voltage
- Weak battery recharge. Try operating the winch
with the vehicle engine running.
- The battery connections are not tight enough or
are corroded. Clean, tighten or replace them.
Motor
overheating
- The winch is being
used for too long
- Allow the winch to cool down regularly.
The motor only
works in one
direction
- Faulty remote control
- The battery or motor connections are not tight
enough or are corroded. Clean and tighten them.
- Repair or replace the remote control.

EN - ENGLISH - 09/2019
Translation of original instructions 17EN Reproduction is prohibited
13EC DECLARATION OF CONFORMITY

EN - ENGLISH - 09/2019
Translation of original instructions 18EN Reproduction is prohibited
14EXPLODED-VIEW DRAWINGS
EP3500

EN - ENGLISH - 09/2019
Translation of original instructions 19EN Reproduction is prohibited
No.
Part No.
Qty
Description
1
P0350100-U
1
Motor assembly
2
P0250001
4
Lock washer Φ8
3
P0250002
4
Assembly screw, M8x15
4
P0250003
1
Transition shaft
5
P0250004
2
Coupling rod
6
P0250005
1
Hexagonal shaft
7
P0250006
1
Bushing, pre-drum
8
P0250007
6
Spring washer Φ6
9
P0250008
1
Screw, M6x8
10
P0250009
2
Assembly screw M6x70
11
P0250010
1
Drum
12
P0250011
1
Rear bearing
13
P0250012
1
Front thrust washer
14
P0250013
1
Ring gear
15
P0250200
1
Gear set
16
P0250014
1
Gearbox collar
17
P0250015
1
Trust washer
18
P0250016
1
Gearbox housing / Rear bearing
19
P0250017
1
Bearing support
20
P0250018
1
Roller bearing
21
P0250019
1
Clutch shaft
22
P0250020
1
Clutch release pin
23
P0250021
1
Spring
24
P0250022
1
Gearbox cover
25
P0250023
1
Roller bearing
26
P0250024
1
Rubber seal
27
P0250025
1
Clutch handle
28
P0250026
1
Lock washer Φ5
29
P0250027
1
Assembly screw M5x12
30
P0250028
4
Assembly screw M6x25
31
P0250029
4
Hexagonal nut, M8
32
P0250030
4
Lock washer Φ8
33
P0250031
4
Washer Φ8
34
P0250300
1
Roller fairlead
35
P0250032
1
Mounting plate
36
P0250033
2
Assembly screw M8x20
37
P0250034
2
Assembly screw M8x35
38
P0250035
1
Strap
39
P0350400
1
Cable
40
P0250036
2
Terminal protectors
43
P0350700
1
Control enclosure
This manual suits for next models
3
Table of contents
Other Huchez Winch manuals

Huchez
Huchez PULLEY-MAN Operating instructions

Huchez
Huchez EB20000 User manual

Huchez
Huchez PRIMO INOX BT 250 User manual

Huchez
Huchez TIREX 150 Kg User manual

Huchez
Huchez AGON300 kg User manual

Huchez
Huchez 631 AFL User manual

Huchez
Huchez EN17500 User manual

Huchez
Huchez PALANBOX 80 User manual

Huchez
Huchez MANIBOX VS Series User manual

Huchez
Huchez TRBoxter INOX 250 User manual