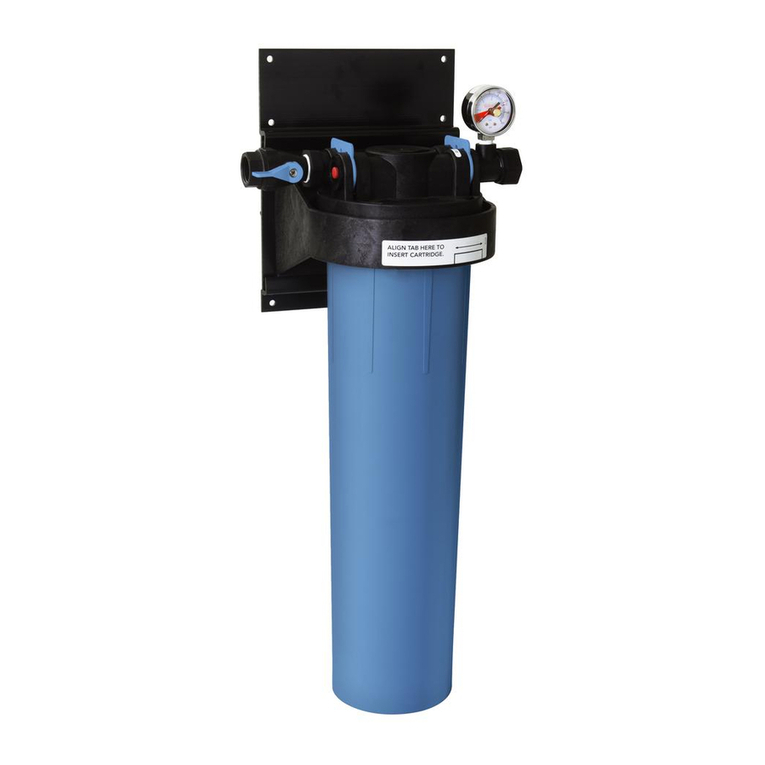
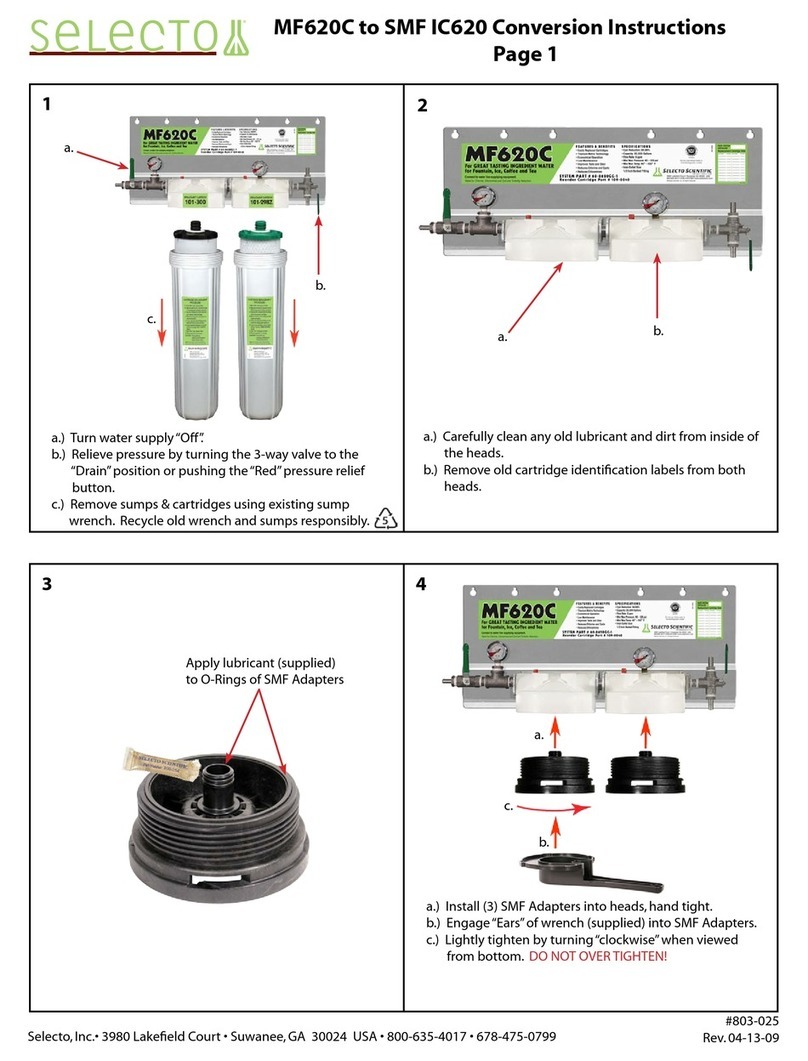
Selecto SMF Series User manual

SMF SELECTO MODULAR FILTER
INSTALLATION & OPERATIONS MANUAL
For Single & Multi-Cartridge SMF Series Systems
Water Filtration Systems for the Food Service Industry
DO NOT USEwithwater that is microbiologically
unsafe or of unknown quality without adequate
disinfection before or after the system.Systems
certied for cyst reduction may be used on disinfected
waters that may contain lterable cysts.
Proud Member of:
UM-SMF-IC
Rev. 9-12-07
Installation and Operating Instructions covering all SMF water filtration systems including, but not limited to:
SMF IC600, SMF IC600+, SMF IC620+, SMF IC600+/3, SMF IC620, IC620-2 & IC620-3, SMF IM600 &
IM614, SMF IcePRO, SMF CoffeePRO, SMF Espresso 7500,SMF Espresso 12000, SMF IC600-S, SMF
SteamerGUARD Flash 2000 & 4000, SMF SteamerGUARD 7500, & SMF SteamerGUARD 12000,

1. Installation Precautions
2. Installation
Page 2

Mounting
1. M asur backplat of filt r syst m and mark hol
locations on wall (See Item ).
a. Insur marks ar l v l, th n drill hol s for
anchors (if n d d). Anchors must b prop rly
match d, to allow for w t w ight of filt r syst m.
b. S cur SMF wat r filt r syst m to wall.
Water Connections
2. Us appropriat 1/2” fittings and tubing to allow
for a flow rat of 5 to 10 Gallons P r Minut (GPM)
(See Item ). Do not overtighten ittings into
plastic parts! Warranty will be voided i parts are
cracked and/or broken due to misuse and/or
overtightening! Us only S l cto approv d, SMF
Modular fittings!
b. Conn ct wat r filt r inl t to cold wat r
supply. Us approv d fl xibl b v rag tubing wh r
possibl with corr ct siz d tub clamps. If hard
plumbing is n c ssary th n us only l ad fr sold r
and prot ct filt r housing from xc ssiv h at. Do
not sold r within 12” of plastic parts!
3. From outl t of wat r filt r us no l ss than 1/2” ID
tubing to all sp cifi d quipm nt. It is only p rmissi-
bl to d cr as lin siz wh n multipl lin s ar
b ing us d (See Item ).
* T ing th tubing should b don appropri-
at ly, for xampl 1/2” x 1/2” x 1/2”. This is only to
b don at quipm nt location if lin is to b us d for
oth r quipm nt.
Initializing Water
Filter
4. Ch ck to b sur that th cartridg is prop rly
install d. Do this by turning th cartridg count r-
clockwis wh n looking at th bottom of th cartridg ,
and th n back clockwis until th postiv stop is f lt.
(See Item ). (Also s Cartridg Changing
Instructions (Page 5) and Troubl shooting Guid
(Page 6)
5. Turn inl t ball valv to th “On” position (handl
horizontal) slowly allowing wat r to fill filt r syst m
(See Item ).
6. Purg th cartridg so that th r is no air r main-
ing by d pr ssing th r d button until a st ady str am
of wat r com s out (See Item ).
7. Purg all air from th drink syst m wat r lin s by
pr ssing th plain wat r valv on drink disp ns r for
approximat ly 1 minut , or until no air, only wat r
com s out.
8. Syst m is now op rational. Go back and ch ck
v ry conn ction for possibl l aks and fix wh r
n d d.
Cartridge Change Schedule
9. Chang cartridg onc y arly, or wh n th n dl
on th pr ssur gaug (See Item ) stays in th
“R d” ar a.
7
1
2
3
4
5
6
1
2
3
6
4
5
7
Page 3
2. Installation (Continued)

Page 4
3. Maintenance
Cartridge Replacement Schedule
1. Wh n th lin pr ssur downstr am of th filt r
housing drops to 30 psi or b low during syst m
op ration, th cartridg (s) n ds to b r plac d.
Occasional dips b low 30 psi and back ar normal.
2. For syst m backplat lab l for ord ring informa-
tion for cartridg r plac m nts.
3. S b low for Cartridg Changing Instructions.
4. Cartridge Changing Instructions
Step #1
Shut off inlet valve . Push “Red” pressure relief button located
at left end of SMF filter system to relieve pressure until no more
water comes out. Grasp filter cartridge, turn counter-clockwise 1/4
turn (when viewed from bottom) and pull downward about 1 1/2” to
remove the filter cartridge. Properly dispose of old cartridge.
Step #2
Remove and discard the “Red” sanitary cap from the top of the new
cartridge. Be sure to apply sufficient lubrication (supplied) to the
O-Rings. Align ear on cartridge with notch in filter head and push
upwards to insert. Be sure to push cartridge all the way in! Turn car-
tridge clockwise (when viewed from bottom) until a definite stop is felt
and cartridge is sealed. Hand tight is sufficient. Turn on inlet valve
Flush for one minute.
It is recommended that the cartridge be changed at least yearly, when
pressure drops significantly, or when bad tastes and/or odors return.
See page 1 or system backplate label for proper replacement cartridge
part number.
5
5
6
Lubricate O-Rings

Page 5
55.. TTrroouulleesshhoooottiinngg GGuuiiddee
Leaks
All SMF Series Modular Filter Systems are factory pressure tested. It is normal to experience leaks of a few drops of
water at the various O-Ring sealed junction points at initial Start-Up only. This will subside after a few minutes as soon as
the O-Rings become under pressure and seat properly. For any leaks lasting longer than this, or those that are more
than a few drops, please see the troubleshooting points below. ote: The inlet valve must be turned “OFF” (handle
in vertical position), and pressure relieved by pushing the “Red” pressure relief button before attempting to fix any
leakage problems.
1. Leaks at threaded connection points.
This type of leak should be repaired by removing the
fitting and applying additional thread sealant compound.
Do not attempt to repair by tightening the fitting more!
Overtightening fittings into plastic parts may cause the
plastic to crack. This type of damage is considered
abuse, and not covered by the warranty!
5
6
2. Leaks at Junction of Modular Fittings to Filter Head
If leaking persists at the junction points, remove the
retainer clip carefully by inserting a screwdriver or other
object into to the hole and gently prying “UP” to remove.
Gently remove the leaking fitting by “pulling straight out”.
Apply additional lubricant (supplied) to the O-ring and
re-insert the fitting by gently “pushing all the way in” until
the shoulder on the fitting contacts the filter head.
Examine the retaining clip for any cracks from removal
and re-insert by “pushing straight down” until it is all the
way in. If retaining clip is cracked or stretched in any
way, discard it and use a new one (supplied). If the
above procedure does not cure the leak, repeat the
processes above, replacing the O-Ring (supplied). See
diagram below.
Retaining Clip
O-Ring
3. Leaks Between Cartridge and Filter Head
While looking at the top of the filter system, grasp the
cartridge and turn slightly counter-clockwise, when
viewed from bottomand then back clockwise, making
sure that the ears on the cartridge are fully engaged
into the filter head. The round locking tab in the filter
head will be engaged into the half-round recess in the
cartridge ear. See diagram below.
Round Locking Tab
4. If leakage persists, remove cartridge by following the
procedures outlined in “Step 1” of the Cartridge
Changing Instructions on Page 5. Inspect the O-Ring
on the top of the cartridge for damage. Replace with a
new O-Ring (supplied) and lubricate well with lubricant
supplied. Replace the cartridge by following the
procedures outlined in “Step 2” of the Cartridge
Changing Instructions on Page 5. See diagram below.
ew O-Ring
Lubricant
Lubricant

55.. TTrroouulleesshhoooottiinngg GGuuiiddee ((ccoonn’’tt..))
Bypassing the Filter System
The purpose of the Selecto SMF Modular Filter System is to
provide consistant safe, clean ingredient water. Bypassing
the system is not recommended. However, in the case of a
damaged or clogged filter cartridge, it may sometimes
become necessary to bypass the system. This may be
accomplished by removing the filter cartridge by following the
procedures outlined in “Step 1” of the Cartridge Changing
Instructions on Page 5, and installing the “Bypass Plug” in its
place. When installing the “Bypass Plug”, it is necessary to
properly lubricate the O-Ring using the lubricant provided.
Install the plug the same as a replacement cartridge by fol-
lowing the procedures outlined in “Step 2” of the Cartridge
Changing Instructions on Page 5. Be certain to properly
engage the “Ears” on the “Bypass Plug” fully into the round
locking tab in the filter head as outlined on the previous page.
See the diagram at right.
66.. WWaarrrraannttyy
Lubricant
Bypass
Plug
This manual suits for next models
16
Table of contents
Other Selecto Water Filtration System manuals
Popular Water Filtration System manuals by other brands

uv guard
uv guard SLT Series Installation and operation manual
Watts
Watts OneFlow OF140-4 Installation, operation and maintenance manual
Trapzilla
Trapzilla TSS-95-ECA Installation & maintenance instructions

UV Pure Technologies
UV Pure Technologies UPSTREAM instruction manual

Penguin Water
Penguin Water 200-PWRO Series manual
V-Guard
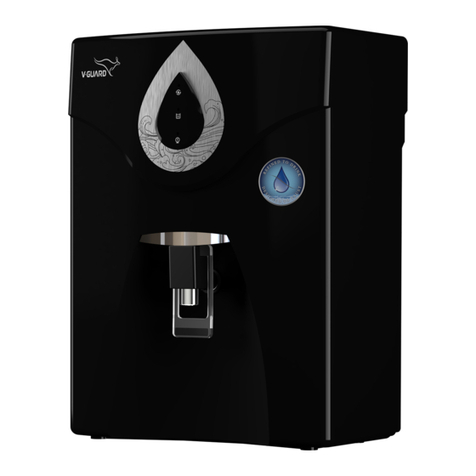
V-Guard ZENORA Series Operating Manual & Warranty Guide
