- 8 - 05/2020Copyright © 2020, Fast ČR, a.s.
BEFORE FIRST USE
1. Take the breadmaker and its accessories out of the box and remove all packaging materials including promotional pamphlets and labels.
Most important of all, do not forget to remove the label located at the bottom of the baking container A3.
2. Wash the accessories and removable parts intended for coming into contact with food under warm running water using kitchen detergent.
Then rinse them under running water and dry them thoroughly with awiping cloth.
3. Place the baking container A3, with the kneading blades installed, back in its place inside the breadmaker. Connect the breadmaker to
apower socket and it will beep.
4. Set the program 12 – BAKE and run the breadmaker empty in this mode for 10 minutes. When the program ends, cancel the KEEP
WARM function and disconnect the breadmaker from the power socket and allow it to cool down. Wash the baking container A3 and
the kneading blades again and dry thoroughly.
Note:
When first turned on, there may be light smoke emitted. This is completely normal.
5. Now, the breadmaker is ready for use.
USING THE BREADMAKER
Place the breadmaker on an even, dry and stable surface, e.g. on akitchen countertop.
Open the lid A2 and insert the baking container A3 inside the breadmaker unit. Put the kneading blades on to the shafts located at the
base of the baking container A3, and push them down thoroughly.
Note:
To make the removal of the kneading blades from the baked bread easier, we recommend coating the kneading blades and
shafts with food-grade fat that can be heated.
Measure out the ingredients according to the recipe and place them into the baking container A3 in the following order:
– First, add all the liquid ingredients, such as water, milk, beer, buttermilk, yoghurt, eggs, etc.
– Then add all the loose ingredients, such as flour, salt, sugar, herbs, bread spices, sprouts, flakes, seeds, etc. Put the salt into one corner,
and sugar into another, and spices into another.
– Finally, make ahole in the middle of the flour and put the yeast into it. When using fresh yeast, put the sugar in directly with it. The yeast
or baking powder must not come into contact with liquid before the breadmaker is started.
– With heavy, dense doughs with ahigh rye flour component, in order to achieve abetter kneading result, we recommend that you reverse
the order for adding ingredients, i.e. first add the yeast, then the flour and the liquid at the end. Also in this case it applies that the yeast
must not come into contact with liquid before the breadmaker is started.
– It is necessary to follow this general ingredient adding procedure for all the recipes.
The room temperature of the area where the breadmaker is located may have an effect on the final size of the finished loaf.The recommended
room temperature is 15°Cto 34°C.
Note:
Amaximum of 700g of flour and 6g of dried yeast may be used in asingle batch. Do not place agreater amount of flour or
yeast into the baking container.
Close the lid A2 and connect the power cord to apower socket. When it is connected to apower socket, along beep will be made and the
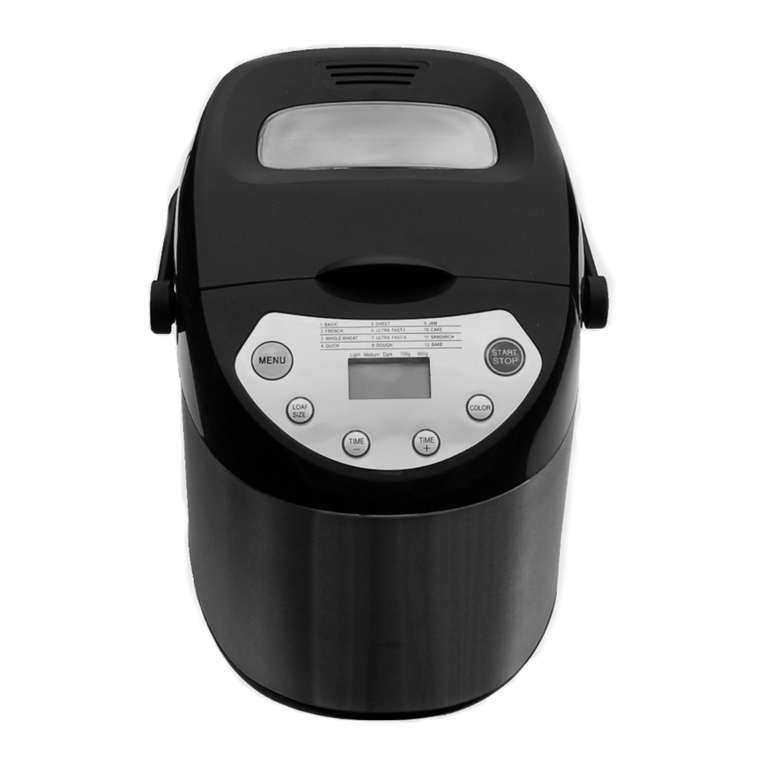
default setting: program 1, program length 03:00 and loaf weight 900g and crust colour "MEDIUM" will appear on the display B1.
Use button MENU B2 to set the required program.
Use button COLOR B7 to select the crust colour.
Use button LOAF B4 to set the loaf size. Certain programs do not enable the crust colour or loaf size to be set.
If you want your bread to be baked at alater time, set the delayed start timer using buttons + and –.
To start the breadmaker, press button START/STOP B5. The colon in the time shown on the display B1 will start flashing and the time
remaining until the end of the program will start counting down. The breadmaker will automatically go through the individual phases of
the program. Steam is emitted from the ventilation openings during the baking process.
When the program has finished, asound will be made. Then the breadmaker will switch to the KEEP WARM mode for 60minutes. If you
wish to end the KEEP WARM mode, hold down button START/STOP B5.
When the program has finished, tilt open the lid A2. Wearing kitchen gloves, lift up the handle of the baking container A3 and carefully
remove it from the breadmaker. Place the baking container A3 on to aheat resistant mat and allow the bread to cool down for approximately
10minutes while still inside. Then turn the baking container A3 upside down to release the bread from it. If the bread does not come loose
on its own, move the shafts afew times. To take the kneading blades out of the bread, use the removal hook A9.
WARNING:
Be very careful when handling the baking container A3 since it is very hot. Risk of burns. Always use protective kitchen gloves.
When you have finished using it, disconnect the breadmaker from the power socket and clean all the used parts according to the instructions
contained in the chapter Cleaning and maintenance.
Slicing and storing the bread
Allow the bread to cool down for 20- 40minutes before slicing it.
To cut slices of even thickness, use an electric knife or asharp knife with aserrated blade.
Wrap any unconsumed bread into aplastic bag. You may store it at room temperature for up to 3days.
