09/2019- 10 -Copyright © 2019, Fast ČR, a.s.
EN Dehumidifier
User'smanual
Prior to using this appliance, please read the user'smanual thoroughly, even in cases,
when one has already familiarised themselves with previous use of similar types of
appliances. Only use the appliance in the manner described in this user’smanual.
Keep this user'smanual in asafe place where it can be easily retrieved for future use.
We recommend saving the original cardboard box, packaging material, purchase receipt
and responsibility statement of the vendor or warranty card for at least the duration of
the legal liability for unsatisfactory performance or quality. In the event of transportation,
we recommend that you pack the appliance in the original box from the manufacturer.
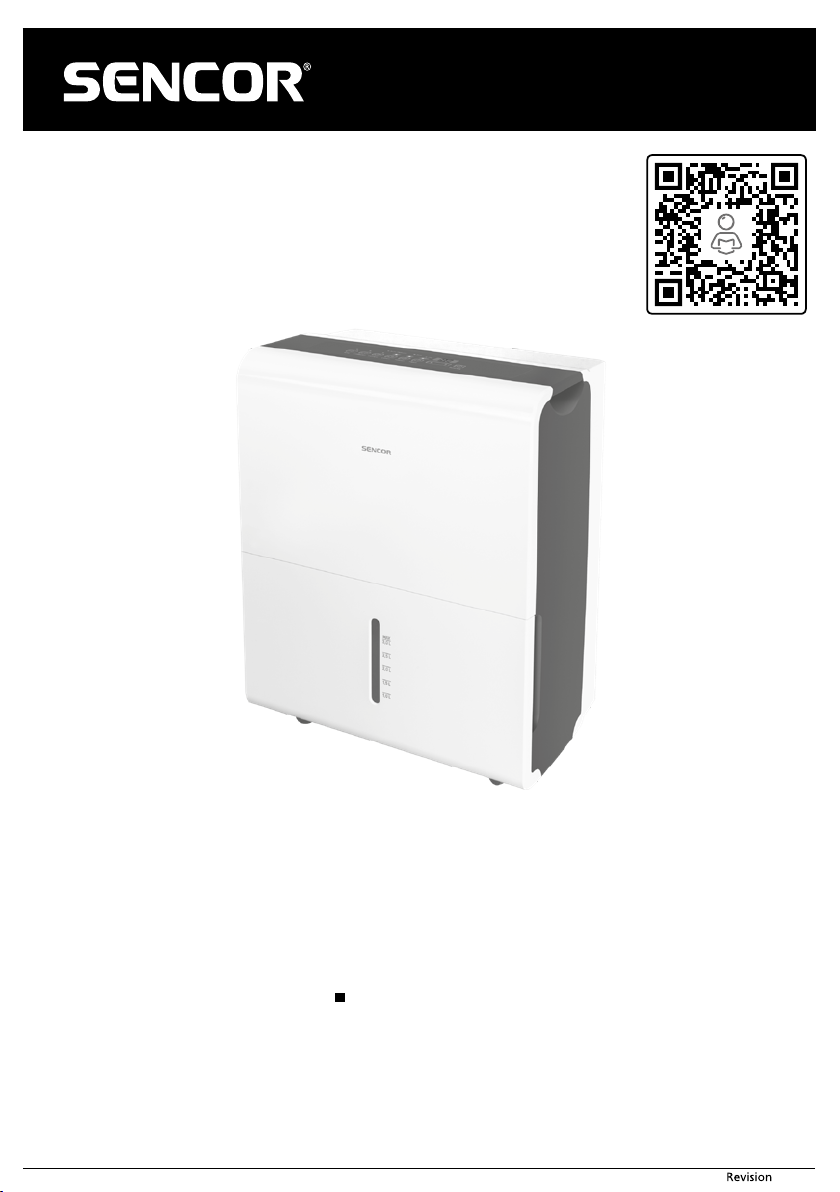
DESCRIPTION OF THE APPLIANCE
A1 Control panel
A2 Front cover
A3 Condensate tank
A4 Viewing window
A5 Handles (on both sides)
A6 Drain hose outlet connection
(only for continuous draining of
condensate)
A7 Travel wheels
A8 Power cord holder (used only for
storage)
A9 Air filter (located behind agrille)
A10 Air outlet grille
Not shown
- Threaded end
DESCRIPTION OF THE CONTROL PANEL
B1 COMFORT button (intelligent room
humidity control mode)
B2 FILTER button (air filter cleaning
check)
B3 CONT. button (for continuous
draining of condensate)
B4 TURBO button (fan speed control)
B5 TIMER button (timer control)
B6 ◄/►buttons
B7 On/Off button
B8 Display
B9 Automatic start indicator light
B10 Automatic shut-off indicator light
B11 Full condensate tank indicator light
B12 Automatic defrost indicator light
BEFORE FIRST USE
Before first use, take the appliance and its accessories out of the packaging material
and remove all promotional labels and stickers. Check that neither the appliance nor
any of its parts is damaged.
Note:
Travel wheels A7 may be removed on certain models. Screw the travel wheels
to the underside of the appliance prior to using it.
Do not travel over carpets, door thresholds or other obstacles with the wheels.
This could damage them.
Do not move the appliance when the condensate tank is full.
Certain models may also be supplied without travel wheels A7.
Installing the power cord holder
When planning on not using the appliance and preparing to store it, install the holder
that serves to conveniently store the power cord.
Insert the holder into the cut-out at the rear of the appliance – see figure C.
INSTALLATION LOCATION OF THE APPLIANCE
Locate the appliance on an even, dry and stable surface within reach of aproperly
grounded power socket.
Do not use the appliance outdoors.
To ensure sufficient air circulation, leave at least 20cm of free space around the sides
of the appliance.
Locate the appliance in aroom where temperature does not fall below 5°C. If the
temperature were to fall below 5°C, there is arisk of frost forming inside the appliance,
which would reduce its efficiency.
Do not locate the appliance in the vicinity of dryers, heating devices and other sources
of heat.
Use the appliance in locations where humidity could damage books or other valuable
items.
The appliance must be used in aclosed room in order to ensure its maximum
effectiveness. Therefore, close the doors and windows of the given room.
OPERATING THE APPLIANCE
The dehumidifier is used for drying out, for example, flooded basements, rooms with
an increased level of moisture, etc. Do not use it in areas where substances or items are
stored requiring precise room temperature and humidity control.
If using the appliance for the first time, it is important to allow it to run continuously
for 24hours.
Use the appliance at an ambient temperature in the range 5°C–32°C(41°F–90°F)
and humidity in the range 30%-80%.
Always wait at least 3minutes before turning the appliance on again.
Do not connect the appliance to apower socket to which another appliance is already
connected. We recommend connecting the appliance to an independent circuit.
Make sure that the condensate tank is correctly installed in the appliance, otherwise the
appliance may not function correctly.
OPERATING THE APPLIANCE
Make sure that the appliance is located in asuitable place and that it is correctly
assembled. Then insert the power plug into apower socket.
Turning on / off
Press button B7 to turn on the appliance. In order to turn off the appliance, press
button B7 again.
The appliance will turn off automatically if the condensate tank A3 is full or incorrectly
installed.
If you turn the appliance off and then need to turn it on again quickly thereafter, the
appliance will start again after approximately 3minutes. This function protects the
compressor against damage.
The appliance is equipped with an automatic restart function (AUTO-RESTART) for the
event of apower outage. Settings will remain stored in the memory of the appliance, and
after power is restored, the appliance will automatically start in the previously set mode.
When you have finished using it, turn off the appliance and disconnect the power cord
from the power socket.
Display
Depending on the selected mode, the display B8 shows: set humidity in %, automatic
start / shut-off time, current humidity in % (+/-5% in the range 30% - 90% relative
humidity).
Setting the COMFORT operating mode
Button COMFORT B1 serves to turn the COMFORT mode on and off (intelligent room
humidity control mode). The On state is signalled by alit indicator light above the
COMFORT B1 button.
In this mode, humidity is controlled automatically depending on the current room
temperature. Aspecific humidity cannot be set.
Setting the continuous dehumidification mode
The CONT. B3 is used to turn the continuous dehumidification mode on and off.The On
state is signalled by alit indicator light above the CONT. B3 button.
In this mode, the appliance runs continuously until the condensate tank A3 is completely
full of condensate. Aspecific humidity cannot be set.
Setting the humidity
Use buttons ◄/►to set the required humidity in the range 35% - 85% RH (relative
humidity). Each time abutton is pressed, the value will increase or decrease by 5%.The
set humidity will be shown on the display B8.
Setting fan speed
Button TURBO B4 is used to set normal or high fan speed.The high speed fan setting is
signalled by the indicator light above the TURBO B4 button being lit.
For maximum dehumidification speed, set the fan to the high speed. If you need the fan
to be more quiet or if humidity has declined, set the normal fan speed.
Setting an automatic start
While the appliance is turned off, press the TIMER B5 button. The indicator light B9
will be lit, meaning that the appliance is set to the automatic start mode. Use buttons
◄/►to set the time after which the appliance will turn on automatically. You can set
atime from 30minutes to 24hours, initially in 30-minute increments (up to 10hours)
and then in 1-hour increments.
The set time is automatically saved to memory after approximately 5seconds.
Automatic shut-off function
While the appliance is turned on, press the TIMER B5 button. The indicator light B10
will be lit, meaning that the appliance is set to the automatic shut off mode. Use buttons
◄/►to set the time after which the appliance will turn off automatically. You can set
atime from 30minutes to 24hours, initially in 30-minute increments (up to 10hours)
and then in 1-hour increments.
The set time is automatically saved to memory after approximately 5seconds and the
display B8 will show the set humidity.
Note:
If you set both automatic start and shut off in the same selected mode, the
B9 andB10 indicator lights will be lit.
If you turn the appliance on or off, while the automatic start or shut-off is
set, the appliance will automatically cancel the start or shut-off function.
If the message "P2" appears on the display B8, the automatic start / shut-off
function will be cancelled.
Cleaning the filters
After approximately 250hours of operation, the indicator light above button FILTER B2
will be lit, signalling that the filter requires cleaning.
Clean the filter according to the instructions in chapter "Cleaning and maintenance".
Then press button FILTER B2 to reset the operating time counter. The indicator light
above the FILTER B2 button will turn off.
Full condensate tank indicator
When the indicator light B11 is lit on the control panel A1, the condensate tank A3
is full and the condensate needs to be emptied out. The appliance will stop running.
Empty out the condensate tank A3 according to the instructions in chapter "Draining
condensate into the tank". After installing the condensate tank A3 the appliance will
automatically start up again.