- 3 - Revision 06/2023
Copyright © 2023, Fast ČR, a.s.
Thank you for purchasing aSENCOR brand product and we hope that
you will be happy with it.
Prior to using this appliance, please read the user‘smanual thoroughly,
even in cases, when one has already familiarised themselves with
previous use of similar types of appliances. Only use the appliance in the
manner described in this user’smanual. Keep this user‘smanual in asafe
place where it can be easily retrieved for future use.
We recommend saving the original cardboard box, packaging material,
purchase receipt and responsibility statement of the vendor or warranty
card for at least the duration of the legal liability for unsatisfactory
performance or quality. In the event of transportation, we recommend that
you pack the appliance in the original box from the manufacturer.
. . . . . . . . . . . . . . . . . . . . . . . . . . . . . . . . . . . . . . . . . . . . . . . . . . . . . . . . . . . . . . . . . . . .
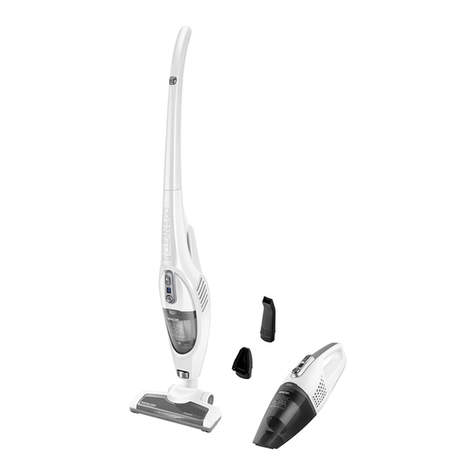
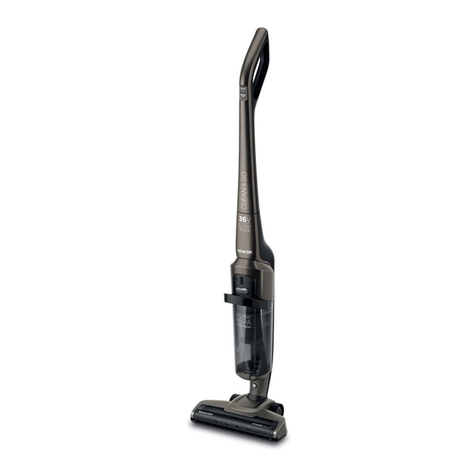
DESCRIPTION OF THEVACUUM CLEANER
A1 Handle
A2 On/Off button
A3 +/- buttons (power setting)
A4 Power setting LED indicators
A5 Motor unit
A6 Dust container release clip
A7 Suction hole
A8 Battery compartment
A9 Filtration unit (contains
aholder and aHEPA filter)
A10 Dust container
A11 Charging plug connection
socket
A12 Battery
A13 Charging indicator
A14 Upholstery nozzle
A15 Metal tube
A16 Power adapter
A17 Combination crevice nozzle
A18 Floor nozzle
. . . . . . . . . . . . . . . . . . . . . . . . . . . . . . . . . . . . . . . . . . . . . . . . . . . . . . . . . . . . . . . . . . . .
ASSEMBLING AND DISASSEMBLING THE VACUUM CLEANER
1. ASSEMBLING AND DISASSEMBLING THE UPRIGHTVACUUM
CLEANER
Insert the tube into the outlet hole of the motor unit in such away
that the connectors in the rear part of the tube align with the opening
inside the outlet hole – see figure B1. Correct attachment is indicated
by aclick – see figure B2.
Place the floor nozzle on an even, dry and stable surface. Slide the
floor nozzle into the tube in such away that the connectors in the
rear part of the floor nozzle align with the opening inside the tube –
see figure B1. Push the tube in until you hear aclick – see figure B2.
If you need to disassemble the cordless vacuum cleaner, press the
motor unit release clip on the metal tube. Then press the floor nozzle
release clip to release it.
2. ASSEMBLING AND DISASSEMBLING THE VACUUM CLEANER
WITH ACCESSORIES
In order to perfectly clean your home, you can attach some of the
supplied accessories to the motor unit outlet. For more comfortable
use of the vacuum cleaner, it is also possible to attach the
accessories to the metal tube. You can find the combinations of the
individual accessories in figure C.
1. Floor nozzle
It is suitable for vacuuming smooth floor coverings, carpets with
alow pile, mats, runners, etc.
2. Combination crevice nozzle
It is suitable for vacuuming hard-to-reach places (e.g. windows,
corners, book shelves, spaces between mattresses, upholstery,
etc.). Press and hold down the button on the nozzle and move it
forward to extend the brush. Retract the brush by pressing the
button and moving it backwards.
3. Upholstery nozzle
It is suitable for vacuuming upholstered furniture, couches, sofas,
car seats and fine textiles, e.g. drapes.
. . . . . . . . . . . . . . . . . . . . . . . . . . . . . . . . . . . . . . . . . . . . . . . . . . . . . . . . . . . . . . . . . . . .
INSERTING AND REMOVING THE BATTERY
1. Inserting the battery: Put the battery against the compartment in
the rear part of the vacuum cleaner so that the contacts point at
each other – see figure D1.
Insert the battery into the compartment so that the symbol "˚" on
the vacuum cleaner is aligned with the "•" symbol on the battery
– see figure D2.
Move the battery downwards to insert it into the vacuum cleaner
– see figure D3.
The correct insertion of the battery is indicated by aclick and
likewise by the "•" symbols on the vacuum cleaner and the
battery being aligned – see figure D4.
Warning:
Never insert the battery in reverse or by using
excessive force. This could damage it.
2. Removing the battery: If you need to take the battery out,
press the button on the underside of the battery and slide it out
upwards until the "˚" symbol on the vacuum cleaner is aligned
with the "•" symbol on the battery. Then take it out of the vacuum
cleaner.
Warning:
When not using the vacuum cleaner for an extended
period of time, take the battery out of it and store it in
acool, dry location. Regularly recharge the battery.
Store it away from metal objects to prevent excessive
discharging from occurring.
. . . . . . . . . . . . . . . . . . . . . . . . . . . . . . . . . . . . . . . . . . . . . . . . . . . . . . . . . . . . . . . . . . . .
CHARGING THE BATTERY
The battery is partially charged from the factory and it needs to be charge
to full capacity.
Connect the connector of the power adapter into the socket in the battery
and the power adapter plug into apower socket.
The charging indicator will start flashing. As arule, the first charge takes
3hours.
When the battery is fully charged, all the battery charge level indicators
will be lit.
When the battery is almost flat, the vacuum cleaner will stop running in
order to prevent the battery from discharging fully.
It is possible to charge the battery both while it is inserted in the vacuum
cleaner as well as when removed from the vacuum cleaner. Charging
options are shown in figure E.
Note:
When you have finished cleaning, connect the battery to
apower adapter so that it can recharge.
Keep the charging adapter plugged in permanently. The
electronics in the appliance control the battery charging
process and ensure that it is always optimally charged.
When the battery is fully charged, the electronics interrupt
the charging process and resume it when it is necessary
to charge it again. There is no need to worry about wasting
electricity.
Disconnect the charging adapter from the power socket in
the event of along term absence. When you return, plug
it back into the socket so that the vacuum cleaner is again
ready for use.
. . . . . . . . . . . . . . . . . . . . . . . . . . . . . . . . . . . . . . . . . . . . . . . . . . . . . . . . . . . . . . . . . . . .
EN Cordless versatile vacuum cleaner 2 in 1
User'smanual
