- 3 - 11/2022
2022, .
• Thank you for purchasing aSENCOR brand product and we hope that
you will be happy with it.
• Prior to using this appliance, please read the user'smanual
thoroughly, even in cases, when one has already familiarised
themselves with previous use of similar types of appliances. Only use
the appliance in the manner described in this user’smanual. Keep
this user'smanual in asafe place where it can be easily retrieved for
future use.
• We recommend saving the original cardboard box, packaging
material, purchase receipt and responsibility statement of the vendor
or warranty card for at least the duration of the legal liability for
unsatisfactory performance or quality. In the event of transportation,
we recommend that you pack the appliance in the original box from
the manufacturer.
. . . . . . . . . . . . . . . . . . . . . . . . . . . . . . . . . . . . . . . . . . . . . . . . . . . . . . . . . . . . . . . . . . . .
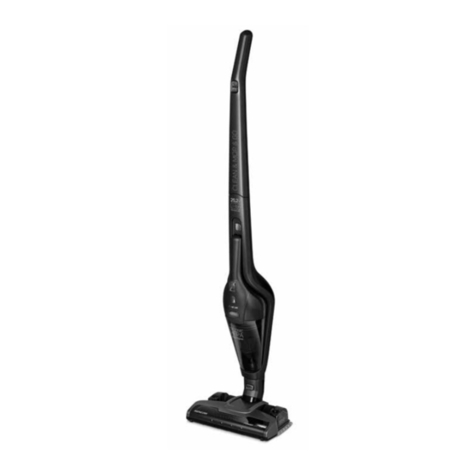
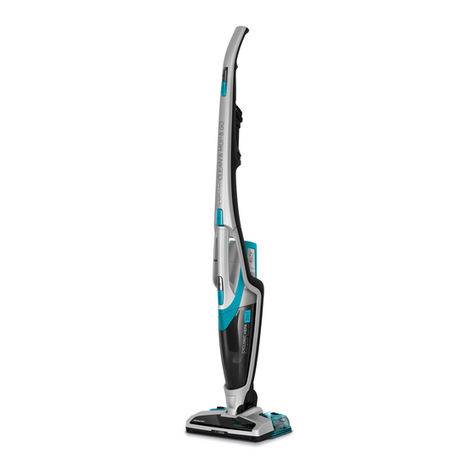
DESCRIPTION OF THEVACUUM CLEANER
A1 Handle
A2 Battery
A3 Motor unit
A4 On/Off button
A5 Power level button
A6 Display
A7 Dust container
A8 Metal tube release clip
A9 Metal tube
A10 Floor nozzle release clip
A11 Floor nozzle
A12 Travel wheels
A13 Battery release button
A14 Button for releasing the
bottom of the dust container
for fast emptying of dust and
dirt
A15 Hole with magnet for the
wiping attachment
A16 Rotary brush release button
A17A All-Floor Roller Brush
A17BCarpet Roller Brush
A18 Power adapter
A19 Stand
A20 Combination nozzle for
upholstery andfurniture
A21 Combination crevice nozzle
A22 Soft brush
A23 "Cat&Dog Mini" nozzle with
an electric rotary brush
A24 Hinged coupler
A25 Telescopic tube
A26 Hinged tube
A27 Wiping attachment
A28 Water tank
A29 Water tank lid
A30 Wiping sleeve
. . . . . . . . . . . . . . . . . . . . . . . . . . . . . . . . . . . . . . . . . . . . . . . . . . . . . . . . . . . . . . . . . . . .
ASSEMBLING AND DISASSEMBLING THE VACUUM CLEANER
1. ASSEMBLING AND DISASSEMBLING THE CORDLESS VACUUM
CLEANER
• Place the floor nozzle on an even, dry and stable surface. Put the tube
on to the floor nozzle in such away that the connectors in the rear
part of the floor nozzle align with the opening inside the tube. Push the
tube in until you hear aclick.
• Insert the outlet hole of the motor unit into the tube in such away that
the connectors in the rear part of the nozzle align with the opening
inside the outlet hole.
• If you need to disassemble the cordless vacuum cleaner, press the
motor unit release clip on the metal tube. Then press the floor nozzle
release clip to release the floor nozzle.
2.ASSEMBLING AND DISASSEMBLING THE WIPING ADAPTER
• Assemble the cordless vacuum cleaner – see preceding part of this
user'smanual.
• Put the sleeve on to the bottom part of the attachment and stand the
attachment on the floor.
• Place the vacuum cleaner on to the wiping attachment so that the
tab on the attachment is aligned with the hole on the underside of the
floor nozzle. Place the vacuum cleaner on to the attachment. This is
attached to the underside of the floor nozzle by means of the built-in
magnets.
• If you need to take the attachment off the vacuum cleaner, hold down
the attachment carefully with one hand and pull the vacuum cleaner
upwards until the floor nozzle is released from the attachment.
3. ASSEMBLING AND DISASSEMBLING THE VACUUM CLEANER WITH
ACCESSORIES
• In order to perfectly clean your home, you can attach some of the
supplied accessories to the motor unit outlet. Simply remove the
accessory by pulling it out of the motor unit outlet. On the rotary
brush, first press its release clip.
1. "Cat&Dog Mini" rotary brush with independent motor and UV-C light
• The "Cat&Dog" rotary brush is the suitable for removing animal fur,
hair, etc., while at the same time being suitable for vacuuming hard-
to-reach places. Its use is not limited to the home, and can be used
for vacuuming the car. It quickly and effectively removes hair, animal
fur and other materials from car seats, upholstery, pillows and other
textile surfaces.
2. Combination crevice nozzle
• It is suitable for vacuuming hard to reach places (e.g. windows,
corners, book shelves, areas between mattresses, upholstery, etc.).
Press and hold down the button and slide out the brush by moving
it forward. Retract the brush by pressing the button and moving it
backwards.
3. Combination nozzle for upholstery andfurniture
• This attachment is suitable for vacuuming surfaces such as furniture
or upholstery. Press and hold down the button and slide out the
brush by moving it forward. Thanks to its fine bristles, it is suitable for
removing dust and dirt from fine surfaces such as curtains, drapes, etc.
Retract the brush by pressing the button and moving it backwards.
4. Soft brush
• It is suitable for vacuuming dust and dirt from fragile items, from book
shelves, walls, blinds, etc.
5. Hinged coupler, telescopic tube, hinged tube
• Connect the hinged coupler, telescopic tube or the hinged tube to the
outlet on the motor unit, if you need to extend the range of the used
accessories, e.g. if you need to vacuum dust from behind awardrobe.
Carpet roller brush
• The carpet roller brush is specially designed for thorough vacuuming
and removing hair and pet hair from carpets, rugs, runners, etc. When
replacing, proceed as follows:
1. Take the floor nozzle off the vacuum cleaner and turn it upside down.
2. Press the all-floor roller brush clip to release the side cover – see
figure F.
3. Carefully take out the all-floor roller brush.
4. Insert the carpet roller brush back into the floor nozzle. Correct
attachment is indicated by a click.
Note:
The various options for combining the accessories are
shown in figure C.
. . . . . . . . . . . . . . . . . . . . . . . . . . . . . . . . . . . . . . . . . . . . . . . . . . . . . . . . . . . . . . . . . . . .
CHARGING THE BATTERY
• The battery is partially charged from the factory and it needs to be
charge to full capacity.
• Place the stand in an even, stable and dry location at asufficient
distance from the power socket. Connect the connector of the power
adapter into the socket on the side of the stand and the power adapter
plug into apower socket.
• Insert the assembled vacuum cleaner into the stand so that the
contacts on the rear part of the floor nozzle slide into the contacts on
the stand.
• The display will show abattery status indicator that is lit red and the
charging status as apercentage. As arule, the charging process takes
3 hours.
EN 4-in-1 cordless vacuum cleaner
User'smanual
