Sencore OmniHub-PLAY User manual

January 2022
www.sencore.com | 1.605.978.4600 Revision 1
OmniHub-PLAY
User Manual

– User Manual
Page 2of 70
Copyright
© 2021 Sencore, Inc. All rights reserved.
3200 Sencore Drive, Sioux Falls, SD USA
www.sencore.com
This publication includes confidential, proprietary, and trade secret information. No part of this document
may be copied, photocopied, reproduced, translated, or reduced to any machine-readable or electronic
format without prior written permission from Sencore. Information in this document is subject to change
without notice and Sencore Inc. assumes no responsibility or liability for any errors or inaccuracies. Sencore,
Sencore Inc, and the Sencore logo are trademarks or registered trademarks in the United States and other
countries. All other products or services mentioned in this document are identified by the trademarks,
service marks, or product names as designated by the companies who market those products. Inquiries
should be made directly to those companies. This document may also have links to third-party web pages
that are beyond the control of Sencore. The presence of such links does not imply that Sencore endorses or
recommends the content on those pages. Sencore acknowledges the use of third-party open source
software and licenses in some Sencore products. This freely available source code can be obtained by
contacting Sencore Inc.
About Sencore
Sencore is an engineering leader in the development of high-quality signal transmission solutions for the
broadcast, cable, satellite, IPTV, telecommunications, and professional audio/video markets. The company’s
world-class portfolio includes video delivery products, system monitoring and analysis solutions, and test
and measurement equipment, all designed to support system interoperability and backed by best-in-class
customer support. Sencore meets the rapidly changing needs of modern media by ensuring the efficient
delivery of high-quality video from the source to the home. For more information, visit www.sencore.com.

– User Manual
Page 3of 70
Revision History
Date
Version
Description
Author
05/10/20
1
Initial Release
ERH
05/28/2021
Update
ACP
This guide contains some symbols to call your attention.
DANGER
The DANGER symbol calls your attention to a situation
that, if ignored, may cause physical harm to the user.
CAUTION
The CAUTION symbol calls your attention to a situation
that, if ignored, may cause damage to Our product.
NOTE
The NOTE symbol calls your attention to important
information.
TIP
The TIP symbol calls your attention to additional
information that, if followed, can make procedures more
efficient.
Red Arrow
The Red Arrow symbols point to import details mention the
context above or below an picture.
Blue Arrow
The Blue Arrow symbol indicates the motion path of an
item in an operation step.
Thick Arrow
The thick Arrow symbol calls your attention to a serial of
operation steps mentioned in the context.
This guide also includes the following text conventions.

– User Manual
Page 4of 70
Safety Instructions
Read these instructions
Keep these instructions.
Heed all warnings.
Follow all instructions.
Do not use this apparatus near water.
Clean only with dry cloth.
Do not block any ventilation openings. Install the unit in accordance with the
manufacturer’s instructions.
Do not install near any heat sources such as radiators, heat registers, stoves, or
other apparatus (including amplifiers) that produce heat.
Do not defeat the safety purpose of the polarized or grounding-type plug. A
polarized plug has two blades with one wider than the other. A grounding type
plug has two blades and a third grounding prong. The wide blade or the third
prong is provided for your safety. If the provided plug does not fit into your outlet,
consult an electrician for replacement of the obsolete outlet.
Protect the power cord from being walked on or pinched particularly at plugs,
convenience receptacles, and the point where they exit from the apparatus.
Only use attachments/accessories specified by the manufacturer.
Unplug this apparatus during lightning storms or when unused for long periods of
time.
Refer all servicing to qualified service personnel. Servicing is required when the
apparatus has been damaged in any way, such as power-supply cord or plug is
damaged, liquid has been spilled or objects have fallen into the apparatus, the
apparatus has been exposed to rain or moisture, does not operate normally, or
has been dropped.
Do not expose this apparatus to dripping or splashing and ensure that no objects
filled with liquids, such as vases, are placed on the apparatus.
To completely disconnect this apparatus from the AC Mains, disconnect the
power supply cord plug from the AC receptacle.
The mains plug of the power supply cord shall remain readily operable.
Damage Requiring Service: Unplug this product from the wall
outlet and refer servicing to qualified service personnel under the following
conditions:
oWhen the power-supply cord or plug is damaged.
oIf liquid has been spilled, or objects have fallen into the product.
oIf the product has been exposed to rain or water.
oIf the product does not operate normally by following the operating
instructions. Adjust only those controls that are covered by the
operating instructions as an improper adjustment of the controls may
result in damage and will often require extensive work by a qualified
technician to restore the product to its normal operation.
oIf the product has been dropped or damaged in any way.
oThe product exhibits a distinct change in performance.
Replacement Parts: When replacement parts are required, be sure
the service technician uses replacement parts specified by Sencore, or parts
having the same operating characteristics as the original parts. Unauthorized part
substitutions made may result in fire, electric shock, or other hazards.

– User Manual
Page 5of 70
SAFETY PRECAUTIONS
There is always a danger present when using electronic equipment.
Unexpected high voltages can be present at unusual locations in defective
equipment and signal distribution systems. Become familiar with the equipment
that you are working with and observe the following safety precautions.
Every precaution has been taken in the design of your product to ensure that it is
as safe as possible. However, safe operation depends on you the operator.
Always be sure your equipment is in good working order. Ensure that all points of
connection are secure to the chassis and that protective covers are in place and
secured with fasteners.
Never work alone when working in hazardous conditions. Always have another
person close by in case of an accident.
Always refer to the manual for safe operation. If you have a question about the
application or operation email ProCare@Sencore.com
WARNING – To reduce the risk of fire or electrical shock never allow your
equipment to be exposed to water, rain, or high moisture environments. If it is
exposed to a liquid, remove power safely (at the breaker) and send your
equipment to be serviced by a qualified technician.
To reduce the risk of shock the power supply must be connected to a mains
socket outlet with a protective earthing connection.
For the OmniHub-Play the main plug the main disconnect and should always
remain readily accessible and operable.
When utilizing DC power supply, the power supply MUST be used in conjunction
with an over-current protective device rated at 50 V, 5 A, type: Slow-blow, as part
of battery-supply circuit.
To reduce the risk of shock and damage to equipment, it is recommended to
ground the unit to the installation’s rack, the vehicle’s chassis, the battery’s
negative terminal, and/or earth ground.
Warning: Changes or modifications to this unit not expressly approved by the
party responsible for compliance could void the user’s authority to operate the
equipment.

– User Manual
Page 7of 70
Table of Contents
COPYRIGHT.......................................................................................................................................................2
ABOUT SENCORE..............................................................................................................................................2
REVISION HISTORY...........................................................................................................................................3
TABLE OF CONTENTS........................................................................................................................................7
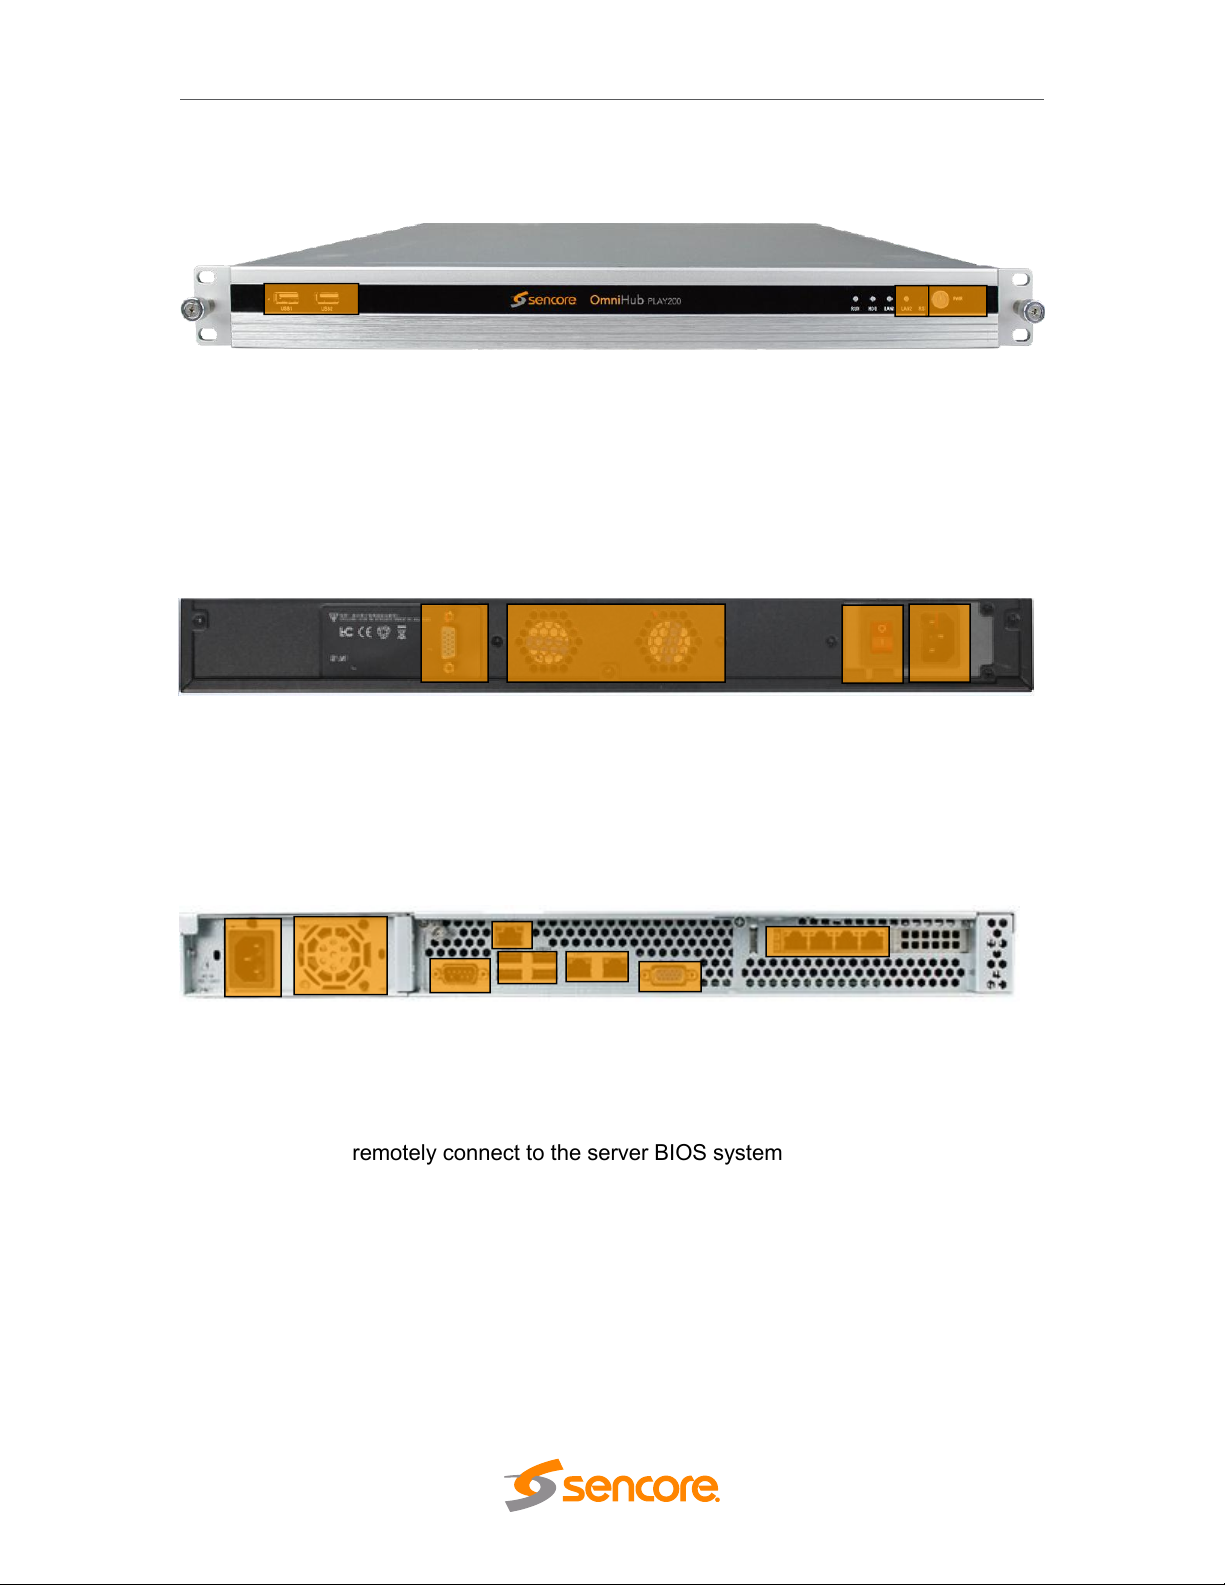
SECTION 1 OVERVIEW......................................................................................................................................9
1.1 PRODUCT OVERVIEW...................................................................................................................................9
1.2 FRONT PANEL OVERVIEW............................................................................................................................. 9
1.3 REAR PANEL OVERVIEW............................................................................................................................. 10
SECTION 2 INSTALLATION..............................................................................................................................11
2.1 RACK INSTALLATION........................................................................................................................... 11
2.2 AC POWER CONNECTION........................................................................................................................... 12
SECTION 3 WEB INTERFACE OPERATION...................................................................................................... 13
3.1 OMNIHUB-PLAY WEB INTERFACE OVERVIEW........................................................................................13
3.1.1 Connecting to the Management Port........................................................................................... 13
3.1.2 Login to the OmniHub-PLAY Web Interface.................................................................................13
3.2 DEVICE STATUS OVERVIEW..................................................................................................................14
3.3 QUICK START.................................................................................................................................... 16
3.4 CHANNELS........................................................................................................................................ 18
3.4.1 Channel List...................................................................................................................................18
3.4.2 Channel Grouping......................................................................................................................... 21
3.4.3 Local Channels.............................................................................................................................. 22
3.4.4 EPG................................................................................................................................................23
3.5 VOD............................................................................................................................................... 26
3.5.1 Local VOD......................................................................................................................................26
3.5.2 VOD Home Page............................................................................................................................29
3.5.3 VOD Grouping............................................................................................................................... 29
3.5.4 3rd party APPs................................................................................................................................30
3.6 OVERLAYS.........................................................................................................................................32
3.6.1 Video Takeover............................................................................................................................. 32
3.6.2 Text Overlay.................................................................................................................................. 33
3.6.3 Picture Overlay..............................................................................................................................35
3.7 APK SETTINGS.................................................................................................................................. 36
3.7.1 APK Layout.................................................................................................................................... 36
3.7.2 APK Background............................................................................................................................37
3.7.3 APK Management.........................................................................................................................38
3.7.4 WGT Management....................................................................................................................... 40
3.7.5 APK Layout Theme........................................................................................................................ 40
3.8 OPERATION.......................................................................................................................................41
3.8.1 User............................................................................................................................................... 41
3.8.2 Authorization................................................................................................................................ 43
3.8.3 Packages....................................................................................................................................... 46
3.8.4 Region........................................................................................................................................... 48
3.8.5 Discount........................................................................................................................................ 50
3.8.6 Statistics........................................................................................................................................50

– User Manual
Page 8of 70
3.8.7 Access Control............................................................................................................................... 51
3.8.8 Advanced Setting.......................................................................................................................... 52
............................................................................................................................................................... 52
3.9 CLUSTER...........................................................................................................................................53
3.9.1 Cluster Status................................................................................................................................ 54
3.9.1 Cluster Topology........................................................................................................................... 54
3.9.1 Node Settings................................................................................................................................59
3.9.1 Run Log......................................................................................................................................... 59
3.10 SYSTEM SETTING................................................................................................................................60
3.10.1 Network...................................................................................................................................... 60
3.10.2 System.........................................................................................................................................62
3.10.3 DHCP........................................................................................................................................... 62
3.10.4 Time............................................................................................................................................ 63
3.10.5 License.........................................................................................................................................63
3.11 TOOLS..............................................................................................................................................64
SECTION 4 APPENDICES................................................................................................................................. 66
APPENDIX A - FREQUENTLY ASK QUESTION...................................................................................................... 66
APPENDIX B - APK MANAGEMENT................................................................................................................. 67
APPENDIX C - WARRANTY............................................................................................................................. 68
APPENDIX D - SUPPORT AND CONTACT INFORMATION....................................................................................... 68
1 Returning for Service or Calibration..............................................................................................68
2 RMA Number.................................................................................................................................68
3 Shipping the Product.....................................................................................................................69

– User Manual
Page 9of 70
Section 1 Overview
1.1 Product Overview
OmniHub-PLAY is a compact, highly integrated, and flexible solution that can provide
high-quality live video and VOD content for end users via IP network. With embedded
Android-based APK, it supports up to 50 live SD/HD programs, third-party VOD systems
and 500 terminals. Equipped with ample function modules, OmniHub-Play can also
provide a customized welcome page, OSD message, organization introduction,
advertisements, and other value-added services. With the popularity of IP network,
OmniHub-Play now is widely used in hotels, hospitals, schools, communities, yachts,
and other areas where the streaming of live or VOD content is required via IP Network.
OmniHub-Play have 2 hardware models (OmniHub-Play100 and OmniHub-Play200).
The main difference between these 2 models is the placement of the Ethernet port. For
simple setup, OmniHub-Play100 has the Ethernet ports on the front of the unit where
you need to check the physical connection every now and then, while OmniHub-Play200
has the Ethernet ports at the back, making the Ethernet cable more secure. Both models
have the same User Interface for configuration.
1.2 Front Panel Overview
OmniHub-PLAY is a 1RU Server with 2 hardware models namely OmniHub-PLAY100
and OmniHub-Play200. See pictures below for the differences of the two hardware.
OmniHub-PLAY100
1. Console: Server NIC, used to remotely connect to the Server BIOS system
(for technicians)
2. USB interface*2
1
2
3

– User Manual
Page 10 of 70
3. Ethernet port (ETH0 to ETH5): used for management or data traffic,
depending on the settings
OmniHub-PLAY200
1. USB interface*2
2. Reset to Factory Default button
3. Power switch button
1.3 Rear Panel Overview
OmniHub-PLAY100
1. VGA interface
2. Fan for ventilation
3. Power switch button
4. Power input interface: AC100~240V, 50/60Hz
OmniHub-PLAY200
1. Power input interface: AC100~240V, 50/60Hz
2. Fan for ventilation
3. VGA interface for monitor display
4. PMIT remotely connect to the server BIOS system
5. USB interface
6. VGA interface for monitor display
7. Ethernet port for management and data traffic
1
3
2
1
2
3
4
1
2
3
4
5
6
7
7

– User Manual
Page 11 of 70
Section 2 Installation
2.1 Rack Installation
The OmniHub-PLAY is designed to be mounted in a standard 19” rack. It takes 1RU of
rack space. To install it into a rack, please use the following steps:
Determine the desired position in the rack for the OmniHub-PLAY. Make sure
that the air intake on the front of the unit and the exhausts on the back of the unit
will not be blocked.
Install the brackets at desired position if there is no supporting plate in the rack.
Insert the rack mount clips into place over the mounting holes in the rack.
Slide the OmniHub-PLAY into the position in the rack.
Secure the chassis to the rack by installing the four supplied screws through the
front mounting holes and tightening.

– User Manual
Page 12 of 70
2.2 AC Power Connection
The OmniHub-PLAY is to be powered by supplies with operating 120V or 240V systems.
The power supply will automatically detect the system it is connected to. To hook up the
power, use the following steps:
Locate the power cords that are contained in the box. Please only use the
supplied 3-prong power connector or one with equal specifications. NEVER
tamper with or remove the grounding pin. This could cause damage to OmniHub-
PLAY, personnel, or property.
Plug the female end of the power cords into the front of the unit.
Locate a protected outlet to plug into the male ends of the power cables.
When you take the equipment from a cold condition into a much warmer and
humid condition, the equipment should be acclimated to the warm and humidity
condition for at least 30 minutes. Powering up a non-acclimated unit may lead to
shortcut or other damage to electronic components.
A professional UPS system is recommended for better performance of your
content distribution system.

– User Manual
Page 13 of 70
Section 3 Web Interface Operation
3.1 OmniHub-PLAY Web Interface Overview
3.1.1 Connecting to the Management Port
OmniHub-PLAY has multiple Ethernet ports, with which you can access the
management interface of the device. There are six (6) ports tagged with ETH0, ETH1,
ETH2, ETH3, ETH4 and ETH5. You can see the labels on the front panel of OmniHub-
PLAY100. For OmniHub-PLAY200, the six ports (ETH0 to ETH5) are placed at the back
on the unit from left to right.
3.1.2 Login to the OmniHub-PLAY Web Interface
To enter the OmniHub-PLAY web interface, use one of the following supported browsers
and navigate to the unit’s IP address:
Firefox
Google Chrome
OmniHub-PLAY has six (6) Ethernet ports where you can log in and access the
management interface. Factory network settings of management port are:
IP address: 192.168.1.201 Gateway:192.168.1.254 for ETH0
IP address: 192.168.2.201 Gateway:192.168.2.254 for ETH1
IP address: 192.168.3.201 Gateway:192.168.3.254 for ETH2
IP address: 192.168.4.201 Gateway:192.168.4.254 for ETH3
IP address: 192.168.5.201 Gateway:192.168.5.254 for ETH4
IP address: 192.168.6.201 Gateway:192.168.6.254for ETH5
Subnet Mask: 255.255.255.0
You can connect to any port and type the corresponding IP address to log in to the web
interface. The default username/password are admin/admin. Click the login button to
access the web interface.

– User Manual
Page 14 of 70
3.2 Device Status Overview
After a successful login, the Status will be displayed. It will show you the following:
System status
Terminal status
Network status
Channels status
System status will display the real-time status of CPU, Memory and Hard Disk usage of
the device, aiming to avoid system crash caused by excessive resource usage.
Terminal status will display the number of terminals connected. You can click to
see details about the terminal like Room Number, MAC Address, IP Address, Login Time
and Status (online or offline).

– User Manual
Page 15 of 70
Network status will display the Ethernet port status. You can click to see detailed
information on the network as shown in the picture below.
ETH: this will show GREEN if the port is connected to a device and RED if no
connection.
Status: this shows the speed (100Mb/s or 1000Mb/s) of the network where the
port connects. All 6 ports on OmniHub-PLAY are adaptively set to 100Mb/s or
1000Mb/s, depending on the network they connect to.
IP Address: this shows the IP address on the port.
MAC Address: this shows the unique MAC address on the port.
Input/Output: this shows the settings of the Ethernet port, being used for input or
output.
Model: this shows the settings of the Ethernet port, as DHCP or Static.
Up Bytes: this shows the real-time traffic of the output data on the port.
Down Bytes: this shows the real-time traffic of the input data on the port.
Channel status will display all enabled services with active and inactive video sources.
You can click to see more information of the channel, as shown in the picture
below.
After login, you will also see the Main Menu on the left side of the Web interface where
you can navigate to further configure the OmniHub-PLAY.
Status
Guide
Live Channel
VOD
Insert Manage
Terminal
System Setting
Tools
To continue the configuration on the unit, select the menu you want to navigate to.

– User Manual
Page 16 of 70
3.3 Quick Start
This menu guides you for the following configuration steps:
Network
Time
Channel List
Status
Network:
Network shows the Status, IP Address, MAC Address, and the setting on each Ethernet
port. You can change the IP address depending on your Network setup. You can also
bond (input/output bond) the Ethernet port on this page as shown in the picture below.
Bonded ports share the same IP address and can have data output of 2000 Mb/s.

– User Manual
Page 17 of 70
Time:
This allows you to manually input the time.
or sync via NTP Address.
Channel:
This menu allows you to input the source IP address and output the service via UDP,
RTP or HTTP.
See CHANNELS menu for more details on the page.

– User Manual
Page 18 of 70
Status
This is same with the Welcome page when you first log in to the unit. It shows the status
of the System, including CPU, Memory and Hard Disk Status. It also displays the UP and
DOWN data traffic on each port.
3.4 Channels
This menu allows you to configure:
Channel List
Channel Grouping
Local Channels
EPG
3.4.1 Channel List
Channel tab allows you to add input stream, delete, import, export service configuration
and change the channel order on this page. You can click and do the followings
on the appearing line:
Edit Name
You can modify the name of the input service on this field.
Select the ETH port where the source is connected
For the Source port, there will be a drop-down arrow with which you can select
the ETH port for the source. This will only display the port which is set as INPUT
on the NETWORK page.
Select the source protocol (UDP, RTP, RTSP or HTTP)
Type in the source IP address and IP port
Select the Output protocol (UDP, RTP or HTTP)
Type in the Output IP address and IP port
Select the ETH port where you want to output
For the HTTP protocol, the output port will be “ALL”
For the UDP or RTP protocol, there will be a drop-down arrow with which you can
select the ETH port for the output. This will only display the port which is set as
OUTPUT on the NETWORK page.

– User Manual
Page 19 of 70
Set Logo on the channel if there is
Enable the Channel
Save and delete the channel
Reference for IP address of input and output.
UDP: XXX.XXX.XXX.XXX:XXXX
RTP: XXX.XXX.XXX.XXX:XXXX
RTSP: XXX.XXX.XXX.XXX/live/00XX/index.smil
HTTP: XXX.XXX.XXX.XXX/live/00XX/index.m3u8
You can also click if you need to add more input (maximum of 100 programs)
with the same port and protocol of input and output. See the picture below for reference.

– User Manual
Page 20 of 70
After batch addition, you can now modify the parameters for each service.
After configuring, you can create a backup file configuration by clicking .
Loading the backup file can be done by clicking .
When using the UDP protocol, you can output 100 services to unlimited number of
terminals with OmniHub-PLAY100 and 150 services to unlimited number of terminals
with OmniHub-PLAY200. To do this, you need to check the box .
Take note that the protocol, IP address and IP port of the input should be same with
those of the output. To implement this, it is also required for the source, the OmniHub-
Play, and the STB in the same network.
After you enable the “Send channel list only”, the output bitrate should show 0kbits/s,
indicating that the Service output is normal.
Table of contents
Other Sencore Network Hardware manuals
Popular Network Hardware manuals by other brands

BeiJer
BeiJer Korenix JetCon 1701GP-U Quick installation guide

Symantec
Symantec PacketShaper PS-S200 quick start guide

Matrix Switch Corporation
Matrix Switch Corporation MSC-5-1664 product manual

Paradyne
Paradyne ACCULINK 3160 quick reference

IBM
IBM System Storage N3700 Hardware and service guide

Idis
Idis DR-2308P quick guide

ALIBI
ALIBI ALI-NVR3104P Quick setup guide

Current
Current E-WAND Integration manual

Tandberg Data
Tandberg Data RDX QuikStor installation guide

NETGEAR
NETGEAR ProSecure UTM150 Installationsanleitung

Microchip Technology
Microchip Technology WINC1500 PICTAIL/PICTAIL PLUS user guide

Ventev
Ventev TerraWave Rapid Deployment Kit with Battery Backup... Assembly instructions