manuals.online logo
Brands
  1. Home
  2. •
  3. Brands
  4. •
  5. SEVERIN
  6. •
  7. Toaster
  8. •
  9. SEVERIN SEV2969 User manual

SEVERIN SEV2969 User manual

3
2
4
6
7
1
3
5
10
8
9
9
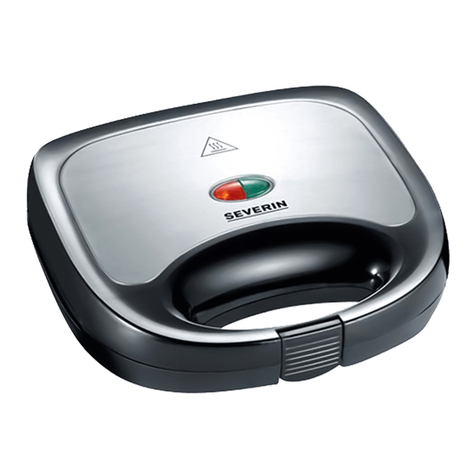
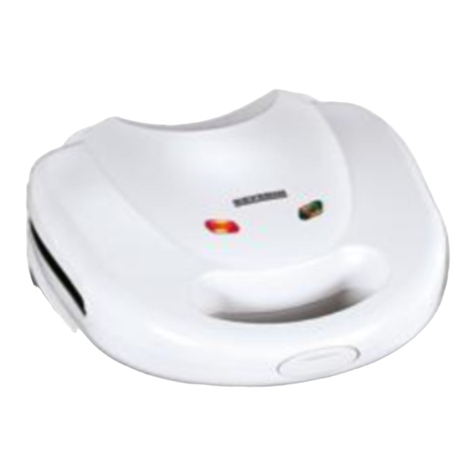
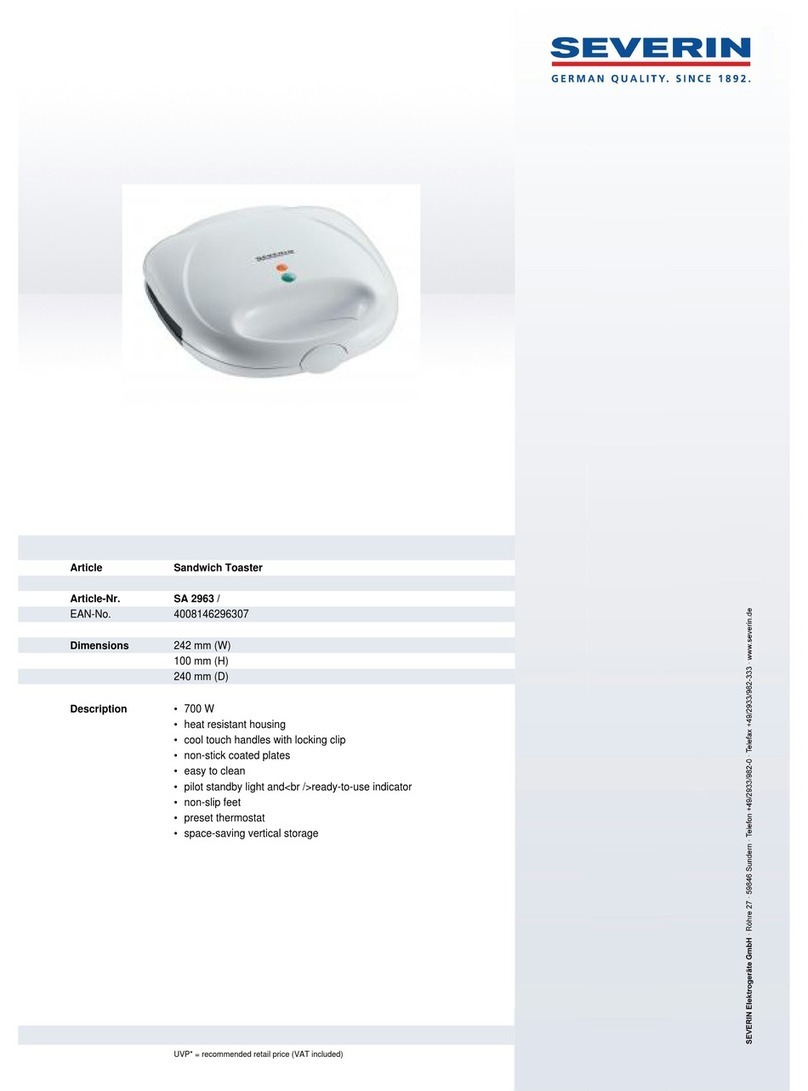
Sandwich Toaster
Dear Customer,
Before using the appliance, please read the
following instructions carefully and keep this
manual for future reference. The appliance
must only be used by persons familiar with
these instructions.
Connection to the mains supply
The appliance should only be connected to
an earthed socket installed in accordance
with the regulations.
Make sure that the supply voltage
corresponds with the voltage marked on the
rating label. This product complies with all
binding CE labelling directives.
Familiarisation
1. Housing
2. Ready-light, green
3. Main indicator light (red)
4. Handles
5. Locking latch
6. Upper cooking plates
7. Lower cooking plates
8. Rating label (on underside of unit)
9. Wind-up power cord storage (on
underside of appliance)
10. Power cord with plug
Important safety instructions
∙In order to avoid hazards, and to
comply with safety requirements,
repairs to this electrical appliance or
its power cord must be carried out by
our customer service. If repairs are
needed, please send the appliance
to our customer service department
(see appendix).
∙Before cleaning the appliance,
ensure it is disconnected from the
power supply and has cooled down
completely.
∙To avoid the risk of electric shock, do
not clean the appliance with liquids
or immerse it.
∙Clean the plates with a soft damp
cloth.
∙For detailed information on cleaning
the appliance, please refer to the
section Cleaning and care.
∙The appliance is not intended to be
operated by means of an external
timer or separate remote-control
system.
∙Caution: This symbol indicates
that the accessible housing surfaces
may become very hot during
operation. Do not touch any part of
the appliance except the handle; use
suitable oven cloths if necessary.
∙This appliance is intended for
domestic or similar applications, such
as the
GB
10
- staff kitchens in shops, offices and
other similar working environments,
- agricultural working environments,
- by customers in hotels, motels etc.
and similar accommodation,
- in bed-and breakfast type
environments.
∙This appliance may be used by
children (at least 8 years of age) and
by persons with reduced physical,
sensory or mental capabilities, or
lacking experience and knowledge,
provided they have been given
supervision or instruction concerning
the use of the appliance and fully
understand all dangers and safety
precautions involved.
∙Children must not be permitted to
play with the appliance.
∙Children must not be permitted
to carry out any cleaning or
maintenance work on the appliance
unless they are supervised and at
least 8 years of age.
∙The appliance and its power cord
must be kept well away from children
under 8 at all times.
∙Caution: Keep any packaging materials
well away from children – these are
a potential source of danger, e.g. of
suffocation.
∙Every time the appliance is used, the
main body including the power cord as
well as any attachment fitted should
be checked thoroughly for any defects.
Should the appliance, for instance, have
been dropped onto a hard surface, or if
excessive force has been used to pull the
power cord, it must no longer be used:
even invisible damage may have adverse
effects on the operational safety of the
appliance.
∙Do not allow the appliance or its power
cord to touch hot surfaces or to come into
contact with any heat sources.
∙Always remove the plug from the wall
socket
-after use,
-in case of any malfunction, and
-before cleaning the appliance.
∙When removing the plug from the wall
socket, never pull on the power cord;
always grip the plug itself.
∙Do not let the power cord hang free.
∙Before moving or storing the appliance,
ensure it has cooled down completely.
∙Always place the appliance on a
heat-resistant work surface impervious
to splashes and stains with sufficient
surrounding space.
∙Do not allow the appliance to operate
without supervision, and do not place it
underneath curtains, wall-cupboards or
near any combustible materials.
∙No responsibility is accepted if damage
results from improper use, or if these
instructions are not complied with.
Power cord wind-up storage
The power cord can be wound up under the
11
base.
Unwind the cord to its full extent before use.
Always wait until the appliance has cooled
down completely before winding the cord
up again.
Initial use
∙Remove the appliance completely from its
packaging.
∙Let the appliance heat up for about 10
minutes with the cooking plates closed.
This will remove the smell typically
encountered when switching on the
appliance for the first time. Please ensure
sufficient ventilation.
∙Clean the appliance afterwards as
described in the section Cleaning and
care.
Operation
∙Insert the plug into the wall socket. The
main indicator light comes on.
∙After a short warm-up period of around 5
minutes, the appliance is ready for use.
Once the required temperature has been
reached, the green ready-light comes on.
∙Open the two housing elements.
∙Place the two prepared sandwiches on
the lower cooking plate and gently close
the upper element.
∙Press both elements together using
the handles, and lock them securely by
means of the locking latch. Caution: Do
not try to close the elements by force;
if they are difficult to close, reduce the
amount of food.
∙The cooking time is in general 3 to 4
minutes, depending on the bread and
filling.
∙Once toasting is complete, unlock and
open the appliance and take out the
sandwiches. In order to prevent the
non-stick plates from being damaged, do
not use sharp or pointed objects while
removing the sandwiches.
∙If you want to prepare more sandwiches,
close the top element and wait until the
green ready-light comes on again before
repeating the next toasting cycle.
∙Remove the plug from the wall socket
after use. The main indicator light will go
out. Clean the appliance afterwards.
Cleaning and care
∙Before cleaning, remove the plug from the
wall socket and wait until the appliance
has cooled down with the cooking plates
open.
∙For reasons of electrical safety, never use
water or any other kind of liquid on the
appliance, nor immerse it.
∙Do not use abrasives or harsh cleaning
agents.
∙With its non-stick cooking plates, the
appliance requires little maintenance. The
plates may be cleaned with a soft damp
cloth or a soft brush.
∙The exterior of the housing can be
cleaned with a soft damp cloth.
Recipes
General information
∙The sandwich should consist of two
slices of sandwich bread with a filling in
between.
∙All common types of sandwich bread can
be used.
∙White bread should preferably be one
day old when it is used for making
sandwiches. Cut off the crust, if any.
∙The slices used for the filling (cheese,
ham etc.) should be cut to match the
12
sandwich shape.
∙Before toasting, lightly butter the outside
of the bread and place the slices with the
buttered side against the cooking plates.
The butter helps the browning process
and makes it easier to remove the
sandwich from the cooking plates.
Ham and cheese sandwich
Ingredients:
4 slices of sandwich bread, butter, 4 slices
lean cooked ham, 2 slices Dutch cheese,
powdered paprika.
Preparation:
Butter the outside of each slice of bread,
put one slice of ham and one of cheese on
to each slice, season with paprika and then
cover with the two remaining slices of ham
and bread.
Cheese sandwich
Ingredients:
4 slices sandwich bread, 70 g butter, 125
g (5 oz.) grated cheese, 2 egg yolks, salt,
powdered paprika, finely chopped parsley.
Preparing the cheese spread:
Cream the 70 g of butter and add the grated
cheese and egg yolks. Season with salt,
paprika and parsley to taste.
Preparation:
Butter the outside of each slice of bread, add
the cheese crème and cover with the two
remaining slices of bread.
Fish sandwich
Ingredients:
4 slices sandwich bread, 1 tin of tuna, 4
slices cheese, 6-8 stuffed olives (sliced).
Preparation:
Butter the outside of each slice of bread,
add 2 slices of cheese, the tuna and sliced
olives, and cover with the two remaining
slices of bread.
Disposal Devices marked with this symbol
must be disposed of separately
from your household waste, as
they contain valuable materials
which can be recycled. Proper disposal
protects the environment and human health.
Your local authority or retailer can provide
information on the matter.

Other SEVERIN Toaster manuals

SEVERIN AT 2540 User manual

SEVERIN

SEVERIN AT 2540 User manual

SEVERIN AT 2234 User manual

SEVERIN

SEVERIN AT 2234 User manual

SEVERIN AT 2590 User manual

SEVERIN

SEVERIN AT 2590 User manual

SEVERIN AT 2518 - GRILLE-TOUS-PAINS User manual

SEVERIN

SEVERIN AT 2518 - GRILLE-TOUS-PAINS User manual

SEVERIN AT 2514 - GRILLE-PAIN User manual

SEVERIN

SEVERIN AT 2514 - GRILLE-PAIN User manual

SEVERIN AT 2515 - GRILLE-TOUS-PAINS User guide

SEVERIN

SEVERIN AT 2515 - GRILLE-TOUS-PAINS User guide

SEVERIN AT 2596 - User manual

SEVERIN

SEVERIN AT 2596 - User manual

SEVERIN AT2589 User manual

SEVERIN

SEVERIN AT2589 User manual

SEVERIN Automatic Toaster User manual

SEVERIN

SEVERIN Automatic Toaster User manual

SEVERIN AT 2512 User manual

SEVERIN

SEVERIN AT 2512 User manual

SEVERIN AT 2595 - User manual

SEVERIN

SEVERIN AT 2595 - User manual

SEVERIN AT 2548 - User guide

SEVERIN

SEVERIN AT 2548 - User guide

SEVERIN AT 2596 - User manual

SEVERIN

SEVERIN AT 2596 - User manual

SEVERIN AT 2510 User manual

SEVERIN

SEVERIN AT 2510 User manual

SEVERIN AT2260 User manual

SEVERIN

SEVERIN AT2260 User manual

SEVERIN AT 2513 User manual

SEVERIN

SEVERIN AT 2513 User manual

SEVERIN AT 2556 User guide

SEVERIN

SEVERIN AT 2556 User guide

SEVERIN KG 2396 User guide

SEVERIN

SEVERIN KG 2396 User guide

SEVERIN AT 2212 User manual

SEVERIN

SEVERIN AT 2212 User manual

SEVERIN AT 2594 User guide

SEVERIN

SEVERIN AT 2594 User guide

SEVERIN AT 2540 User guide

SEVERIN

SEVERIN AT 2540 User guide

SEVERIN SA 9275 User guide

SEVERIN

SEVERIN SA 9275 User guide

SEVERIN Wurster WT 5000 User manual

SEVERIN

SEVERIN Wurster WT 5000 User manual

SEVERIN AT 2514 User manual

SEVERIN

SEVERIN AT 2514 User manual

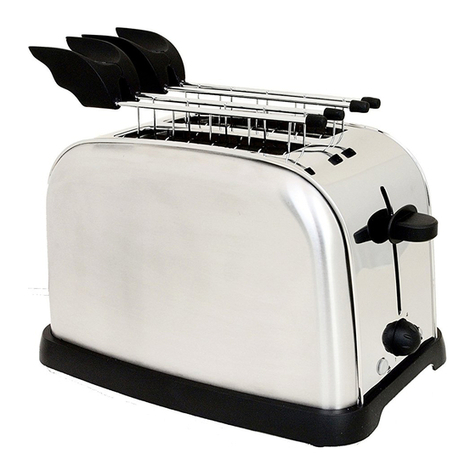
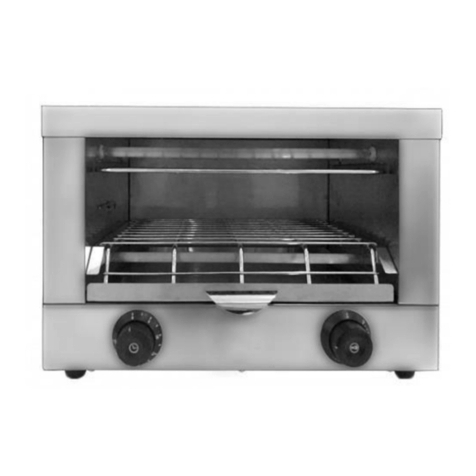
Popular Toaster manuals by other brands

H.Koenig TOS9 instruction manual

H.Koenig

H.Koenig TOS9 instruction manual

ZIEGELMULLER Ritter ET 10 Operating and assembly instructions

ZIEGELMULLER

ZIEGELMULLER Ritter ET 10 Operating and assembly instructions

Magio MG-275 instruction manual

Magio

Magio MG-275 instruction manual

inventum TT 74 B instruction manual

inventum

inventum TT 74 B instruction manual

Russell Hobbs 13245 instructions

Russell Hobbs

Russell Hobbs 13245 instructions

Clatronic ST 3629 instruction manual

Clatronic

Clatronic ST 3629 instruction manual

Smeg TSF01 instruction manual

Smeg

Smeg TSF01 instruction manual

Russell Hobbs TR9150RDR instructions

Russell Hobbs

Russell Hobbs TR9150RDR instructions

Russell Hobbs RHCT04 Instructions and warranty

Russell Hobbs

Russell Hobbs RHCT04 Instructions and warranty

Optimum TS-2010 operating instructions

Optimum

Optimum TS-2010 operating instructions

Alpina SF-2507 Instructions for use

Alpina

Alpina SF-2507 Instructions for use

Sapir ES-1442-AF instruction manual

Sapir

Sapir ES-1442-AF instruction manual

ARIETE 156 manual

ARIETE

ARIETE 156 manual

ARDESTO K-T200 instruction manual

ARDESTO

ARDESTO K-T200 instruction manual

TEFAL Express TL270101 manual

TEFAL

TEFAL Express TL270101 manual

Exido 243-028 Product specification

Exido

Exido 243-028 Product specification

Haier TST1000 user manual

Haier

Haier TST1000 user manual

camry Premium CR 3218 user manual

camry

camry Premium CR 3218 user manual

manuals.online logo
manuals.online logoBrands
  • About & Mission
  • Contact us
  • Privacy Policy
  • Terms and Conditions

Copyright 2025 Manuals.Online. All Rights Reserved.