sewerin Snooper Mini User manual

SNOOPER mini

Betriebsanleitung (deutsch) .............................................................. 1
Operating Instructions (english) ............................................................. 27
Notices d‘utilisation (français) ............................................................ 53
Manual de instrucciones (español) ............................................................ 79
Istruzioni all‘uso (italiano) ........................................................... 105
Instrukcja obsługi (polski).............................................................. 131
20.04.2016 a – 104171

27
English
Operating Instructions SNOOPER mini
1 Intended use ...........................................29
2 Device variants .......................................30
3 Safety instructions .................................31
4 Useful information about the device ....32
4.1 Structure – device and display .................32
4.2 Operating modes......................................34
4.3 Measuring range ......................................34
4.4 Automatic power-off..................................35
4.5 Display illumination...................................35
5 Measurement mode................................36
5.1 How to start the measurement mode .......36
5.2 Increased gas concentration ....................38
5.3 Setting the zero point – when and how? ..38
5.4 Verifying the indication accuracy – when
and how?..................................................39
6 Adjustment..............................................40
6.1 Tools and requirements ............................40
6.2 How to perform the adjustment ................41
6.3 Adjustment error – what to do? ................44
7 Maintenance and cleaning.....................45
7.1 Overview ..................................................45
7.2 Sensor cap ...............................................46
7.3 Replacingthelter....................................47
7.4 Changing the battery ................................48
8 Appendix .................................................49
8.1 Technical data ..........................................49
8.2 Error messages ........................................50
8.3 Disposal and recycling instructions ..........51
8.4 Used symbols...........................................52
8.5 EU declaration of conformity ....................52

28
English
Warranty
To ensure reliable operation and safety, it is required to pay attention to the following notes.
Hermann Sewerin GmbH is not liable for damage caused by failure to comply with these notes. The guarantee
and liability conditions of the sales and delivery conditions of Hermann Sewerin GmbH are not extended
by the following notes.
zThe product may only be taken into operation after reading thoroughly the accompanying operating
instructions.
zThe product may only be used for intended applications.
zThe product is destined for industrial and commercial applications.
zRepairs may only be performed by the manufacturer or appropriately trained staff.
zThemanufacturerisnotliablefordamageresultingfromarbitrarymodicationsoftheproduct.
zOnly spare parts may be used which are approved by Hermann Sewerin GmbH.
zOnly approved battery types may be used.
Technical changes within the scope of further development reserved.

29
English
1 Intended use
SNOOPER mini is a gas detector for plumbers and service technicians for detecting leaks at free
laid gas pipes.
Fields of application (for example):
zDetectionofgasleaksbydirectlyinspectingjointsof:pipes,ttings,anges,threadedconnections,
pressure reducers, etc.
zLeak detection at openly routed natural gas pipelines in buildings
zInspection of covered gas pipelines at the gas discharge locations
zInspectionatthehouseservicetting
CAUTION! Danger of life!
SNOOPER mini must not be used as a gas warning instrument.
It is not suitable for checking whether the ambient air or the air inside pits and sewers
is approaching the lower explosion level (LEL).

30
English
2 Device variants
The device is available in two different versions:
zwithexibleswanneck
zwithhandsensor(spiralcable,handle,exibleswanneck)
Both device variants are operated the same way.
The device is available for the following types of gas: zMethane CH4
zPropane C3H8
zHydrogen H2
Note:
The type of gas is indicated on the rear of the device. It is not possible to change it.

31
English
3 Safety instructions
zNever open the housing (only exception: the battery compartment). Otherwise, all warranty claims
expire.
zThe swan neck cannot be disassembled. It must not be bent in a sharp angle. The maximum
permissible angle is 90 degrees.
zNever carry the device at the swan neck and/or the hand sensor!
zPrevent that the swan neck comes into contact with water. Water destroys the sensor!

32
English
4 Useful information about the device
4.1 Structure – device and display
Sensor cap with lter
zfor protecting the gas-sensitive
sensor
Swan neck
Display
Loudspeaker key
zfor switching on/off the audible signal
ON/OFF key
zfor switching on/off the device
zfor setting the zero point Hand sensor
Bar
zfor attaching the carrying loop

33
English
Display
Measured value or type of gas
Time bar
zindicates the remaining time, e. g. of
the heating period
Unit or status message
Loudspeaker icon (crossed out)
zaudible signal is switched off
Battery icon
zcurrently available capacity of the
batteries (disposable or rechargeable);
the number of bars indicates the
capacity level
Abbreviations:
ADJ Adjust
APF Automatic power-off
BAT Battery
CAL Calibrate
CWT Calibration waiting time
ERR Error
HT Heating-up
PPM Unit of measurement (ppm)
VOL Unit of measurement
(vol. %)
ZRO Setting the zero point

34
English
4.2 Operating modes
The device can be used in two different modes:
zMeasurement > see chapter 5
zAdjustment > see chapter 6
4.3 Measuring range
The device operates with a single measuring range, but two different units of measurement (parts per
million [ppm], percent by volume [vol.%]). The device automatically switches between the different
units of measurement.
Conversion: 10,000 ppm = 1 vol.%
Indication of
measurement values in
Limits Resolution
ppm 0 – 100 ppm 5 ppm
ppm > 100 – 2,000 ppm 50 ppm
percent by volume CH4, C3H8: > 2,000 – 22,000 ppm (0.2 – 2.2 vol.%) 0.2 vol.%
H2: > 2,000 – 10,000 ppm (0.2 – 1.0 vol.%)

35
English
4.4 Automatic power-off
SNOOPER mini switches itself off automatically,
zas soon as the battery charge is no longer sufcient. (BATwillbeindicatedbrieyonthedisplay.)
The automatic power-off may also occur immediately after switching on the device! Exchange or
recharge batteries (see chapter 7.4).
zif the device is not operated for 20 minutes (i. e. no key is pressed) or if the display is not chang-
ing. (APFwillbeindicatedbrieyonthedisplay.)
4.5 Display illumination
The device automatically switches on the display illumination:
zif a key is pressed (duration of illumination 20 s),
zif the gas concentration is higher than 25 ppm.
36
English
5 Measurement mode
5.1 How to start the measurement mode
Note:
The device must always be switched on in an unpolluted environment (e. g. in the
fresh air).
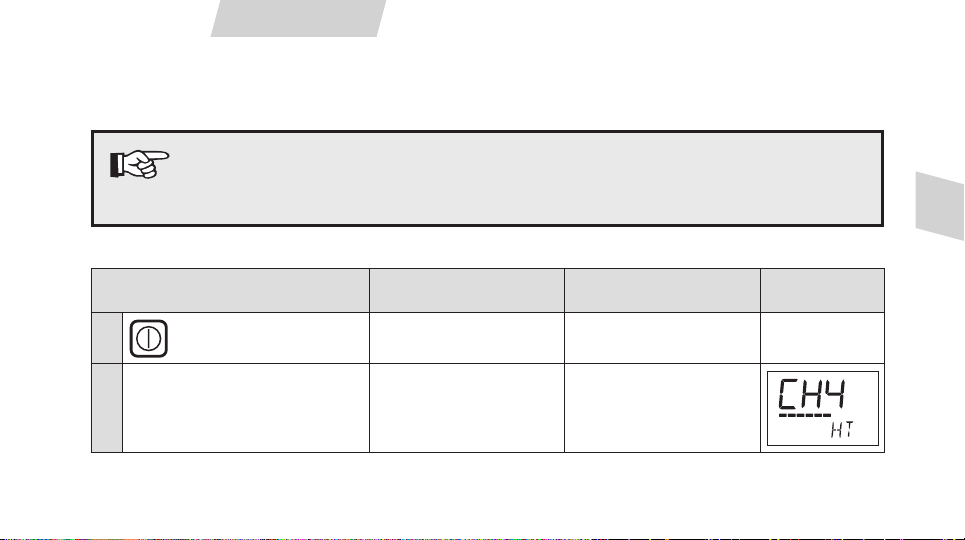
What to do? What happens? Why? Indication on
the display
1.
press for approx. 2 s
Device is switched on,
audible signal sounds
2. wait Displayashes,
time bar runs out
Heating period,
approx. 20 s

37
English
3. Device ready for
measuring
Note:
After switching on, the device needs one minute to recognise whether it is operated with
disposable or rechargeable batteries. After this check, the battery icon is indicated.

38
English
5.2 Increased gas concentration
An automatic audio signal makes the user always aware of an increased gas concentration.
Audible signal of the device (loudspeaker key)
zswitched on: the interval signal gradually changes to a steady tone
zswitched off: steady tone sounds as soon as the device measures a value higher than 1 vol.%
5.3 Setting the zero point – when and how?
When working with the SNOOPER mini, the zero point may start to drift (e. g. if the device is ready
for measuring and put aside for some time). In this case, the display indicates a value deviating from
zero.
zPress briey on the ON/OFF key. ZRO is indicated on the display. The device is ready to reset
the zero point.
zRe-press briey on the ON/OFF key within 5 seconds. The zero point is reset.

39
English
5.4 Verifying the indication accuracy – when and how?
Accordingto DVGWregulations(DVGW:Germantechnical andscienticassociation forgasand
water), it is required to check the indication accuracy in intervals ranging from every week to every
six months – depending on the frequency of usage and experience.
Gas type of the device Test gas Permissible range
Methane 1 vol.% CH40.8 – 1.4 vol.%
Propane 1 vol.% C3H8
Hydrogen 1,000 ppm H2800 – 1,400 ppm
zThe device must be ready for measuring (see chapter 5.1).
zApply test gas with the help of a suitable test set (e. g. SPE-Y).
zCompare the deviations indicated by the device with the permissible values in the table. If the values
are outside the permissible range, you need to perform an adjustment (see chapter 6).

40
English
6 Adjustment
The device must be adjusted if the deviation of the indication accuracy is outside the permissible
range (see chapter 5.4).
6.1 Tools and requirements
Required tools:
zSuitable test set (e. g. SPE HG, SPE-Y)
zTest head
zTest gas, depending on the type of gas of the relevant device (see table in chapter 5.4)
Youcanndallinformationonhowtoconnectthetestsettothedeviceintheoperatinginstructions
of the test set.
Requirements for a proper adjustment:
zDevice is switched off
zTest head is not yet attached
zAtmosphere of the environment is not polluted (e. g. fresh air)
41
English
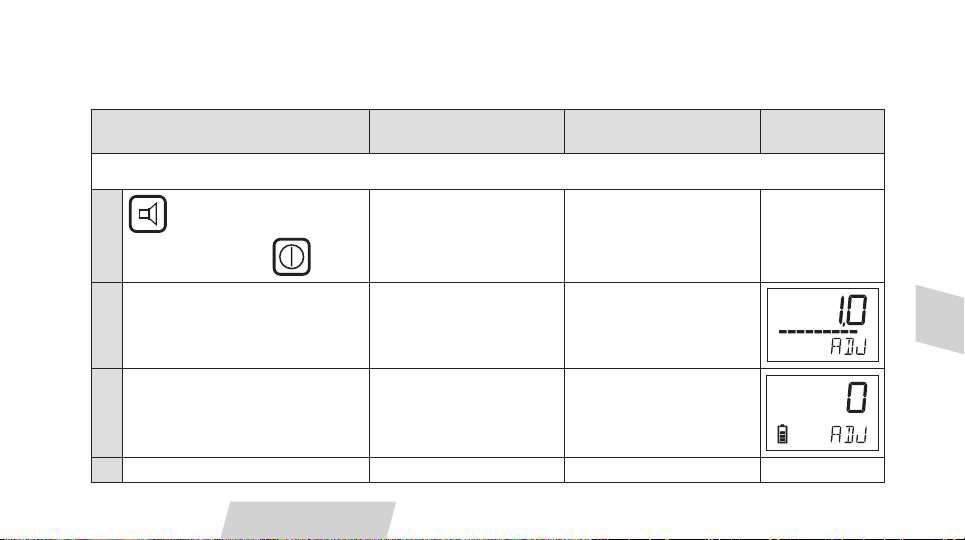
6.2 How to perform the adjustment
What to do? What happens? Why? Indication on
the display
Prepare adjustment
1.
keep pressed and press
at the same time
Device is switched on,
audible signal sounds
2. wait Time bar runs out Heating period,
approx. 60 s
3. Device is ready for
adjustment
4. apply test gas

42
English
What to do? What happens? Why? Indication on
the display
Start adjustment
5.
pressbriey
6. wait Time bar runs out Calibration waiting
time
7. Adjustment starts
automatically
8. Brief audible signal
sounds
Adjustment completed

43
English
What to do? What happens? Why? Indication on
the display
Adjustment error
Briey:audiblesignal
(amplitude variation)
and error indicated on
the display
followed by:
ADJ
Quit adjustment mode (two options)
A)
press for approx. 2 s
Device is switched off
B)
pressbriey
Device in
measurement mode

44
English
6.3 Adjustment error – what to do?
If error 001 ERR occurs (refer to description in chapter 6.2), the device was not able to perform a
proper adjustment.
zRepeat the adjustment.
zIf the error is indicated again, get in touch with the SEWERIN Service.
Table of contents
Other sewerin Gas Detector manuals


Popular Gas Detector manuals by other brands


Dräger
Dräger X-AM 5000 Instructions for use

RKI Instruments
RKI Instruments T3A Operator's manual

New Cosmos Electric
New Cosmos Electric PS-7-M Communication Specifications Guide

Hanwei
Hanwei JL269LED Operation manual

Dräger
Dräger Ethylene glycol 10 Instructions for use
Honeywell
Honeywell BW Icon quick start guide