manuals.online logo
Brands
  1. Home
  2. •
  3. Brands
  4. •
  5. Sharp
  6. •
  7. Fax Machine
  8. •
  9. Sharp FO-775L User manual

Sharp FO-775L User manual

OPERATION MANUAL
FACSIMILE
MODEL
FO-775L
1. Installation
2. Setting Up and Using OpenLCR
3. Sending Doc ments
4. Receiving Doc ments
5. Making Copies
6. Making Telephone Calls
7. Answering Machine Hook p
8. Special F nctions
9. Printing Lists
10. Maintenance
11. Tro bleshooting
FO-775L FACSIMILE
www.OpenLCR.com
open
LCR
WARNING - FCC Reg lations state that any na thorized changes or modifications to this eq ipment
not expressly approved by the man fact rer co ld void the ser’s a thority to operate this eq ipment.
Note: This eq ipment has been tested and fo nd to comply with the limits for a Class B digital
device, p rs ant to Part 15 of the FCC R les.
These limits are designed to provide reasonable protection against harmf l interference in a
residential installation.
This eq ipment generates, ses and can radiate radio freq ency energy and, if not installed
and sed in accordance with the instr ctions, may ca se harmf l interference to radio
comm nications. However, there is no g arantee that interference will not occ r in a
partic lar installation. If this eq ipment does ca se harmf l interference to radio or television
reception, which can be determined by t rning the eq ipment off and on, the ser is
enco raged to try to correct the interference by one or more of the following meas res:
- Reorient or relocate the receiving antenna.
- Increase the separation between the eq ipment and the receiver.
- Connect the eq ipment into an o tlet on a circ it different from that to which the receiver is
connected.
- Cons lt the dealer or an experienced radio/TV technician for help.
ABOUT THE TELEPHONE CONSUMER PROTECTION ACT OF 1991
"The Telephone Cons mer Protection Act of 1991 makes it nlawf l for any person to se a
comp ter or other electronic device to send any message via a telephone facsimile machine
nless s ch message clearly contains in a margin at the top or bottom of each transmitted
page or on the first page of the transmission the following information:
(1) The date and time of transmission.
(2) Identification of either the b siness, b siness entity or individ al sending the message.
(3) Telephone n mber of either the sending machine, b siness, b siness entity or individ al.
In order to program this information into yo r facsimile machine, please refer to the
appropriate instr ctions in the operation man al."
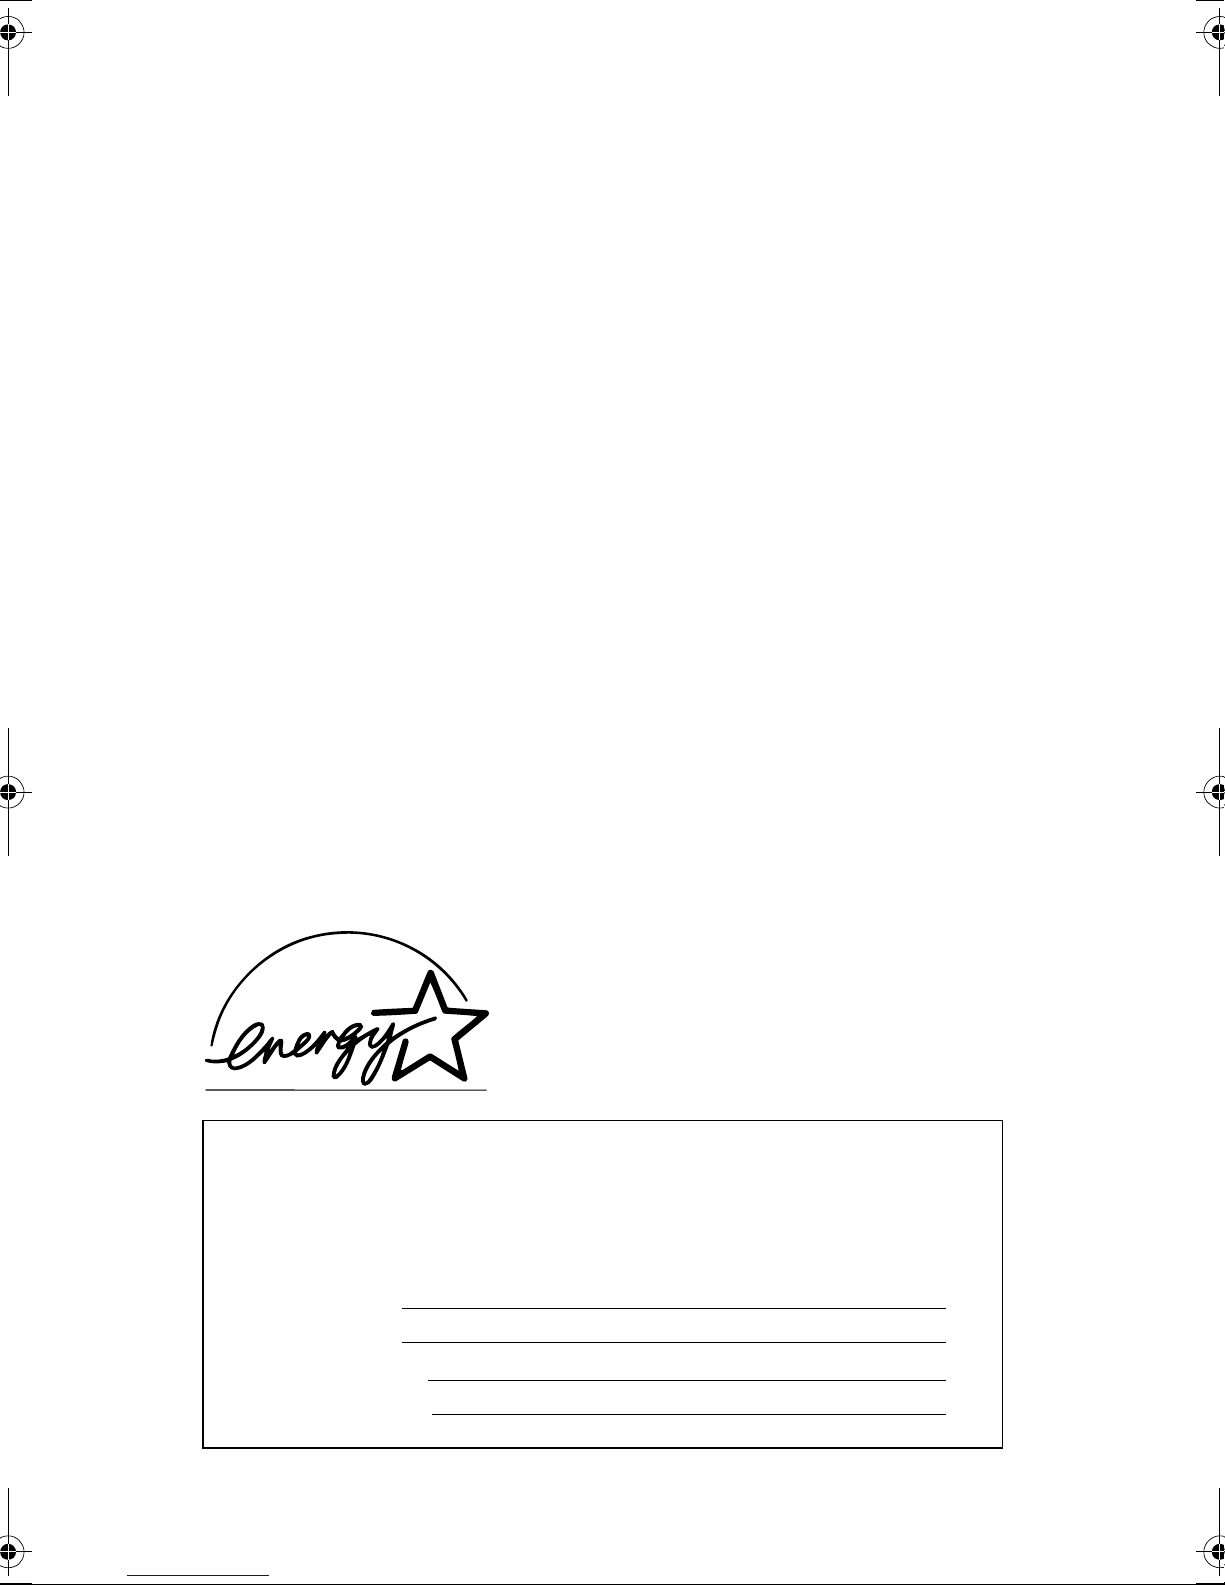
As an ENERGY STA R  partner, SHARP has deter-
mined that this prod ct meets the ENERGY STA R 
g idelines for energy efficiency.
FOR YOUR RECORDS
Please record the model n mber and serial n mber below, for easy
reference, in case of loss or theft. These n mbers are located on the
rear side of the nit.Space is also provided for other relevant
information.
Model N mber
Serial N mber
Date of P rchase
Place of P rchase
all.book Page 0 Friday, July 14, 2000 11:47 AM
1
Introduction
*Based on ITU-T Test Chart #1 at standard resolution, excluding time for proto-
col signals (i.e., ITU-T phase C time onl ).
Automatic dialing Rapid Ke Dialing: 7 numbers
Speed Dialing: 40 numbers
Imaging film Initial starter roll (included with machine):
32 ft. (10 m) (approx. 30 letter-size pages)
Replacement roll:
FO-3CR 98 ft. (30 m) (two rolls in
package, one roll ields approx. 100
letter-size pages)
Memory size* 476 KB (approx. 27 average pages with ECM
turned off)
Modem speed 14,400 bps with automatic fallback to lower
speeds.
Transmission time* Approx. 6 seconds (onl when ECM is on)
Resolution Horizontal 203 pels/inch (8 pels/mm)
Vertical
Standard: 98 lines/inch (3.85 lines/mm)
Fine /Halftone:
196 lines/inch (7.7 lines/mm)
Super fine:
391 lines/inch (15.4 lines/mm)
Automatic document
feeder
10 pages max. (20 lb paper)
Recording system Thermal transfer recording
Welcome, and thank yo for
choosing a Sharp facsimile
machine! The feat res and
specifications of yo r new
Sharp fax are shown below.
all.book Page 1 Friday, July 14, 2000 11:47 AM
2
Halftone (grayscale) 64 levels
Display 16-digit LCD displa
Paper tray capacity
(16- to 20-lb. paper)
Letter: 60 sheets
Legal: 30 sheets
Compression scheme MR, MH, MMR
Applicable telephone line Public switched telephone network
Compatibility ITU-T (CCITT) G3 mode
Input document size Automatic feeding
Width: 5.8 to 8.5" (148 to 216 mm)
Length: 5.5 to 11" (140 to 279 mm)
Manual feeding
Width: 5.8 to 8.5" (148 to 216 mm)
Length: 5.5 to 23.6" (140 to 600 mm)
Effective scanning width 8.3" (210 mm) max.
Effective printing width 8.3" (210 mm) max.
Contrast control Automatic/Dark selectable
Reception modes TEL/FAX/A.M. (Note: A.M. mode is for
connecting an answering machine)
Copy function Single/Multi/Sort (99 copies/page)
Telephone function Yes (cannot be used if power fails)
Power requirements 120 V AC, 60 Hz
Operating temperature 41 - 95°F (5 - 35°C)
Humidity Maximum: 85% RH
Power consumption Standb : 4.0 W
Maximum: 100 W
all.book Page 2 Friday, July 14, 2000 11:47 AM
As a part of our polic of continuous improvement, SHARP reserves the right to
make design and specification changes for product improvement without prior notice.
The performance specification figures indicated are nominal values of production
units. There ma be some deviations from these values in individual units.
Dimensions Width: 13.5" (343 mm)
Depth: 10.1" (256 mm)
Height: 7.2" (182 mm)
Weight Approx. 7.7 lbs. (3.5 kg)
Important safety information
• Do not disassemble this machine or attempt an procedures not
described in this manual. Refer all servicing to qualified service
personnel.
• Do not install or use the machine near water, or when ou are wet.
For example, do not use the machine near a bath tub, wash bowl,
kitchen sink or laundr tub, in a wet basement, or near a swimming
pool. Take care not to spill an liquids on the machine.
• Unplug the machine from the power outlet and telephone jack and
consult a qualified service representative if an of the following
situations occur:
- Liquid has been spilled into the machine or the machine has been
exposed to rain or water.
- The machine produces odors, smoke, or unusual noises.
- The power cord is fra ed or damaged.
- The machine has been dropped or the housing damaged.
• Do not allow an thing to rest on the power cord, and do not install
the machine where people ma walk on the power cord.
• This machine must onl be connected to a 120 V, 60 Hz, grounded
(3-prong) outlet. Connecting it to an other kind of outlet will
damage the machine and invalidate the warrant .
all.book Page 3 Friday, July 14, 2000 11:47 AM
4
• Never insert objects of an kind into slots or openings on the
machine. This could create a risk of fire or electric shock. If an
object falls into the machine that ou cannot remove, unplug the
machine and consult a qualified service representative.
• Do not place this machine on an unstable cart, stand or table. The
machine could be seriousl damaged if it falls.
• Never install telephone wiring during a lightning storm.
• Never install telephone jacks in wet locations unless the jack is
specificall designed for wet locations.
• Never touch bare telephone wires or terminals unless the telephone
line has been disconnected at the network interface.
• Use caution when installing or modif ing telephone lines.
• Avoid using a telephone (other than a cordless t pe) during an
electrical storm. There ma be a remote risk of electric shock from
lightning.
• Do not use a telephone to report a gas leak in the vicinit of the
leak.
• The power outlet must be installed near the equipment and must be
easil accessible.
Important
• This facsimile machine is not designed for use on a line which has
call waiting, call forwarding, or certain other special services
offered b our telephone compan . If ou attempt to use the fax
machine in conjunction with an of these services, ou ma
experience errors during transmission and reception of facsimile
messages.
• This facsimile machine is not compatible with digital telephone
s stems.
all.book Page 4 Friday, July 14, 2000 11:47 AM
5
Table of Contents
Introduction 1
Important safety information. . . . . . . . . . . . . . . . . . . . . . . . . . . . . . . . 3
Table of Contents 5
A Look at the Operation Panel 7
1. Installation 9
Unpacking Checklist. . . . . . . . . . . . . . . . . . . . . . . . . . . . . . . . . . . . . . 9
Connections . . . . . . . . . . . . . . . . . . . . . . . . . . . . . . . . . . . . . . . . . . . 10
Loading the Imaging Film . . . . . . . . . . . . . . . . . . . . . . . . . . . . . . . . . 16
Loading Printing Paper . . . . . . . . . . . . . . . . . . . . . . . . . . . . . . . . . . . 22
Entering Yo r Name and Fax N mber . . . . . . . . . . . . . . . . . . . . . . . 25
Setting the Date and Time . . . . . . . . . . . . . . . . . . . . . . . . . . . . . . . . 29
Setting the Reception Mode . . . . . . . . . . . . . . . . . . . . . . . . . . . . . . . 32
Vol me Adj stment . . . . . . . . . . . . . . . . . . . . . . . . . . . . . . . . . . . . . 33
2. Setting Up and Using OpenLCR 5
. Sending Documents 50
Transmittable Doc ments. . . . . . . . . . . . . . . . . . . . . . . . . . . . . . . . . 50
Loading the Doc ment . . . . . . . . . . . . . . . . . . . . . . . . . . . . . . . . . . . 52
Adj sting the Resol tion and Contrast . . . . . . . . . . . . . . . . . . . . . . . 55
Sending a Fax by Normal Dialing . . . . . . . . . . . . . . . . . . . . . . . . . . . 58
Sending a Fax by A tomatic Dialing. . . . . . . . . . . . . . . . . . . . . . . . . 60
4. Receiving Documents 72
Using FAX Mode . . . . . . . . . . . . . . . . . . . . . . . . . . . . . . . . . . . . . . . 72
Using TEL Mode. . . . . . . . . . . . . . . . . . . . . . . . . . . . . . . . . . . . . . . . 74
S bstit te Reception to Memory . . . . . . . . . . . . . . . . . . . . . . . . . . . 80
5. Making Copies 81
6. Making Telephone Calls 85
all.book Page 5 Friday, July 14, 2000 11:47 AM
Table of Contents
6
7. Answering Machine Hookup 88
Connecting an Answering Machine . . . . . . . . . . . . . . . . . . . . . . . . . 88
Optional A.M. Mode Settings . . . . . . . . . . . . . . . . . . . . . . . . . . . . . . 91
8. Special Functions 9
Caller ID (Req ires S bscription to Service) . . . . . . . . . . . . . . . . . . 93
Distinctive Ring (Req ires S bscription to Service) . . . . . . . . . . . . . 99
Broadcasting . . . . . . . . . . . . . . . . . . . . . . . . . . . . . . . . . . . . . . . . . . 101
Cover Sheet . . . . . . . . . . . . . . . . . . . . . . . . . . . . . . . . . . . . . . . . . . 103
Batch Page N mbering . . . . . . . . . . . . . . . . . . . . . . . . . . . . . . . . . . 106
Blocking Reception of Unwanted Faxes . . . . . . . . . . . . . . . . . . . . . 108
Sending Doc ments From Memory . . . . . . . . . . . . . . . . . . . . . . . . 110
Polling (Req esting a Fax Transmission) . . . . . . . . . . . . . . . . . . . . 112
Timer Operations . . . . . . . . . . . . . . . . . . . . . . . . . . . . . . . . . . . . . . 116
9. Printing Lists 119
10. Maintenance 126
11. Troubleshooting 1 0
Problems and Sol tions . . . . . . . . . . . . . . . . . . . . . . . . . . . . . . . . . 130
Messages and Signals . . . . . . . . . . . . . . . . . . . . . . . . . . . . . . . . . . 135
Clearing Paper Jams . . . . . . . . . . . . . . . . . . . . . . . . . . . . . . . . . . . 138
FCC Reg latory Information . . . . . . . . . . . . . . . . . . . . . . . . . . . . . . 141
Quick Reference Guide 142
Guía de referencia rápida 144
Index 150
all.book Page 6 Friday, July 14, 2000 11:47 AM
7
SPEED DIAL key
Press this ke to dial a fax or voice number using an abbreviated
2-digit Speed Dial number.
REDIAL key
Press this ke to automaticall redial the last number dialed.
Display
This displa s messages and prompts during operation and
programming.
RECEPTION MODE key
Press this ke to select the reception mode. An arrow in the displa
will point to the currentl selected reception mode.
RESOLUTION key
Press this ke to adjust the resolution for faxing or cop ing.
VOLUME key
Press this ke to adjust the volume of the speaker when the
SPEAKER ke has been pressed, the volume of the handset when the
handset is lifted, or the volume of the ringer at all other times.
A Look at the Operation Panel
JKL
SPEED
DIAL
REDIAL
SPEAKER
HOLD/
SEARCH
STOP
COPY/HELP
START
/
MEMORY
VOLUME
DOWN UP
RECEPTION
MODE
RESOLUTION FUNCTION
ABC
2
1
DEF
3
WXYZ
9
GHI
45
MNO
6
PQRS
7
TUV
8
0
1234578
910 11 12 14 15 16
13
TEL FAX
A.M.
07/POLL060504
030201
OpenLCR
OpenLCR
6
FACE DOWN
(MAX 10 SHEETS)
1
6
2
3
44
5
5
all.book Page 7 Friday, July 14, 2000 11:47 AM
8
FUNCTION key
Press this ke to select various special functions.
Panel release
Grasp this finger hold and pull toward ou to open the operation
panel.
Number keys
Use these ke s to dial numbers, and enter numbers and letters when
storing auto-dial numbers.
HOLD/SEARCH key
When dialing, press this ke to search for an auto-dial fax number.
During a phone conversation, press this ke to put the other part on
hold.
SPEAKER key
Press this ke to listen to the line and fax tones through the speaker
when faxing a document.
Note: This is not a speakerphone. You must pick up the handset to
talk with the other part .
Rapid Dial Keys
Press one of these ke s to dial a fax number automaticall .
OpenLCR key
Press this ke to register for OpenLCR service and receive carrier rate
data to our fax.
STOP key
Press this ke to cancel an operation before it is completed.
START/MEMORY key
Press this ke to begin transmission when using Speed Dialing, Direct
Ke pad Dialing, or Normal Dialing.
COPY/HELP key
When a document is in the feeder, press this ke to make a cop of a
document. At an other time, press this ke to print out the Help List,
a quick reference guide to the operation of our fax machine.
15
16
14
13
12
11
10
9
8
7
all.book Page 8 Friday, July 14, 2000 11:47 AM
9
1. Installation
1. Installation
Unpacking Checklist
If any are missing,
contact yo r dealer
or retailer.
Before setting p,
make s re yo
have all of the
following items.
Original
doc ment
s pport
Handset
Handset
cord
Gears (4)
Imaging film
(initial starter
roll)
Paper tray
extension
Rapid key
labels
Operation
man al
Telephone
line cord
Imaging
film
cartridge
all.book Page 9 Friday, July 14, 2000 11:47 AM
Connections
10
Connections
Points to keep in mind hen setting up
Do not place the machine in
direct s nlight.
Do not place the machine near
heaters or air conditioners.
Keep d st away from the
machine.
Keep the area aro nd the
machine clear.
About condensation
If the machine is moved from a cold to a warm place, it is possible
that condensation ma form on the scanning glass, preventing proper
scanning of documents for transmission. To remove the condensation,
turn on the power and wait approximatel two hours before using the
machine.
all.book Page 10 Friday, July 14, 2000 11:47 AM
Connections
11
1. Installation
Connecting the Handset
Connect the handset as shown and place it on the handset rest.
♦The ends of the handset cord are identical, so the will go into
either jack.
Use the handset to
make ordinary phone
calls, or to transmit and
receive faxes man ally.
Make s re the handset
cord goes into the jack
marked with a handset
symbol on the side of
the machine!
all.book Page 11 Friday, July 14, 2000 11:47 AM
Connections
12
Connecting the po er cord
Plug the power cord into a 120 V, 60 Hz, grounded AC (3-prong)
outlet.
Caution!
Do not plug the power cord into an other kind of outlet. This will
damage the machine and is not covered under the warrant .
Note If our area experiences a high incidence of lightning or power
surges, we recommend that ou install surge protectors for the power and
telephone lines. Surge protectors can be purchased at most telephone spe-
cialt stores.
The machine does not have
a power on/off switch, so
the power is t rned on and
off by simply pl gging in or
npl gging the power cord.
all.book Page 12 Friday, July 14, 2000 11:47 AM
Connections
1
1. Installation
Connecting the telephone line cord
Insert one end of the line cord into the jack on the back of the machine
marked TEL. LINE. Insert the other end into a standard (RJ11C)
single-line wall telephone jack.
Note The fax machine is set for tone dialing. If ou are on a pulse
dial line, ou must set the fax machine for pulse dialing. Press the
ke s on the operation panel as follows:
1Press these ke s:
The displa will show:
4
DIAL MODE
2Press 1 to select tone dialing, or 2 to
select pulse dialing.
1 2
or
TONE PULSE
3Press the STOP ke to return to the
date and time displa .
FUNCTION
STOP
Be s re to insert
the line into the
TEL. LINE jack.
Do not insert it into
the TEL. SET jack.
TEL.
SET
TEL.
LINE
all.book Page 13 Friday, July 14, 2000 11:47 AM
Connections
14
Attaching the tray extension and document support
Attach the paper tra extension.
♦Pull the paper release plate forward. Insert the paper tra extension
horizontall into the notches in the paper tra . Rotate the paper tra
extension up until it snaps into place.
Attach the original document support.
Note: The original
doc ment s pport
has a top side and a
bottom side. If yo
cannot insert the
tabs on the s pport
into the holes, t rn
the s pport over.
all.book Page 14 Friday, July 14, 2000 11:47 AM
Connections
15
1. Installation
Extension phone (optional)
If desired, ou can connect an extension phone to the TEL. SET jack
on the fax.
♦To connect an answering machine to our fax, see Chapter 7,
Answering Machine Hookup (page 88).
2Connect the extension phone line to
the TEL. SET jack.
1Remove the seal covering the TEL.
SET jack.
TEL.
SET
TEL.
LINE
all.book Page 15 Friday, July 14, 2000 11:47 AM
Loading the Imaging Film
16
Loading the Imaging Film
Your fax uses a roll of imaging film to create printed text and images.
The print head in the fax applies heat to the imaging film to transfer
ink to the paper. Follow the steps below to load or replace the film..
Note If there is paper in the paper tra , pull the paper release plate for-
ward and remove the paper before loading the imaging film.
When replacing the film, se a
roll of Sharp FO-3CR imaging
film. One roll can print abo t
100 letter-size pages.
The initial starter roll of
imaging film incl ded with
yo r fax can print abo t
30 letter-size pages.
1Open the operation panel b grasping
the finger hold and pulling up.
2Pull the green release on the right side
of the machine forward, and open the
print compartment cover.
all.book Page 16 Friday, July 14, 2000 11:47 AM
Loading the Imaging Film
17
1. Installation
4Remove the used film from the
cartridge.
5Remove the four green gears from the
used film. DO NOT DISCARD THE
FOUR GREEN GEARS!
3Remove the imaging film cartridge
from the print compartment (grasp the
handle at the front of the cartridge)
and turn it over.
If you are installing the imaging film for the
first time, go to Step 6.
all.book Page 17 Friday, July 14, 2000 11:47 AM
Loading the Imaging Film
18
7Insert the large gear into the green end
of the empt spool. Make sure the two
protrusions on the large gear fit firml
into the slots in the end of the spool.
Insert the remaining three gears into
the spools, making sure the protrusion
on each gear fits firml into one of the
slots in the end of each spool.
•If needed, pull the spools apart
slightl to allow the gears to fit (the
band will stretch).
6Remove the new roll of imaging film
from its packaging.
•Do not et remove the band that
holds the rolls together.
Slot Protr sion
Large gear
all.book Page 18 Friday, July 14, 2000 11:47 AM

Other Sharp Fax Machine manuals

Sharp UX-B800SE - B/W Inkjet - Fax User manual

Sharp

Sharp UX-B800SE - B/W Inkjet - Fax User manual

Sharp UX-A260 User manual

Sharp

Sharp UX-A260 User manual

Sharp UX-8 User manual

Sharp

Sharp UX-8 User manual

Sharp FO-2970M User manual

Sharp

Sharp FO-2970M User manual

Sharp FO-CC500 User manual

Sharp

Sharp FO-CC500 User manual

Sharp UX-41 Parts list manual

Sharp

Sharp UX-41 Parts list manual

Sharp FO-475 User manual

Sharp

Sharp FO-475 User manual

Sharp FO-B1600 User manual

Sharp

Sharp FO-B1600 User manual

Sharp FO-5900 User manual

Sharp

Sharp FO-5900 User manual

Sharp FO-10 User manual

Sharp

Sharp FO-10 User manual

Sharp FO-P600 User manual

Sharp

Sharp FO-P600 User manual

Sharp UXB700E User manual

Sharp

Sharp UXB700E User manual

Sharp FO-77 User manual

Sharp

Sharp FO-77 User manual

Sharp FO-2600 User manual

Sharp

Sharp FO-2600 User manual

Sharp UX-CC500 User manual

Sharp

Sharp UX-CC500 User manual

Sharp UX-P110 User manual

Sharp

Sharp UX-P110 User manual

Sharp FO-77 User manual

Sharp

Sharp FO-77 User manual

Sharp FO-3150 User manual

Sharp

Sharp FO-3150 User manual

Sharp FO-3500 User manual

Sharp

Sharp FO-3500 User manual

Sharp MX-FX11 User manual

Sharp

Sharp MX-FX11 User manual

Sharp FO-4500 User manual

Sharp

Sharp FO-4500 User manual

Sharp UX-BA50 User manual

Sharp

Sharp UX-BA50 User manual

Sharp UX-B700 User manual

Sharp

Sharp UX-B700 User manual

Sharp FO-2200 User manual

Sharp

Sharp FO-2200 User manual

Popular Fax Machine manuals by other brands

imagistics ix2600 owner's manual

imagistics

imagistics ix2600 owner's manual

Telular SX4e TDMA Technical manual

Telular

Telular SX4e TDMA Technical manual

Brother Personal FAX-170 Service manual

Brother

Brother Personal FAX-170 Service manual

Brother FAX-T78 parts reference list

Brother

Brother FAX-T78 parts reference list

Canon FAXPHONE L80 user guide

Canon

Canon FAXPHONE L80 user guide

Panasonic KX-PD550DL Quick reference guide

Panasonic

Panasonic KX-PD550DL Quick reference guide

Brother FAX-2480C user guide

Brother

Brother FAX-2480C user guide

Canon PIXMA MX360 Series Function guide

Canon

Canon PIXMA MX360 Series Function guide

Canon PIXMA MX860 series Setup guide

Canon

Canon PIXMA MX860 series Setup guide

Panasonic KX-FM255 operating instructions

Panasonic

Panasonic KX-FM255 operating instructions

Ricoh FAX2500L Operator's manual

Ricoh

Ricoh FAX2500L Operator's manual

Panasonic KX-FT33NZ operating instructions

Panasonic

Panasonic KX-FT33NZ operating instructions

Panasonic KX-FP85 Service manual

Panasonic

Panasonic KX-FP85 Service manual

HP Compaq Presario,Presario 2140 user guide

HP

HP Compaq Presario,Presario 2140 user guide

Brother PT-9200PC parts reference list

Brother

Brother PT-9200PC parts reference list

Brother IntelliFAX 1500M owner's manual

Brother

Brother IntelliFAX 1500M owner's manual

Panasonic KX-F500 user guide

Panasonic

Panasonic KX-F500 user guide

Muratec f-110 operating instructions

Muratec

Muratec f-110 operating instructions

manuals.online logo
manuals.online logoBrands
  • About & Mission
  • Contact us
  • Privacy Policy
  • Terms and Conditions

Copyright 2025 Manuals.Online. All Rights Reserved.