P.7
no/weak operation input signal from audio source for 4 minutes.
In other words, if the signal comes back, the transmitter will work again
automatically.
b) Press the ON/OFF button to turn off the speaker and the LED light goes
off, or simply press the ON/OFF button on the remote control unit. If you
use the remote control unit to turn off the speaker, the speaker will be at
stand-by mode for 5 minutes and the LED will be changed from blue to
green. You can switch on the speaker again by using the remote control
unit during the stand-by time. If there is no signal from the remote control
unit in 5 minutes, the speaker will automatically power off.
TROUBLE SHOOTING
NO SOUND
- Ensure the AC/DC adaptor is fully inserted into the AC outlet and the
power connection input on the transmitter.
- Ensure the speaker is switch ON.
- Speaker’s battery capacity is too low, replace with new batteries or
connect the AC/DC adaptors to the speakers.
- Ensure the TV or audio component is ON.
- The connected audio / video equipment is not playing. Start playing the
equipment.
- The volume of speaker is too low, adjust the volume to an appropriate
level.
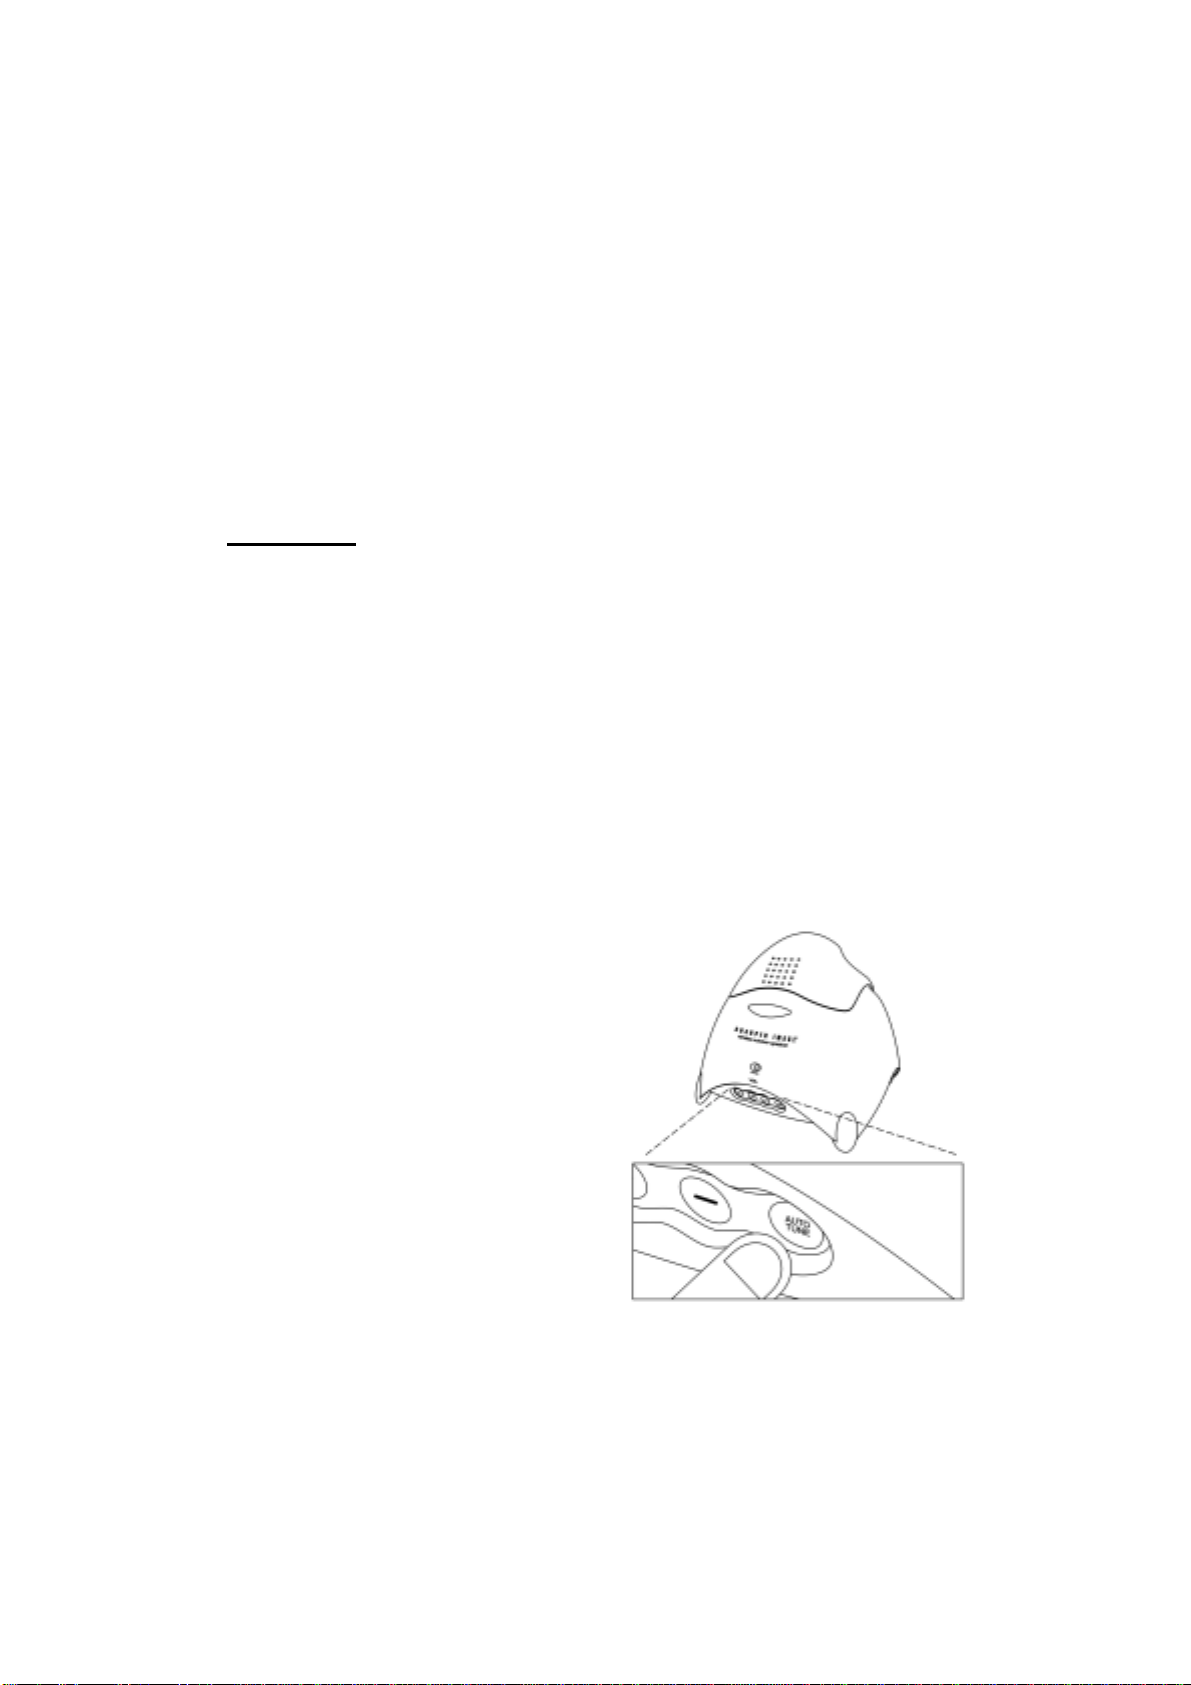
DISTORTED
- Press the “AUTO-TUNE” button on the speakers until matching the
frequency of the transmitter.
- Change the position of the channel selector on the transmitter. You
must then press the “AUTO TUNE” button on the speakers.
- Battery capacity is too low. Replace with the new battery.
- Ensure the volume level of speakers is adjusted properly.
- The speaker is too far away from the transmitter, move it closer.
- The input level of the audio signal is too low. Turn up the volume of the
audio source equipment.