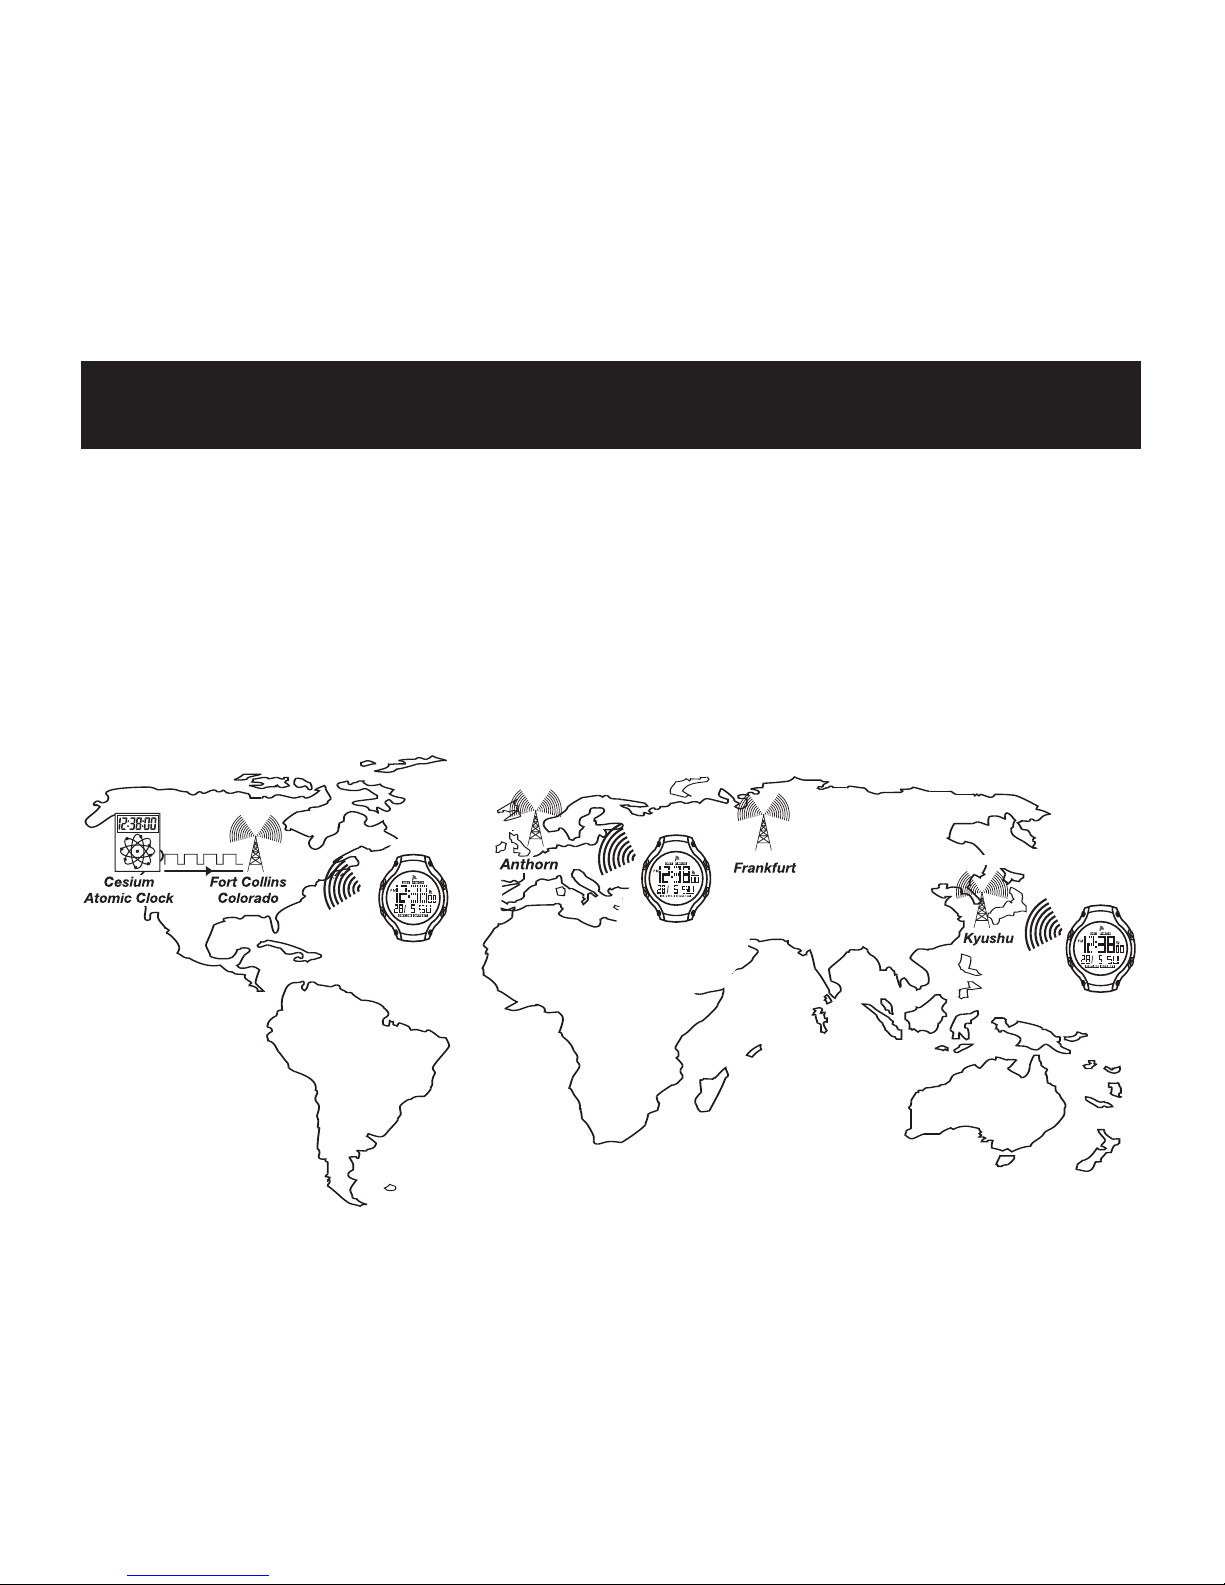
What is Atomic Radio Control?
7
• Fort Collins, Colorado, which covers all 4 zones in the
continental USA.
• Anthorn, UK, that covers all of UK.
• Near Frankfurt, Germany, that covers most of Western
and some of Central Europe.
• Kyushu Island, Japan, that covers most parts of Japan
and parts of Korea.
The radio receiver in the watch picks up the transmitted
signal and it is decoded with a split-second precision, to
synchronize to the accurate time. At the same time, the
radio signal automatically sets the calendar function and
for countries adopting daylight saving and standard time,
it adjusts automatically.