ShenZhen Chaojin Electronics CJ-501 User manual

AROMA DIFFUSER
USER MANUAL

This Aroma Diffuser uses Ultrasonic waves to instantly vaporize
water and essential oil in the tank, to produce a cool, dry fragrant
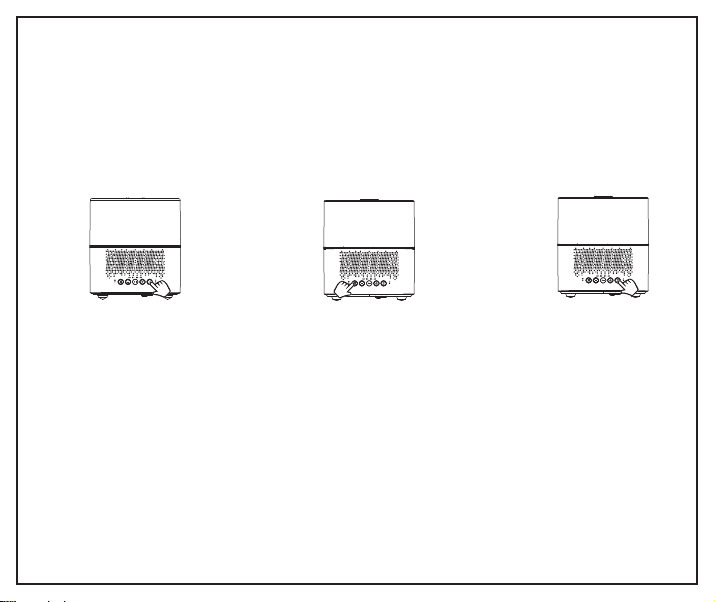
mist. Mist Outlet
Water Tank
Power
Mist
Play
-+
Time
Music
Light
LED indicator of time setting
LED indicator of PM when 12 hours mode
LED indicator of alarm setting
LED indicator of alarm on
①
①
②
②
③
③
④④
TO SET UP DIFFUSER
1 Remove lid and set aside.
2 Place on a flat surface.
3 Fill diffuser with water up to carved max line.
4 Add 3-4 drops of essential oil. Add more if desired.
5 Replace lid.
6 Plug unit to power outlet.
7 Press MIST button to start.
TO ADJUST MIST TIMER
1 Press “MIST “ to adjust from ON-1H-3H-5H-OFF.
TO ADJUST LIGHT
1 Press “ Light” to turn on the LEDS.
2 Press again to adjust from 7 changing colors-1
fixed color-off.
TO PLAY MUSIC
1 Hold “Play” for 2 seconds to switch on /off the blue-tooth function.
2 Place Bluetooth TM device within 3 feet of the speaker.
3 Search for available devices and select “Clock diffuser”.
4 Play your favorite tunes and press "Play" to pause or continue the tunes.
5 Press “+” or ”-” to shift the tunes.
6 Hold “+” or ”-” to for 2 seconds to adjust the volume.
TO SET CLOCK
1 Hold “Mist” until 12/24 appear on screen. when ②is lighted, it displays to
be PM time of 12hr clock
2 Press “+” or ”-” to select between 12hr/24hr clock.
3 Press “Mist” to until digital number flicker.
4 Press “+” or ”-” to adjust the hour step by step / Hold “+” or ”-” for
fast switching.
5 Press Mist to confirm.
6 Press “+” or ”-” to adjust the minutes step by step Hold “+” or ”-” for
fast switching.
7 Press “Mist” to finish clock setting.
(NOTE: Press “Light” in time setting mode will return to the initial state
“00:00”.)
TO SET ALARM
1 Hold “Light” for 2 seconds to enter into alarm setting.
2 Press “+” or ”-” to adjust the hour step by step / Hold “+” or ”-” for fast
switching.
3 Press “Light” to confirm.
4 Press “+” or ”-” to adjust the minutes step by step / Hold “+” or ”-” for
fast switching.
5 Press “Light” to finish alarm setting.
6 when ④is lighted, alarm is on
(Note:When alarm is ringing,press any button to turn off the alarm.)
TO CANCEL ALARM
1 Hold “Light” for 2 seconds to enter into alarm setting.
2 Press “Mist” to cancel alarm and “- - - -” appears.
3 Press “Light” to finish alarm cancelation.
Product Name
Model
Dimensions
Tank Capacity
Mist Amount
Power Input
Rated Power
Aroma Diffuser
CJ-501
132*103*146mm
300ml
About 30ml/hr
DC24V
15.6W
SPECIFICATIONS

MAINTENANCE INFORMATION
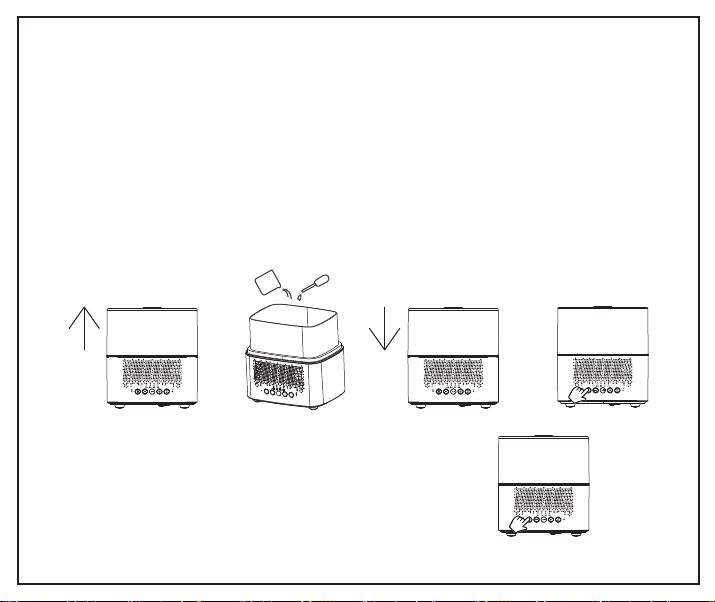
1 Unplug the power cord from the power socket and the base of your diffuser.
2 Remove the cover.
3 Carefully empty any remaining water from the diffuser. To avoid water.
entering the device, do not tilt to the side where the air outlet is (where the
mist comes out).
NOTE: Do not touch the ultrasonic board at the center of the water tank. In case of
maintenance where it needs to be cleaned, please use cotton swabs.
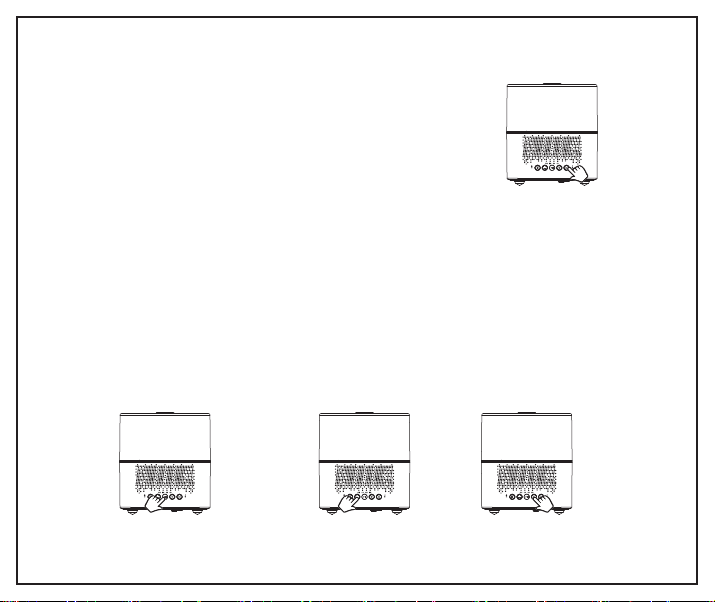
4 Using a damp cloth previously soaked in water diluted with dish detergent,
wipe down the body.
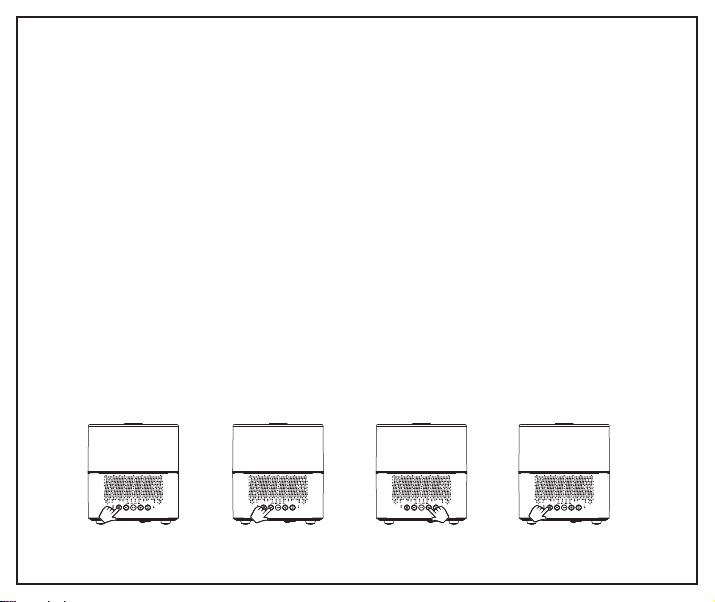
5 Re-fill the diffuser with plain water and let it mist for 30 minutes to clean
out any excess oils. Carefully drain after use.
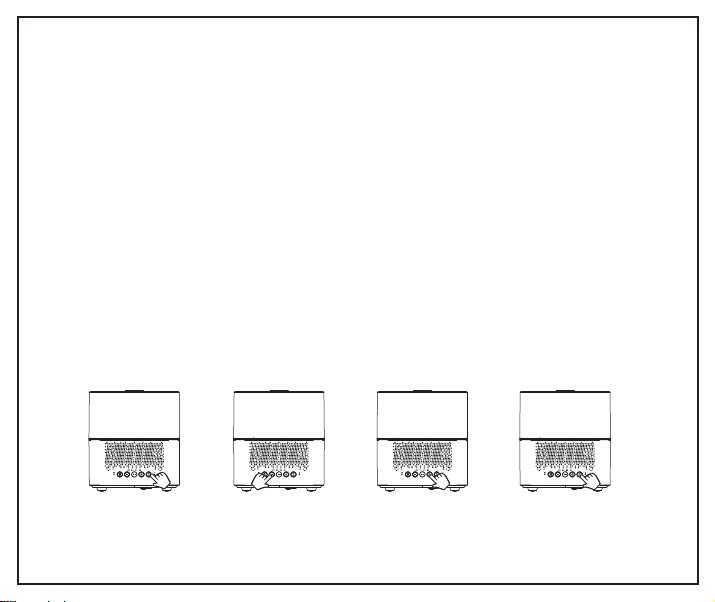
6 If any essential oils have dropped on the outside of the water tank, wipe
down with a damp cloth.
7 Place the cover back on the diffuser.
NOTE: Do not use chemicals such as benzine thinner, alcohol hydrochloric detergents, or
enzyme detergents. May cause damage to device and emit poisonous gases. Only use
neutral detergents.
In order to ensure product safety and the efficiency of your diffuser, it is
recommended to undertake a maintenance clean after every 5-6 uses.

NOTE: This equipment has been tested and found to
comply with the limits for a Class B digital device,
pursuant to part 15 of the FCC Rules. These limits are
designed to provide reasonable protection against
harmful interference in a residential installation.
This equipment generates uses and can radiate radio
frequency energy and, if not installed and used in
accordance with the instructions, may cause harmful
interference to radio communications.
However, there is no guarantee that interference will not
occur in a particular installation. If this equipment does
cause harmful interference to radio or television
reception, which can be determined by turning the
equipment off and on, the user is encouraged to try to
correct the interference by one or more of the following
measures:

- Reorient or relocate the receiving antenna.
- Increase the separation between the equipment and
receiver.
-Connect the equipment into an outlet on a circuit different
from that to which the receiver is connected.
-Consult the dealer or an experienced radio/TV technician
for help
Changes or modifications not expressly approved by
the party responsible for compliance could void the user's
authority to operate the equipment.
This device complies with Part 15 of the FCC Rules.
Operation is subject to the following two conditions:
(1) this device may not cause harmful interference,
and (2) this device must accept any interference received,
including interference that may cause undesired operation.

This device contains licence-exempt transmitter(s)/receiver(s)
that comply with Innovation, Science and Economic
Development Canada’s licence-exempt RSS(s).
Operation is subject to the following two conditions:
(1) This device may not cause interference.
(2) This device must accept any interference, including i
nterference that may cause undesired operation of the
device.
L’émetteur/récepteur exempt de licence contenu dans le
présent appareil est conforme aux CNR d’Innovation,
Sciences et Développement économique Canada
applicables aux appareils radio exempts de licence.
L’exploitation est autorisée aux deux conditions suivantes :
(1) L' appareil ne doit pas produire de brouillage;
(2) L' appareil doit accepter tout brouillage radioélectrique
subi, même si le brouillage est susceptible d' en
compromettre le fonctionnement.
Table of contents


