Shield SD1050 User manual

21
www.shieldglobal.com
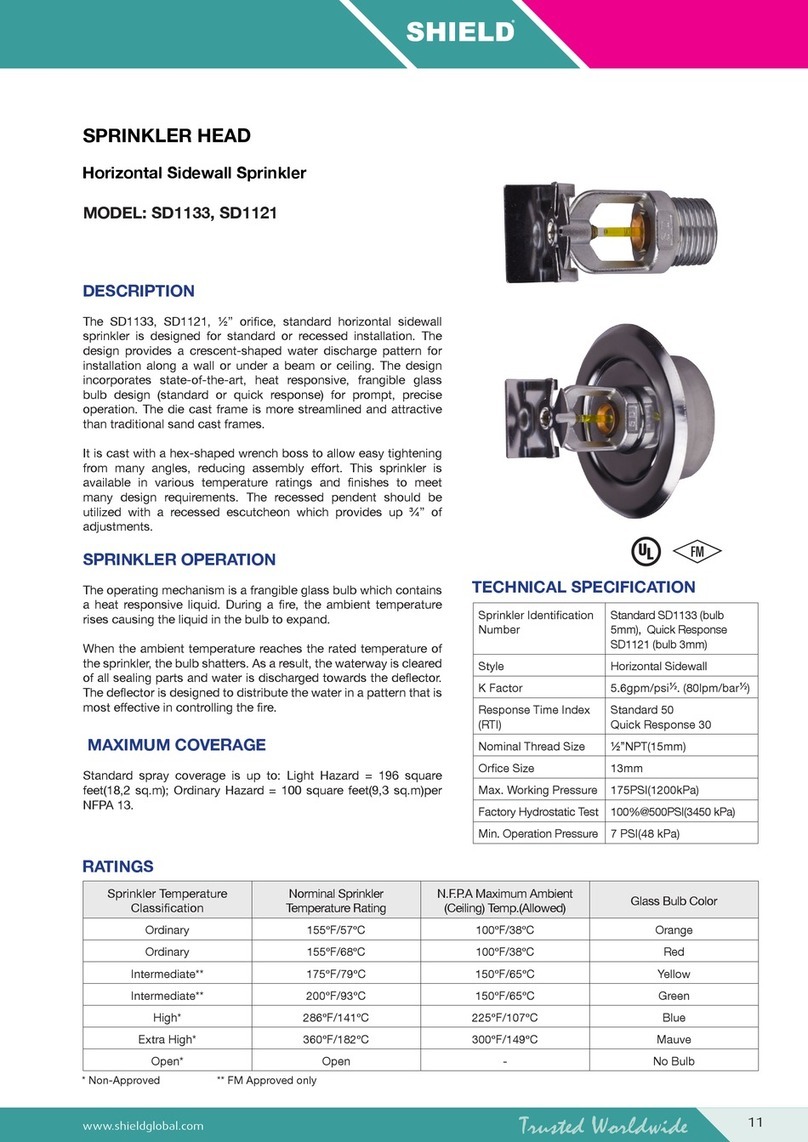
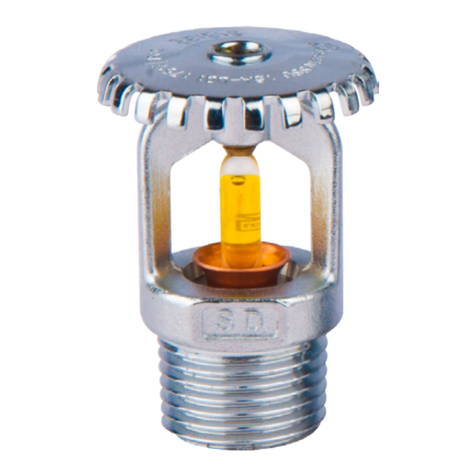
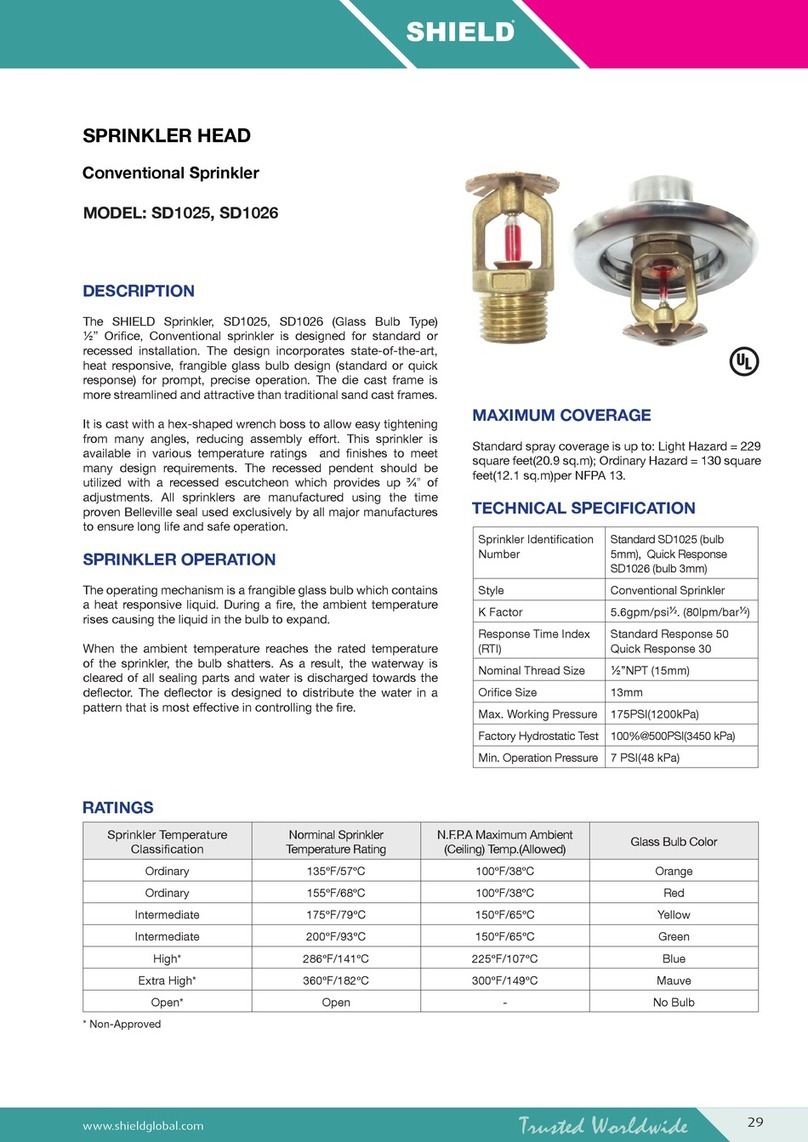
MODEL: SD1050, SD1055
DESCRIPTION
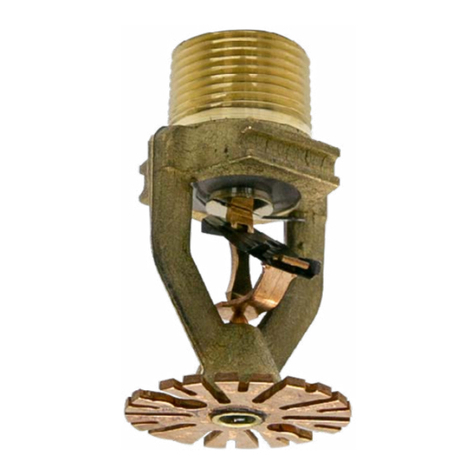
The SHIELD Sprinklers, SD1050, SD1055 (Glass Bulb Type)
Standard and Quick Response Concealed Sprinkler, design
incorporates state-of-the-art, heat responsive, frangible glass
bulb design for prompt, precise operation. The die cast frame is
more streamlined and attractive than traditional sand cast frames.
It is cast with a hex-shaped wrench boss to allow easy tightening
from many angles, reducing assembly effort. This sprinkler is
available in various temperature ratings and nishes to meet
many design requirements. The recessed pendent should be
utilized with a recessed escutcheon which provides up ½” of
adjustments. All sprinklers are manufactured using the time
proven Belleville seal used exclusively by all major manufactures
to ensure long life and safe operation.
SPRINKLER OPERATION
The operating mechanism is a frangible glass bulb which contains
a heat responsive liquid. During a re, the ambient temperature
rises causing the liquid in the bulb to expand. When the ambient
temperature reaches the rated temperature of the sprinkler, the
bulb shatters.
As a result, the waterway is cleared of all sealing parts and water
is discharged towards the deector. The deector is designed to
distribute the water in a pattern that is most effective in controlling
the re.
MAXIMUM COVERAGE
Standard spray coverage is up to: Light Hazard = 225 square
feet(20.9 sq.m); Ordinary Hazard = 130 square feet(12.1 sq.m) per
NFPA 13.
TECHNICAL SPECIFICATION
RATINGS
SPRINKLER HEAD
Concealed Sprinkler
Sprinkler Identication
Number
Standard SD1050 (bulb
5mm), Quick Response
SD1055 (bulb 3mm)
Style Concealed Sprinkler
K Factor 5.6gpm/psi½. (80lpm/bar½)
Response Time Index
(RTI)
Standard 50
Quick Response 30
Nominal Thread Size ½”NPT(15mm)
Orice Size 13mm
Max. Working Pressure 175PSI(1200kPa)
Factory Hydrostatic Test 100%@500PSI(3450 kPa)
Min. Operation Pressure 7 PSI(48 kPa)
Sprinkler Temperature
Classication
Norminal Sprinkler
Temperature Rating
N.F.P.A Maximum Ambient
(Ceiling) Temp.(Allowed) Glass Bulb Color
Ordinary 155ºF/68ºC 100ºF/38ºC Red
Intermediate 175ºF/79ºC 150ºF/65ºC Yellow
Intermediate 200ºF/93ºC 150ºF/65ºC Green
Note: Shield SD1055 (3-mm bulb) is FM Approved
as standard response only. Factory Mutual do not
approve any concealed sprinklers for quick response

22 www.shieldglobal.com
PART LIST
SD1050 SD1055
1. Frame 2. Deector 3. Cap 4. Cap Seat 5. Load Screw 6. Seal 7. Bulb
DISCHARGE CURVE

23
www.shieldglobal.com
WARNINGS
The SHIELD Sprinklers must be installed and maintained
in compliance with this document. Depressurize and drain
the piping system before attempting to install, remove,
or adjust any Sprinklers. Failure to do so may impair the
performance of these sprinklers. The owner is responsible
for maintaining the re protection system and devices in
operation.
WRENCH DESCRIPTION
The Sprinkler Wrench is a tool specically designed for
installing SHIELD Sprinklers. These special wrenches must
be used to provide the proper leverage when tightening the
sprinkler and to minimize slippage during installation. Any
other wrench may damage the sprinkler.
INSTALLATION
All SHIELD Sprinklers must be installed according to
NFPA 13 Standards. Deviations from these requirements
and standards or any alteration to the sprinkler itself will
void any warranty made by manufacturer. In addition,
installation must also meet local government provisions,
codes and standards as applicable.
The system piping must be properly sized to insure the
minimum required ow rate at the sprinkler. Check for the
proper model, style, orice size and temperature rating
prior to installation. Install sprinklers after the piping is in
place to avoid mechanical damage, replace any damaged
units. Wet pipe systems must be protected from freezing.
Upon completion of the installation, the system must be
tested per recognized standards. In the event of a thread
task, remove the unit, apply new pipe joint compound or
tape, and reinstall.
ADDITIONAL
Cover Plate - To install the conceal cover plate, align it
with the sprinkler and slowly turn clockwise for the cover
plates and sprinkler to lock in. Make sure the cover plate is
securely locked in, fail to do so may cause the sprinkler to
malfunction.
INSTALLATION SEQUENCE
Step 1. The unit must be installed in the Pendent position
for the Concealed Sprinkler.
Step 2. Use only a non-hardening pipe joint compound or
tape seal. Apply only to the male
threads.
Step 3. Hand tighten the sprinkler into tting.
Step 4. For Concealed Sprinklers, use a standard wrench.
Tighten the unit into the tting. A lead-tight joint requires
only 7 to 14ft.-lbs(9.5 to 19.0Nm) of torque. A tangential
force of 14 to 28ft.-lbs(62.3 to124.5N) delivered through
a 6”(150mm) handle will deliver adequate torque. Once
torque level reach over 21ft.-lbs(28.6Nm) it may distort
the orice seal, resulting in leakage. For exposed piping
systems, the sprinkler should be oriented so the frame
arms are parallel with the branch line pipe.
CAUTION
Do not over-tighten or under-tighten the sprinkler to
compensate for inaccurate escutcheon plate adjustment.
Protection caps are used to protect its bulb and deector.
Please have cap on at all times during transportation and
interior decorating.
MAINTENANCE
Sprinklers must never be altered after manufacture. Any
alteration such as painting and coating will directly harm
the sprinkler and cause malfunctions. Sprinkler in contact
with corrosive products should be replaced if they cannot
be cleaned completely.
Visual inspections are recommended after installation.
After installation, a close-up inspection annually will
sufce.
Inspection and maintenance of re protection system is
the responsibility of the owner. It is recommended that
automatic sprinkler system be inspected and tested
according to local and/or national regulations.
Concealed
Sprinkler Wrench

24 www.shieldglobal.com
DISTRIBUTION PATTERNS
K5.6 PENDENT SPRINKLER
DISTRIBUTION PATTERNS - TRAJECTORY
DIMENSIONS
This manual suits for next models
1
Other Shield Irrigation System manuals
