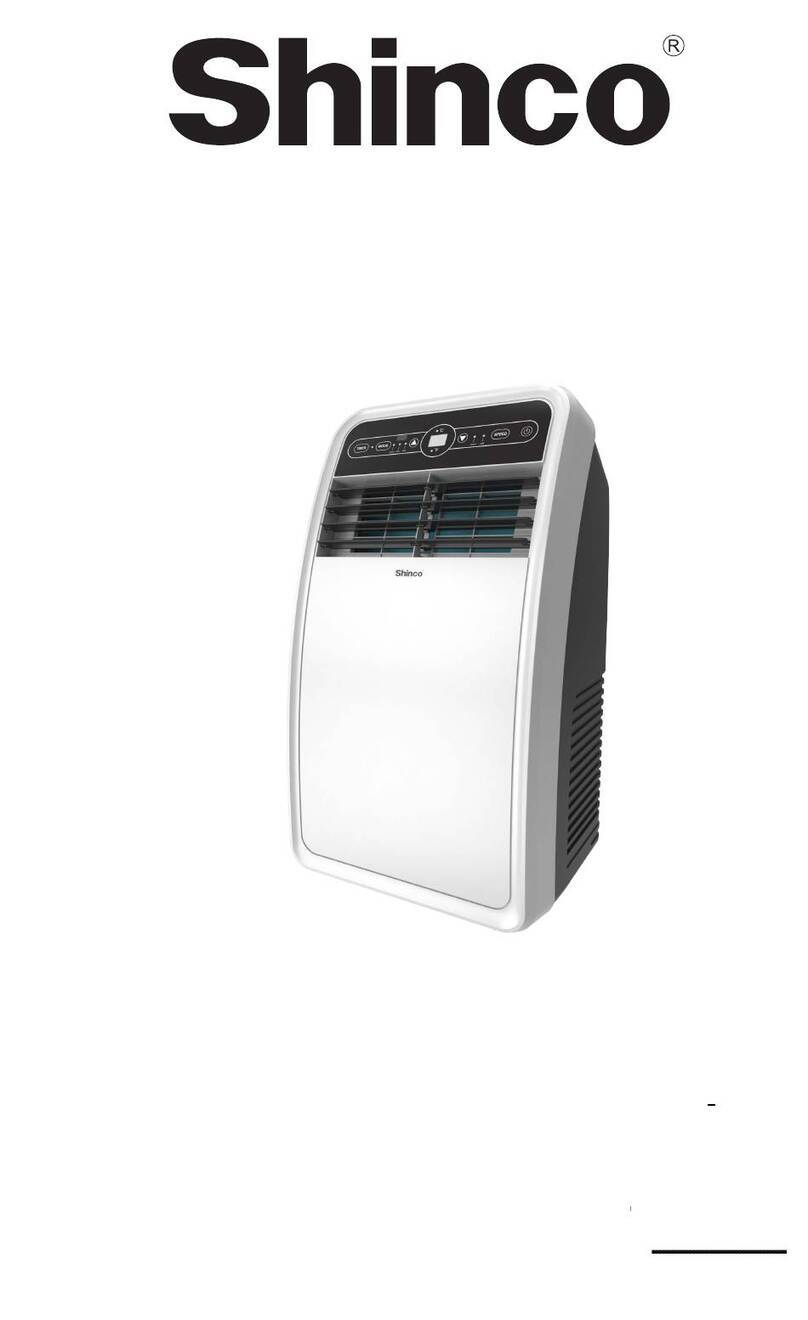
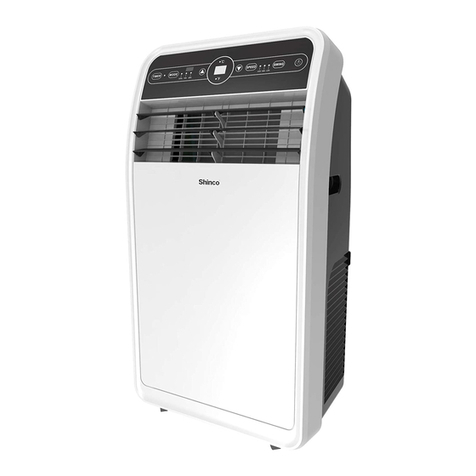
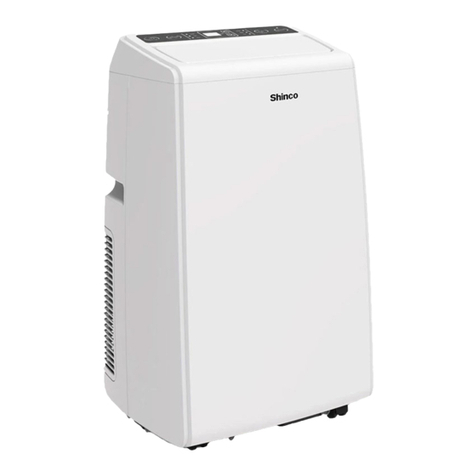
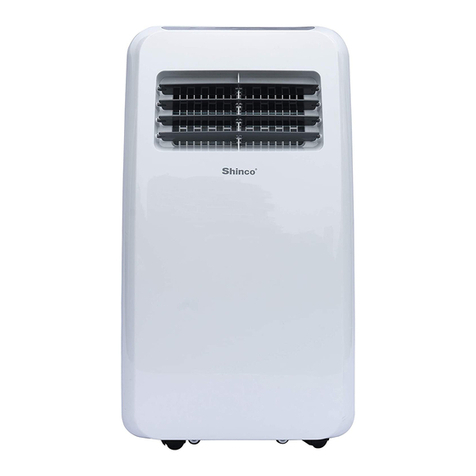
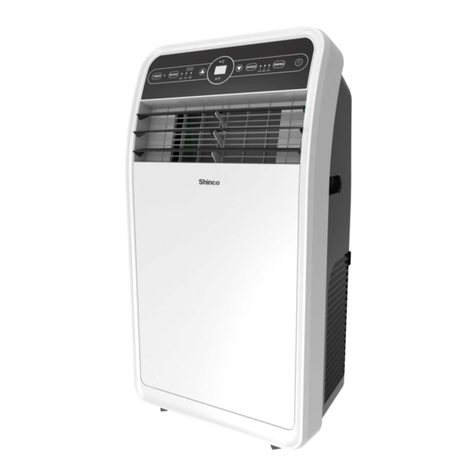
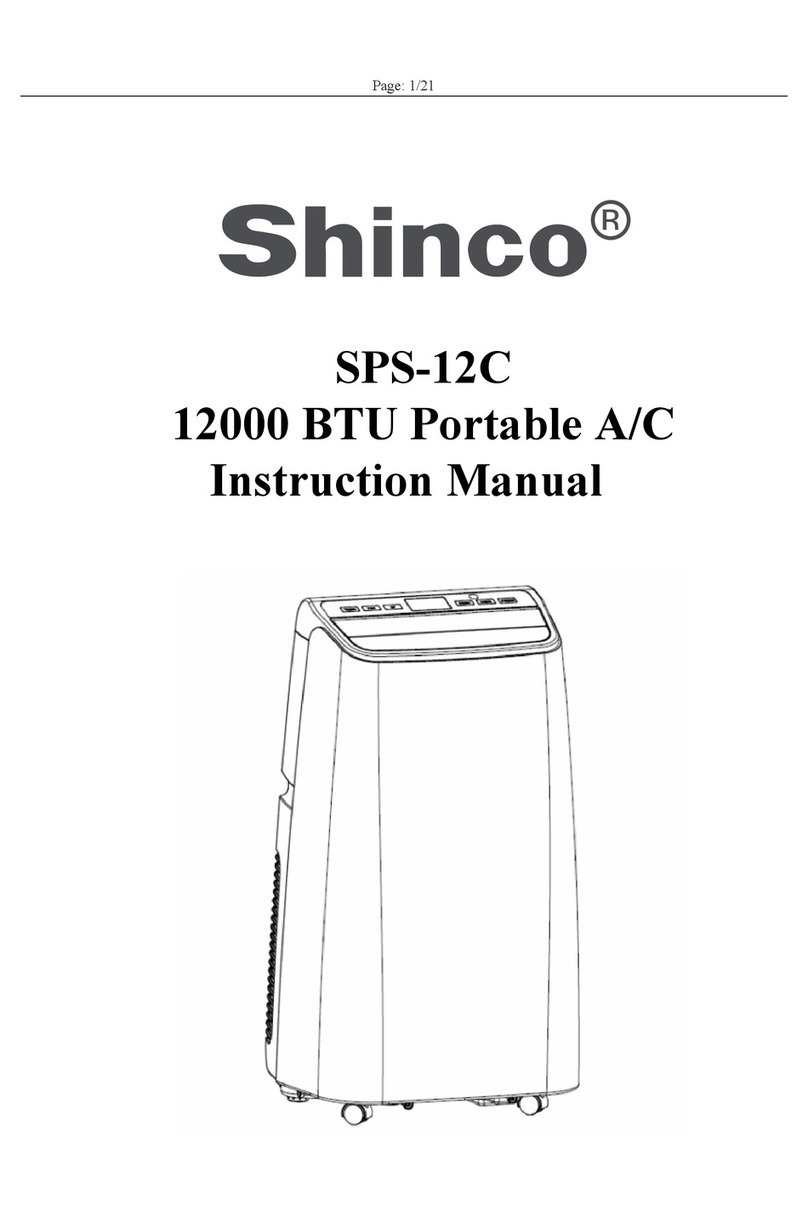
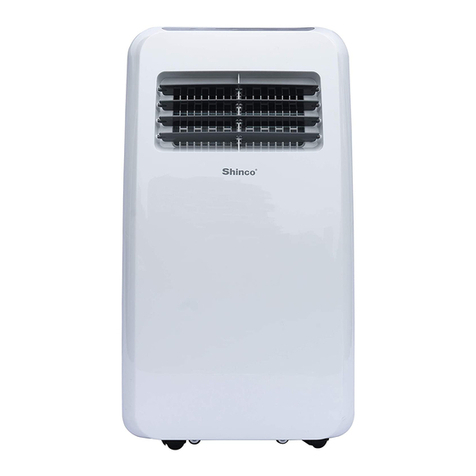
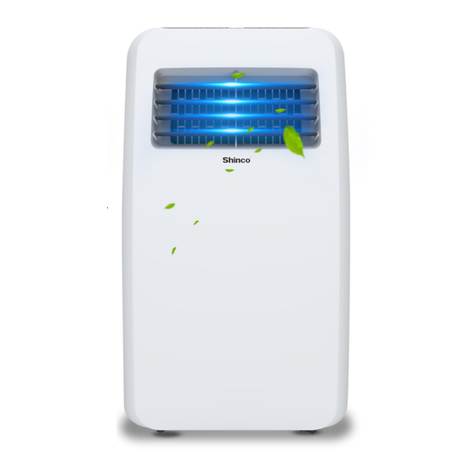
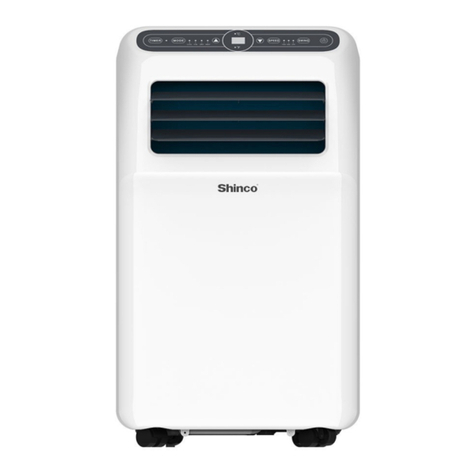
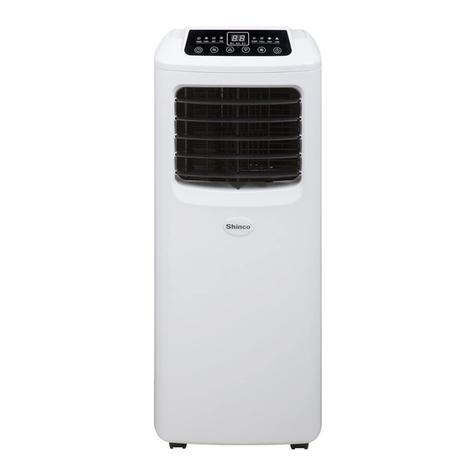
Shinco SPAE12W User manual

Shinco –SPAE12W
12,000 BTU PortableA/C
Owners Manual
Thank you for selecting our high-quality mobile air conditioner from Shinco.
Before use, please read this entire manual carefully for information regarding
setting up your portable A/C, operating it, and tips on regular maintenance. For
any problems, please refer to the Limited Warranty Information at the back of
the manual.

- - 2 - -
Table of Contents
Table of Contents---------------------------------------------------2
Important Safety Precautions----------------------------------3
Key Features---------------------------------------------------------4
Parts & Accessories--------------------------------------------5-6
Control Panel--------------------------------------------------------7
Remote Control-----------------------------------------------------8
Installation--------------------------------------------------------9-10
Operation--------------------------------------------------------11-12
Drainage Operation----------------------------------------------13
Maintenance--------------------------------------------------------14
Troubleshooting---------------------------------------------------15
Miscellaneous------------------------------------------------------16
Quick Installation Guide ---------------------------------------17

- - 3 - -
Important Safety Precautions
CAUTION: For you and your families’ safety, please read the following
safety precautions carefully before use of this air conditioner.
Requirements
Please make sure to place the air conditioner in a flat and dry place. Keep the
air conditioner 20in away from any surrounding objects.
Make sure that the power supply complies with the safety regulations of where
it is being used and check for reliable grounding.
After installation of the air conditioner, ensure the plug is straight and can be
inserted into the socket securely.
Keep the air inlet and outlets unimpeded and free of debris.
The air conditioner should be installed in accordance with national wiring
regulations and code.
The air conditioner should be kept away from gasoline, cooking stoves,
combustibles, and heat sources.
Always keep the power cord well maintained and organized to avoid tripping
over the wire or accidently unplugging the machine.
If the power cord is damaged, it must be replaced by the manufacturer, its
service agent or similarly qualified persons in order to avoid any potential
hazards.
This air conditioner should only be operated by someone without reduced
physical, sensory, or mental capabilities. Someone with a lack of experience
and knowledge of Air Conditioners should use the machine only after they
have been given supervision or instruction concerning use of the air
conditioner in a safe way as well as understanding the hazards involved.
Children should not play with the appliance; and cleaning and user
maintenance should not be done by children without supervision.
Prohibitions
We recommend that this air conditioner only be used within households.
Please do not install the air conditioner in washhouses or other places with
any exposed water and lots of moisture.
Please do not turn on or off the air conditioner by inserting or pulling out the
power cord.
Do not place things on the air conditioner.
Do not put anything into the air inlet and outlet.
Do not use insecticide spray or other flammable products in the vicinity of the
air conditioner.
Do not splash oil or water into the air conditioner.
Do not clean the air conditioner with water, and instead wipe the surfaces with
a semi-wet soft cloth.
Do not wipe the air conditioner with chemical solvents such as benzene,
gasoline and alcohol, etc. If the air conditioner is dirty, only use neutral
detergents.
Do not use extension cord or power strip with the air conditioner. Plug directly
into the wall.
NOTE: Recommended Operation Temp – 62F – 95F; Relative Humidity - 20-85% RH

- - 4 - -
Key Features
Features
Next generation condensate self-evaporation design without the need to
pour water, and is environment friendly, and more energy-saving.
L type evaporator design, enabling a more compact and efficient body.
Simple and convenient installation of accessories such as exhaust pipe,
etc.
Self-diagnosis function and 24h on/off timer function.
Very portable and convenient to move around due to the universal
caster wheels.
Quiet design, which allows you to use even while sleeping while still
providing a very powerful supply of air.
Wide angle of air output with auto swing function for horizontal louvers.
Air Outlet Port which automatically close after powering off to prevent
dust from getting into the unit.
Compressor programmed with protective function of automatic restart
after 3 minute time delay.

- - 5 - -
Parts & Accessories
Parts List
1. Guide strip
2. Control panel
3. Inlet grid
4. Exhaust pipe
5. Corner wheel
6. Handle
7. Filter
8. Buckle of power line
9. Drainage outlet
10. Power line with plug
11. Exhaust outlet
2
1
3
5
4
Fig. 1
3
6
7
10
9
11
8

- - 6 - -
Parts & Accessories
Accessory List and Fitment
1. Adjustable Exhaust Hose (Length 11in~60in) -------------1pc
2. Oblate Joint --------------------------------------------------------1pc
3. Round Joint (Diameter 6in) ------------------------------------1pc
4. Adjustable Window Sealplate (Length 22in~42in) -------1set
5. Screw (Type A) ----------------------------------------------------5pc
6. Screw (Type B) ----------------------------------------------------4pc
Fig. 2

- - 7 - -
Control panel
Control Panel Instructions (Right to Left)
POWER: Press this button to turn on or off the air conditioner. The indicator
light will show if the unit is on.
MODE:When unit is turned on or set with TIMER on, pressing this button can
cycle between COOL/DRY/ FAN modes. The corresponding indicator lamp to
the selected mode shows what MODE is currently running.
UP/DOWN:If the TIMER is set to on, pressing UP or DOWN will adjust the
timer setting. While running on COOL mode, pressing UP or DOWN will adjust
the temperature. Pressing UP and DOWN simultaneously can cycle
between ℃and ℉. (℃is displayed as default)
TEMP GAUGE:The display will show the current set temperature in COOL
and HEAT modes; while in FAN and DRY modes, the display will show current
room temperature. If light indicator is lit for ℃, it will display this information in
Degrees Centigrade; if light indicator is lit for ℉it will display this information in
Degrees Fahrenheit.
WATER FULL: The indicator light will show when the internal bucket is full.
SLEEP: The indicator light will show when the unit is in SLEEP mode.
SPEED:Pressing this button can select different fan speeds between
HIGH/MID/LOW. While in FAN mode, press this button for 5s to run the
internal DRY function, and press this button for another 5s to cancel. The
indicator light will show the currently selected speed.
TIMER:Press this button to enter TIMER setting state. The indicator light will
show if the TIMER setting is on.
ATTN: if the air conditioner is restarted immediately after shutdown in COOL
mode, there will be a 3-minute protection time before compressor kicks on. This
is to prevent overheating of the compressor.
Fig. 3

- - 8 - -
Remote control
POWER: Press this button to turn the air conditioner
on/off
TIMER: Press this button to set the timer.
SWING: Press this button, and the horizontal guide
vents rotate automatically.
TEMPERATURE CONVERSION BUTTON:
Temperature is converted from ℃to ℉.
COOL: Press this button to select COOL mode.
DRY: Press this button to select DRY mode.
FAN: Press this button to select FAN mode.
UP/DOWN: Press UP or DOWN to set temperature or adjust timer.
HIGH: Press this button to select HIGH speed.
MID: Press this button to select MID speed.
LOW: Press this button to select LOW speed.
SLEEP: Press this button to set SLEEP mode.
(In SLEEP mode, the fan speed is fixed as LOW and cannot be adjusted. Press
SLEEP button again to cancel.)
Fig. 4
Cool Only Remote Control

- - 9 - -
Installation
Before you Install
Install in a flat and dry place, and keep a buffer of least
20in around the air conditioner to enable smooth
circulation of air.(as shown in Fig.5)
Exhaust Hose Assemply
Connect the exhaust pipe assembly with the round joint
(as shown in Fig.6).
Fix the round end of the connected exhaust pipe assembly
to the air outlet of the air conditioner (as shown in Fig.7)
Connect the oblate joint of the connected exhaust pipe
assembly to the window sealplate.
Install sealplate on the nearest window. Try to keep at least
a 50cm buffer also around the window to ensure unrestricted
exhaust of air.
Things to Note
The exhaust hose is 24in~67in long (including
adapter). We recommend trying to keep the exhaust
hose as short as possible to prevent a large buildup of
hot air in the exhaust.
The exhaust hose included is specifically designed in
accordance with the specification of this air conditioner.
Please do not use any other exhaust hoses of different
lengths or materials as this could lead to inefficiencies
or failure in operational use.
Installation of Window Sealplate
The design of the window sealplate was made to be universal and should work
with most standard horizontal or vertical windows. (the installation methods
are shown in Fig.8 and Fig.9)
Fig.5
Fig.8
Fig.9
Fig.6
Fig.7
Vertical window
Dimensions of window
sealplate:
Min. size: 22in
Max. size: 42in
Dimensions of window
sealplate:
Min. size: 22in
Max. size: 42in
Horizontal window

- - 10 - -
Installation
Illustration of Installation
Wall mounted
Hose alignment
Incorrect bending
Fig.10
Fig.11
Fig.12
Fig.13
Fig. 10
Fig.11

- - 11 - -
Operation
Operating the Different modes
COOL Mode
While unit is powered on or set on the timer, press MODE to cycle through the
modes and select COOL mode. The corresponding indicator lamp to the
selected mode shows what MODE is currently running.
Press UP/DOWN to set appropriate temperature in a range of 64-86℉
(18~30℃). When UP or DOWN is pressed once, temperature will go up or
down by 1℉or 1℃depending on what temperature standard is being used.
Press SPEED to cycle through the air speed between LOW, MID and HIGH.
The indicator light will show the currently selected speed.
After selecting COOL mode, press SLEEP on remote control (or press UP and
TIMER on operating panel simultaneously) to enter SLEEP mode, both upper
and lower fans are forcibly set at LOW speed.At approximately 7 hours in
SLEEP mode, the air conditioner will turn off automatically. Press SLEEP
again or conversion mode to cancel the sleep function.
Press SWING to turn on or off the automatic vertical swing function.
DRY Mode
While unit is powered on or set on the timer, press MODE to cycle through the
modes and select DRY mode. The corresponding indicator lamp to the
selected mode shows what MODE is currently running
While in DRY mode, the Temperature and speed are not adjustable.
This function is to dehumidify the air. The air temp may not be cool as the air
coming out as in the COOL mode.
Running in DRY mode may result in water collecting in the bucket and
becoming full. This is completely normal and emptying the bucket is necessary.
This removes moisture from the air making it more comfortable.
Press SWING to turn on or off the automatic vertical swing function.
FAN Mode
While unit is powered on or set on the timer, press MODE to cycle through the
modes and select FAN mode. The corresponding indicator lamp to the
selected mode shows what MODE is currently running
Press SPEED to cycle through the air speed between LOW, MID and HIGH.
The indicator light will show the currently selected speed.
While in FAN mode, press SPEED for “5s” to run the internal dry function, i.e.
both upper and lower fans work simultaneously. Press SPEED for another “5
s” to cancel the internal dry function.
While in FAN mode, the Temperature is not adjustable.
Press SWING to turn on or off the automatic vertical swing function.

- - 12 - -
Operation
Timer setting
Setting Automatic OFF Timer
While the air conditioner is on, press the TIMER button which will put
you in the TIMER mode and the LED temperature gauge will flicker
“ ” 5 times.
You can press the UP/DOWN buttons to cycle through and adjust the
desired OFF time by 30 minute Increments up to 3 hours, and then 1
hour increments from 3 hours up to 24 hours.
When the set time expires, the air conditioner turns off automatically.
Setting Automatic ON Timer
While the air conditioner is off, press the TIMER button which will put
you in the TIMER mode and the LED temperature gauge will flicker
“ ” 5 times.
You can press the UP/DOWN buttons to cycle through and adjust the
desired ON time by 30 minute Increments up to 3 hours, and then 1
hour increments from 3 hours up to 24 hours.
After setting the timer, select the desired operating mode. If set for
COOL mode, you can adjust the set temperature.
After the set time expires, the air conditioner starts automatically and
runs in the selected operating mode.
Adjusting the Timer
If you need to change or adjust the ON or OFF TIMER after it has been
set, press the TIMER button which will put you in the TIMER mode and
the LED temperature gauge will flicker the remaining time left on the
timer.
You can press the UP/DOWN buttons to cycle through and adjust the
remaining time by 30 minute Increments up to 3 hours, and then 1 hour
increments from 3 hours up to 24 hours.
If you press TIMER again during this time, the timer will be cancelled.
NOTE
1. In FAN modes, you need not use exhaust pipe.
2. If your room faces the sun directly, please draw the curtains to increase efficiency
of your air conditioner.

- - 13 - -
Drainage operation
Drainage Operation
When running the air conditioner in COOL or DRY modes, there may be
condensation that is produced as a byproduct, especially if used in
humid or damp areas.
An internal bucket will hold the excess water from the condensation, but
once it is full the water full indicator will light up and an audible alarm will
be issued once the water level in the bucket reaches a certain level.
During this time the compressor will stop operating and the alarm will be
issued 10 times per 5 minutes until the water level goes down with the
internal dry function or once the bucket is manually drained.
Manually drain the water by moving the air conditioner to the site where
the water can be drained directly (such as the toilet or a drain), unscrew
the nut in the bottom rear of the unit and pull out the water plug. (as
shown in Fig. 14)
Drain all water in water bucket from drain outlet. (You may need to
recline the A/C back to completely drain the water from the bucket.)
Re-install the water plug and screw the nut tightly to its proper position.
Once the Bucket is drained, the water full indicator should be gone and
the unit will run normally.
Caution: When water is full, please move the air conditioner carefully and
steadily, otherwise, water may overflow from inside. The water bucket is not
enclosed and may spill if tilted or moved roughly.
Fig.14

- - 14 - -
Maintenance
Cleaning
CAUTION: Before cleaning, please turn off the air conditioner and pull out the plug.
Cleaning the Surface
Clean surface of the air conditioner with duster or semi-wet soft cloth.
Do not use chemical reagents and solvents, such as benzene, alcohol and
gasoline, etc. as this may damage the surface as well as the internals of the air
conditioner.
Cleaning of Filters
If the filters are blocked by dust, air circulation will be impeded which will reduce
efficiency of the air conditioner. We recommend if the air conditioner has been used
for a long time or in a dusty area, to clean the filters out once every two weeks.
Pull out the filters in the directions
shown in Fig.15.
oTake out Filter 2 first and
then Filter 1
Put the filters into warm water (about
40℃) with neutral detergent and
wash carefully.
Once finished, dry the filters away
from direct sunlight.
Install filters to the original position in
the direction as shown in Fig.15.
oRe-Install Filter 1 first and
then Filter 2
Postseason storage
If the air conditioner is not being used for a long time or being put into storage, please
make sure to keep these maintenance measures in mind.
Drain all water in water bucket from drain outlet. (You may need to recline the A/C
back to completely drain the water from the bucket.)
Set the air conditioner to internal dry function by adjusting operating mode to FAN
mode, and then press SPEED for 5 seconds. Deep this operating mode on for
2~3 hours. This will help dry inside of the body and prevent mildew.
Turn off the air conditioner and pull out power plug.
Wind up, fasten and put away power line.
Remove exhaust pipe and store properly to prevent damage.
Set the air conditioner into plastic bag and put it in a dry place.
Take out the batteries in the remote control and store.
Filter 1
Filter 2
Fig.15

- - 15 - -
Troubleshooting
Please check the following before filing a warranty claim:
Issue
Check
Solutions
The air conditioner
does not work
Is the unit powered off?
Is the unit not plugged in?
Have you checked the outlet
and the fuse box?
Is it set on TIMER mode?
Is the water full indicator on?
Press power button to ON.
Insert power plug.
Replace fuse or use
another outlet.
Change TIMER setting.
Drain out the water.
Room not cooling
Is it in the COOL mode?
Is the air inlet/outlet blocked?
Is there a source of heat in the
room?
Are the Filters too dirty?
What temperature is it set for?
Fan speed set at LOW?
Adjust mode to COOL.
Remove debris.
Remove the heat source.
Clean strainers.
Adjust Temperature
Select appropriate speed.
Noise too large
and shake
Is the unit on even level
ground?
Put the air conditioner on
even ground.
Caution: When the following abnormalities occur to the air conditioner, shut
down the unit and pull out the plug, and contact us using the information on the
Limited Warranty Information Page.
Fuse and switch are often broken.
Power line is overheating or the external liner is damaged.
The body produces abnormal odor.
Error Code Functions
Detection
Codes
Meaning
E2
Room temperature sensor error
E3
Coil pipe sensor error
FL
Water full status
Caution: When “df” is displayed, the air conditioner is in anti-freezing or defrosting
state, and this is a normal phenomenon.

- - 16 - -
Miscellaneous
Parameters of Fuse:
Model: FSD
Voltage: 250V
Current: 3.15A
Meaning of crossed –out wheeled dustbin:
Do not dispose of electrical appliances as unsorted municipal waste, use
separate collection facilities. waste, use separate collection facilities. Contact
your local government for information regarding the collection systems
available. If electrical appliances are disposed of in landfills or dumps,
hazardous substances can leak into the groundwater and get into the food
chain, damaging your health and well-being. When replacing old appliances
with new ones, the retailer is legally obligated to take back your old appliance
for disposals at least free of charge.

-- 17 --
QUICK INSTALLATION GUIDE
1. Check Installation Kit
1 x Flexible venting Hose with 1x Oblate Joint
1 x Round Joint
1 x Sealplate A (22")
2 x Sealplate B (11 1/4")
5 x Type A Screws
4 x Type B Screws
2. Measure window Length to select proper installation hardware
Window Length
Sealplate
A
B
22"
1
23" ~ 32"
1
1
33" ~ 42"
1
2
Pic1 Pic2
Please check your window length and choose the the appropriate
panels from the table above. If your window length needs 2
Sealplates, after adjusting the plates to window length, please use 2
type A screws to affix them as shown in Pic 1. If your window length
needs all 3 Sealplates, after adjusting the length, please use 4 type
A screws to affix them, two screws to each side as shown in Pic 2.
Window type
Vertical Sliding Horizontal Sliding
The installation kit can be used for both vertical and horizontal
sliding windows.
For a more secure
installation, use type B
screws to secure
Sealplate A to window
frame and/or window.
3. Connect flexible venting hose with the Round Joint. Turn the
Round Joint counter clockwise until it stops.
4. Connect the Round Joint to the rear of the portable air
conditioner. Turn the Round Joint counterclockwise until secure.
Check to ensure you still have a secure connection between the
round joint and the venting hose as it can loosen as a result of
connecting the Round Joint to the rear of the portable air
conditioner.
5. Connect oblate joint to Sealplate A as show in the Pic 3. Slide the
oblate joint to the left until it clicks and is held firmly by Sealplate A.
For a more secure installation, use a single Type A screw to prevent
oblate joint from moving as shown in Pic 4.
Pic 3 Pic4
This manual suits for next models
2
Table of contents
Other Shinco Air Conditioner manuals

Shinco
Shinco SPS5-14H User manual

Shinco
Shinco SPF1-10C User manual

Shinco
Shinco SPF1-08C User manual

Shinco
Shinco SPF2-10C User manual

Shinco
Shinco SPS5-08C User manual

Shinco
Shinco YPL3-10C-1 User manual

Shinco
Shinco SPS-12C User manual

Shinco
Shinco SPF3-09C User manual

Shinco
Shinco SPF1-12C User manual

Shinco
Shinco SPHN12W User manual
Popular Air Conditioner manuals by other brands

Toshiba
Toshiba RAS-B10UFV installation manual

Eldom
Eldom COLUMBIAVAC KLC12000 Operation manual

Goldstar
Goldstar WG6007R owner's manual

Telefunken
Telefunken TEALCE-12CHSA instruction manual

ActronAir
ActronAir ECOFLEX MINI VRF Series Installation and commissioning guide

Haier
Haier HSU24VHJ(DB) Service manual