Shintaro SH-SDST01 User manual
SD Set Top Box
User Manual
shintaro.com.au
SH-SDST01

Safety Information 4
Introduction 6
System Connection 8
Getting Started 10
Operation 13
System Setup 16
Tools 19
Multimedia Playing 21
Timeshift 23
Troubleshooting 24
Specifications 26
SD Set Top Box
Contents
shintaro.com.au

4
Safety Informations
To reduce the risk of fire and electric shock, do not expose this unit to rain or moisture.
Please read these precautions before operating this unit.
Power cord protection
To avoid any malfunctions of the unit, and to protect against electric shock, fire or personal injury,
please observe the following.
Hold the plug firmly when connecting or disconnecting the AC power cord.•
Keep the AC power cord away from heating appliances.•
Never put any heavy object on the AC power cord.•
Do not attempt to repair or reconstruct the AC power cord in any way.•
Never make or change connections with the power switched on.•
Placement
Avoid placing the unit in areas of direct sunlight or heating appliances, or closed automobiles high
temperature (over 350C) or high humidity (over 90%) or high dust areas as the internal parts may
be seriously damaged.
Non-use periods
When the unit is not being used, turn it off. When left unused for a long period of time, the unit
should be unplugged from the household AC outlet.
No fingers or other objects inside
Touching internal parts of this unit is dangerous, and may cause serious damage to the unit. Do
not attempt to disassemble the unit.
Do not put any foreign object in this unit.
Keep away from water/magnet
Keep the unit away from flower vases, tubs, sinks, etc. If liquids are spilled into the unit, serious
damage could occur. Never bring a magnet or magnetized object near the unit.
Stacking
Place the unit in a horizontal position, and do not place anything heavy on it.

5
Condensation
Moisture may form on the lens in the following conditions:
Immediately after a heater has been turned on in a steamy or very humid room when the•
unit is suddenly moved from a cold environment to a warm one.
If moisture forms inside this unit, it may not operate properly. In this case, turn on the power•
and wait about one hour for the moisture to evaporate.
If there is noise interference on the TV while a broadcast is being received
Depending on the reception condition of the TV, interference may appear on the TV monitor while
you watch a TV broadcast and the unit is left on. This is not a malfunction of the unit or the TV.
Recycling
This symbol on the product or in the instructions means that your electrical and electronic
equipment should be disposed of at the end of its life separately from your household waste.
For more information, please
contact the local authority or your retailer where you purchased the product.


Active Antenna Off

11
INFO: Operation guide
Channel Manager
Installation
Configuration
Software Upgrade
Factory Default
Version
Digital TV
Installation
Press “MENU” button to enter the MAIN MENU.1.
Press “OK” button to highlight “Digital TV”.2.
Press “UP” or “DOWN” button to select the “Installation”, and press “OK”3.
button to confirm.
Auto Search
Press “MENU” button to enter the Main Menu.1.
Press “DOWN” button to Select the Installation.2.
Press “OK” button to “Auto Search”.3.
S.No. TV Channel
Channel Search
S.No. Radio Ch annel
Channel xx UHF xxxxxxKH z/8M
Progress 86 %
INFO: Operation guide
Area Se arch
ManualSe arch
Auto Se arch
Installation
INFO: Operation guide
Auto Se arch
ManualSe arch
Area Se arch
Installation
12
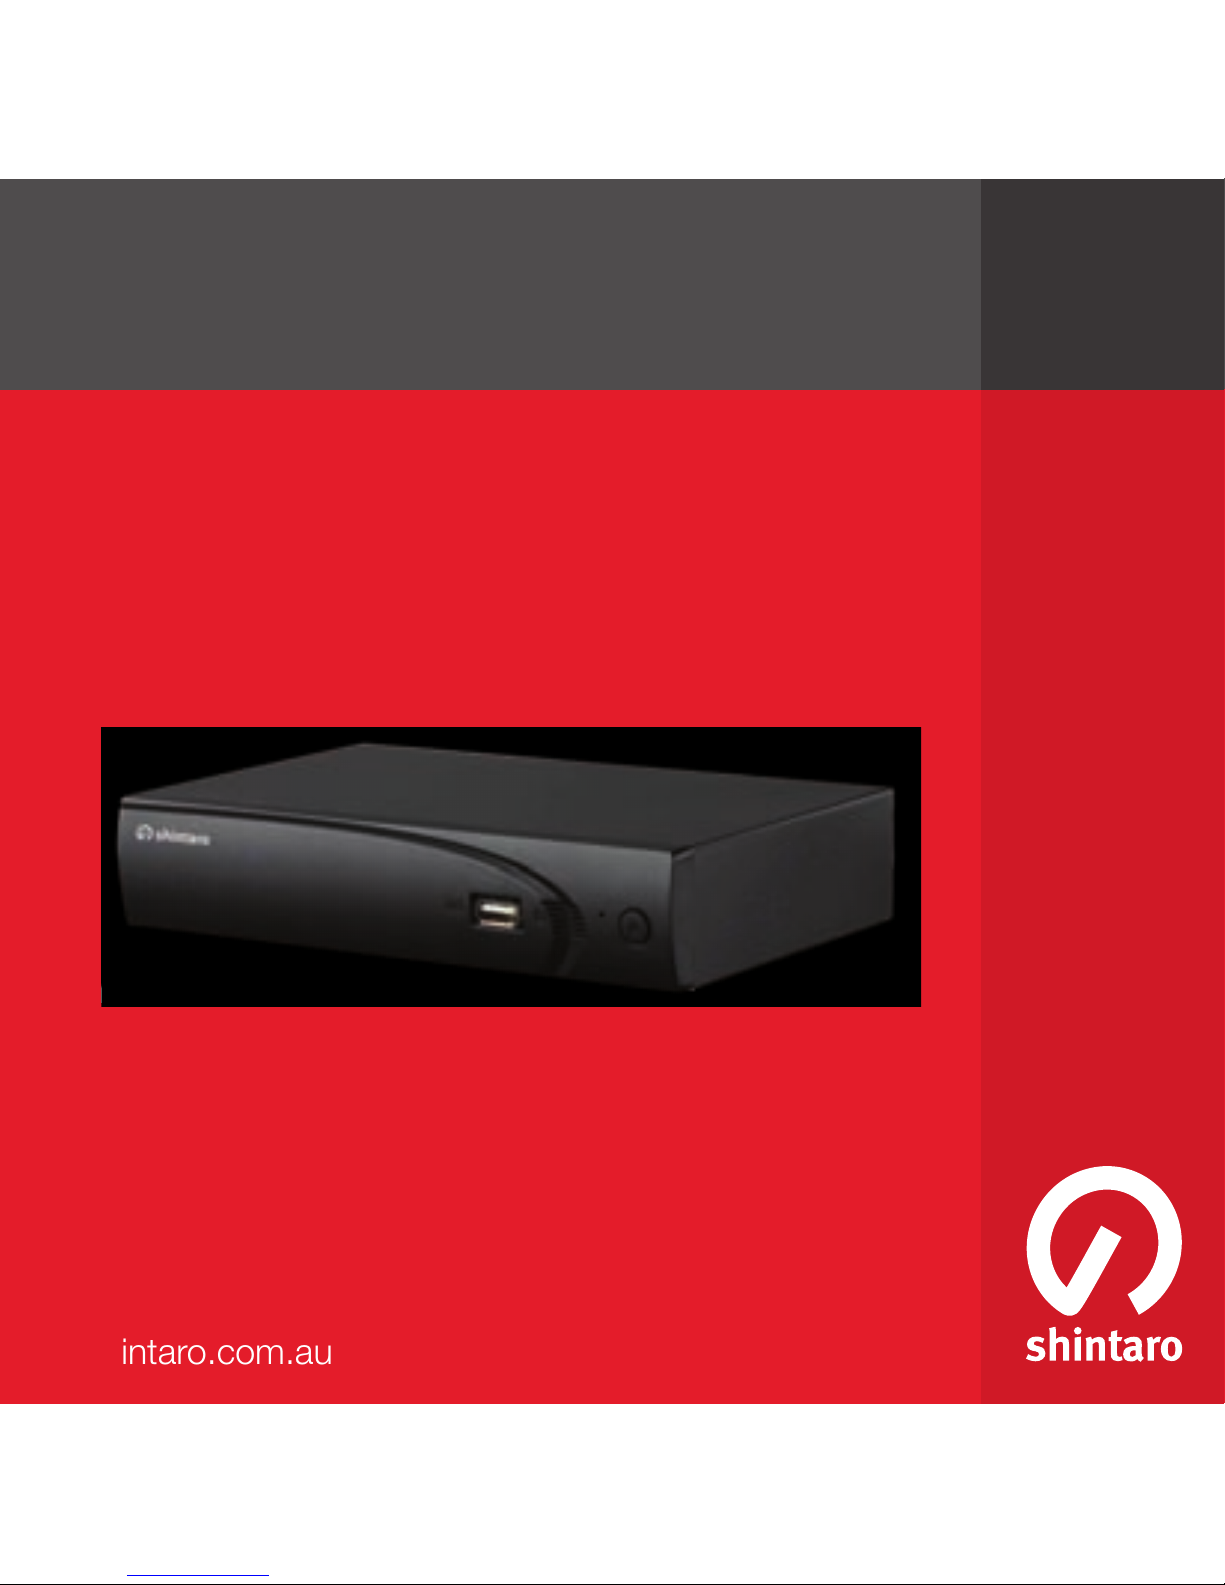
Manual Search
Select the Manual Search and press1.
“OK” button to confirm.
Press “LEFT” or “RIGHT” button to2.
select the desired option.
Press “OK” button to confirm.3.
Area Search
Press “UP” or “DOWN” button to highlight the “Area Search” .1.
Press “OK” button to enter the “Area Search”2.
The Area Search window will displayed. Press the numeric buttons to3.
“Start Freq (KHZ)”
Press “DOWN” button to “End Freq (KHZ)” and enter a frequency.4.
Press “DOWN” button to “BandWith”,Use “RIGHT” button to choose the5.
“BandWidth”.
Press “OK” button to “Area Search”.6.
Channel Number
21
INFO: Operation guide
Manual Search
Freq(KHz)
BandWidth
474000
8M
21
22
23
24
25
26
27
28
29
Strength 20%
Quality 2%
474000
Start Freq(KHZ)
474000
End Freq(KHZ)
INFO: Operation guide
Area Search
BandWidth
8M
You can chan ge the frequence and bandwidth
by choosing the "Area ".
Select the conuration menu, set the "Area"
at the "System Setup " or choose the Area when
the initialization of the STB.
NOTE
13
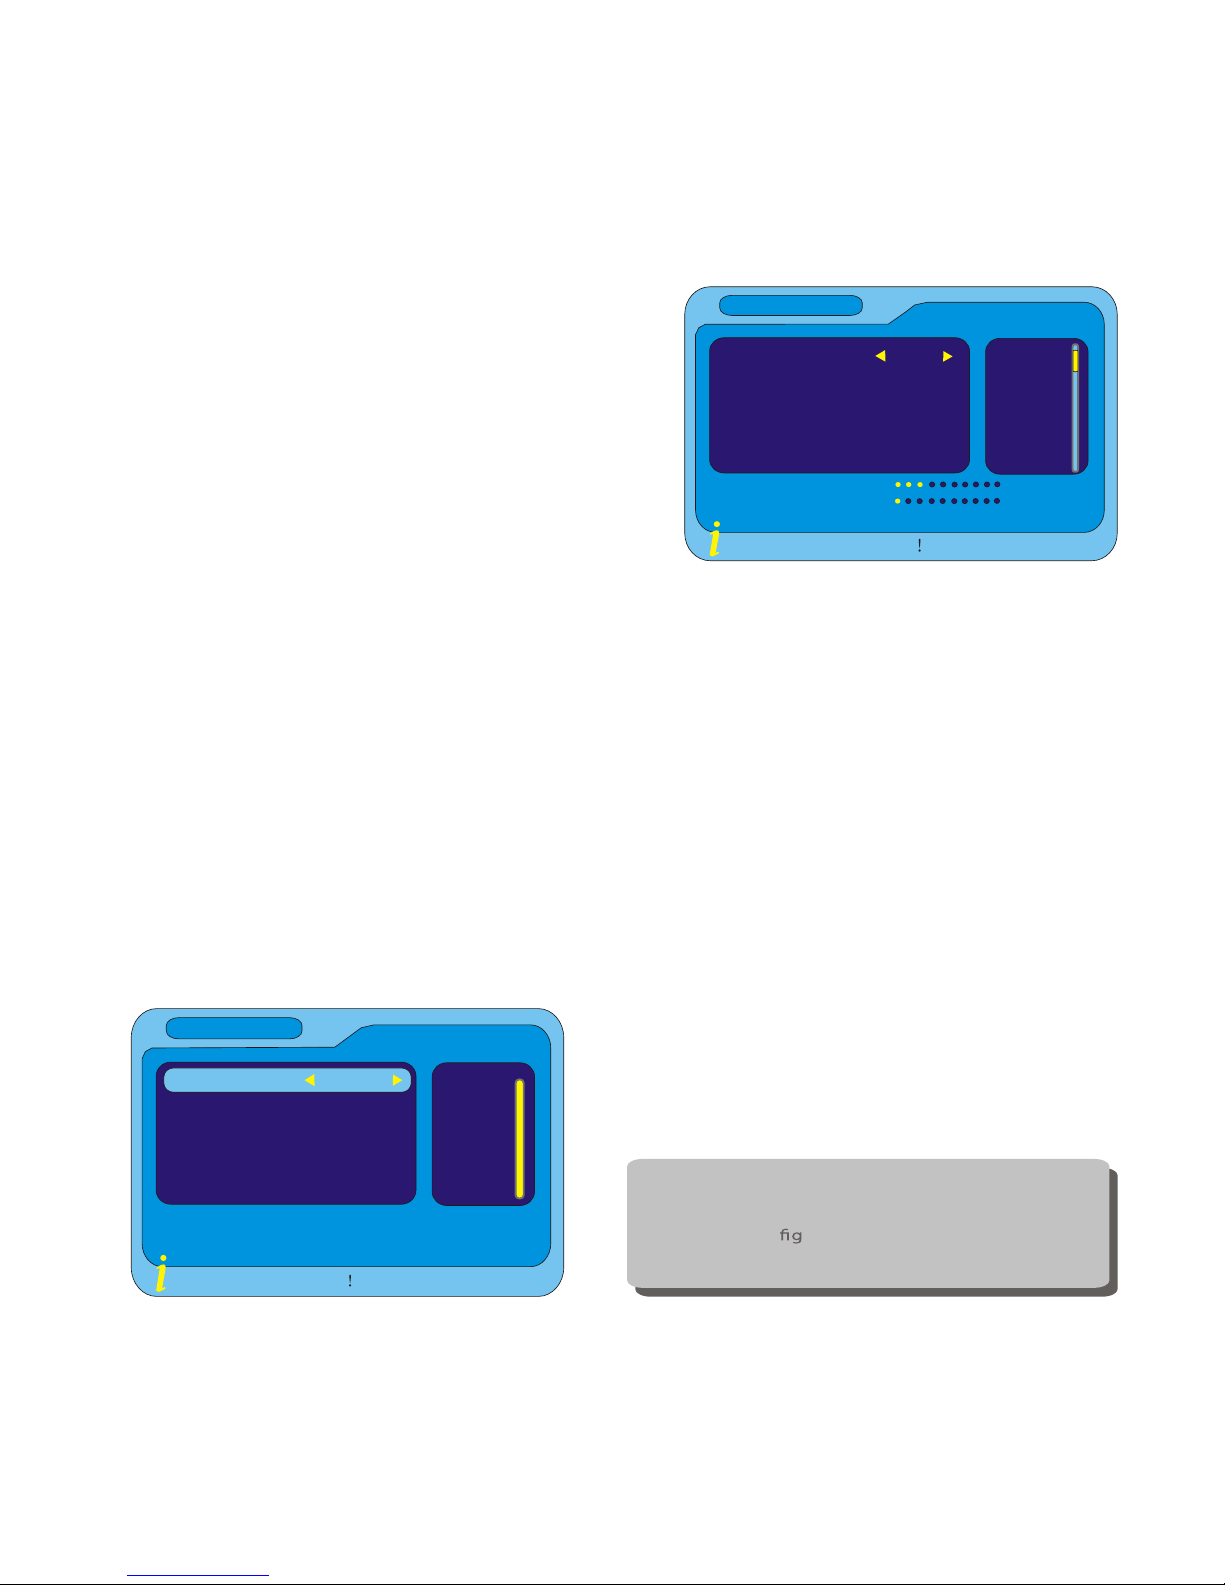
Operation
Channel Manager
Changing Channel
Selection by Channel list1.
Press “OK” button to enter the “QUICK•
SELECT”.
Press “UP” or “DOWN” button to select•
channel .
Press “INFO” button to display the navigation•
window.
Perform the correlative operation with the guide.•
Selection by EPG2.
Press “EPG” button to the “EPG”•
window
Press “UP” or “DOWN” button to•
select channel.
Press “INFO” button to display the•
navigation window.
Perform the correlative operation with•
the guide
Selection by Number3.
Enter the channel list number directly by remote control to select desired•
channel.
INFO: Operation guide
QUICK SE LECT
None
0104 Channel Name
0100 Teletext on 4
0083 Sky Spts News
0082 Sky News
INFO: Operation guide
S.No. Channel Name
INFO: Operation guide
Daily Mode
Date 01/01/2000
Time 02:10:21
01/01/2000(Saturday)
0082 Sky New
0075 CITV
0032 E4+1
0029 E4
0028 ITV4
0014 More4
14
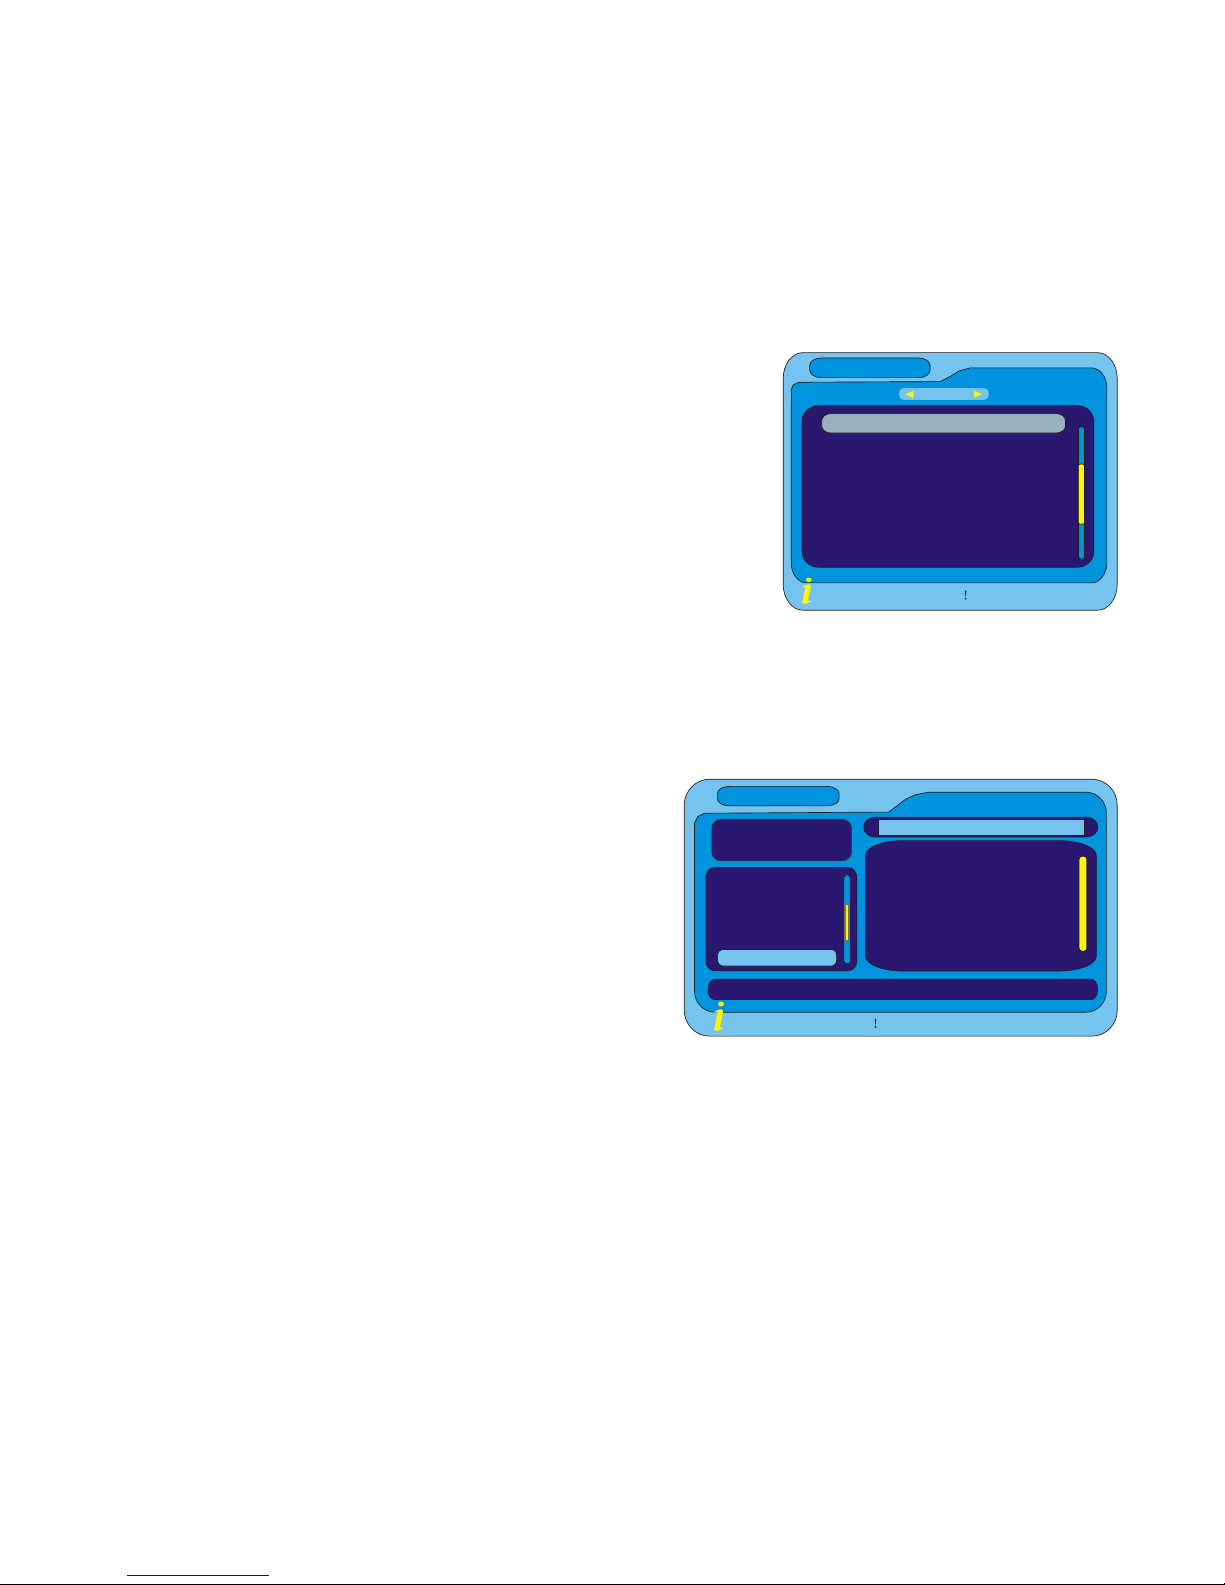
Organize Channel
Press “MENU” button to enter “Main Menu”1.
Press “OK” button to enter “Channel2.
Organizer”
Press “UP” or “DOWN” button to a3.
channel for “Organize selection”
Press “INFO” button,then perform the4.
correlative operation with the guide
RED button: For fav selection
GREEN button : For move selection
YELLOW button: For lock selection
BLUE button: For delete selection
Channel Sorting
Press “MENU” button to enter “Main Menu”1.
Press “OK” button twice to enter Channel Manager2.
Press “CH+/CH-” button to select “Channel Sorting”3.
Press “OK” button to enter the “Channel Sorting” window4.
Press “INFO” button,then do the correlative operation with the guide5.
INFO: Operation guide
Channel Organizer
0001 BBC ONE
0002 BBC TWO
0007 BBC THREE
0011 SKY THERR
0012 UKTV History
0030 CCBC Channel
England Rowridge 666000KHz/8M
S.No Channel name Fa v Move Lock Del
INFO: Operation guide
Channel Sorting
S.No Channel Name Freq Bandwidth
0102 Teletext cars 546000k 8M
0500 TPS 546000K 8M
0723 talksport 5 62000k 8M
0724 3C 562000K 8M
0725 Premier Radio 562000K 8M
First Option A ll Area
Second Option Scramble
Third Option LCN-
Greece
Austrialia
All Area
NOTE
The default pa ssw ord for
Lock and Deletion is "0000".
The super pa ssword is "8888".
15
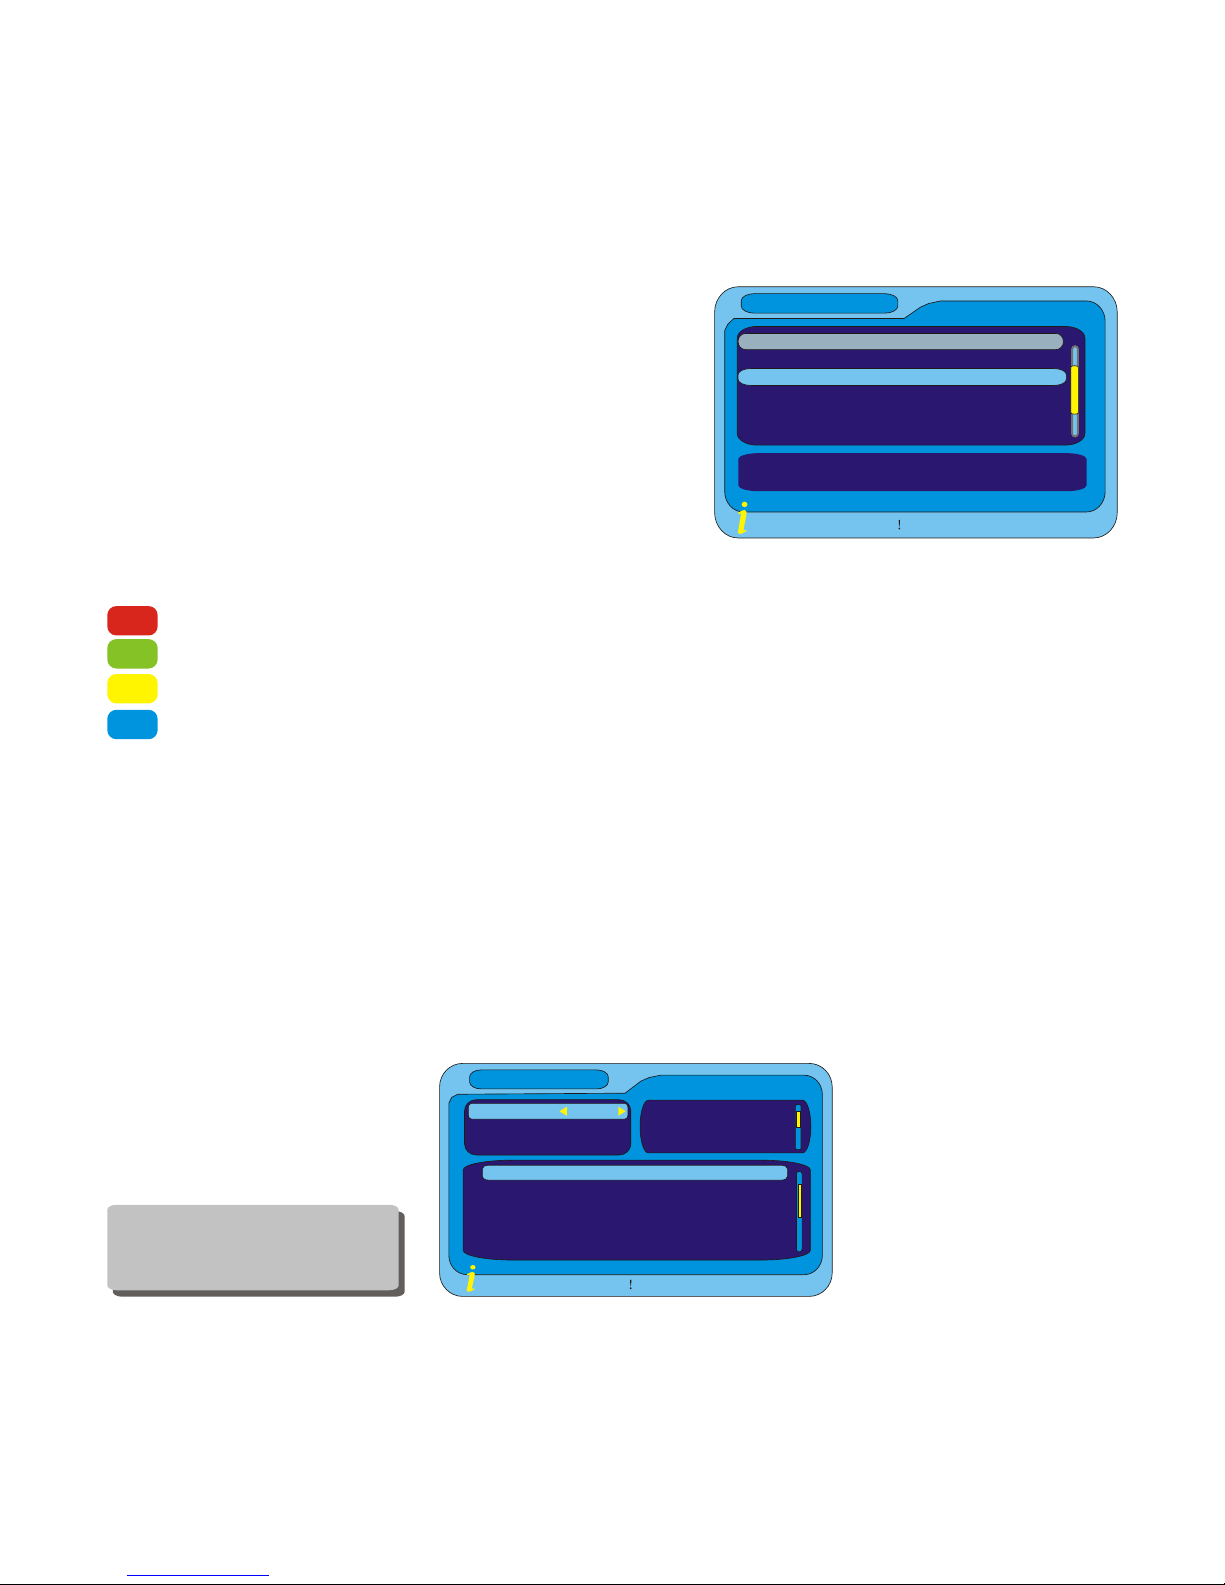
Channel Grouping
Press “MENU” button to enter the1.
Main Menu.
Press “OK” button twice to enter2.
Channel Manager.
Press “UP” and “DOWN” button to3.
highlight “Channel Grouping”.
Press “OK” button to select the4.
“Channel Grouping”.
Press “UP” and “DOWN” button to5.
select channel.
Press the numeric button to group the selected channel.6.
Press “INFO” button, then choose the correlative operation with the guide.7.
Delete All
Press “MENU” button to enter the1.
“Main Menu”.
Press “OK” button twice to select the2.
“Channel Manager”.
Press “UP” and “DOWN” button to3.
highlight “Delete All”
Press “OK” button. A password4.
window will display. Enter the
password. The default password is “8888”.
Press “INFO” button, then choose the correlative operation with the guide.5.
1 None
2 News
3 Scien
4 Sport
5 Movi
6 Kids
7 Music
8 Fa shi
S.No Channel Name Fav Group
INFO : Operation guide
Channel Grouping
0102 Teletext Cars
0500 TPS
0723 talkSPORT
0724 3C
0725 Premier Ra dio
0728 Heart
INFO: Operation guide
All TV Channels
All Radio Ch annels
Delete All

16
Record
You can record the current TV program to the Hard Disk by pressing the
“RECORD” button. Press the “stop” button to display an interactive window
and choose to stop it or not.
Note: Be sure the hard disk has enough space to record. A partition error will
appear if the STB loses power while the recording. You can repair or format
the hard disk to resolve. The STB only recognises FAT format on HDD’s.
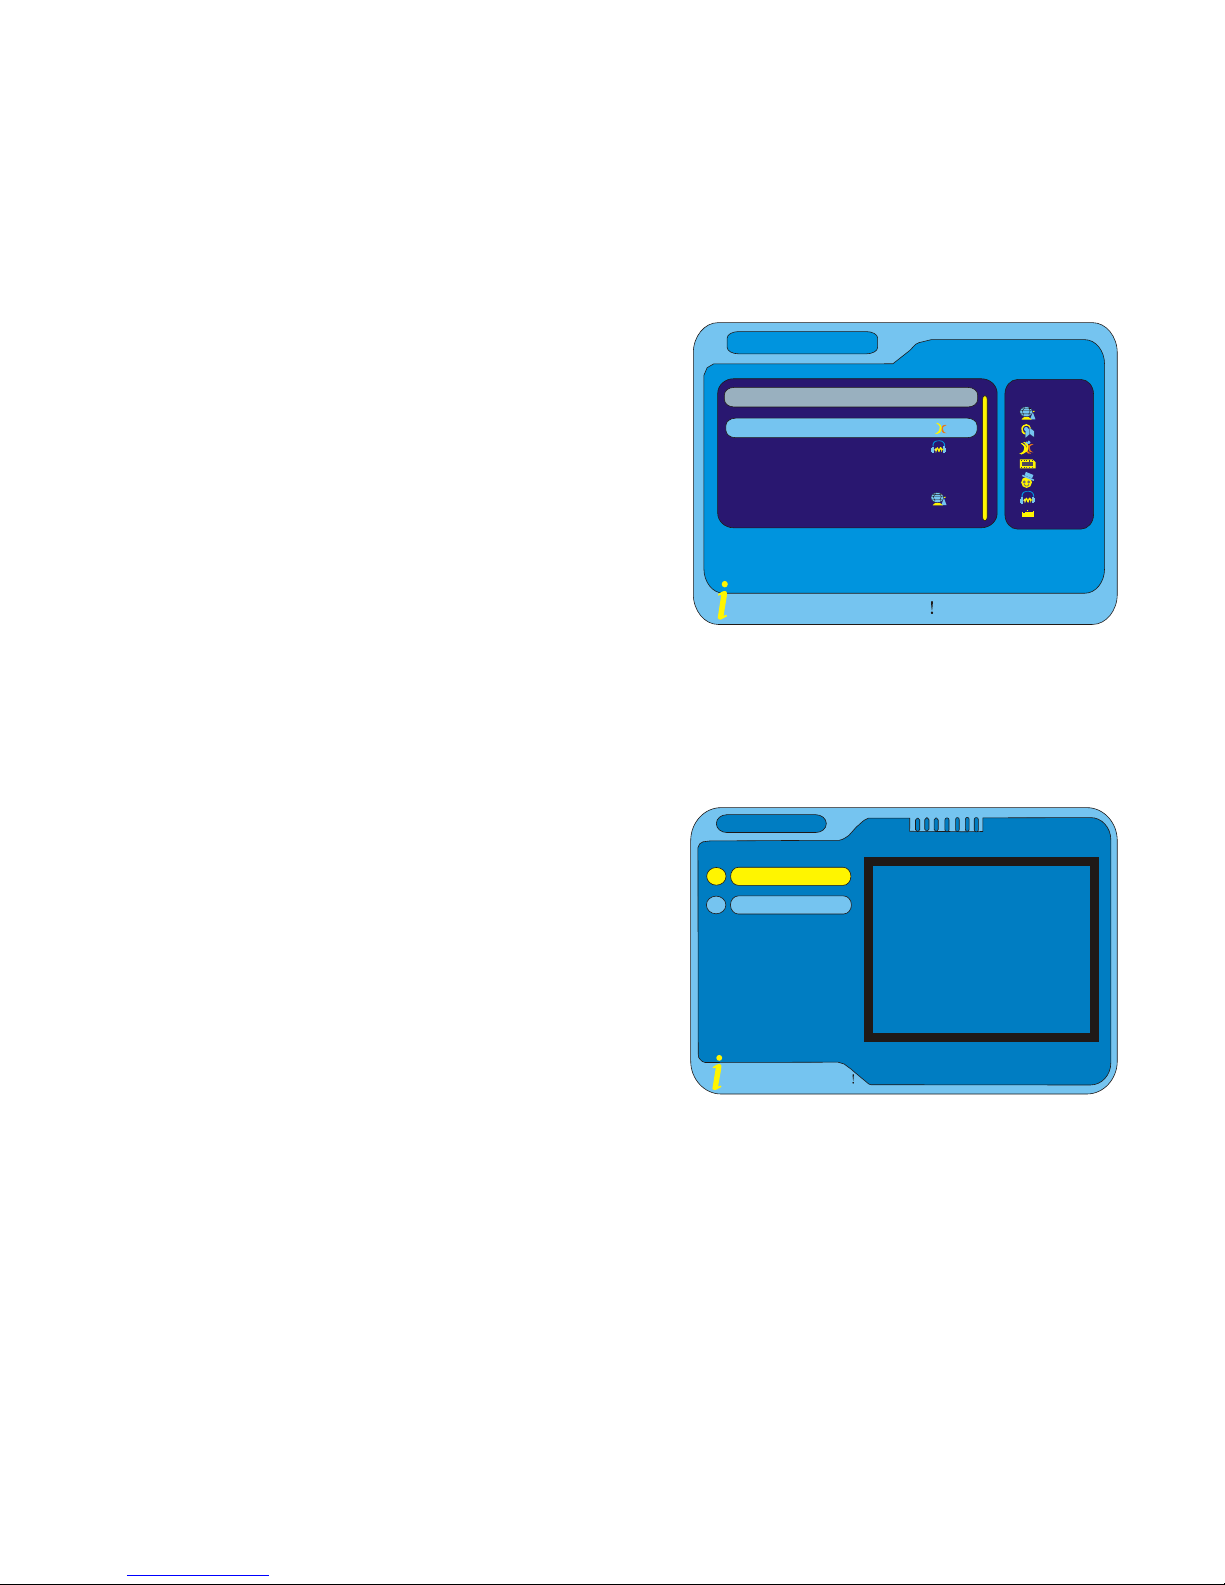
System Set-Up
Many aspects of your STB can be set to reflect your circumstances and
preference. The Configuration menu screen is accessed from main menu. The
Configuration contains OSD, TV, System Setup, Time, Wakeup Timer, Parental
Lock. All the settings will be saved after quitting the main menu.
OSD Set up
This menu allows you to set the OSD information based on the viewer
preference.
Enter the OSD menu, press “LEFT” or “RIGHT” button to select the desired1.
option.
Press “UP” or “DOWN” button to highlight the next option.
2.
Press “OK” button to set.3.
OSD
Theme1
INFO: Operation guide
OSD
Time on OSD
OSD Timeout
OSD Trans
OSD Language
MP4 Subtitle Langua
MP4 Sub codepage
1st Audio Language
2nd Audio Language
ON
1
10%
English
English
8859
English
English
Themel
Theme2
Theme3
Theme4
Theme5
NOTE
Wh en the"Time on OS D "i s on , the function of subtitle is
automatic o .
CVBS
18
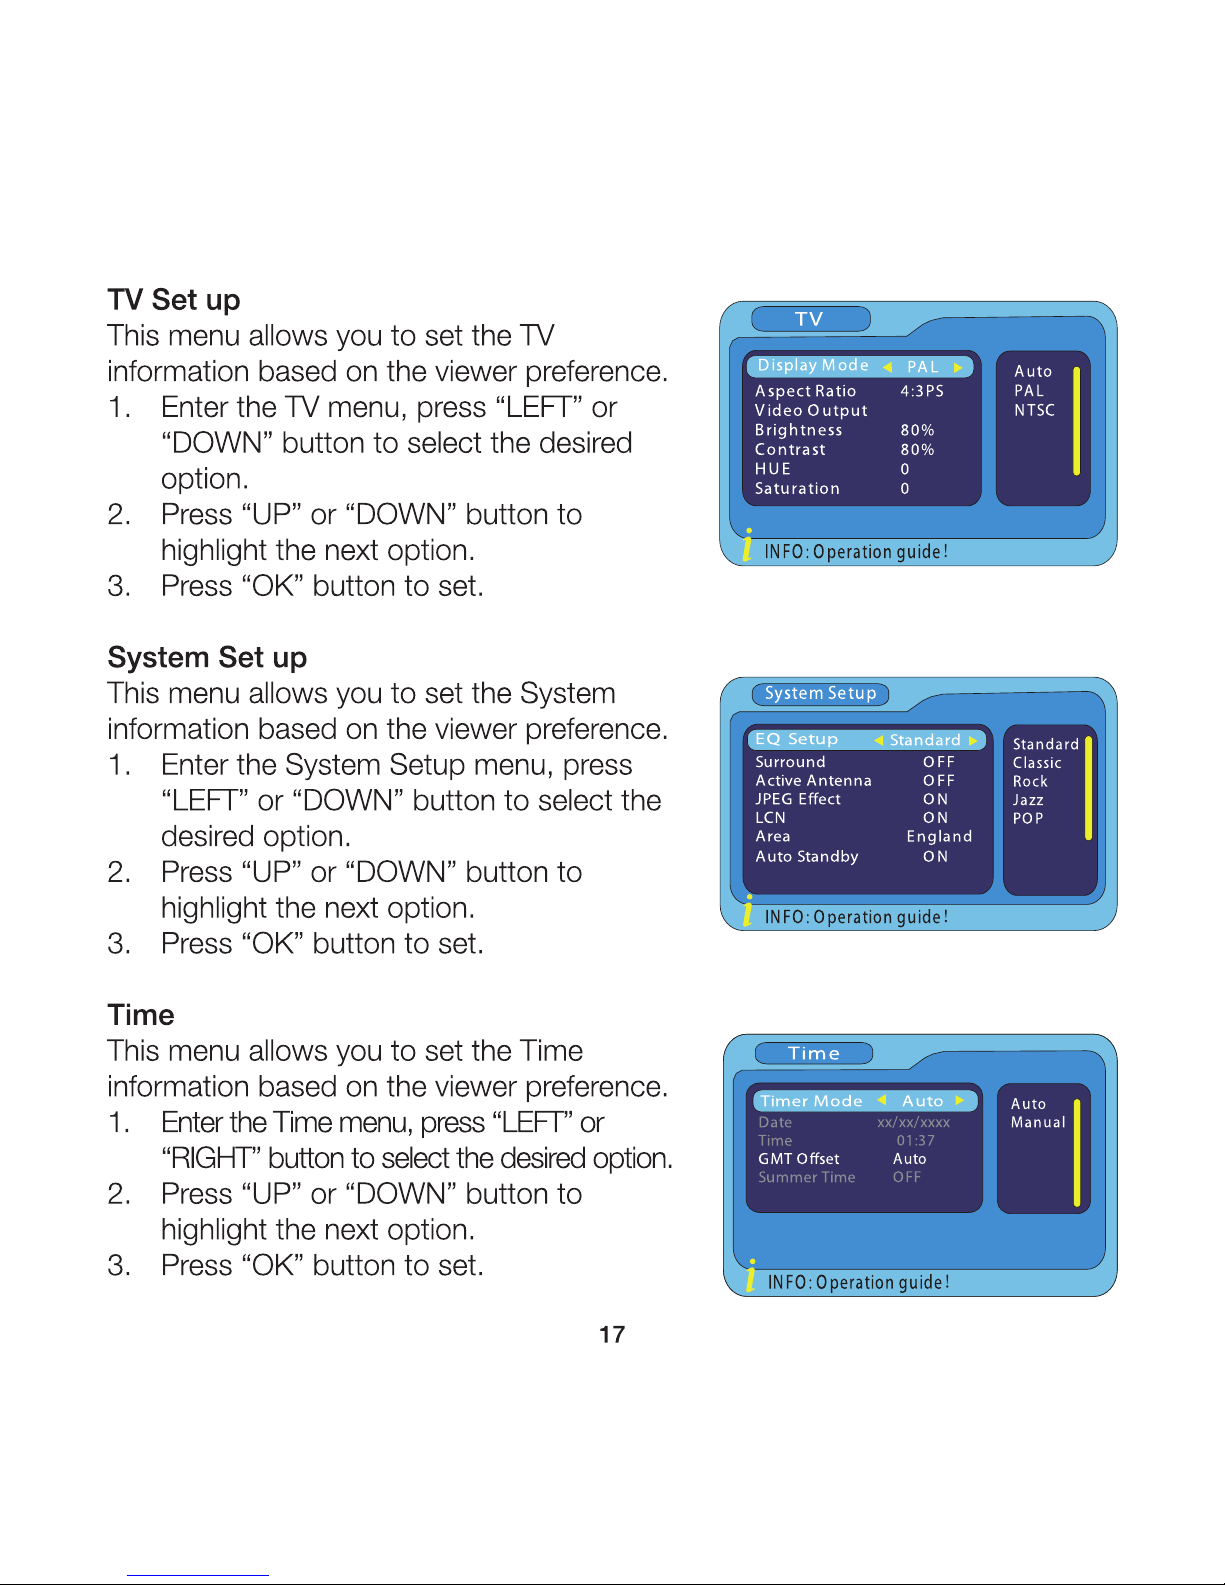
Wakeup Timer
This menu allows you to set the Wakeup
Timer information based on the viewer
preference. There are 3 ways to enter the
Wakeup Timer menu.
Entering through the main menu:
Press “MENU” button to enter the
“Main Menu”.
Press “OK” button to enter “Digital TV”.
Press “UP” and “DOWN” button to highlight “configuration”.
Press “OK” button to enter “configuration”.
Press “UP” and “DOWN” button to select “Wakeup timer”.
Press “OK” button to enter the “Wakeup Timer” menu,
Press “LEFT” or “RIGHT” button to select the desired option.
Press “UP” or “DOWN” button to highlight the next option.
Press “OK” button to set.
Entering through the EPG:
Press EPG button to enter the EPG window.
Press “LEFT” to enter the event.
Press “UP” and “DOWN” button to select event.
Press “BLUE” button to enter the “Wakeup Timer” menu.
Entering through the BLUE button:
Press “BLUE” button can enter Wakeup Timer menu directly.
Timer NO
1
INFO: Operation guide
Wakeup Timer
Timer Mode
WakeupMode
WakeupChannel
WakeupDate
OnTime
Duration
Default Partition
O
Message
BBC FOUR
xx/xx/xxxx
01:42
00:00
/sda 1
1
2
3
4
5
6
7
8
NOTE
When you complete your setup,
you must exit all menus ,then
system will save your setup.

19
Parental Lock
This menu allows you to set the TV
information based on the viewer preference.
Enter the Parental Lock menu1.
Input a correct password using the2.
numeric buttons
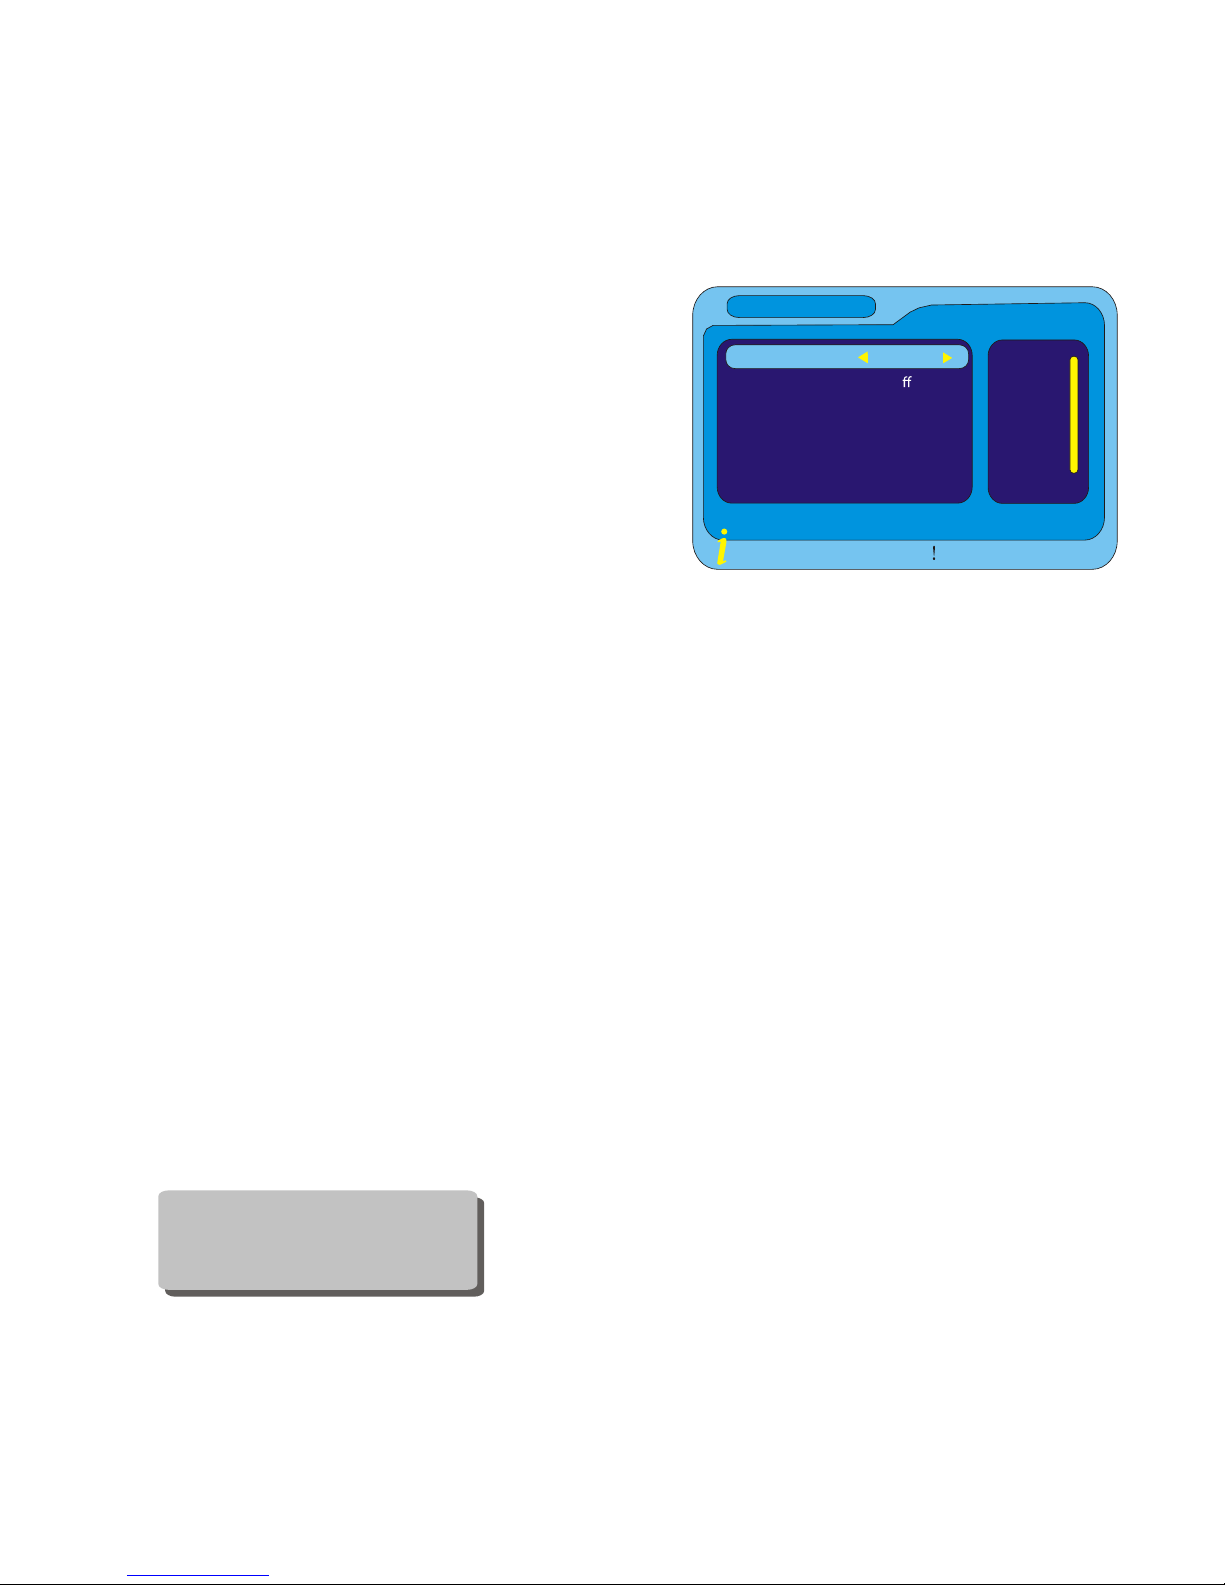
Tools
Software Upgrade
The software may be upgraded via USB
Press “MENU” button to enter the “Main Menu” window1.
Press “OK” button to select the “Digital TV”2.
Press “UP” or “DOWN” button to select3.
“Software Upgrade”
Press “OK” button to enter the download4.
route, choose the correct upgrade file
Press “OK” button to upgrade5.
Users may also download and upload channel data via USB
Highlight “Download channel data” item, press “OK” button to download1.
channel list named “channeldata.bin” in USB Device
Highlight “Upload channel.dat”, press “OK” button to enter USB Device2.
and select file “channeldata.bin” then press “OK” button to upload channel
list to flash.
Enter password
Parental Lock
Enter Old Password
Enter New Password
Conrm New Password
NOTE
The default password for
Lock and Deletion is "0000".
The super password is "8888".
1.Read Date
[OK]
USB Upgrade
2.Check Checksum
[OK]
3.Update FLASH
4.Restart System
3.Update FLASH
20
Factory Default
This function allows you to re-set the STB back
to factory settings, clearing all existing channels.
Enter “Digital TV” menu, select “Factory1.
Default”, press “OK” button. You are asked
to input a password.
Input a correct password using the numeric2.
buttons (the default password is “8888”). A
confirmation window is displayed.
Select “Yes” to return back to factory3.
settings and clear all channels. Select “No”
to cancel.
Press “EXIT” button to exit.4.
Version
The Version menu can display some parameters of this STB.
Enter the “Digital TV” menu, select the Version, press1.
“OK” button. The Version window will be displayed.
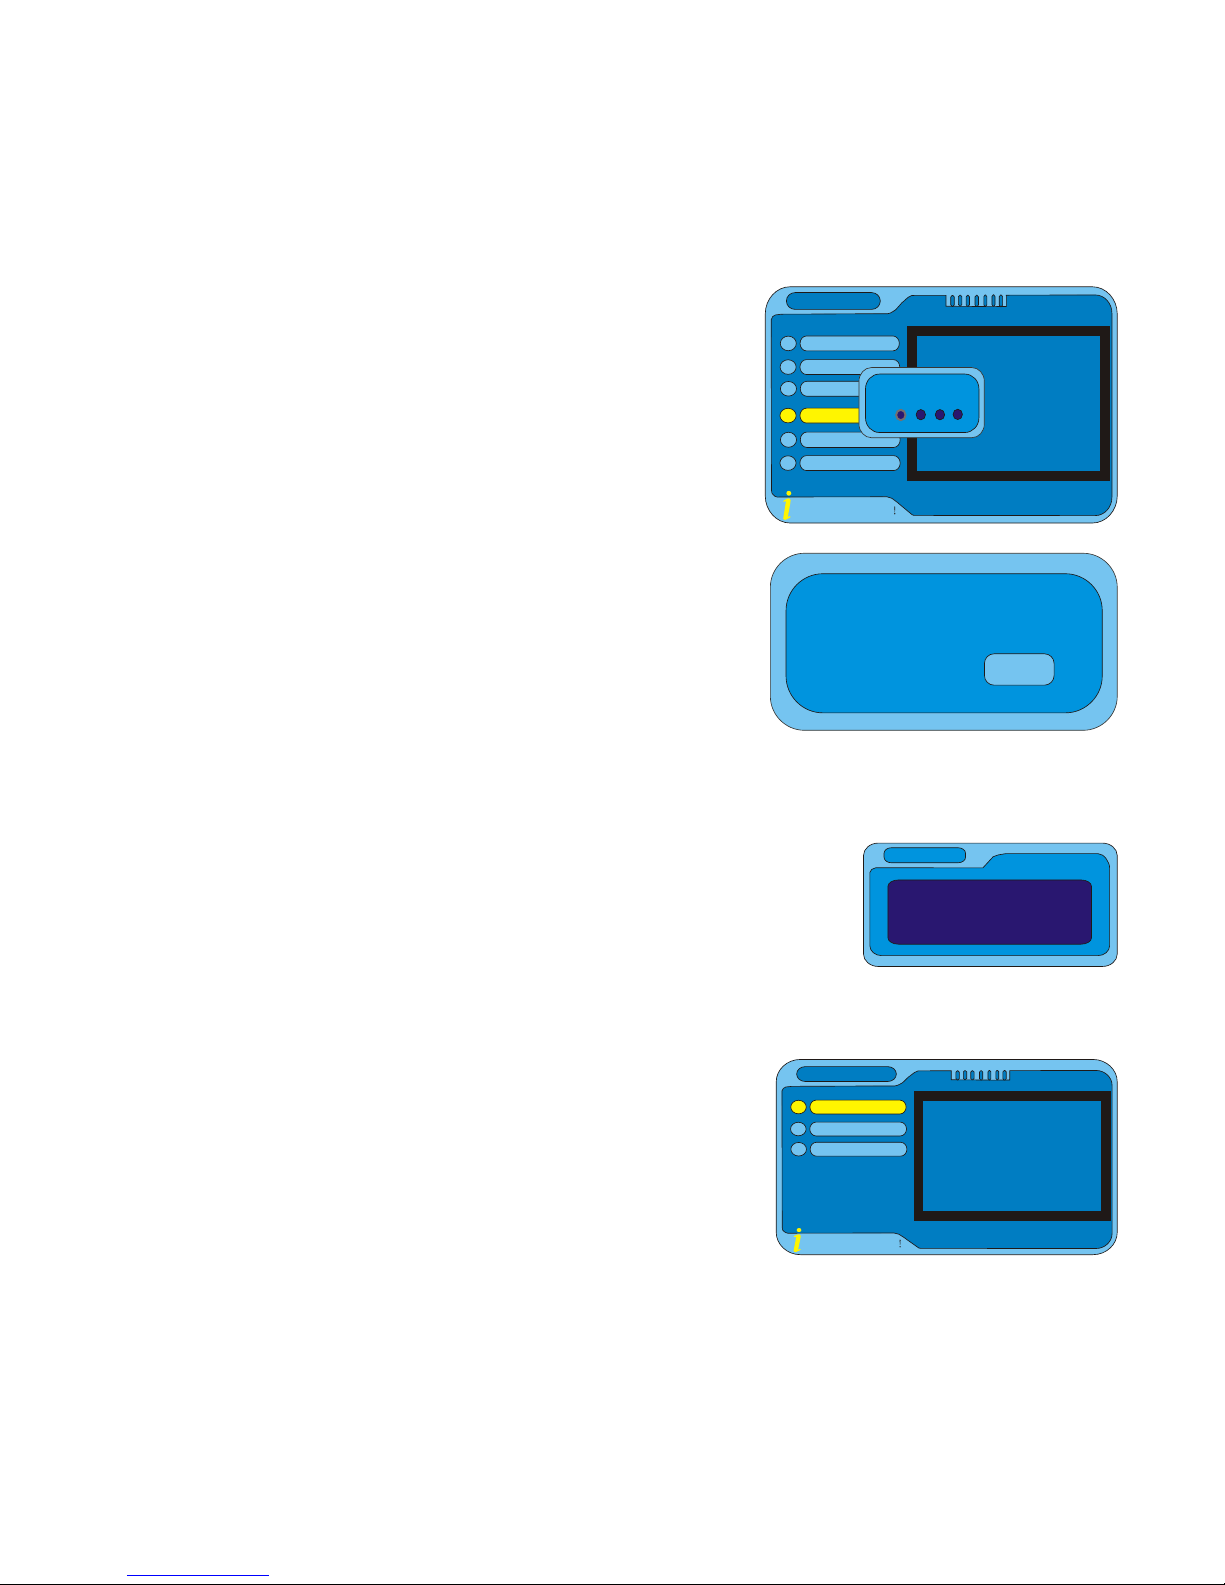
Games
This function allows you to play games on the STB.
Press “MENU” button to display the Main1.
Menu, move the cursor to select the Games
item, press “OK” button to confirm.
Press “OK” button to enter the “Native2.
Games”. Press “EXIT” button to exit.
INFO: Operation guide
Channel Manager
Installation
Configuration
Software Upgrade
Factory Default
Version
Digital TV
Enter password
?
Do you wantto perform
factory default?
?No
Yes
Version
H/W version DVB-T Vx.x
S/W version xxxxxx_V x.x
F/W version xxx_xxx_xxxx_xxxx_xxx
Checksum xxxxxxxx
INFO: Operation guide
Box Man
Tetris
Hit Rat
Native Games

21
Multimedia Playing
This function allows you to play video, audio or photo files from USB port.
Movie Playing
Press “MENU” button to display the “Main Menu”1.
window.
Select “Movie”. Move the cursor to enter the route of2.
the desired video files.
Press the “OK” button to play the desired video3.
files.
Music Playing
Press “MENU” button to display the “Main1.
Menu” window.
Select “Music”. Move the cursor to enter the route2.
of the desired audio files.
Press the “OK” button to play the desired audio files.3.
Photo Playing
Press “MENU” button to display the “Main1.
Menu” window.
Select “Photo”. Move the cursor to enter2.
the route of the desired photo files.
Press the “OK” button to play the desired3.
photo files.
Movie
0001/sda
Music
0001/sda
Photo
0001/sda
NOTE
Press "RED " button once, and then press o r button ,
can zoom the photo at 2,3,4,1/2,1/3,1/ 4.
Table of contents
Other Shintaro Set-top Box manuals


