Uniden HD8000UPVR User manual

HIGH DEFINITION DIGITAL RECEIVER
Set Top Box with USB Record Capabilities
HD8000UPVR

2
Power outlet: To prevent electric shock, make sure the electrical plug used on the receiver’s
power cord matches the electrical outlet used to supply power to the receiver. Connect the
power cord only to a power source that operates at 100~240 Volts AC, 50/60 Hz.
Power plug: If a three-prong power plug is provided with the receiver, make sure it is used with
a properly grounded three-wire power socket.
Power cord: Make sure the power cord is routed so that it will not be stepped on or pinched by
heavy items.
Power overloading: Avoid overloading electrical outlets or extension cords, which otherwise
could result in electric shock or fire.
Lightening: For protection from lightening, or when the receiver is left unattended for a long
period, disconnect it from the power source.
Protect other equipment: Unplug the receiver before connecting any other equipment,
especially the antenna. Connect all equipment to the receiver before plugging any power cords
to the power source.
Be careful with electricity:
The exclamation point in a triangle is used to alert you to important operating and
maintenance instructions. Failure to follow these instructions could result in injury to
you or damage to the receiver.
The lightening symbol in a triangle is used to alert you to the presence of dangerous
voltages inside the receiver that may be sufficient to constitute a risk of electric
shock to anyone opening the case. It is also used to indicate improper installation or
handling of the receiver that could damage the electrical system in the receiver or in
other equipment attached to the receiver.
Please review the following safety precautions. If this is your first time to use a digital receiver,
then read this manual before installing or using this receiver. If the receiver is not functioning
properly, please contact your local distributor or system installer.
Safety First
WARNING:
TO REDUCE THE RISK OF ELECTRICAL SHOCK
DO NOT REMOVE THE COVER
NO USER-SERVICEABLE PARTS ARE INSIDE
REFER SERVICING TO QUALIFIED PERSONNEL
RISK OF ELECTRICAL
SHOCK
DO NOT OPEN
WARNING!
•
•
•
•
•
•

3
DVB and the DVB logo are registered trademarks of the DVB project.
HDMI, the HDMI logo and High-Definition Multimedia Interface
are trademarks or registered trademarks of HDMI Licensing LLC.
Manufactured under license from Dolby Laboratories, “Dolby”
and the double-D symbol are trademarks of Dolby Laboratories.
• Trademark Information
Plastic Protective Film: Receivers when shipped have a protective thin plastic film over the
Front Panel; this plastic film should be removed and discarded.
Ventilation: Do not block the ventilation slots on the receiver, or place any heavy object on top
of it. Blocking the airflow could damage the receiver. Arrange components so that air can flow
freely around the receiver. Ensure that there is adequate ventilation if the receiver is placed in
a stand. Put the receiver in a properly ventilated area, away from direct sunlight or any source
of heat.
Overheating: Avoid stacking the receiver on top of a hot component such as a power
amplifier.
Risk of Fire: Do not place the receiver on top of any easily combustible material, such as
carpet or fabric.
Proper Connections: Make sure all cables and equipment are connected to the receiver as
described in this manual.
Object Entry: To avoid electric shock, never stick anything in the slots on the case or remove
the cover.
Water Exposure: To reduce the risk of fire or electric shock, do not expose the receiver to rain
or moisture.
Also follow these precautions:
•
•
•
•
•
•
•

4

5
Table of Contents
Safety First .........................................................................................2
Introduction ........................................................................................6
Package Contents ........................................................................6
Key Features ................................................................................7
Parts of the Uniden HD8000UPVR System .....................................8
Front Panel ...................................................................................8
Rear Panel ....................................................................................9
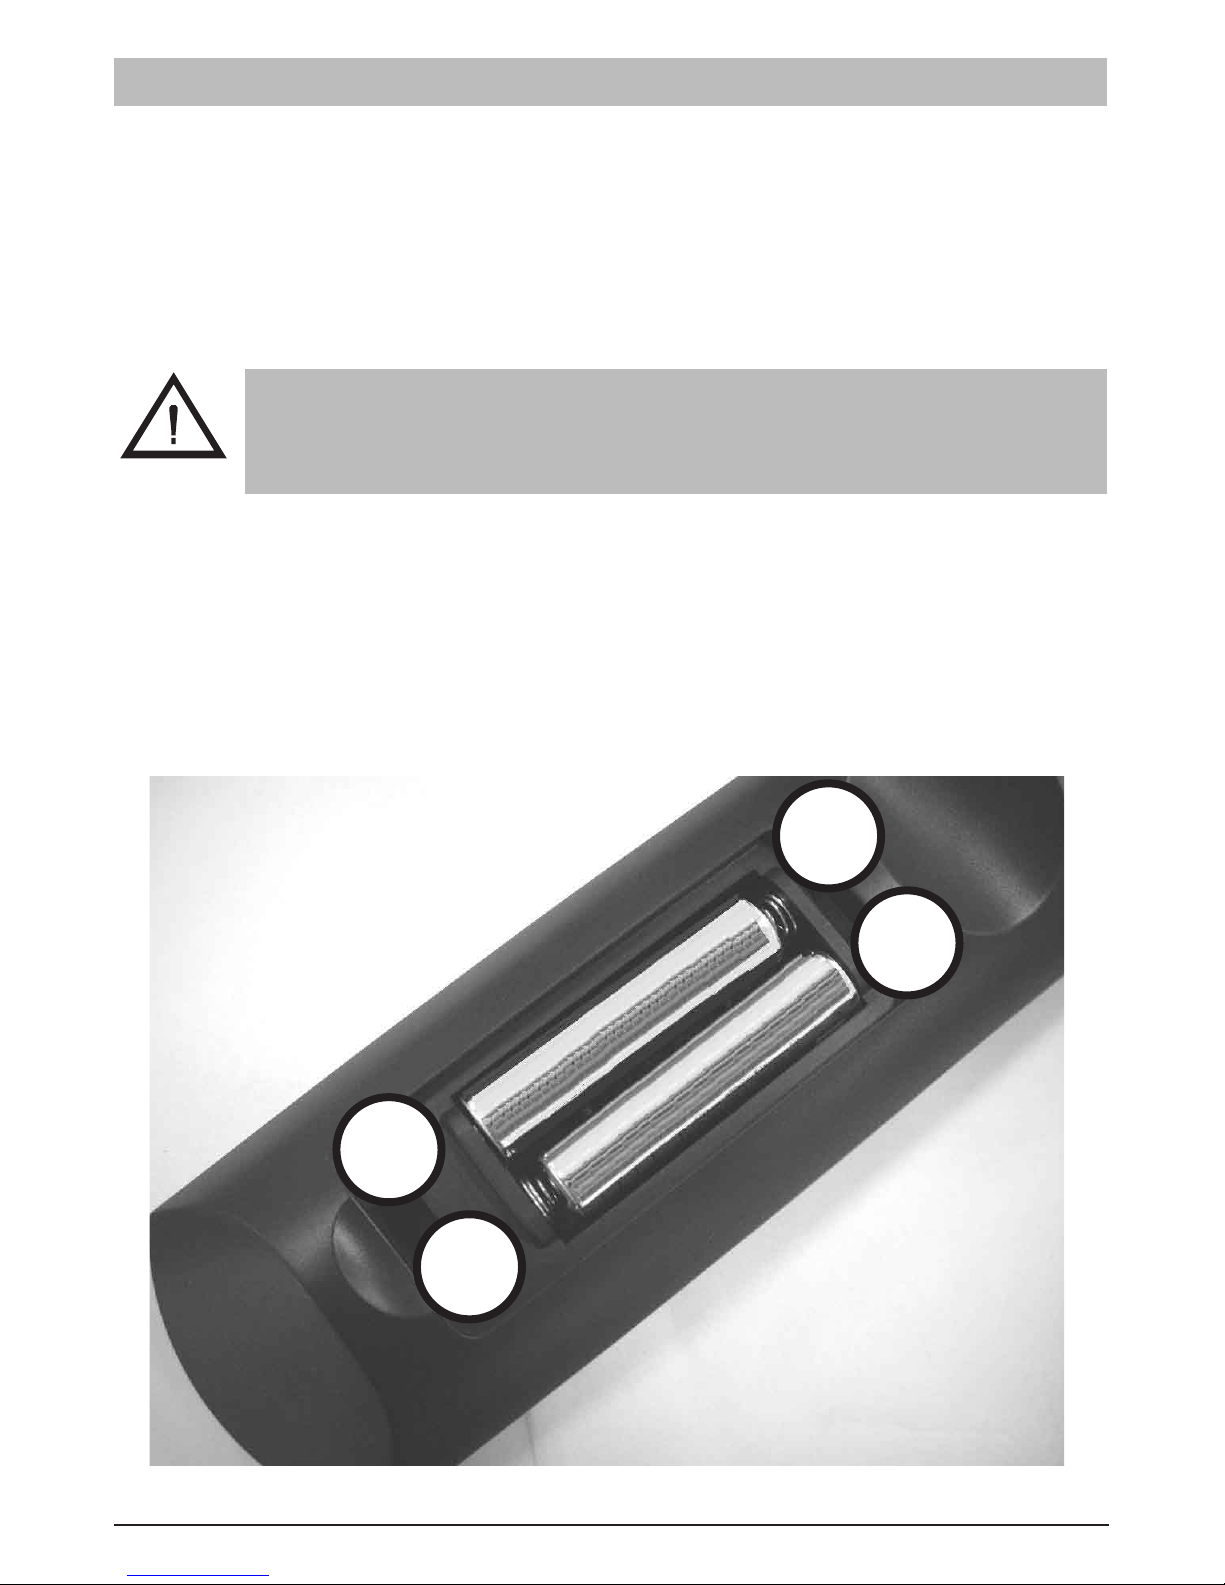
Remote Control ................................................................................10
System Installation ................................................................. 12
Connecting to a Standard Definition TV .....................................12
Connecting to a High Definition TV ...............................................12
Aspect Ratio Setting .......................................................................13
Recommended Settings .............................................................13
Switching on for the First Time ......................................................14
Viewing Channels ............................................................................15
The Information Plate (or I-Plate) ...............................................15
EPG: Electronic Programme Guide ...............................................18
Recording TV Programmes ............................................................19
Format the USB Storage Drive ...................................................19
Scheduled Recording ......................................................................20
Approximate Recording Times ...................................................23
OTR (One Touch Recording) ......................................................24
Playback Recorded TV Content ....................................................25
Main Menu Map ................................................................................28
Main Menu ........................................................................................29
Channels ....................................................................................29
Settings .......................................................................................31
Setup ..........................................................................................34
System ........................................................................................36
Troubleshooting ..............................................................................40
Glossary ...........................................................................................41
Product Specification: ....................................................................42
One Year Limited Warranty .............................................................43

6
NOTE
• HD8000UPVR High Definition MPEG-4 Terrestrial Receiver
• Remote Control Unit (with 2x AAA batteries)
• Owner’s manual
• AC adapter
• Composite (RCA) Video/Audio Cable
• Component Video Cable
Unpack the receiver and verify that all of the following items are included.
Package Contents
The Uniden HD8000UPVR Set-Top-Box is an MPEG-4 compliant High Definition
(HD) receiver, capable of receiving and recording high definition and standard
definition (SD) TV programmes from free-to-air terrestrial broadcasts (DVB-T) in
accordance with the FREEVIEW specification phase one.
The user friendly On-Screen-Display (OSD) allows you to setup your receiver to
enjoy both high and standard definition channels with crystal clear picture and stereo
sound quality.
Introduction
If any items are missing or damaged, contact
your place of purchase immediately.

7
• USB Record/Playback*:
Record or playback your favourite programs from an external USB
Storage Drive (not included)
• On Screen Display (OSD):
Easy to use Menu system displays key information on screen
• Remote Control:
Fully functional Remote Control
• Electronic Programme Guide (EPG):
8 days of programme guide support.
• Record Scheduler:
Schedule up to 6 hours of recording
• Video and audio connection capabilities:
HDMI, Component Video, Composite Video and Audio connections
• Plug and Play setup:
Plug in a USB flash drive to view your favourite jpeg (jpg) photos
• Simultaneous HD/SD output:
Connect HDMI to an HDTV for HD and at the same time connect
composite
or component to a standard TV for SD
• DVB Compliant:
Decodes MPEG-2 and MPEG-4/AVC formats
• Multiple Video Format Modes:
HD - 1080i/720p, SD - 576p/576i
• Multiple Aspect Ratio Modes:
16:9, 4:3 Letter Box and 4:3 Centre Cut
Includes Active Format Descriptor (AFD) modes;
AFD 16:9 Wide, AFD 4:3 Letter Box and AFD 4:3 Centre Cut
• Channel Locked Function
Parental Rating with PIN code access
• USB 2.0 support for software upgrade
Key Features
NOTE
* USB Record/Playback:
In accordance with the Freeview specification the HD8000UPVR
encrypts all content recorded to the USB Storage Drive. The
recorded content can only be played back on the HD8000UPVR
it was encrypted on. Therefore Uniden recommends connecting a
dedicated storage drive to record and playback TV programmes.

8
1. Power button:
Toggles the HD8000UPVR between power-on (green LED) and standby
(red LED) modes.
2. Channel button:
Switch to the next channel.
3. Channel button:
Switch to the previous channel.
4. Video Format button:
Toggles between the video format modes; 1080i, 720p, 576p and 576i.
5. USB Port:
For connection of a USB Storage Drive (USB Flash Drive, USB single SD
card reader or USB Hard Disk Drive).
Front Panel
Parts of the Uniden HD8000UPVR System
NOTE
USB Storage Drive is not included.
12345

9
6. Power Supply:
Power Adapter DC12V 1.5A input (100~240 VAC, 50~60 Hz).
7. RF In/ RF Out:
RF Input for an external antenna/RF Out (loop through) for an external
device.
8. Video Out: Composite Video (CVBS) / Component Video (Y/PB/PR):
For High Definition ready HDTVs - Connect the Component Video cable to
the red, blue and green coloured video jacks. Component Video Out can
carry HD (1080i, 720p) and SD (576p, 576i) video.
For Standard Definition Televisions - Connect the Composite Video cable to
the yellow coloured video jack, or if available connect the Component Video
cable to the red, blue and green coloured video jacks.
9. Audio Out: L/R:
Two pairs are provided for use with either of the Composite Video and/or
Component Video outputs.
10. HDMI:
For connection to an HDTV which has HDMI input for optimum viewing
capability. HDMI output supports 1080i, 720p, 576p and 576i video formats
and supports Dolby down-mix 2 channel audio.
Rear Panel
67891 0

10
The batteries for the remote control are packaged separately; please install these
batteries in the remote control before using the receiver. Note the “+” and “-“ signs
on the batteries to ensure that the batteries are inserted with the correct polarity into
the remote control. To avoid damage to the remote control, discard any depleted or
old batteries.
The remote control provides easy access to all of the receiver’s functions, including
selecting channels and using the menus. It uses infrared signals, and must be
operated within seven meters from the receiver.
When using the remote control, make sure there is a direct line of sight to the
receiver.
Remote Control
NOTE
Although the receiver can be operated from the buttons on the front
panel, many of the receiver’s functions can only be accessed using
the remote control.
+
+
_
_

11
1. MUTE: Disable and enable MUTE
2. Numeric: For entering channel number or
PIN code
3. INFO: Open I-PLATE/Now/Next Information
4. LIST: Open Channel List window
5. Directional buttons: Move the cursor or
field in the ▲▼◄► direction
6. ENTER: Selects the highlighted item
7. V.FORMAT: Switch Video Format between
PAL / 576P / 720P / 1080i
8. MENU: Open MAIN MENU window
9. EPG: Display the EPG (Electronic
Programme Guide)
10. AUDIO: Switch languages or audio types if
available (MPEG / AC3)
11. TTX: Switch Teletext OFF/ON
12. FILE: Open File menu to review contents of
the USB storage drive.
13. PICTURE: Adjust picture setup (brightness,
contrast, saturation, hue, sharpness and
Digital Noise Reduction)
14. STANDBY: Switch the set top box OFF/ON
15. CH: Channel controls; previous and next
16. VOL: Audio volume; increase or decrease
17. RECALL: Toggle between current and
previous channels
18. FAV: Open Favorite Channel List window
19. A. RATIO: Switch Aspect Ratio between
16:9 / AFD 16:9 Wide / 4:3 Letter Box / 4:3
Centre Cut/ AFD 4:3 Letter Box and AFD 4:3
Centre Cut
20. EXIT: To exit display mode (and watch TV)
21. SUBT: For DVB subtitle if available
22. Colour buttons: RED/GREEN/YELLOW/
BLUE - Perform various functions which are
shown in the menu
23. TEXT: Enable MHEG5 function (Optional)
24. TV/RADIO: Change between TV and radio
channels
25. REC: Start programme recording function
26. PAUSE: Pause the video in playback
mode.
27. PLAY/STOP: Play or Stop the video in
playback mode. Stop programme recording.
28. RWD/FWD: Execute Rewind and Forward
in playback mode.
The buttons on the remote control have the following functions:

12
Connecting to a High Definition TV
Component Video Connection
Composite Video Connection
Connecting to a Standard Definition TV
System Installation

13
The HD8000UPVR offers the following options through the A.Ratio (aspect ratio)
button on the remote control:
16:9
AFD 16:9 Wide (factory default)
4:3 Letter Box
4:3 Centre Cut
AFD 4:3 Letter Box
AFD 4:3 Centre Cut
The view option AFD 4:3 Letter Box is interpreted as a best compromise for the
various formats.
Recognising that viewers may not always be satisfied with the broadcaster’s
recommended display format or choice of formats, TV sets may also have a ‘viewer
preference’ setting, in which the viewer’s wishes override that of the broadcaster, the
viewer will have to select these other modes deliberately.
Recommended Settings
Digital TV broadcasts carry a mixture of widescreen (16:9) and standard (4:3) format
programmes.
Under new guidelines; all new TV sets will have an ex-factory default setting which
makes the set follow the broadcaster’s transmitted picture format codes. The
Active Format Descriptor (AFD) code will allow some view preferences to operate
automatically, but only those which the broadcaster has catered for in making the
programme. For example, it will allow a viewer to fill the screen of a 4:3 TV set
with the centre portion of a widescreen picture, but only for programmes ‘shot and
protected’ to allow for this, so that cutting off the edges won’t lose important action in
the scene.
Aspect Ratio Setting

14
4. When the receiver states “Scan Complete” press EXIT.
Digital television programmes are then received.
Your HD8000UPVR needs to be tuned to channels in your region. When it is
connected and switched on for the first time the HD8000UPVR will start in Quick
Scan mode.
1. Turn on your TV set.
2. Turn on the HD8000UPVR by pressing the power key on the front panel or
pressing STANDBY on the remote control. The green ON LED will light up.
3. The “Quick Scan” menu will appear. Use the ▲, ▼, ◄ or ► directional keys
on the remote control to highlight your region and then press ENTER to
automatically scan and place into memory all services transmitted in your
region.
Switching on for the First Time

15
• The I-Plate automatically displays for a short period whenever a channel is
changed. You can change the display time in Menu/Settings/On Screen Display on
page 33.
• You can also press INFO to display the I-Plate.
• If the selected channel supports special features such as Teletext (TTX) or Closed
Captions (CC), then this information will be displayed in the I-Plate.
• Press EPG while the I-Plate is displayed to call up a synopsis of the programme.
Example I-Plate
The I-Plate appears at the bottom of the screen whenever a channel is changed
or when called up by pressing INFO. The I-Plate displays information about the
channel and the current TV programme.
Press ► to view the next programme’s information (Next).
Press ◄ to go back to the current programme’s information (Now).
The Information Plate (or I-Plate)
Use the Channel keys or enter the channel number on the remote control to change
channels.
Viewing Channels

16
• Channel broadcaster’s video format
• Programme’s aspect ratio
• Teletext (TTX) if available
• Closed Captions (CC) if available
• Audio encoder format if available
• Programme progress bar with start
and end times
• TV Programme name
• Current Time
• Logical Channel Number
• Broadcast status (Now/Next)
• Broadcast standard (SD/HD)
• Broadcast type (FTA: Free to Air)
• Parental rating if available
• Channel name
I-Plate Information

17
• Press SUBT, the subtitle menu will display on your screen. Once you select a
subtitle track, the subtitle will be displayed.
Selecting Subtitle Tracks
Some programmes are broadcast with subtitle tracks in one or more languages.
• Press TTX and enter 801 to view the Teletext subtitles page.
• To adjust the Teletext subtitles background, press TTX. Press TTX again to clear
the Teletext screen.
Viewing Teletext Subtitles
Some channels carry Teletext (TTX) and with it some programmes may have
Teletext subtitles.

18
You can navigate (▲, ▼, ◄ and ►) to programme times throughout the EPG.
• Red Key: Press to add the selected programme to the Record Schedule list
- See page 21.
• Yellow Key: Back 24 hours.
• Blue Key: Forward 24 hours.
Press INFO to view the selected programme’s synopsis.
Press LIST to select the current channel and programme.
This HD8000UPVR comes with a native 8-day Electronic Programme Guide (EPG).
Never miss your favourite TV programmes; simply select upcoming TV programmes
and add them to the Record Schedule list. When the time is near the receiver will
switch to the scheduled channel and start recording to the USB Storage Drive.
EPG: Electronic Programme Guide

19
Enter the PIN code. The default PIN Code of the receiver is 0000.
Press MENU then select “Format USB Storage Drive” from the “Channels” menu.
Format the USB Storage Drive
The HD8000UPVR can record television programmes onto a USB mass storage
drive.
Recording TV Programmes
NOTE
The storage drive must be formatted before it can be used to store
recorded content. For this reason Uniden recommends using a dedicated
USB mass storage drive for recording and playback of TV programmes.
For long recording times a USB hard drive (instead of a USB flash
drive) is recommended.
Caution:
• All the files saved in your USB Storage Drive will be erased when
you do formatting.
• Do not disconnect the USB Storage Drive while formatting. It may
cause damage to your USB Storage Drive.
NOTE

20
Scheduled Recording allows you to schedule up to 16 programmes in advance with
each recording lasting up to 6 hours.
To access the Record Schedule Menu press MENU then select “Record Schedule”
from the “Channels” menu.
You can record in two ways;
• One-touch recording (OTR)
• Scheduled Recording
Scheduled Recording
Table of contents
Other Uniden Set-top Box manuals