manuals.online logo
Brands
  1. Home
  2. •
  3. Brands
  4. •
  5. SIDLER
  6. •
  7. Bathroom Fixture
  8. •
  9. SIDLER Singa 1/19'' User manual

SIDLER Singa 1/19'' User manual

OPERATING INSTRUCTIONS
V 03.15 1/15
SIDLER Singla 1 / 19’’
Please read instructions before proceeding
Save these instructions
OPERATING INSTRUCTIONS
V 03.15 2/15
IMPORTANT SAFETY INSTRUCTIONS –to reduce the risk of burns, fire,
electric shock, or injury:
This product is for household use only
The maximum load is 1.5kg (3lbs) per glass shelf
WARNING –do not use outdoors
WARNING –use this furnishing only for its intended use as described
in these instructions
WARNING –never operate the furnishing with the air openings
blocked. Keep the air openings free of lint, hair, and the like
WARNING –never drop or insert any object into any opening
WARNING –avoid dispensing of aerosol sprays near top of the
cabinet
When using an electrical furnishing, basic precautions should always
be followed, including the following:
Read all instructions before using (this furnishing)
DANGER –To reduce the risk of electric shock:
Close supervision is necessary when this furnishing is used by, or near
children, invalids, or disabled persons
SAVE THESE INSTRUCTIONS
OPERATING INSTRUCTIONS
V 03.15 3/15
List of all components to be installed
Pos. Pcs. Description Dimension [mm] Comment
1 1 mirror door
2 1 cover cap dampener
3 3 glass shelve
4 4 screw Ø4.5 x 35
5 1 cosmetic mirror
6 1 cosmetic box
7 1 dampener
8 2 dump stop
9 6 shelf holder spare part
10 6 slider spare part
pos. 1
mirror door
pos. 2
cover cap
dampener
pos. 3
glass shelf
pos. 4
screw
pos. 5
cosmetic mirror
pos. 6
cosmetic box
pos. 7
dampener
pos. 8
dump stop
pos. 9
shelf holder
pos. 10
slider
OPERATING INSTRUCTIONS
V 03.15 4/15
Installation Guide
Step 1 –Remove the mirror doors
1) Remove the door (pos.1) from the cabinet by draw clip C.
!Attention!
Do properly hold the door before pushing clip C
Handle door carefully
cabinet
pos. 1
clip C
OPERATING INSTRUCTIONS
V 03.15 5/15
Step 3 –surface mounts
1) Use wall mount kit including side mirrors (see separate Operating
Instruction
wall mount kit for Singla
) if cabinet will be wall mounted.
OPERATING INSTRUCTIONS
V 03.15 6/15
2) Proceed with step 4 if cabinet will be recessed.
OPERATING INSTRUCTIONS
V 03.15 7/15
Step 4 –recessed mount cabinet
1) Place the cabinet in the provided opening 18.2" x 24" which is
surrounded by
2’’ x 4’’ studs.
2) If the cabinet does not fit in to the provided opening, do rework on the
opening and studs until cabinet fits.
3) Tighten the screws on provided openings.
pos. 4
OPERATING INSTRUCTIONS
V 03.15 8/15
Step 5 –Doors
1) Hang the doors on the hinges (pos. 1).
2) Align the doors (pos. 1) on the hinges (see diagram for adjustment
possibilities).
cabinet
pos.1
adjust the door with these
screws
OPERATING INSTRUCTIONS
V 03.15 9/15
3) Place the cover cap on the door dampeners (pos. 2) and attach the door
dampeners (pos. 7) to the hinges.
pos. 7
pos. 2
OPERATING INSTRUCTIONS
V 03.15 10/15
Step 6 –Final Assembly
1) Push the dump stops (pos. 8) into the holes provided.
2) Push the slider (pos. 10) into the holes provided and turn it by 90°.
pos. 8
pos. 10
OPERATING INSTRUCTIONS
V 03.15 11/15
3) Push the shelf holder (pos. 9) gently down
4) Put the shelf holder into place by gently pushing down
pos. 9
push
OPERATING INSTRUCTIONS
V 03.15 12/15
4) Place the glass shelf (pos. 3) into the shelf holder. Glass shelf (pos. 3)
must always be positioned horizontally!
pos. 3
OPERATING INSTRUCTIONS
V 03.15 13/15
Step 7 –Cleaning
1) Mount the glass cover in accordance with the diagram.
Do not use abrasive cleaners, scrapers, metal brushes, or any items or
products that could scratch or dull the surface.
Do not allow the surface to come into contact with products such as
acetone (nail polish remover), dry cleaning solution, lacquer thinner,
gasoline, etc.
OPERATING INSTRUCTIONS
V 03.15 14/15
Step 8 –Cosmetic Box and Cosmetic Mirror
The cosmetic mirror (pos. 5) and the cosmetic box (pos. 6) are positioned
individually by the customer.
cosmetic mirror
cosmetic box
OPERATING INSTRUCTIONS
V 03.15 15/15
LIMITED WARRANTY
SIDLER will provide a two-year warranty in respect of defects associated
with the Product, commencing from the date of delivery, subject to the
following conditions:
( I ) The Product must have been professionally mounted and installed by
a certified licensed contractor in accordance with the
Safety
Standards Act
, S.B.C. 2003, c. 39, as amended, and the Electrical
Safety Regulation B.C. Reg. 100/2004, as amended.
( II ) The Product must have been used by the Purchaser in the manner
and for the purpose recommended and authorized by SIDLER and
the manufacturer.
( III ) The Product must not have been modified, or changed in design or
function following delivery.
( IV ) In each case, written notice by the Purchaser specifying the alleged
defects must be received during the warranty period (within two
years of the date of delivery).
( V ) The warranty is limited to replacement parts only.
( VI ) Damages resulting from normal wear and tear are excluded. The
determination of whether damage has so resulted will be in the sole
discretion of SIDLER.
( VII ) Damages resulting from any errors in representations made by the
manufacturer regarding product specifications are excluded.
SIDLER International Trade Ltd.
Vancouver, BC
CANADA
Phone: (604) 415 24 22
Toll Free: (888) 415 24 22
Fax: (604) 415 24 33
E-mail: [email protected]
Homepage: www.sidler-international.com

Other SIDLER Bathroom Fixture manuals

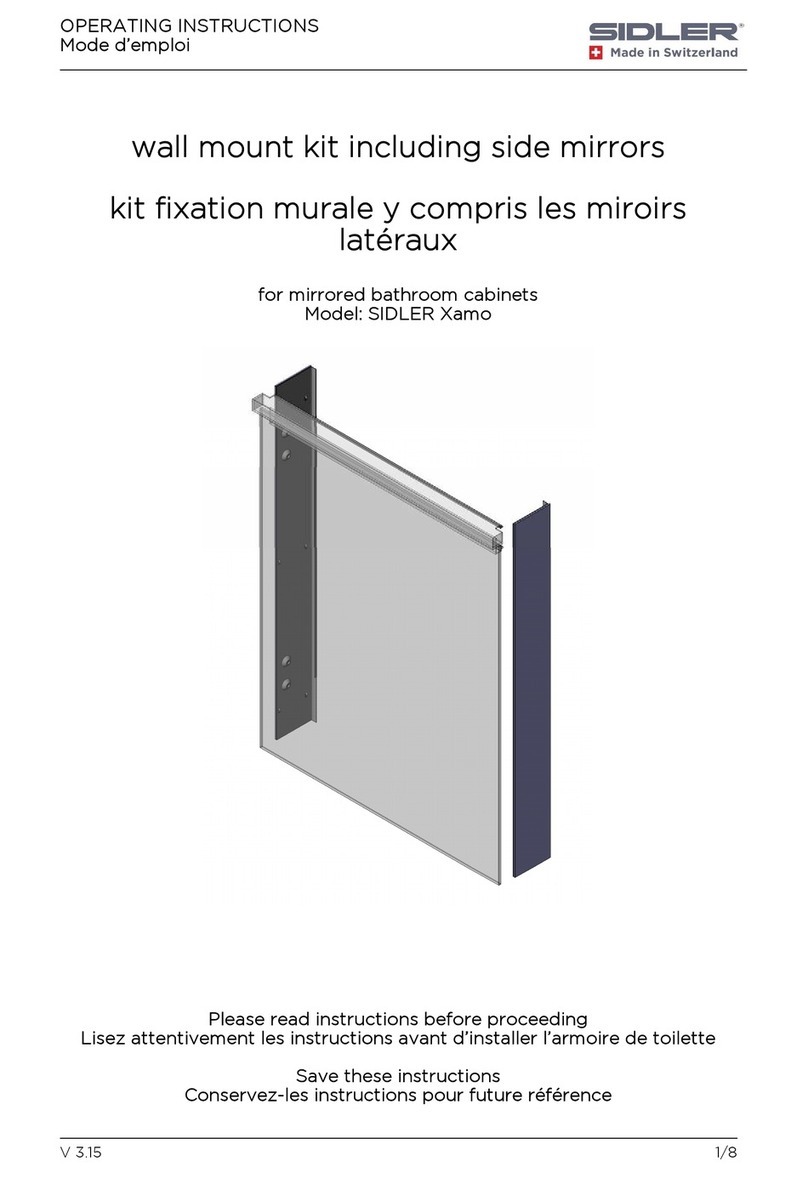
SIDLER Xamo User manual

SIDLER

SIDLER Xamo User manual

SIDLER Quadro User manual

SIDLER

SIDLER Quadro User manual

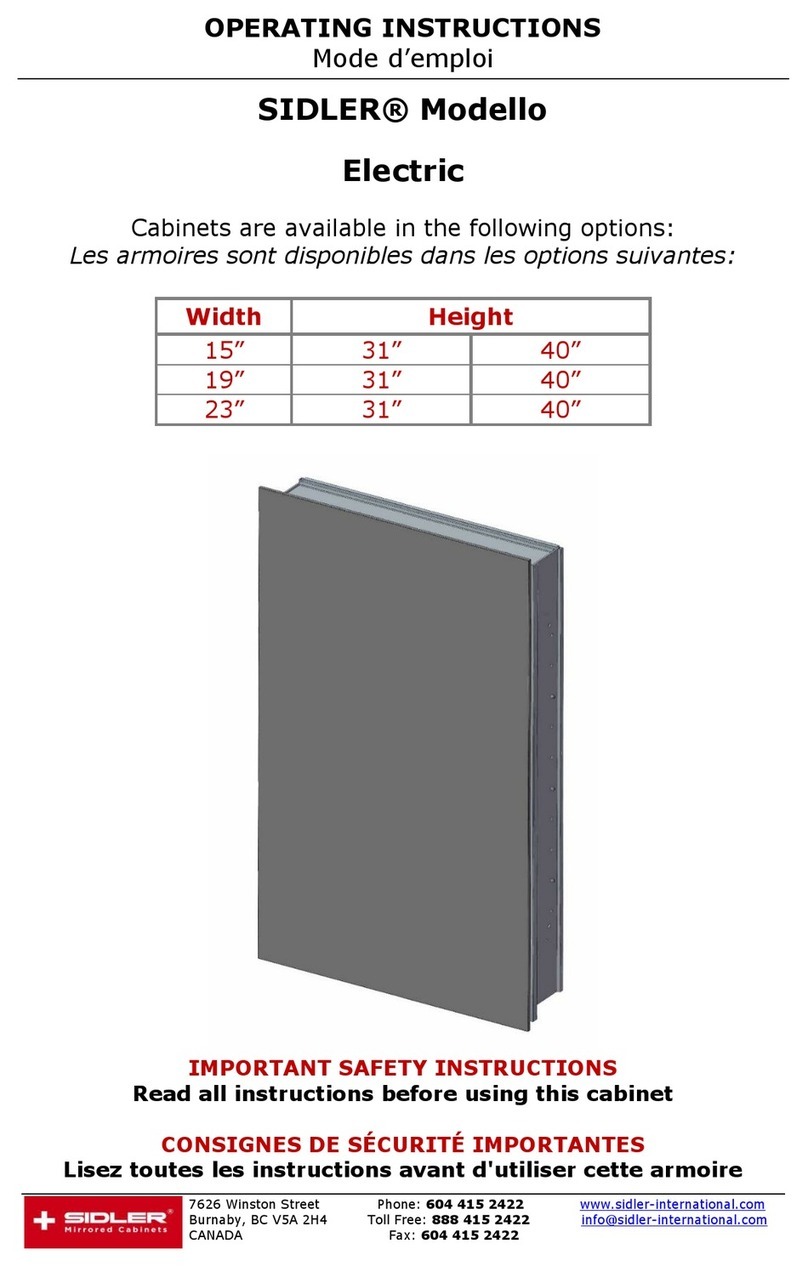
SIDLER Electric User manual

SIDLER

SIDLER Electric User manual

Popular Bathroom Fixture manuals by other brands
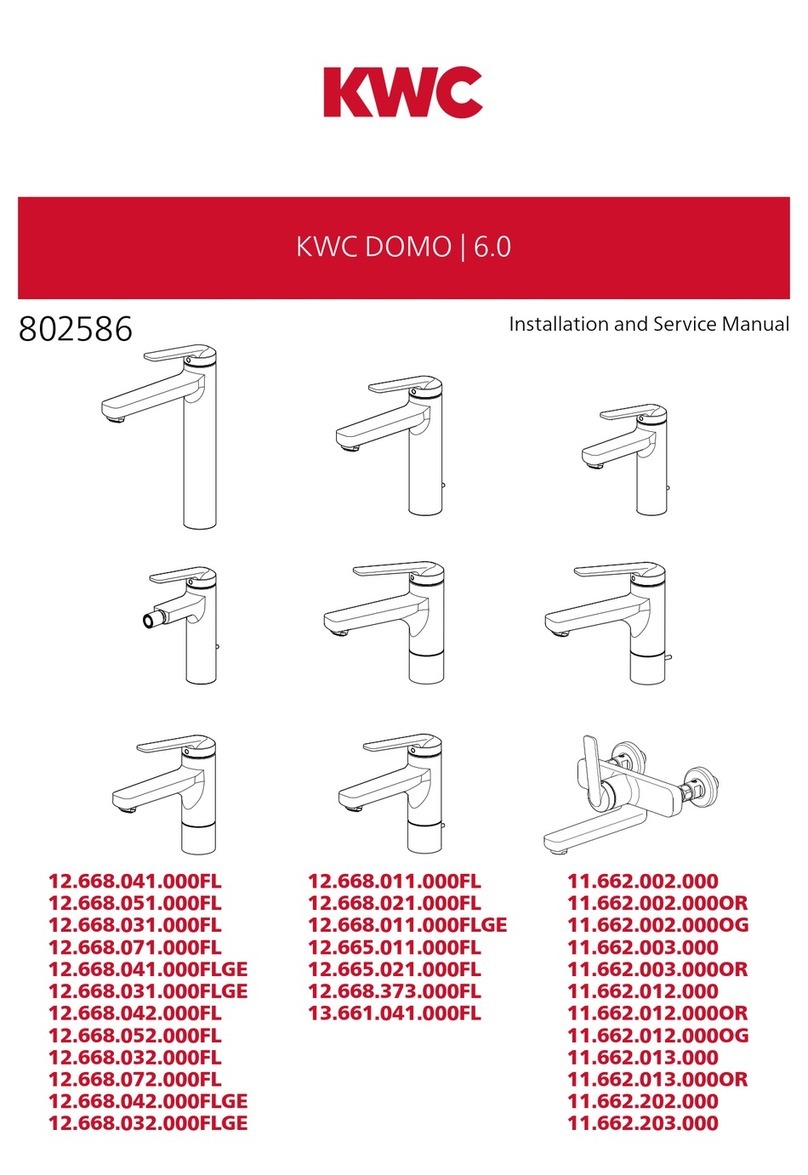
KWC 11.662.002.000OG Installation and service manual
KWC

KWC 11.662.002.000OG Installation and service manual

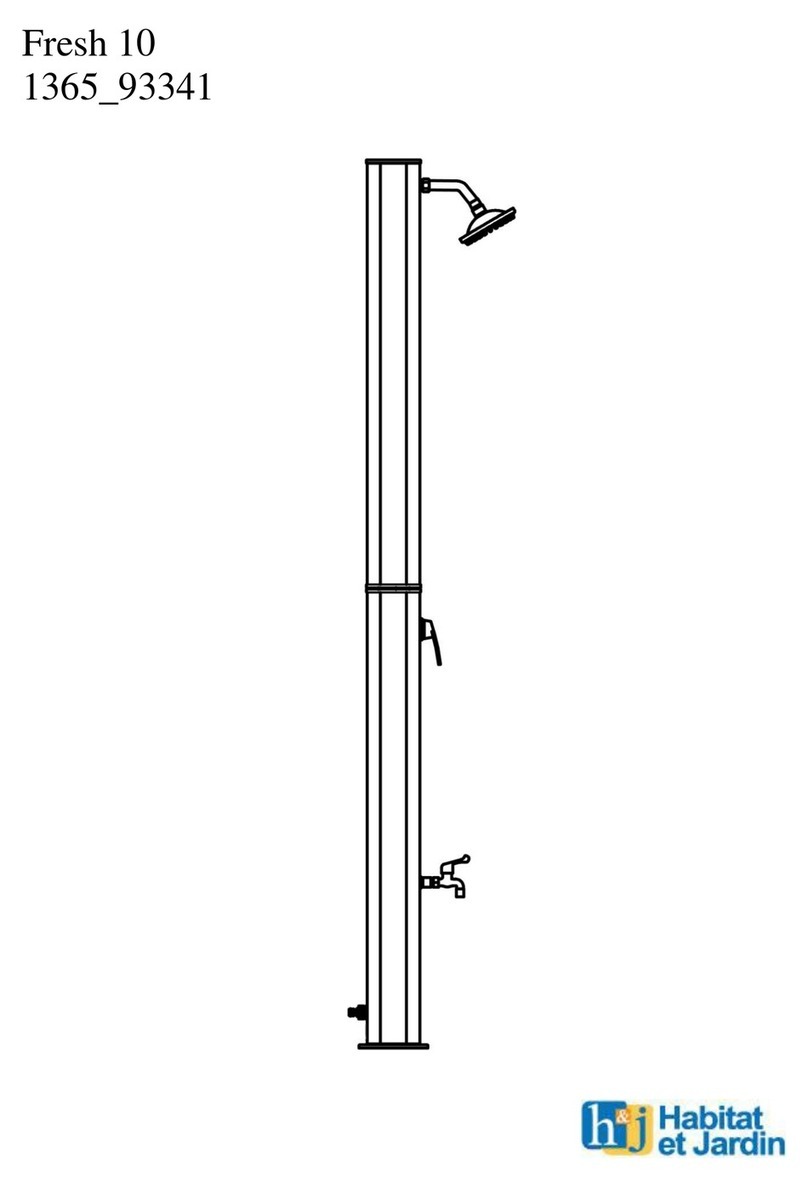
habitat et jardin Fresh 10 instruction manual
habitat et jardin

habitat et jardin Fresh 10 instruction manual

Otto A-8S-462962 Installation instruction
Otto

Otto A-8S-462962 Installation instruction

Kohler K-702101 installation guide

Kohler

Kohler K-702101 installation guide

Axiom PRO-GUARD Operation & maintenance manual

Axiom

Axiom PRO-GUARD Operation & maintenance manual

Hans Grohe AXOR ShowerHeaven 720 10625800 Instructions for use/assembly instructions
Hans Grohe

Hans Grohe AXOR ShowerHeaven 720 10625800 Instructions for use/assembly instructions

rba RBA4157-777-005 Installation, operation and maintenance instructions

rba

rba RBA4157-777-005 Installation, operation and maintenance instructions

Alumax Lani L-303X-32 manual

Alumax

Alumax Lani L-303X-32 manual

VIGO VG04052 installation manual

VIGO

VIGO VG04052 installation manual
Hans Grohe Raindance E 150 SemiPipe 27236000 Instructions for use/assembly instructions

Hans Grohe

Hans Grohe Raindance E 150 SemiPipe 27236000 Instructions for use/assembly instructions
Hans Grohe ShowerTablet Select 300 13151 Series Instructions for use/assembly instructions

Hans Grohe

Hans Grohe ShowerTablet Select 300 13151 Series Instructions for use/assembly instructions

Graff Harley E-8714-HS2 Instructions for assembly and use
Graff

Graff Harley E-8714-HS2 Instructions for assembly and use

Fleurco Cordoba Plus CKU4832-11-40 installation manual
Fleurco

Fleurco Cordoba Plus CKU4832-11-40 installation manual

TRUEFORM NOLITA installation instructions

TRUEFORM

TRUEFORM NOLITA installation instructions

Sunshower COMBI BLACK installation guide
Sunshower

Sunshower COMBI BLACK installation guide

Radaway Premium Plus 2S Assembly instruction
Radaway

Radaway Premium Plus 2S Assembly instruction

Graff MUS92 installation instructions

Graff

Graff MUS92 installation instructions

Hyco Alize AL80SW Product instruction manual

Hyco

Hyco Alize AL80SW Product instruction manual

manuals.online logo
manuals.online logoBrands
  • About & Mission
  • Contact us
  • Privacy Policy
  • Terms and Conditions

Copyright 2025 Manuals.Online. All Rights Reserved.