sielco EXC GX Series User manual

EXC-GX Series Quick Installation Guide Rev. 2.2 Page. 4 of 4
EXC-GX Series exciters
Created for Sielco by www.teleconsulting.eu
(12)
The Frequency value will be highlighted. Press the knob to enter the submenu, then rotate it until you reach the exact desired operating
frequency. Press the knob to confirm the frequency.
(13)
OK will be highlighted. Press the knob to confirm.
(14)
Turn the knob to select POWER, then press it to enter the menu.
(15)
The Pow. Set (power adjustment) value will be highlighted. Press the knob to enter the submenu.
(16)
Turn the knob to set the desired power, then press the knob to confirm.
(17)
OK will be highlighted. Press the knob to confirm.
(18)
Turn the knob to select MPX SENS. (modulation sensitivity), then press it to confirm.
(19)
The modulation sensitivity adjustment screen will be displayed. Turn the knob to enter the Nom. Input (nominal modulation input level)
submenu, then press the knob.
(20)
The value after Nom. input will be highlighted, normally set as default to +6.0 dBm. Turn the knob to change the value according to the
modulation level used, then press the knob to confirm.
(21)
OK will be highlighted. Press the knob to confirm.
(22)
Press and hold the knob for at least one second to exit the SETUP menu and return back to the main menu again.
Sielco Srl
Via Toscana, 57/59 - 20090 - Buccinasco (MI) - ITALY
Tel. +39-02-45713300 Fax +39-02-45713351
14 15
16 17
18 19
20 21
Rev. 2.2
Page. 1 of 4
EXC-G
X
Series exciters
Created for Sielco by www.teleconsulting.eu
QUICK SET UP GUIDE
SAFETY
FIRST
•
This guide does not fulfill all the prescriptions and functions indicated in the manual and does not replace it.
•
The electrical system to which the device is connected must comply with the regulations.
•
Before connecting or using the device, or performing maintenance, carefully read the instructions contained in
the user manual in the order in which they are written. The manual can be downloaded from our website via the
QR code or the link on the side.
•
The installation, use and maintenance of this appliance should only be done by qualified technicians.
•
Improper use and installation of this appliance could cause even serious damage to properties and people.
•
Always observe the laws and regulations on the use of broadcast transmitters in force in the geographical area in
which you are located.
IDENTIFYING
YOUR
VERSION
&
MODEL
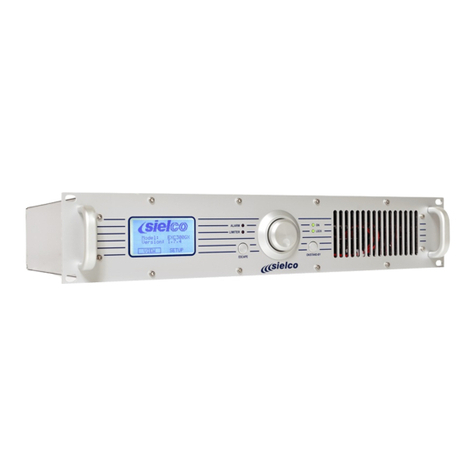
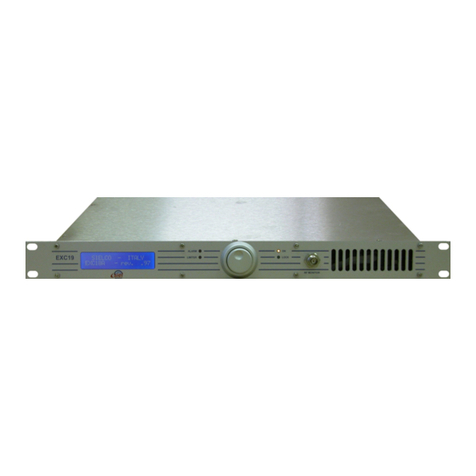
Each version is made in a different rack unit. These images allow you to identify your exact equipment.
EXC30GT EXC100-300GX
EXC500÷1600GX EXC2000GX
EXC3000-5000GX
In addition, the default screen that appears when the transmitter is turned on shows the exact model after “Model”: which in the example above is
EXC2000GX.
COMMANDS
&
CONNECTORS
The images below show the EXC100-300GX models. The controls and connectors of the entire EXC-GX series have the same name.
However, they may have a different position depending on the model. Therefore, always refer to the name of the command/connector.
EXC100-300GX - front
EXC100-300GX - rear
www.sielco.org
MANUAL DOWNLOAD
ENG

EXC-GX Series Quick Installation Guide Rev. 2.2 Page. 2 of 4
EXC-GX Series exciters
Created for Sielco by www.teleconsulting.eu
INSTALLATION
(A)
Connect the RF OUTPUT 50 OHM output connector/flange to a suitable antenna using a good quality 50 Ohm shielded coaxial cable with the
appropriate connectors. The connector may vary by model.
(B)
Make sure that the POWER switch is set to OFF or O(Off). Depending on the model, the switch may vary and can be placed on the rear or
front panel.
(C)
Connect the earth system to the earth socket .
(D)
Plug the AC power connector into a suitable outlet.
The devices with three-phase power supply from EXC2000GX to EXC5000GX are provided with a label with an explanatory diagram
for connection to the AC mains. This label is usually applied on the top panel, near the mains socket, and on the side panel.
(E)
Connect the appropriate modulation input according to your needs.
RIGHT – modulation of the right audio channel. This input can also accept a mono signal for mono broadcast.
LEFT – modulation of the left audio channel.
AES/EBU – digital standard (OPTIONAL).
AUX – low frequency auxiliary modulating channel (RDS/SCA) in the 20-100 kHz band for connection to an RDS encoder.
MPX – broadband stereo composite modulating signal processed externally.
(F)
Check the correct connections made and turn on the device using the POWER switch setting it to ON or I(turned on).
(G)
The display shows a screen with the Sielco logo for a few seconds, then permanently shows the default screen above.
MAIN
PARAMETERS
ADJUSTMENT
(1)
Check the ON LED. If it lights up green (transmitter in operation), press the ON/STAND-BY button to put the transmitter in stand-by. The
ON LED lights up yellow . The LOCK LED (synthesizer locked) should be lit green .
A B
C D
F
EXC-GX Series Quick Installation Guide Rev. 2.2 Page. 3 of 4
EXC-GX Series exciters
Created for Sielco by www.teleconsulting.eu
(2)
Turn the knob to select the main SETUP menu and briefly press it to confirm.
(3)
The first page of the SETUP menu will be displayed. Turn the knob to select the NEXT PAGE submenu (next page), then press it to go to the
next settings page.
(4)
Turn the knob until SET IN is highlighted and press it to select the submenu.
(5)
Make sure the Type and Disable logic options are set to BOTH and Low respectively. In this case, turn the knob to select OK and go to step
(8).Otherwise proceed with the next step Errore. L'origine riferimento non è stata trovata..
(6)
Press the knob to enter the Type menu. The Type value will be highlighted. Turn the knob to change it to BOTH and press it to confirm.
(7)
The value of Disable logic will be highlighted. Turn the knob to change it to Low and press it to confirm.
(8)
OK will be selected. Press the knob to confirm and return to the second page of the SETUP menu.
(9)
Select PREV PAGE (previous page) with the knob and press it to return to the previous menu page.
(10)
Make sure FREQUENCY is selected, otherwise turn the knob to select it. Press it to enter the submenu. The Step value will be highlighted
(frequency increments).
(11)
Turn the knob to select the frequency increase necessary to exactly set the required operating frequency, then press it to confirm.
8
8 9
Other manuals for EXC GX Series
1
Other sielco Transmitter manuals
