Siko MRS100 User manual

Kurzanleitung
MRS100+MRS200 · Datum 17.11.2015 · Art. Nr. 88713 · Änd. Stand 407/15
SIKO GmbH
Weihermattenweg 2
79256 Buchenbach
www.siko-global.com
Telefon: +49 7661 394-0
Telefax: +49 7661 394-388
Service: suppor[email protected]
MRS100 Magnetring
MRS200 Magnetring
Ausführlichere Dokumentationen unter
http://www.siko-global.com/p/mrs100
http://www.siko-global.com/p/mrs200
Allgemeine Hinweise
Lesen Sie vor der Montage und der Inbetriebnahme dieses Dokument sorgfältig
durch. Beachten Sie zu Ihrer eigenen Sicherheit und der Betriebssicherheit alle
Warnungen und Hinweise.
Vorsicht
Damit dieses Produkt zuverlässig funktioniert, muss es sachgemäß transpor-
tiert, aufbewahrt, positioniert und montiert werden. Es muss mit Sorgfalt
betrieben und gewartet werden. Nur entsprechend qualifiziertes Personal darf
dieses Produkt installieren und betreiben.
Sicherheitshinweise
Aus Sicherheitsgründen ist es wichtig, dass Sie die folgenden Punkte lesen und
verstehen, bevor Sie das System installieren:
• Installation, Anschluss, Inbetriebnahme und Wartung ist von Personal aus-
zuführen, das entsprechend qualifiziert ist.
• Es liegt in der Verantwortung des Kunden, dass das betreende Personal vor
der Installation des Gerätes die Anweisungen und Richtungsangaben in die-
ser Anleitung versteht und befolgt.
• Es liegt in der Verantwortung des Kunden, sicherzustellen, dass der Magnet-
ring richtig angeschlossen und konfiguriert ist.
• Reparatur und Wartung ist nur von Personal durchzuführen, das von SIKO
besonders geschult wurde.
Montage Magnetring
Magnetring auf den Zentrierdurchmesser aufnehmen. Bei Magnetring mit Refe-
renzpunkt auf seitenrichtige Lage des Referenzpunktes achten. Danach den
Ring gleichmäßig auf die Aufnahme mit leichten Hammerschlägen über den
Umfang verteilt aufpressen. Um Beschädigungen am Ring zu vermeiden ist ein
Zwischenstück (z. B. Dorn) aus Aluminium oder Kunststo zu verwenden.
Achtung!
Krafteinleitung der Hammerschläge nur auf den inneren Stahlring des Magnet-
ringes angreifen lassen.
MRS... Nabe
Ausrichtung Sensor
Mitte Sensor
Mitte MRS...
Ausrichtung
Sensor/Band:
LE100/1 ...
LE200 ...
MSK100 ...
Referenzpunkt
Abstand siehe Tabelle
Sensor-/Bandabstand
MRS100 ohne Referenzpunkt 0.05 ... 0.4mm
mit Referenzpunkt 0.05 ... 0.2mm
MRS200 ohne Referenzpunkt 0.05 ... 0.8mm
mit Referenzpunkt 0.05 ... 0.4mm
Achtung!
Die Beeinflussung durch magnetische Felder ist zu vermeiden. Insbesondere
dürfen keine Magnetfelder (z. B. Haftmagnete oder andere Dauermagnete) in
direkten Kontakt mit dem Magnetband geraten. In stromlosem Zustand werden
Bewegungen oder Verstellungen des Magnetsensors von der Folgeelektronik
nicht erkannt und erfasst.
Referenzpunkt
Die Lage des Referenzpunktes wird durch einen Punkt gekennzeichnet.
Wartung
Die Oberfläche des Magnetbandes ist bei starker Verschmutzung durch Staub,
Späne, Feuchtigkeit usw., von Zeit zu Zeit mit einem weichen Lappen zu reini-
gen.

Quick Start Guide
MRS100+MRS200 · Date 17.11.2015 · Art. No. 88713 · Mod. status 407/15
SIKO GmbH
Weihermattenweg 2
79256 Buchenbach
www.siko-global.com
Phone: +49 7661 394-0
Fax: + 49 7661 394-388
Service: suppor[email protected]
MRS100 Magnetic ring
MRS200 Magnetic ring
For detailed documentation please refer under
http://www.siko-global.com/p/mrs100
http://www.siko-global.com/p/mrs200
General information
In order to carry out installation correctly, we strongly recommend this docu-
ment is read very carefully. This will ensure your own safety and the operating
reliability of the device.
Caution
In order to ensure reliable functioning of this product, take care to transport,
store, position and mount it appropriately. Exercise care when you operate and
maintain the device. Only properly qualified personnel is authorized to install
and operate this product.
Safety information
It is important for safety reasons that you read and understand the below
instructions before you install the system:
• Installation, connection, commissioning and maintenance shall be done by
properly qualified personnel.
• It is the responsibility of the customer to ensure that the personnel con-
cerned read and follow the instructions and directions of this Guide.
• It is the responsibility of the customer to ensure that the magnetic ring is
correctly connected and configured.
• Only personnel specifically trained by SIKO shall execute repair and mainte-
nance work.
Mounting of the magnetic ring
Take the magnetic ring up on the centering diameter. For magnetic rings with
reference point make sure that the reference point is positioned true to side.
Then apply light hammer blows to press the ring evenly on the accommodation,
distributing the blows over the circumference. Use an aluminum or synthetic
intermediary (e. g. mandrel) in order to avoid damage to the ring.
Notice!
Apply the force of the hammer blows only onto the inner steel ring of the mag-
netic ring.
MRS... Boss
Sensor alignment
Middle sensor
Middle MRS...
Alignment
sensor/band:
LE100/1 ...
LE200 ...
MSK100 ...
reference point
Distance see table
Sensor/band distance
MRS100 without reference point 0.05 ... 0.4mm
with reference point 0.05 ... 0.2mm
MRS200 without reference point 0.05 ... 0.8mm
with reference point 0.05 ... 0.4mm
Notice!
Do not expose the system to magnetic fields. Any direct contact of the magnetic
strip with magnetic fields (e. g. adhesive magnets or other permanent mag-
nets) is to be avoided. Sensor movements during power loss are not captured by
the follower electronics.
Reference point
Reference point position marked with a point.
Maintenance
We recommend cleaning the magnetic strip's surface from time to time with a
soft rag. This avoids dirt (dust, chips, humidity ...) sticking to the strip.
This manual suits for next models
1
Table of contents
Languages:
Popular Tools manuals by other brands

GREAT PLANES
GREAT PLANES SLOT MACHINE instruction manual
Utility Solutions
Utility Solutions LOAD-RANGER USLR-XLT-1 Operation manual
Matco Tools
Matco Tools HG11S quick start guide

Parkside
Parkside PBSG 95 B1 Translation of the original instructions

HOLZMANN MASCHINEN
HOLZMANN MASCHINEN LSR 10HQ user manual
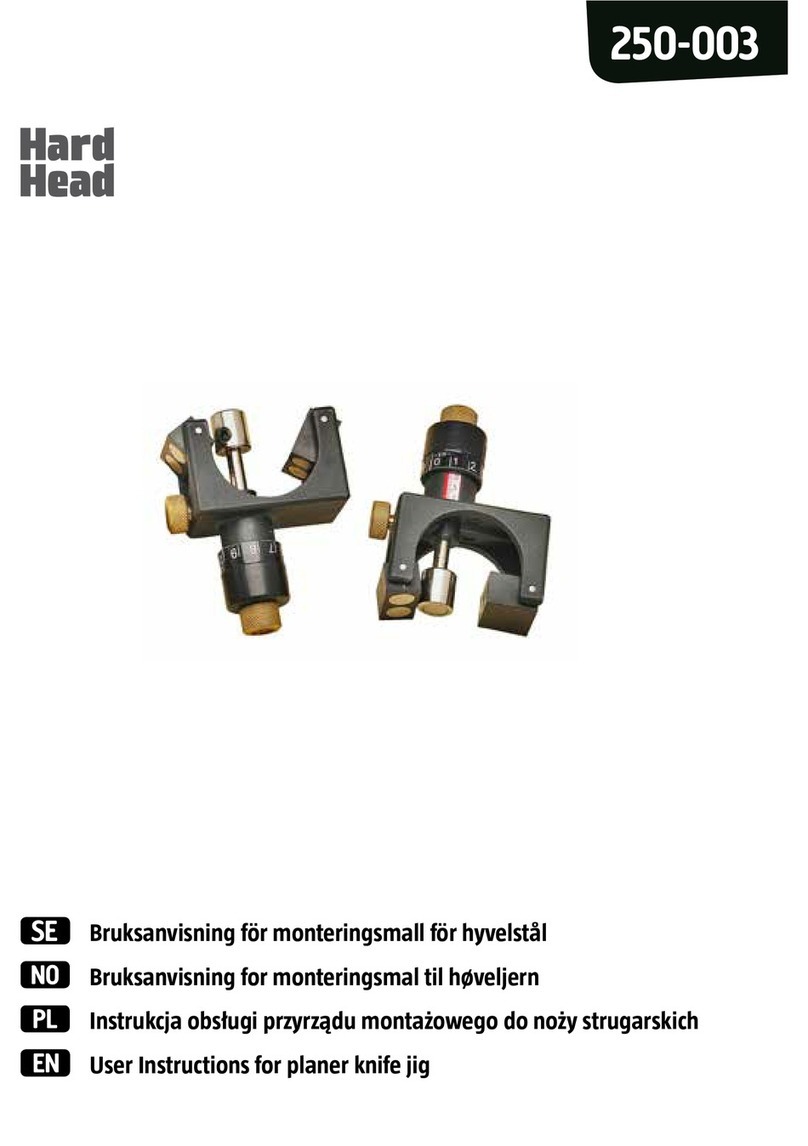
Jula
Jula Hard Head 250-003 User instructions
