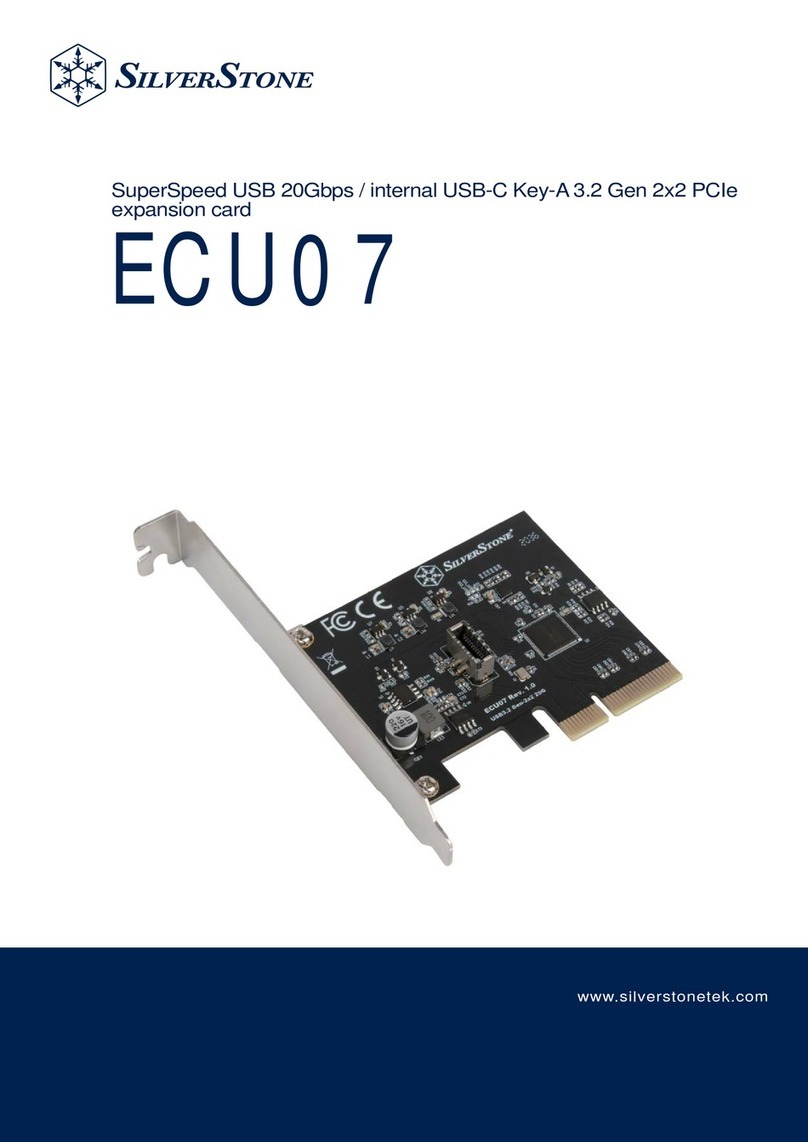
SilverStone ECM21-E User manual

ECM21-E
Screwless design for M.2 PCIe/NVMe SSD
Supports PCIe Gen4 M.2 PCIe/NVMe SSD
CLKREQ jump pin header
LED indicator for displaying M.2 PCIe/NVMe status
Supports 2230, 2242, 2260, and 2280 length M.2 SSD
Converts M.2 port (M key) into one PCIe x4 interface
ECM21-E x 1 M.2 SSD screw x 2 Screw nut x 1 Low profile bracket x 1
Package Content
Specifications
Screwless M.2 to
PCIe x4 adapter card
%UDFNHW䞥ቀ
㶎ϱ
ล᭭ӊ
PCBA
ࣙᴤ
Warranty Information
1. Product component defects or damages resulted from defective production is covered under warranty. Defects or damages with the following
conditions will be fixed or replaced under SilverStone Technology’s jurisdiction.
a) Usage in accordance with instructions provided in this manual, with no misuse, overuse, or other inappropriate actions.
b) Damage not caused by natural disaster (thunder, fire, earthquake, flood, salt, wind, insect, animals, etc…)
c) Product is not disassembled, modified, or fixed. Components not disassembled or replaced.
d) Warranty mark/stickers are not removed or broken.
Loss or damages resulted from conditions other than ones listed above are not covered under warranty.
2. Under warranty, SilverStone Technology’s maximum liability is limited to the current market value for the product (depreciated value, excluding
shipping, handling, and other fees). SilverStone Technology is not responsible for other damages or loss associated with the use of product.
3. Under warranty, SilverStone Technology is obligated to repair or replace its defective products. Under no circumstances will SilverStone Technology
be liable for damages in connection with the sale, purchase, or use including but not limited to loss of data, loss of business, loss of profits, loss of
use of the product or incidental or consequential damage whether or not foreseeable and whether or not based on breach of warranty, contract or
negligence, even if SilverStone Technology has been advised of the possibility of such damages.
4. Warranty covers only the original purchaser through authorized SilverStone distributors and resellers and is not transferable to a second hand purchaser.
5. You must provide sales receipt or invoice with clear indication of purchase date to determine warranty eligibility.
6. If a problem develops during the warranty period, please contact your retailer/reseller/SilverStone authorized distributors or SilverStone
http://www.silverstonetek.com. Please note that: (i) You must provide proof of original purchase of the product by a dated itemized receipt; (ii) You
shall bear the cost of shipping (or otherwise transporting) the product to SilverStone authorized distributors. SilverStone authorized distributors will
bear the cost of shipping (or otherwise transporting) the product back to you after completing the warranty service; (iii) Before you send the product,
you must be issued a Return Merchandise Authorization (“RMA”) number from SilverStone. Updated warranty information will be posted on SilverStone’s
official website. Please visit http://www.silverstonetek.com for the latest updates.
Warranty terms & conditions
Additional info & contacts
SilverStone Technology in North America may repair or replace defective product with refurbished product that is not new but has been functionally tested.
Replacement product will be warranted for remainder of the warranty period or thirty days, whichever is longer. All products should be sent back to the
place of purchase if it is within 30 days of purchase, after 30 days, customers need to initiate RMA procedure with SilverStone Technology in USA by
first downloading the “USA RMA form for end-users” form from the below link and follow its instructions. http://silverstonetek.com/contactus.php For
Australia only ([email protected]) Our goods come with guarantees that cannot be excluded under the Australian Consumer Law. You are
entitled to a replacement or refund for a major failure and for compensation for any other reasonably foreseeable loss or damage. You are also entitled to
have the goods repaired or replaced if the goods fail to be of acceptable quality and the failure does not amount to a major failure. Please refer to above
“Warranty terms & conditions” for further warranty details. SilverStone Technology Co., Ltd. 12F No. 168 Jiankang Rd., Zhonghe Dist., New Taipei City 235
Taiwan R.O.C. + 886-2-8228-1238 (standard international call charges apply)
For Europe ([email protected]), For China ([email protected]), For all other regions ([email protected])
This device complies with Part 15 of the FCC Rules. Operation is subject to the following two conditions:
(1) this device may not cause harmful interference, and
(2) this device must accept any interference received, including interference that may cause undesired operation.
This product has a limited 1 year warranty in North America and Australia.
For information on warranty periods in other regions, please contact your reseller or SilverStone authorized distributor.
ᴀѻક㞾䌁фП᮹䍋ˈѢЁഄ˄ϡࣙ▇䮼ˈ佭␃⡍߿㸠ᬓ˅ѿ᳝ϔᑈ᳝䰤䋷ӏֱ˄䚼ߚѻકЎѠᑈˈϝᑈѨᑈ˅DŽ䆺㒚ֱᑈ䰤䇋খ✻ᅬᮍ㔥キ
https://silverstonetek.com.cn/ ݀ᏗПѻકൟোЎձDŽ
ƻ˖㸼⼎䆹᳝↦᳝ᆇ⠽䋼䆹䚼ӊ᠔᳝ഛ䋼ᴤ᭭Ёⱘ䞣ഛ*%7㾘ᅮⱘ䰤䞣㽕∖ҹϟDŽ
h˖㸼⼎䆹᳝↦᳝ᆇ⠽䋼㟇ᇥ䆹䚼ӊⱘᶤϔഛ䋼ᴤ᭭Ёⱘ䞣䍙ߎ*%7㾘ᅮⱘ䰤䞣㽕∖DŽ
ᴀ㸼Ḑձ6-7ⱘ㾘ᅮ㓪ࠊ
NO.G11239160
Model No.
Interface
SSD Interface
Module Key
Support Length of M.2 SSD
*If you wish to boot off using M.2 SSD, your motherboard needs to support it. Due to BIOS limitations, not all motherboards support
booting off M.2 SSD so please consult your motherboard manual or vendor for more details on how to enable this function.
*M.2 PCIe-NVMe mode SSD requires the use of Intel® 9 series (Z97 H97 Z170 X99) or higher version chipset motherboard with
Windows 8 or higher version operating system.
SST-ECM21-E
PCI Express x4
M.2 (NGFF)
PCIe x4-based M key
30mm, 42mm, 60mm, 80mm
LED Indicator
Net weight
Dimension
Power ON: Green
Read/Write: Red
57g
120mm (W) x 23mm (H) x 104mm (D)
4.72” (W) x 0.91” (H) x 4.09” (D)
C
Ie/
NVMe SSD
NV
Me
SSD
/N
VMe status
gth
M.2 S
SD
n
ter
face
s
not all mot
he
n
abl
e t
ato
r
Pow
er
O
N:
G
r
een
Rea
d
/
Write: Red
57g
7
2”
(W) x 0.91” (H) x 4.09”
(D)

PCIe port
Please note: This slot can only be installed with a “M key” PCIe SSD.
ECM21-E is only compatible with “M key” PCIe SSDs, “B key” SATA SSD is not supported.
Install
Nota: Questo alloggio può essere installato solo con un SSD PCIe “M key”.
ECM21-E è compatibile solo con SSD PCIe "M key", SSD SATA "B key" non è supportato.
Bitte beachten: Dieser Steckplatz kann nur mit einer PCIe-SSD mit M-Schlüssel versehen werden.
ECM21-E ist nur mit M-Schlüssel-PCIe-SSDs kompatibel, B-Schlüssel-SATA-SSD wird nicht unterstützt.
Veuillez noter : Cet emplacement peut uniquement être installé avec un SSD PCIe « touche M ».
L’ECM21-E est compatible uniquement avec les SSD PCIe « touche M ». Les SSD SATA « touche B » ne sont pas pris en charge.
유의 사항: 이 슬롯은 오직 “M key” PCIe SSD와 함께 설치될 수 있습니다.
(&0(냵꿙덶ಯ0NH\ರ3&,H66'꿵뿭쀍넩閵鱚뼞鱽鲙ಯ%NH\ರ6$7$66'鱉덵낅鷍덵껿걪鱽鲙
Пожалуйста, обратите внимание: Этот слот может быть использован только ствердотельным накопителем PCIe "M key".
ECM21-E совместим только ствердотельными накопителями PCIe "M key", твердотельные накопители SATA "B key" не поддерживаются.
Por favor, tenga en cuenta: este zócalo solo se puede instalar con un SSD PCIe “M key”.
La ECM21-E solo es compatible con SSDs PCIe “M key”, los SSDs SATA “B key” no están soportados.
โปรดทราบ: สล็อตนี้สามารถติดตั้งด้วย PCIe SSD แบบ “M คีย์” เท่านั้น
ECM21-E ใช้งานได้กับ PCIe SSD แบบ “M คีย์” เท่านั้น ไม่สนับสนุน SATA SSD แบบ “B คีย์”
请注意, 此插槽必须插入”M Key” 的PCIe SSD。
ECM21-E仅相容”M” key 之PCIe SSD,不支援”B” Key SATA SSD。
⦼ᘜาŊ ᔍတᐥൕㅱတҘƢM KeyƢ ᱿PCIe SSDȯ
ECM21-EХૌƢMƢ key ʠPCIe SSDŊʃᄄိƢBƢ Key SATA SSDȯ
ἥຬṤΏἤἿώᾱᾇᾌἼὨᾷώᾌᾯפᓞἻἿὀịṷάỌṺṭṳẏΏṽṽṮἿὐἸἪẪ
ECM21-Eは「Mキー」PCIeSSDのみ互換性があり、「Bキー」SATASSDには非対応です。
Install PCIe based SSD to “M key” based M.2 slot, press SSD down into latch to secure mounting.
If the latch has been damaged or lost, use the included screws in the screw bag to secure mounting.
Installieren Sie eine PCIe-basierte SSD im
M-Schlüssel-basierten M.2-Steckplatz und
drücken Sie die SSD zur sicheren Befestigung
nach unten in den Riegel.
Falls der Riegel beschädigt wurde oder verloren
gegangen ist, befestigen Sie die SSD mit den
mitgelieferten Schrauben im Schraubenbeutel.
Installare SSD basato su PCIe nello slot M.2 basato
su "M key", premere SSD verso il basso nel fermo
per assicurare il montaggio.
Se il fermo è stato danneggiato o perso, utilizzare
le viti incluse nella borsa viti per assicurare il
montaggio.
Установите твердотельный накопитель PCIe в
слот M.2 на базе "M key", прижмите SSD вниз в
защелку, чтобы закрепить крепление.
Если защелка была повреждена или потеряна,
используйте прилагаемые винты из комплекта
креплений.
3&,H韥ꗍ넍66'ꌱಯ0NH\ರ韥ꗍ넍0걡ꈤ꾅
렍뼍隕66'ꌱ껹ꅍꈑ鮹ꌭ쁹阭ꮕ꾅隕뇊뼞鱽鲙
ꎁ꼲阭ꮕ閵볁ꭅ鷍阥驍ꭅ겙鷍꽽鲙ꐩ隕뇊뼍韥
낹뼩鶎ꚾ鷑驍ꩡꌱꩡ끞뼍꾡늱겢겑꿙
安裝PCIe SSD於ECM21-E的插槽內,將SSD下壓至
卡扣位置使其固定。
若您的卡扣不慎遺失或損壞,則可使用內附的螺絲
包鎖上固定。
ᅝ㺙3&,H66'Ѣ(&0(ⱘᦦῑݙˈᇚ66'ϟ㟇
ᠷԡ㕂Փ݊ᅮDŽ
㢹ᙼⱘᠷϡᜢ䘫༅ᤳണˈ߭ৃՓ⫼ݙ䰘ⱘ㶎ϱ
ࣙ䫕ϞᅮDŽ
Instale el SSD basado en PCIe en el zócalo M.2
“M key”, presione el SSD hacia abajo en el cierre
para fijar el montaje.
Si el cierre ha sido daño o se ha perdido, use los
tornillos incluidos en la bolsa de tornillos para fijar
el montaje.
Installez le SSD PCIe dans l’emplacement M.2
« touche M », enfoncez le SSD dans le loquet pour
un montage sûr.
Si le loquet est endommagé ou perdu, utilisez les
vis incluses dans le sachet de vis pour un montage
sûr.
ติดตั้ง SSD แบบ PCIe ลงในสล็อต M.2 แบบ “M คีย์”
กด SSD ลงในสลักเพื่อยึดให้แน่น
ถ้าสลักเสียหาย หรือหายไป ให้ใช้สกรูที่ให้มาในถุง
สกรูเพื่อทำการยึดให้แน่น
PCIeベースのSSDを「Mキー」ベースのM.2ス
ロットに差して、SSDがカチッと音がするまで
押し込んで確実に装着します。
ラッチが損傷または紛失している場合、ネジ袋
にあるネジで固定してください。
To use CLOCK REQUEST function, please adjust CLKREQ jump to High or Low
Um die CLOCK REQUEST-Funktion zu verwenden,
stellen Sie den CLKREQ-Sprung auf High oder
Low ein
Per utilizzare la funzione CLOCK REQUEST, regolare
il salto CLKREQ su Alto o Basso
Para usar la función CLOCK REQUEST, ajuste
CLKREQ jump a High o Low
Pour utiliser la fonction CLOCK REQUEST,
veuillez régler le saut CLKREQ sur High ou Low
Чтобы использовать функцию ЗАПРОС ЧАСОВ,
настройте переход CLKREQ на High или Low.
หากต้องการใช้ฟังก์ชัน CLOCK REQUEST โปรดปรับ
CLKREQ กระโดดเป็นสูงหรือต่ำ
若需使用CLOCK REQUEST功能请调整CLKREQ
jump至High或Low
若需使用CLOCK REQUEST功能请调整CLKREQ
jump至High或Low
&/2&.5(48(67韥鱚냹ꩡ끞뼍ꇙꐩ&/.5(4
뇅뺹ꌱ+LJK鿅鱉/RZꈑ눥뇊뼍겢겑꿙
CLOCKREQUEST機能を使用するには、CLKREQジ
ャンプをHighまたはLowに調整してください
Insert ECM21 into the motherboard’s compatible PCIe (x4 or above) slot.
Stecken Sie den ECM21 in den kompatiblen PCIe-
Steckplatz (x4 oder höher) des Motherboards.
Inserire ECM21 nell’alloggio PCIe (x4 o superiore)
compatibile della scheda madre.
Вставьте ECM21 всовместимый разъем PCIe
(x4 или выше) материнской платы.
(&0냹ꍽ鴉ꚩ麑넍뿭쀍鷍鱉3&,H[鿅鱉넩ꩶ
걡ꈤ꾅ꩲ넺뼍꾡늱겢겑꿙
將ECM21-E安裝於主機板上的PCI-E插槽 ᇚ(&0(ᅝ㺙ѢЏᴎᵓϞⱘ3&,(ᦦῑ
Inserte la ECM21 en el zócalo PCIe compatible
de la placa base (x4 o superior)
Insérez l’ECM21 dans l’emplacement compatible
PCIe (x4 ou au-delà) de la carte mère.
เสียบ ECM21 เข้ากับสล็อต PCIe (x4 ขึ้นไป)
ที่ใช้ด้วยกันได้ของเมนบอร์ด
ECM21をマザーボードのPCIe(x4以上)互換スロッ
トに装着します
1-2 pin is High
2-3 pin is Low
Attention
This manual suits for next models
1
Other SilverStone PCI Card manuals

SilverStone
SilverStone ECL01 User manual

SilverStone
SilverStone ES02-PCIe User manual

SilverStone
SilverStone ECU02-E User manual

SilverStone
SilverStone EC03 User manual

SilverStone
SilverStone EC04-P User manual

SilverStone
SilverStone ECU07 User manual

SilverStone
SilverStone EC04-E User manual

SilverStone
SilverStone EC05 User manual

SilverStone
SilverStone ECU02 User manual

SilverStone
SilverStone EC04 User manual