manuals.online logo
Brands
  1. Home
  2. •
  3. Brands
  4. •
  5. Simple Motors
  6. •
  7. Engine
  8. •
  9. Simple Motors Kit 2 User manual

Simple Motors Kit 2 User manual

Assembly instructions for kits #1-4
All rights reserved. 2001 Simple Motors, LLC ♦www.simplemotor.com ♦1
Assembly Instructions: Kits #1-4
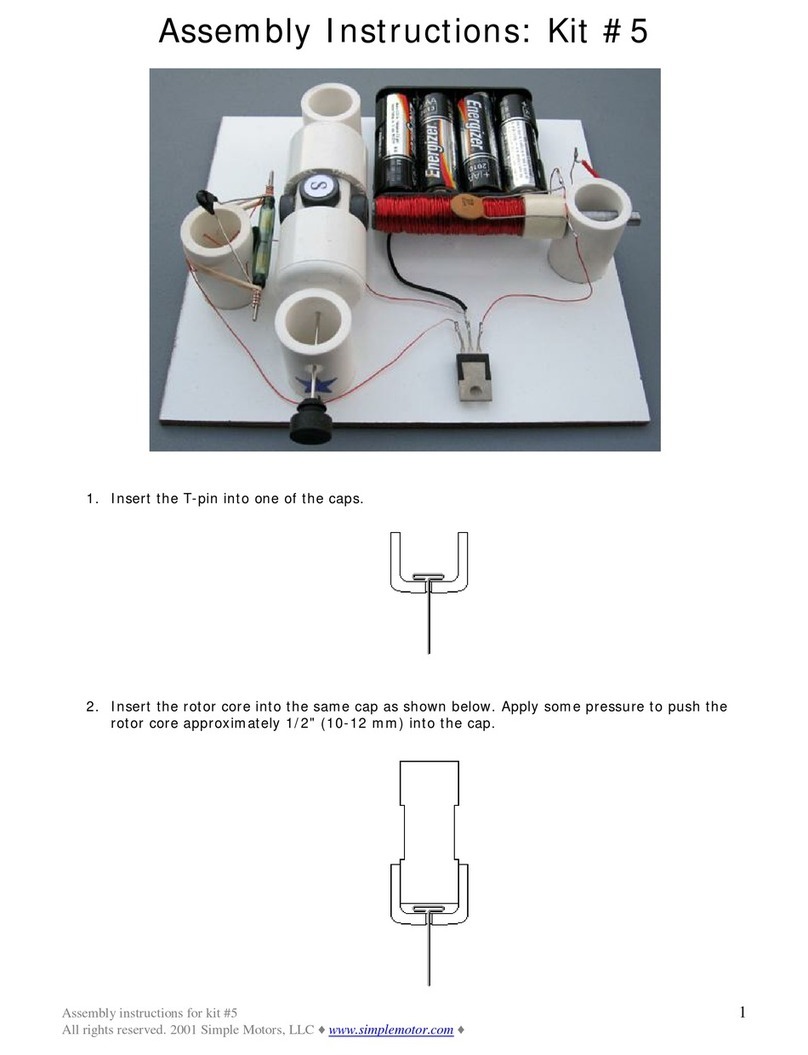
Motor, assembled from kit #1 Motor, assembled from kit #2
Motor, assembled from kit #3 Motor, assembled from kit #4
1. Insert the T-pin into one of the caps.
2. Insert the rotor core into the same cap as shown below. Apply some pressure to push the
rotor core approximately 1/2" (10-12 mm) into the cap.
Assembly instructions for kits #1-4
All rights reserved. 2001 Simple Motors, LLC ♦www.simplemotor.com ♦2
3. Put in the wooden insert.
4. Insert the pushpin into the other cap until it is fully seated and the end of the pushpin sticks
out approximately 1/4" (6-7 mm). You may need to push it hard.
5. Put everything together as shown below. Push the caps towards each other until they
cannot move any more. The T-pin must be secured firmly. This process may require some
strength. Be careful not to bend the T-pin or poke yourself.
6. Glue the magnets to the flat surfaces of the rotor core with the letter ‘S’ facing outside (or a
dimple facing inside). Your kit includes 2 or 4 magnets. If it includes 4 and you want to try 2
magnets first, glue them to the opposite sides. Straighten the T-pin if necessary. You can
check it by spinning the rotor between your thumb and index finger. Again, be very careful.
All kits have magnets with one of the poles marked with either a letter ‘S’ on the South pole
or a dimple on the North pole. If you want South side to look better, you may cut out the
white glossy round labels that are provided and paste them. You may do it before attaching
the magnets to the rotor. It is recommended to use regular white glue or a glue stick on the
labels for better results.
Assembly instructions for kits #1-4
All rights reserved. 2001 Simple Motors, LLC ♦www.simplemotor.com ♦3
7. Insert the rotor into the stands marked with blue and silver stars as shown below. Hold the
stands and test to see if rotor spins freely. Make final adjustments to the T-pin if necessary.
8. IMPORTANT: If you plan to attach propeller to your motor try to glue the stand with the
blue star as close to the edge as possible. You may need to shift the whole rotor assembly.
Glue the stand with the silver star to the board. Try to cover the corresponding star
completely. Align the marks on the stand with the line on the board as shown below. Note
that the star's position and the marks are approximate, sometimes you need to move the
stands slightly to achieve the lowest friction. Keep in mind that super glue bonds instantly,
so try to be as accurate as possible in these procedures.
9. Insert the rotor into the stand marked with the blue star. Glue it to the board the same way
as the first stand. Leave a gap of about 1/16" (1/32", or 0.8 mm on each side) between the
rotor and the stands. Test again to see if the rotor spins freely. At this time, or later, you
may take the rubber plug and fix it as shown below. You can glue different things to the
outer flat surface of the plug. Try to be accurate, redo this step if necessary.
Assembly instructions for kits #1-4
All rights reserved. 2001 Simple Motors, LLC ♦www.simplemotor.com ♦4
10.If you purchased the wire comparison kit, instead of steps 10-12 for this kit, follow
instructions for wire comparison kit. After that, please, continue the assembly instructions
from step 13.
Otherwise, insert the nail into the stand with the green star. If it is loose you may apply
glue as shown below.
11.Cut two pieces of wire 9" (22-23 cm) long**. Leave them for now - they will be used for
connecting the reed switch. All remaining wire on the spool should be used to wrap around
the area between the tape and the head of the nail.
oTape one end of wire leaving about 6" (15 cm) open*. You may use the tape that is
already on the nail.
oWind all the wire in one rotational direction (either clockwise or counterclockwise)
moving back and forth along the nail. Try to be as accurate as possible. Do not let
the wire slide off the end of the electromagnet.
oTape the second end of the wire using the same tape. Both open ends of wire should
be about 6" (15 cm) long*.
oClean about 1" (2-3 cm) of the wire tips with fine sandpaper (included) or a sharp
knife to remove the insulation.
** 12" (30 cm) if your kit does not include a battery holder.
* 10" (25 cm) if your kit does not include a battery holder.
Test the electromagnet! Connect one wire to "+" and another wire to "-" of the battery. If
electromagnet is assembled correctly the head of the nail should attract metal objects such
as paper clips, small nails, knife blade, etc.
Assembly instructions for kits #1-4
All rights reserved. 2001 Simple Motors, LLC ♦www.simplemotor.com ♦5
12.Glue the electromagnet to the board as shown below. Turn the rotor slowly to see if the
magnets hit the electromagnet. If one or more do, move the electromagnet back until there
is a 1/16" (1.5 mm) gap between the electromagnet and the closest magnet on the rotor.
13.If you are assembling the Kit #8, please do steps 13-17 from assembly instructions for
Kit #5 (reed switch motor with transistor) instead. After that please continue from step 18.
For kits #1-4 follow the instructions below.
Attach the self-sticking felt pad to the reed switch stand as shown. This soft pad decreases
the reed switch vibration thus decreasing the sound it generates.
14.Take the two pieces of wire you cut earlier in step 11 and clean the wire tips to remove the
insulation. Clean about 1 1/2" (4 cm) on one end and 1/2" (12 mm) on the other end of
each wire piece. If you want to use ZNR go to step 15, otherwise wind longer bare ends
tightly around outside contacts of the reed switch as shown in the first diagram. Insert the
reed switch wires into its stand as shown in a second picture. Be careful not to break the
reed switch, it is very fragile. Twist the wires as shown below in the third diagram.
Assembly instructions for kits #1-4
All rights reserved. 2001 Simple Motors, LLC ♦www.simplemotor.com ♦6
15.If you want to experiment with higher voltages (up to 15 Volts) or make much more reliable
motor you may add a ZNR. The ZNR is a small electronic part that absorbs the spark inside
the reed switch. The ZNR is not required for the motor to work. Skip this step if you are not
adding ZNR at this time.
Wind longer bare wire ends tightly around outside contacts of the reed switch and the ZNR
as shown in the first diagram. Insert the reed switch wires into its stand as shown in a
second picture. Be careful not to break the reed switch, it is very fragile. Twist the wires as
shown below in the third diagram.
Assembly instructions for kits #1-4
All rights reserved. 2001 Simple Motors, LLC ♦www.simplemotor.com ♦7
16.Use rubber band to prevent the reed switch from moving.
17.Glue the reed switch holder to the base. It should be located at a distance of about 1/8"
(3 mm) from the closest magnet covering the gold star on the board. Check the rotation of
the rotor to make sure that it does not hit the reed switch.
IMPORTANT: The most sensitive part of the reed switch is not in the middle of it, but more
to the side as shown below. You should hear a clicking sound when each magnet passes by
the reed switch, otherwise move the reed switch a little closer to the magnets until all four
can turn the reed switch on.
18.If your kit does not include a battery holder, skip this step. You will need to connect your
motor to any 1.5-12 Volts DC power source. 6 Volts lantern battery is a good choice as they
last longer and it is easy to connect them. You may see how this battery is connected in
assembly instructions for “Reed Switch Motor Made with Household Materials”.
Attach the battery holder to the board. The battery holder allows you to experiment with 4
different voltage settings (1.5, 3, 4.5, and 6 V DC). You will need 4 AA size batteries.
To understand how the jumper wire works let's take a look at the connections inside a
typical battery holder:
Assembly instructions for kits #1-4
All rights reserved. 2001 Simple Motors, LLC ♦www.simplemotor.com ♦8
The following diagram shows how to get 1.5, 3, 4.5, and 6 Volts using 1, 2, 3, or 4 batteries
and a jumper wire shown in blue color. Arrows show the current flow for 1.5, 3, and 4.5
Volts settings. Could you trace the current when all 4 batteries are inserted (there is no
jumper wire in this case)?
Inspect your battery holder – it may have different connections inside. In this case you can
still use the jumper wire in the same manner to get all 4 voltages, but you will need to find
appropriate connection points for each voltage setting.
Insert bare ends of the jumper wire between the spring and plastic case to make a good
contact and hold them in place. This is how the jumper wire is actually used for 1.5 Volts
experiments (one end is disconnected and may serve as on/off switch):
Assembly instructions for kits #1-4
All rights reserved. 2001 Simple Motors, LLC ♦www.simplemotor.com ♦9
19.Before connecting everything together connect both wires from the electromagnet to the
battery. If the electromagnet doesn’t repel the permanent magnets away, switch the wires.
When it repels, disconnect one wire and connect it to the reed switch. Connect the other
end of the reed switch to the battery. You may tape the wires to the board using scotch
tape. The wiring diagram for kits #3 and #4 is shown below:
Start with 1.5 V. If the motor does not work, increase the voltage to 3 V. If it doesn’t help, ensure
that the rotor rotates freely and check all the connections – it is important to clean the insulation
thoroughly. Make sure the batteries are fresh and connected properly. If the motor still does not
work – check Troubleshooting section on our web site.
It is easy to change and control the speed of this motor with only a few additional parts.
Experimentation kits allow you to add a speed control unit and conduct other experiments.

This manual suits for next models

3

Other Simple Motors Engine manuals
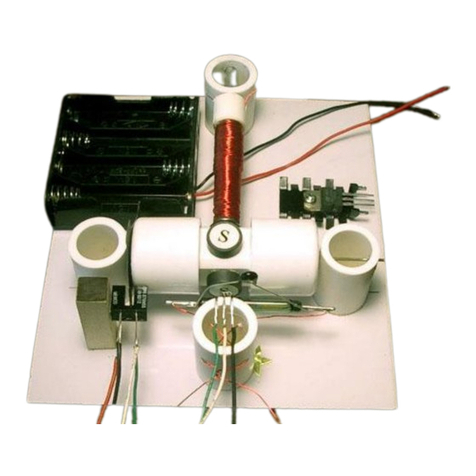
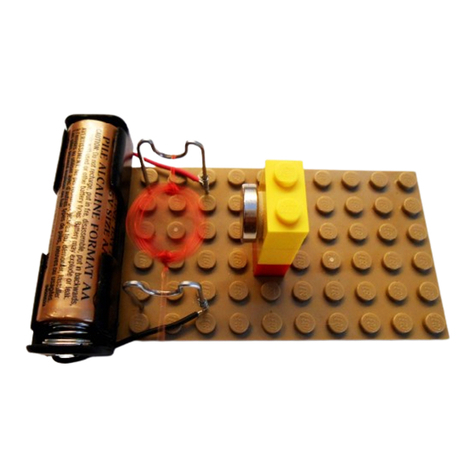
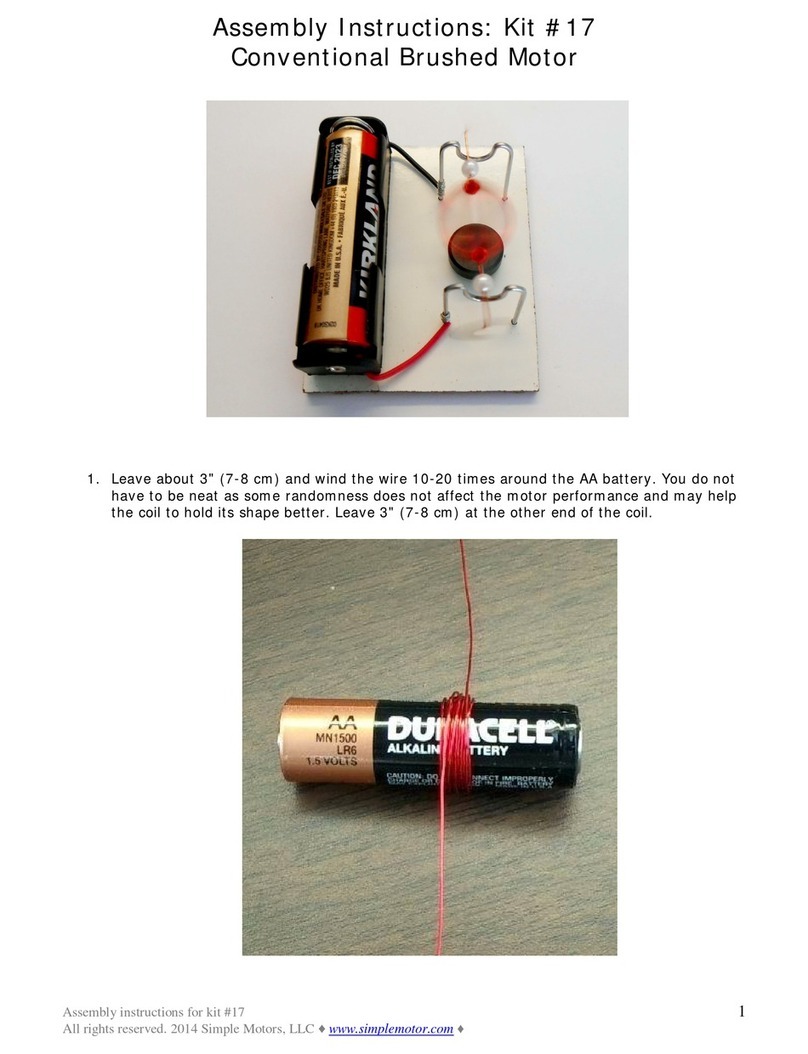
Simple Motors Kit 17 User manual

Simple Motors

Simple Motors Kit 17 User manual

Simple Motors Kit 5 User manual

Simple Motors

Simple Motors Kit 5 User manual

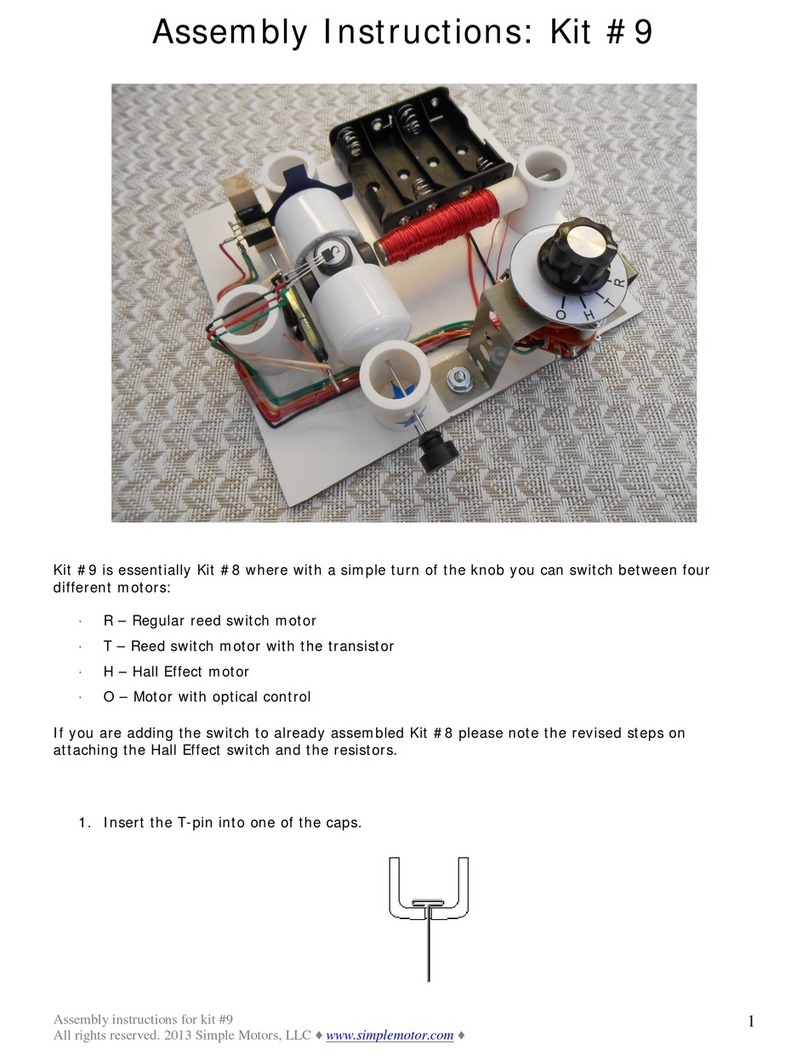
Simple Motors Kit 9 User manual

Simple Motors

Simple Motors Kit 9 User manual

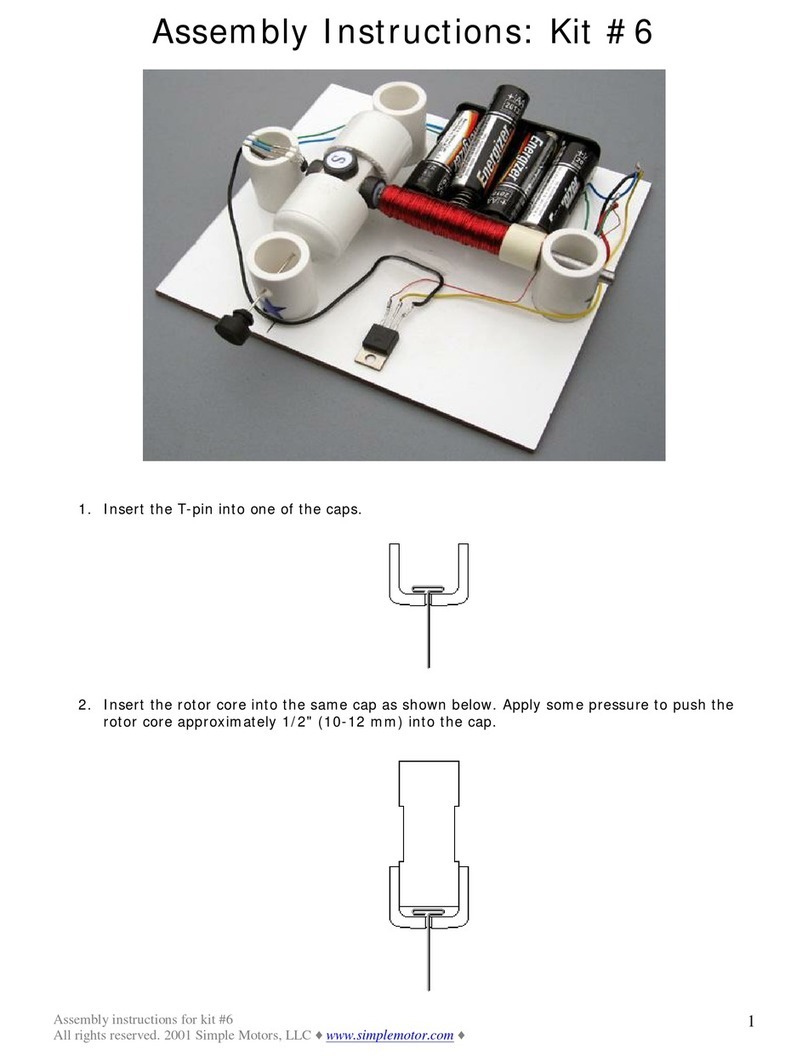
Simple Motors Kit 6 User manual

Simple Motors

Simple Motors Kit 6 User manual

Simple Motors Kit 16 User manual

Simple Motors

Simple Motors Kit 16 User manual

Simple Motors Kit 15 User manual

Simple Motors

Simple Motors Kit 15 User manual

Simple Motors Kit 11 User manual

Simple Motors

Simple Motors Kit 11 User manual

Simple Motors Kit 12 User manual

Simple Motors

Simple Motors Kit 12 User manual

Simple Motors Kit 13 User manual

Simple Motors

Simple Motors Kit 13 User manual

Simple Motors Kit 8 User manual

Simple Motors

Simple Motors Kit 8 User manual
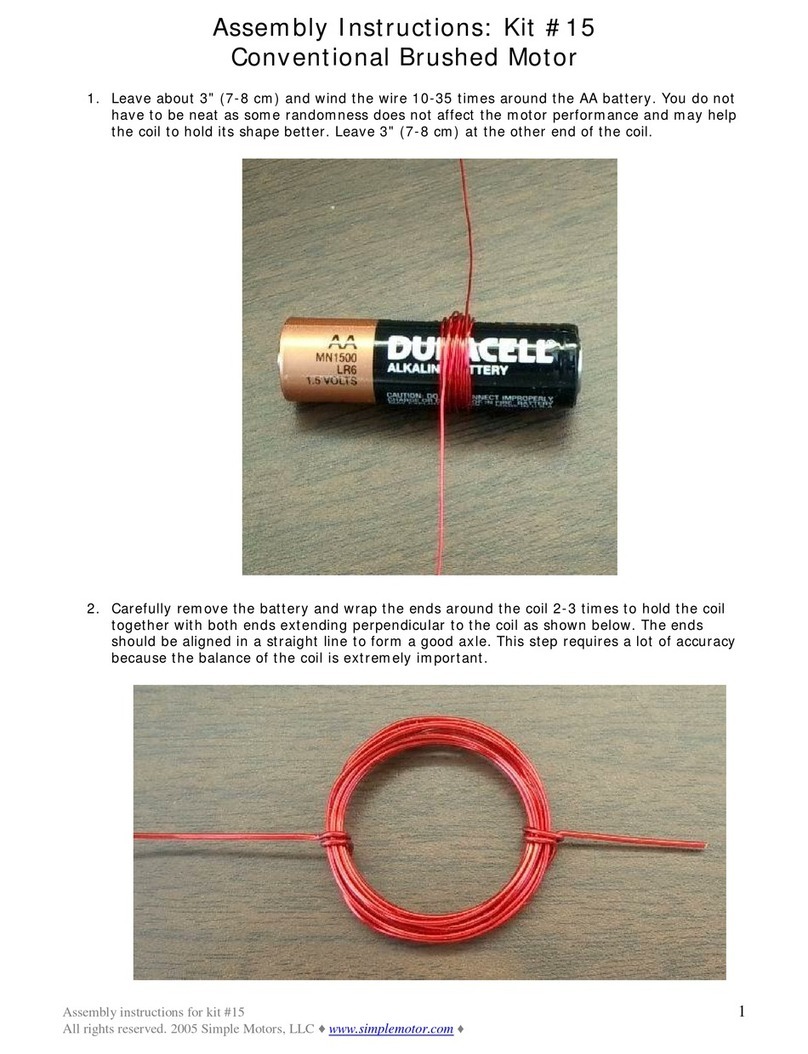
Simple Motors Kit 14 User manual

Simple Motors

Simple Motors Kit 14 User manual
Popular Engine manuals by other brands
Vanguard 540000 Series Operator's manual

Vanguard

Vanguard 540000 Series Operator's manual

red lion RL 58CC User instruction manual

red lion

red lion RL 58CC User instruction manual

Power Tec Ferrite F Series Installation and operation manual

Power Tec

Power Tec Ferrite F Series Installation and operation manual

Oriental motor Super Vexta UPD564-NAA instruction manual

Oriental motor

Oriental motor Super Vexta UPD564-NAA instruction manual

Power Fist 7-1/2 HP 212cc OHV user manual

Power Fist

Power Fist 7-1/2 HP 212cc OHV user manual

ALLPOWER APE7009SE Operator's manual

ALLPOWER

ALLPOWER APE7009SE Operator's manual

HunterDouglas MOTOLUX TURNILS 802142000 Programming instructions

HunterDouglas

HunterDouglas MOTOLUX TURNILS 802142000 Programming instructions

Oriental motor DSC Series operating manual

Oriental motor

Oriental motor DSC Series operating manual

MOTION BLINDS RAAMDECORATIE CM-08 manual

MOTION BLINDS

MOTION BLINDS RAAMDECORATIE CM-08 manual

Tecnotion TM3 Series manual

Tecnotion

Tecnotion TM3 Series manual

Motion CM-35 manual

Motion

Motion CM-35 manual

Deutz FL 1011F Operation manual

Deutz

Deutz FL 1011F Operation manual

Yanmar 2TNV70 Service manual

Yanmar

Yanmar 2TNV70 Service manual

Graco Fast-Flo 215963 Instructions-parts list

Graco

Graco Fast-Flo 215963 Instructions-parts list

SOMFY Sonesse Ultra 50 RTS instructions

SOMFY

SOMFY Sonesse Ultra 50 RTS instructions

Mercury 200 OptiMax DTS manual

Mercury

Mercury 200 OptiMax DTS manual

PrimaLuceLab SESTO SENSO 2 user manual

PrimaLuceLab

PrimaLuceLab SESTO SENSO 2 user manual

Saito FG-61TS instruction manual

Saito

Saito FG-61TS instruction manual

manuals.online logo
manuals.online logoBrands
  • About & Mission
  • Contact us
  • Privacy Policy
  • Terms and Conditions

Copyright 2025 Manuals.Online. All Rights Reserved.