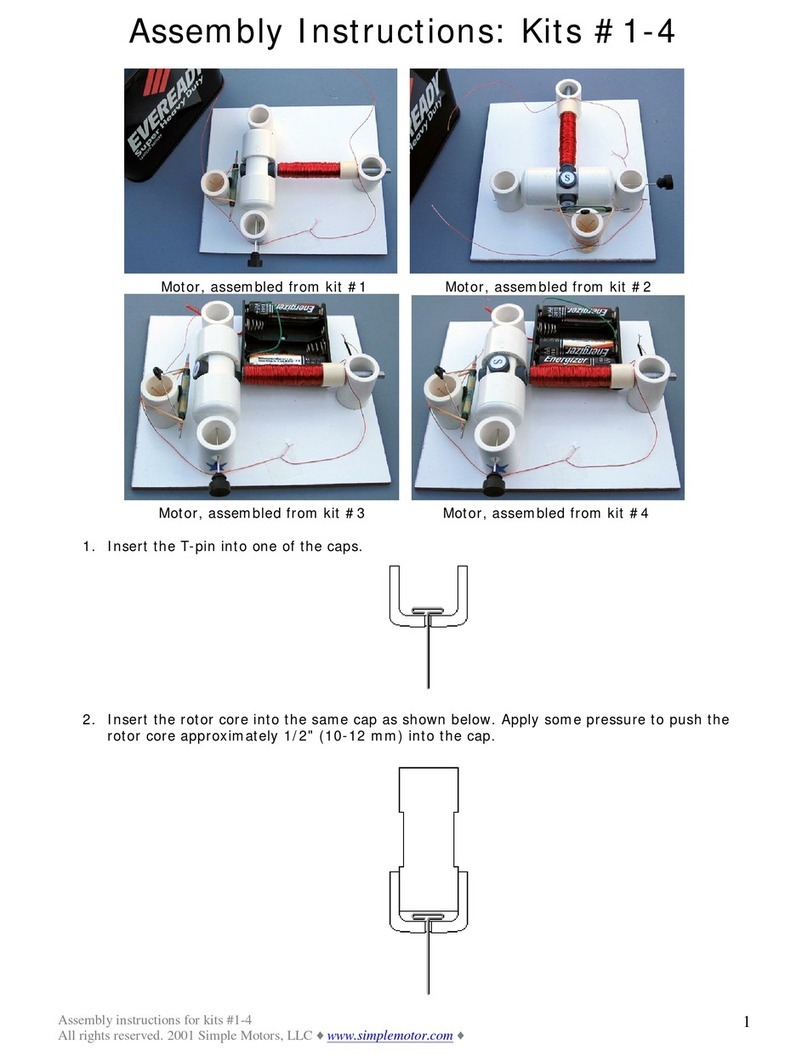
Simple Motors Kit 11 User manual
Other Simple Motors Engine manuals
Simple Motors
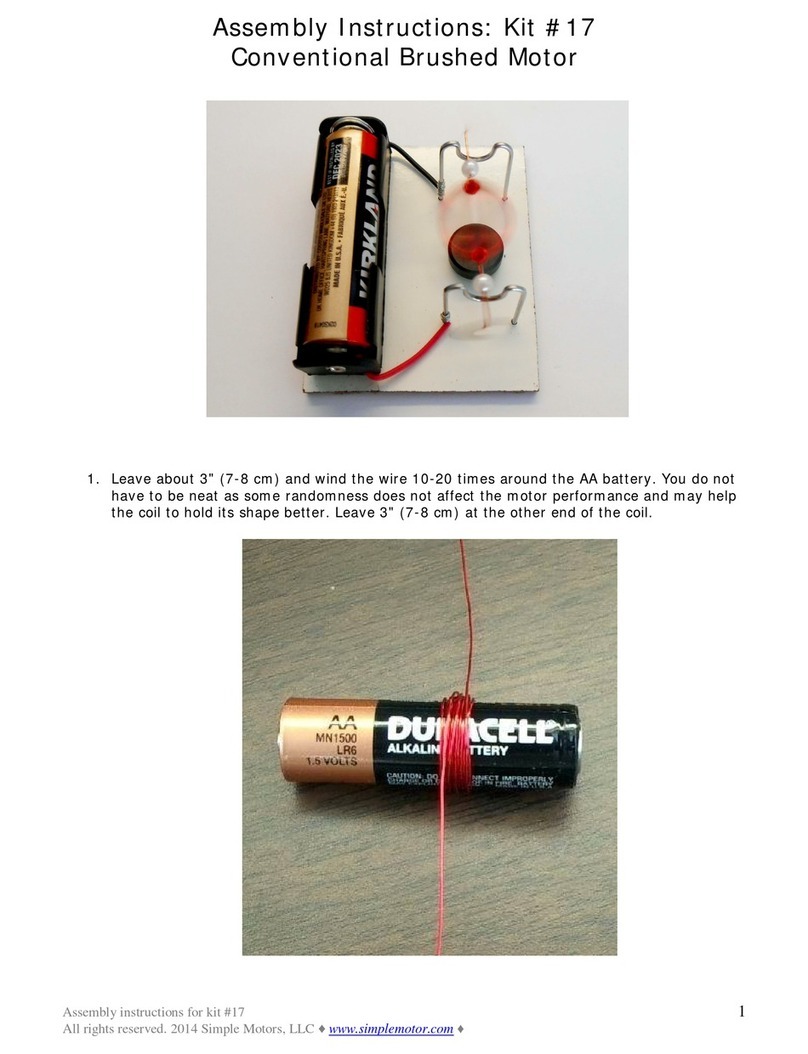
Simple Motors Kit 17 User manual
Simple Motors
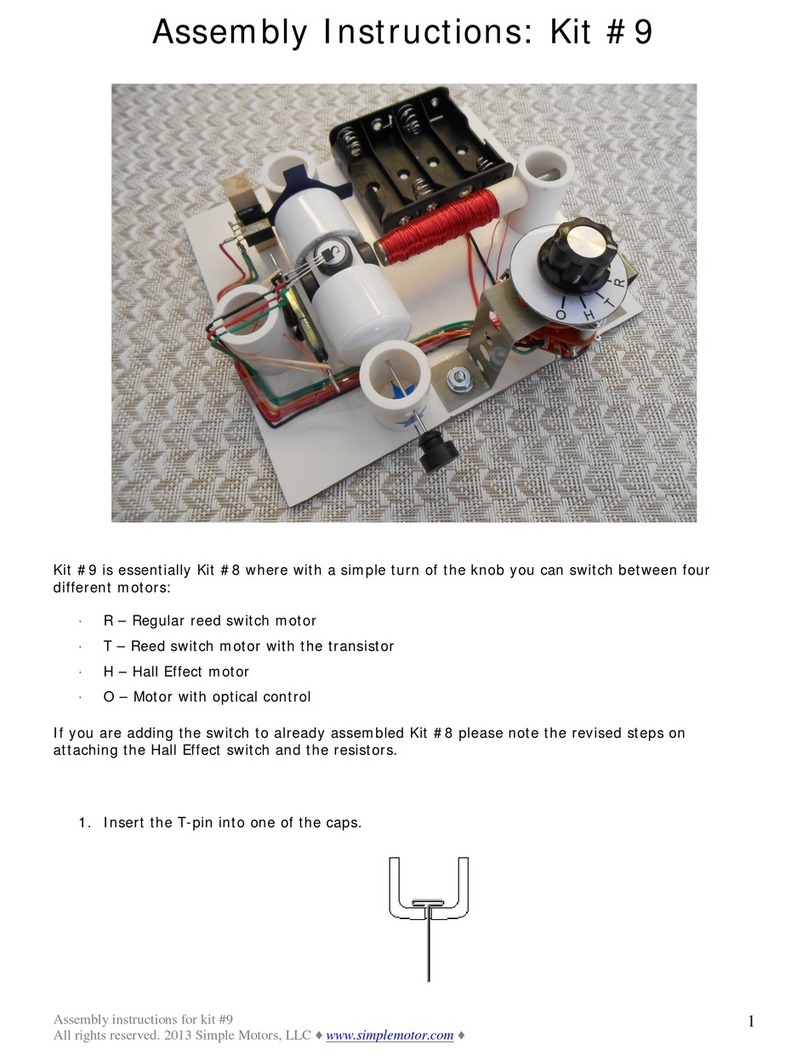
Simple Motors Kit 9 User manual
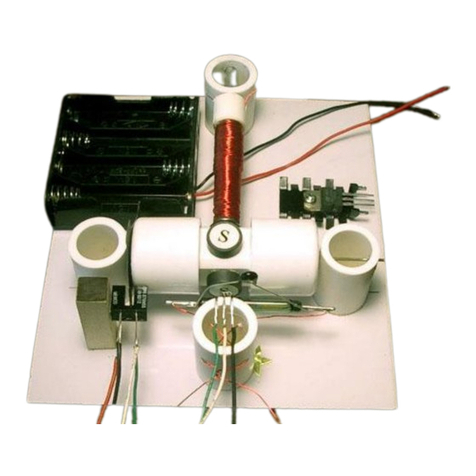
Simple Motors
Simple Motors Kit 8 User manual
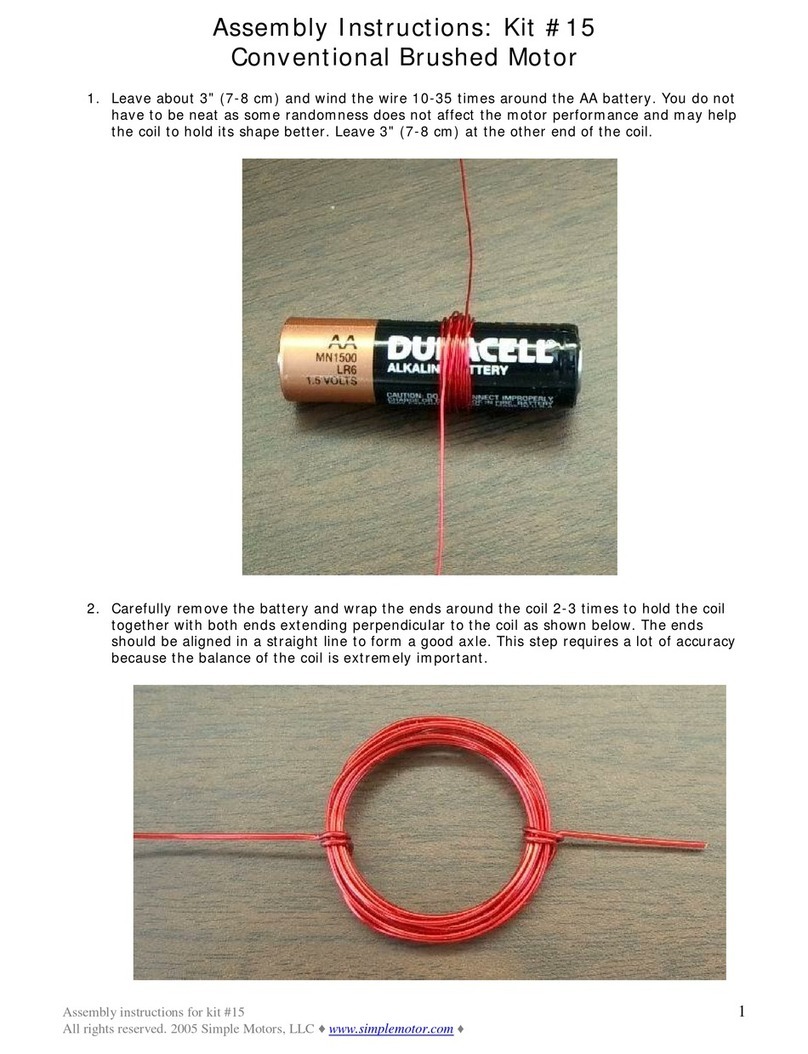
Simple Motors
Simple Motors Kit 15 User manual
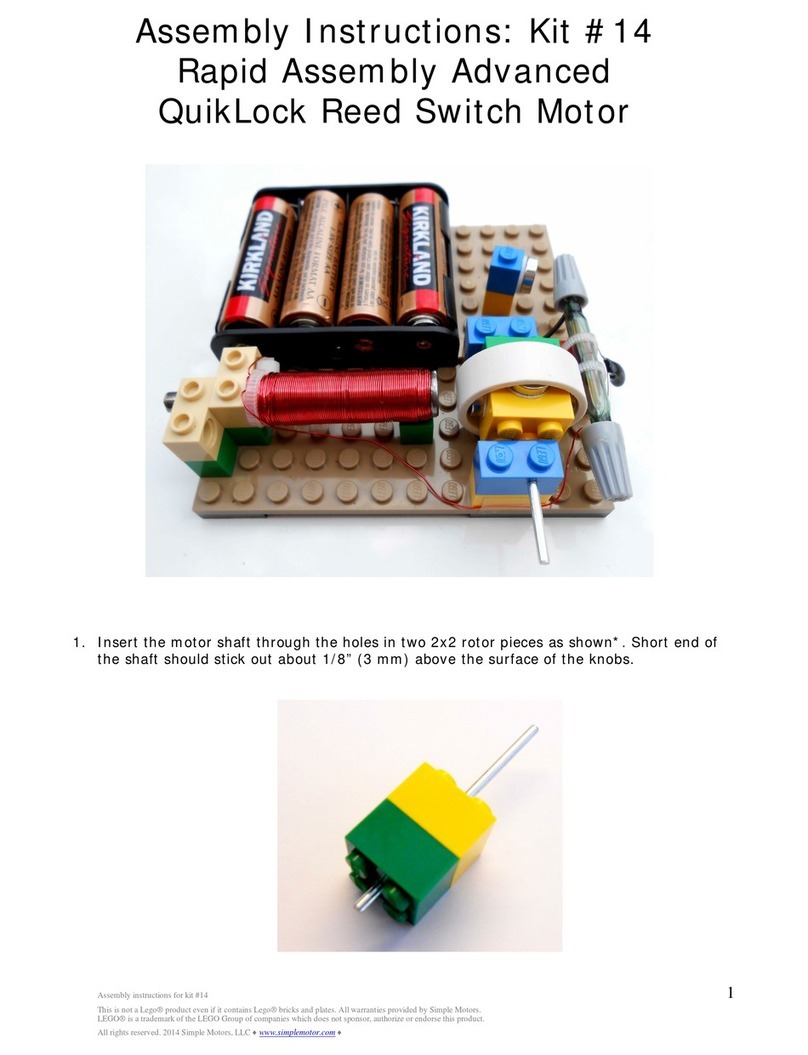
Simple Motors
Simple Motors Kit 14 User manual
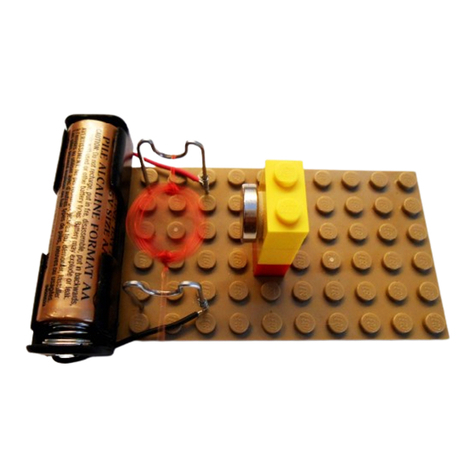
Simple Motors
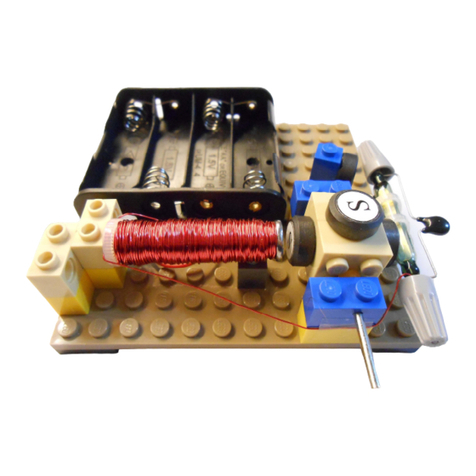
Simple Motors Kit 16 User manual
Simple Motors
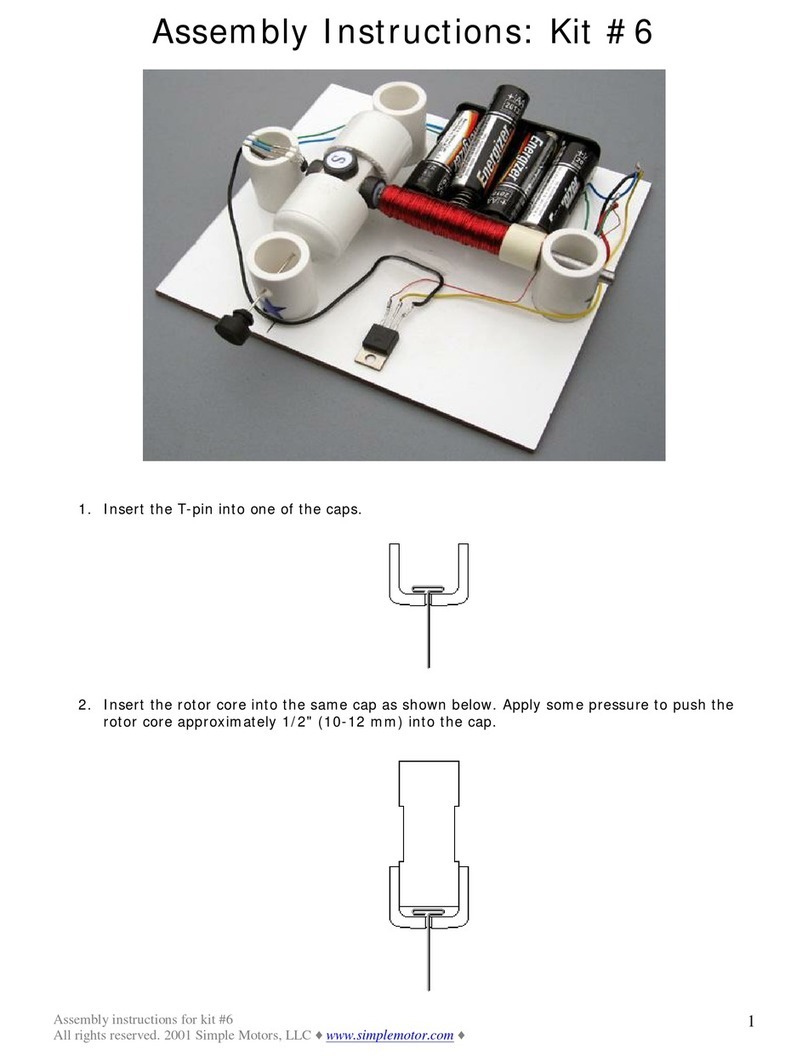
Simple Motors Kit 13 User manual
Simple Motors
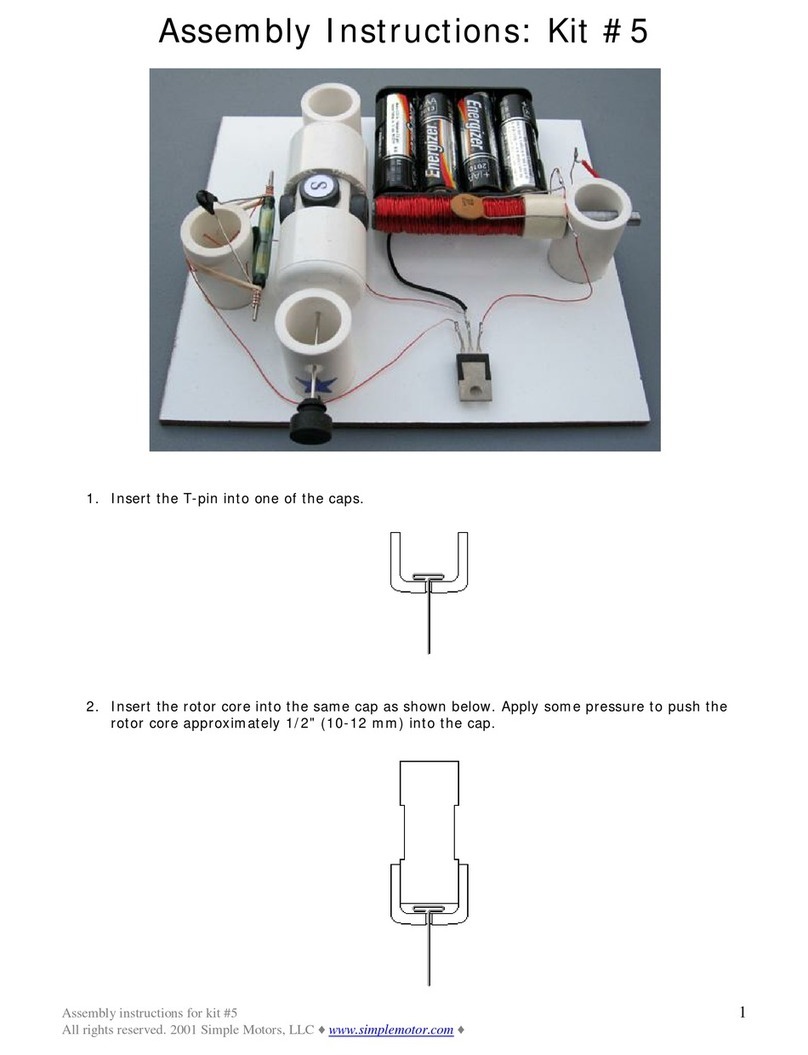
Simple Motors Kit 6 User manual
Simple Motors
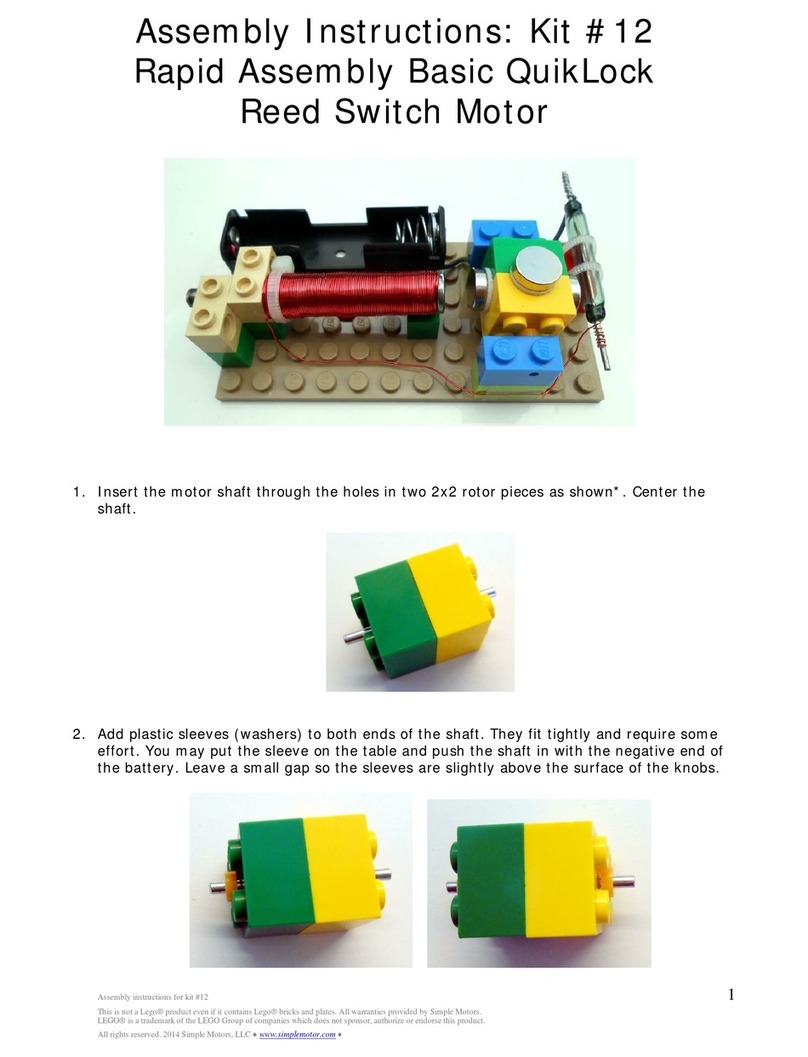
Simple Motors Kit 5 User manual
Simple Motors
Simple Motors Kit 12 User manual
Popular Engine manuals by other brands

Club Car
Club Car FE290 REPAIR AND REBUILD MANUAL

Ingersoll-Rand
Ingersoll-Rand 3IRL2N Workshop manual
Baumuller
Baumuller GNA 100 Commissioning Guide and Maintenance Instructions
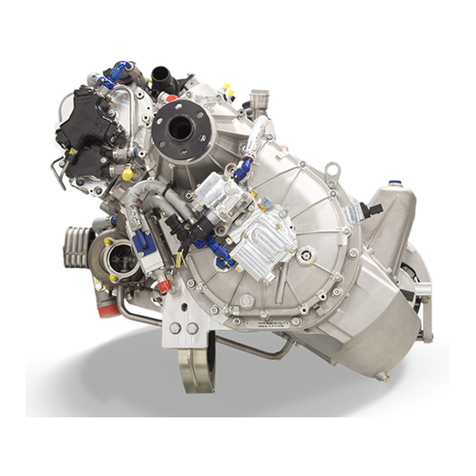
Technify Motors
Technify Motors CD-135 Operation and maintenance manual

Mercury
Mercury 305 CID Service manual
Tecumseh
Tecumseh TVM220 Operator's manual


