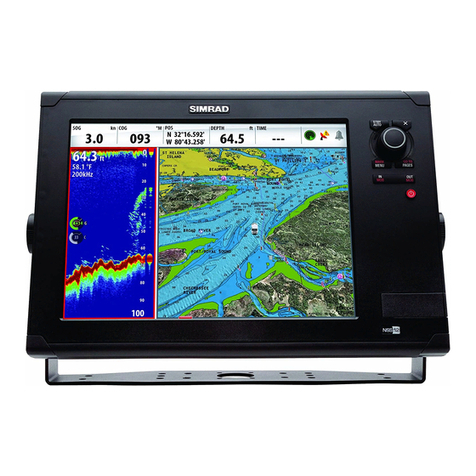
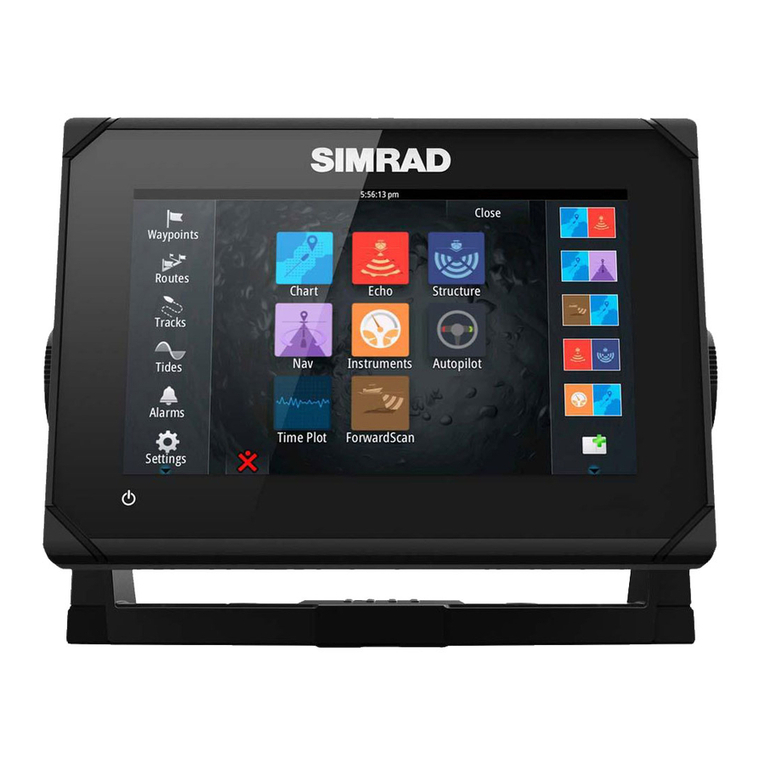
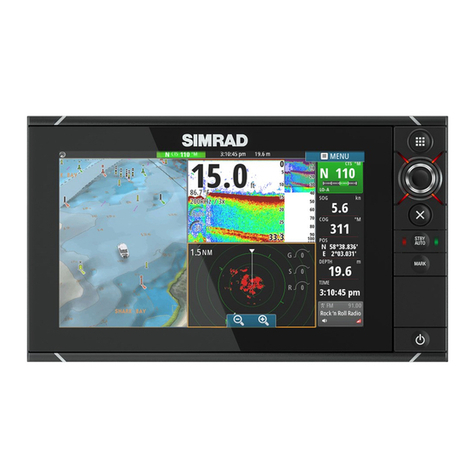
Simrad NSX User manual

www.simrad-yachting.com
NSXTM
INSTALLATION MANUAL
ENGLISH

2

3
PREFACE
⚠Warning: Refer to important safety information in the operator manual and review all warnings, limitations, and
disclaimers before using this product.
Disclaimer
This product is not a substitute for proper training and prudent seamanship. It is the owner’s sole responsibility to install and use
the equipment in a manner that will not cause accidents, personal injury or property damage. The user of this product is solely
responsible for observing maritime safety practices.
Navigational features that appear in this guide are not a substitute for proper training and prudent seamanship. They do not
replace a human navigator and SHOULD NOT be relied on as a sole or primary source of navigation. It is the operator’s sole
responsibility to use more than one navigational methods to ensure the route suggested by the system is safe.
NAVICO HOLDING AS AND ITS SUBSIDIARIES, BRANCHES AND AFFILIATES DISCLAIM ALL LIABILITY FOR ANY USE OF THIS
PRODUCT IN A WAY THAT MAY CAUSE ACCIDENTS, DAMAGE OR THAT MAY VIOLATE THE LAW.
This manual represents the product as at the time of printing. Navico Holding AS and its subsidiaries, branches and aliates
reserve the right to make changes to the product and/or specications at any time without notice. Please contact your nearest
distributor if you require any further assistance.
Governing language
This statement, any instruction manuals, user guides and other information relating to the product (Documentation) may be
translated to, or has been translated from, another language (Translation).
In the event of any conict between any Translation of the Documentation, the English language version of the Documentation will
be the ocial version of the Documentation.
Copyright
Copyright © 2021 Navico Holding AS.
Trademarks
®Reg. U.S. Pat. & Tm. O, and ™ common law marks. Visit www.navico.com/intellectual-property to review the global trademark
rights and accreditations for Navico Holding AS and other entities.
• Navico®is a trademark of Navico Holding AS.
• Simrad®is a trademark of Kongsberg Maritime AS, licensed to Navico Holding AS.
• NSX™ is a trademark of Navico Holding AS.
• Bluetooth®is a trademark of Bluetooth SIG, Inc.
• Wi-Fi® is a trademark of Wi-Fi Alliance.
• NMEA®and NMEA 2000®are trademarks of the National Marine Electronics Association.
• SD™ and microSD™ are trademarks of SD-3C, LLC.
Compliance statements
Declarations
The relevant declarations of conformity are available in the product’s section at the following website: www.simrad-yachting.com.
United Kingdom
Simrad NSX complies with UKCA under The Radio Equipment Regulations 2017.
Europe
Navico declare under our sole responsibility that the product conforms with the requirements of CE under RED 2014/53/EU.
4
United States of America
Navico declare under our sole responsibility that the product conforms with the requirements of Part 15 of the FCC Rules.
Operation is subject to the following two conditions: (1) this device may not cause harmful interference, and (2) this device
must accept any interference received, including interference that may cause undesired operation.
⚠Warning: The user is cautioned that any changes or modications not expressly approved by the party
responsible for compliance could void the user’s authority to operate the equipment.
This equipment generates, uses and can radiate radio frequency energy and, if not installed and used in accordance with the
instructions, may cause harmful interference to radio communications. However, there is no guarantee that the interference will
not occur in a particular installation. If this equipment does cause harmful interference to radio or television reception, which can
be determined by turning the equipment o and on, the user is encouraged to try to correct the interference by one or more of
the following measures:
• Reorient or relocate the receiving antenna.
• Increase the separation between the equipment and receiver.
• Connect the equipment into an outlet on a circuit dierent from that of the receiver is connected.
• Consult the dealer or an experienced technician for help.
ISED Canada
This device complies with ISED (Innovation, Science and Economic Development) Canada’s license-exempt RSSs. Operation
is subject to the following two conditions: (1) This device may not cause interference; and (2) This device must accept any
interference, including interference that may cause undesired operation of the device.
La traduction française de ce document est disponible sur le site Web du produit.
Australia and New Zealand
Navico declare under our sole responsibility that the product conforms with the requirements of:
• Level 2 devices of the Radiocommunications (Electromagnetic Compatibility) standard 2017.
• Radiocommunications (Short Range Devices) Standards 2021.
Warranty
The warranty card is supplied as a separate document. In case of any queries, refer to the brand website of your unit or system:
www.simrad-yachting.com.
Internet usage
Some features in this product use an internet connection to perform data downloads and uploads. Internet usage via a connected
mobile/cell phone internet connection or a pay-per-MB type internet connection may require large data usage. Your service
provider may charge you based on the amount of data you transfer. If you are unsure, contact your service provider to conrm
rates and restrictions. Contact your service provider for information about charges and data download restrictions.
About this manual
Product features
Features described and illustrated in this guide may vary from your display unit due to continuous development of the software.
More documentation
For the latest version of this document in supported languages, visit: www.simrad-yachting.com.

6

7
INTRODUCTION
Parts included
ENGLISH
InstallationManual
bandg.com
ENGLISH
InstallationManual
bandg.com
ENGLISH
InstallationManual
bandg.com
ENGLISH
InstallationManual
bandg.com
123
456
8A 8B
7
1Display unit
2Panel mounting kit
3Sun cover
4Corner clips
5Power cable
6Fuseholder and fuse
7Documentation package
8A U-bracket mounting kit - 7” and 9” units
8B U-bracket mounting kit - 12” unit

8
Front controls
AB
APower key
• Press and hold to turn the unit on or o.
• Press once to display the quick access menu. Repeat short presses to toggle
through the default screen brightness levels.
BTouchscreen

9
Connectors
7” unit
BC AD
9” and 12” units
BACE D
APower and power control (4-pin connector)
BEthernet (5-pin connector)
CNMEA 2000 (Micro-C connector)
DEchosounder (9-pin connector)
EUSB (Type-A connector)

10
Card reader
A microSD card can be used to:
• Provide detailed charts
• Store screenshots
• Update software
• Transfer user data (waypoints, routes, tracks, screenshots).
¼Notes:
• Do not download, transfer or copy les to a chart card as it can damage chart information
on the card.
• MicroSD cards up to a maximum of 32 GB capacity are supported. Larger cards are also
supported in some formats.
• Always shut the protective cover securely after inserting or removing a microSD card to
keep the slot watertight.
Turn unit on/o
Turn the unit on or o by pressing and holding the power key.

11
INSTALLATION
General mounting guidelines
⚠Warning: Do not install the unit in a hazardous/ammable atmosphere.
¼Note: Choose a mounting location that will not expose the unit to conditions that exceed the
technical specications.
Mounting location
This product generates heat which must be considered when choosing the mounting location.
Ensure the selected area allows for:
• Cable routing, cable connection and cable support.
• Connection and use of portable storage devices.
Do also consider:
• The free space around the unit to avoid overheating.
• The mounting surface’s structure and strength, with regard to the weight of the
equipment.
• Any mounting surface vibration that might damage the equipment.
• Hidden electrical wires that might be damaged when drilling holes.
Ventilation
Inadequate ventilation and subsequent overheating of the unit may cause reduced performance
and reduced service life.
Ventilation is recommended behind all units that are not bracket mounted.
Ensure cables do not obstruct the airow.
Examples of enclosure ventilation options, in order of preference, are:
• Positive pressure air from the vessel’s air conditioning system.
• Positive pressure air from local cooling fans (fan required at input, fan optional at outlet).
• Passive airow from air vents.
Electrical and radio frequency interference
This unit conforms to the appropriate Electromagnetic Compatibility (EMC) regulations. To ensure
that the EMC performance is not compromised, the following guidelines apply:
• Separate battery used for the vessel engine.
• Minimum 1 m (3 ft) between the device, the device’s cables and any transmitting
equipment or cables with radio signals.
• Minimum 2 m (7 ft) between the device, the device’s cables and the SSB radio.
• More than 2 m (7 ft) between the device, the device’s cables and the radar beam.

12
Compass safe distance
The unit outputs electromagnetic interference that can cause inaccurate readings on a nearby
compass. To prevent compass inaccuracy, the unit must be mounted far enough away so the
interference does not aect compass readings. For minimum compass safe distance, refer to the
technical specications.
Wi-Fi
It is important to test the Wi-Fi performance before the location of the unit is decided.
Construction material (steel, aluminum or carbon) and heavy structure might aect Wi-Fi
performance.
The following guidelines apply:
• Select a location where there is a clear, direct line of sight between Wi-Fi connected units.
• Keep the distance between Wi-Fi units as short as possible.
• Mount the unit at least 1 m (3 ft) away from equipment that might generate interference.
GPS
It is important to test the GPS performance before the location of the unit is decided.
Construction material (steel, aluminum or carbon) and heavy structure might aect GPS
performance. Avoid a mounting location where metal obstacles block the view of the sky.
A well placed external GPS module can be added to overcome poor performance.
A
B
C
AOptimal location (above deck)
BLess eective location
CNot recommended location
¼Note: Consider the lateral swinging if mounting the GPS sensor high above the sea level. Roll and
pitch might give false positions and aect the true directional movement.

13
Touchscreen
Touchscreen performance can be aected by the location of the unit. Avoid locations where the
screen is exposed to:
• Direct sunlight.
• Prolonged rainfall.
Corner clip tment and removal
Panel mounting
Refer to the separate mounting template for panel mounting instructions.

14
U-bracket mounting
1 Place the bracket in the desired mounting location. Ensure that the chosen location has
enough height to accommodate the unit tted in the bracket, and allows tilting of the unit.
Adequate space is also required on both sides to allow tightening and loosening of the knobs.
2 Mark the screw locations using the bracket as a template, and drill pilot holes.
3 Screw down the bracket using fasteners that are suitable for the material you are mounting
the bracket on.
4 Mount the unit to the bracket using the knobs. Hand tighten only.
¼Note: The screws shown below are for illustration purposes only. Use fasteners that are suitable
for the material you are mounting the bracket on.

15
WIRING
Wiring guidelines
Don’t:
• Make sharp bends in the cables.
• Run cables in a way that allows water to ow down into the connectors.
• Run the data cables adjacent to radar, transmitter, or large/high current carrying cables or
high frequency signal cables.
• Run cables so they interfere with mechanical systems.
• Run cables over sharp edges or burrs.
Do:
• Make drip and service loops.
• Use cable-ties on all cables to keep them secure.
• Solder/crimp and insulate all wiring connections if extending or shortening the cables.
Extending cables should be done with suitable crimp connectors or solder and heat shrink.
Keep joins as high as possible to minimize the possibility of water immersion.
• Leave room adjacent to connectors to ease plugging and unplugging of cables.
⚠Warning: Before starting the installation, turn the electrical power o. If power
is left on or turned on during the installation, re, electrical shock, or other serious
injury may occur. Be sure that the voltage of the power supply is compatible with the
unit.
⚠Warning: The positive supply wire (red) should always be connected to (+) DC
with a fuse or a circuit breaker (closest available to fuse rating). For the recommended
fuse rating, refer to the Specications section of this manual.

16
Power and power control
The power connector is used for power control.
Power connector details
Unit socket (male)
2
31
Pin Purpose
1DC negative
2Power control
3+ 12 V DC
Power connection
The unit is designed to be powered by 12 V DC.
It is protected against reverse polarity, under voltage and over voltage (for a limited duration).
A fuse or circuit breaker should be tted to the positive supply. For the recommended fuse rating,
refer to the Specications section of this manual.
C
AB
Key Purpose Color
A+ 12 V DC Red
BDC negative Black
CFuse (for the recommended rating, refer to the Specications section of
this manual)

17
Power control connection
The yellow wire in the power cable can be used to control how the unit is turned on and o.
Power controlled by power key
The unit will turn on/o when the power key on the unit is pressed. Leave the yellow power
control wire disconnected and tape or heat-shrink the end to prevent shorting.
Power control by supply power
The unit will turn on/o without using the power key when power is applied/removed. Connect
the yellow wire to the red wire after the fuse.
¼Note: The unit cannot be powered down by the power key, but can be put in to standby mode
(the screen backlight turns o).
A
Key Purpose Color
APower control wire Yellow
Power controlled by ignition
The unit will turn on once ignition is turned on to start engines.
¼Note: Engine start batteries and house batteries should have a common ground connection.
A
B
Key Purpose Color
APower control wire Yellow
BIgnition switch

18
NMEA 2000
The NMEA 2000 data port allows receiving and sharing of a multitude of data from various
sources.
Connector details
Unit socket (male)
2
1
3
4
5
Pin Purpose
1Shield
2NET-S (+ 12 V DC)
3NET-C (DC negative)
4NET-H
5NET-L
Plan and install an NMEA 2000 network
An NMEA 2000 network consists of a powered backbone from which drop cables connect to
NMEA 2000 devices. The backbone needs to run within 6 m (20 ft) of the locations of all products
to be connected, typically in a bow to stern layout.
The following guidelines apply:
• The total length of the backbone should not exceed 100 meters (328 ft).
• A single drop cable has a maximum length of 6 meters (20 ft). The total length of all drop
cables combined should not exceed 78 meters (256 ft).
• A terminator must be installed at each end of the backbone. The terminator can be a
terminator plug or a unit with a built-in terminator.

19
A
A
A
CC
DB
B
B
B
E
A
ANMEA 2000 device
BDrop cable
CTerminator
DPower supply
EBackbone
Power the NMEA 2000 network
The network requires its own 12 V DC power supply, protected by a 3 A fuse.
For smaller systems, connect power at any location in the backbone.
For larger systems, connect power at a central point in the backbone to balance the voltage drop
of the network. Make the installation such that the load/current draw on each side of the power
node is equal.
¼Note: 1 LEN (Load Equivalency Number) equals 50 mA current draw.
4
LEN
(8 LEN) (8 LEN)
T T
2
LEN
2
LEN
3
LEN
1
LEN
3
LEN
1
LEN
¼Note: Do not connect the NMEA 2000 power cable to the same terminals as the engine start
batteries, autopilot computer, bow thruster or other high current devices.

20
USB port
The USB-A port can be used to connect a:
• Storage device
• Card reader
¼Note: USB devices should be standard PC-compatible hardware.
USB connector details
Unit socket (female) - Standard USB type-A.
Ethernet
The Ethernet port(s) can be used for transfer of data and synchronization of user created data. It
is recommended that each device in the system is connected to the Ethernet network. No special
setup is required for establishing an Ethernet network.
Ethernet connector details
Unit socket (female)
1
2
3
4
5
Pin Purpose
1Transmit positive TX+
2Transmit negative TX-
3Receive positive RX+
4Receive negative RX-
5Shield
Ethernet expansion device
Connection of network devices can be made via an Ethernet expansion device. Additional
expansion devices can be added to provide the required number of ports.
Other manuals for NSX
1
Table of contents
Other Simrad GPS manuals

Simrad
Simrad NSO evo3S MPU User manual

Simrad
Simrad MX525A User manual

Simrad
Simrad NSE8 User manual

Simrad
Simrad GO XSE User manual

Simrad
Simrad CP42 User manual

Simrad
Simrad CS66 User manual

Simrad
Simrad CP34 User manual

Simrad
Simrad NSO evo2 User manual

Simrad
Simrad Shipmate CP30 User manual

Simrad
Simrad GN33 User manual

Simrad
Simrad CA42 User manual

Simrad
Simrad GO XSE User manual

Simrad
Simrad ce32 mkii User manual

Simrad
Simrad GO XSE User manual

Simrad
Simrad NSS evo2 User manual

Simrad
Simrad NSS Series User manual

Simrad
Simrad P2005 User manual

Simrad
Simrad GO7 User manual

Simrad
Simrad NSS evo2 User manual

Simrad
Simrad CP54 User manual