
The Secret of the extension as received in the e-mail associated with this extension. Example:
3dX3r5
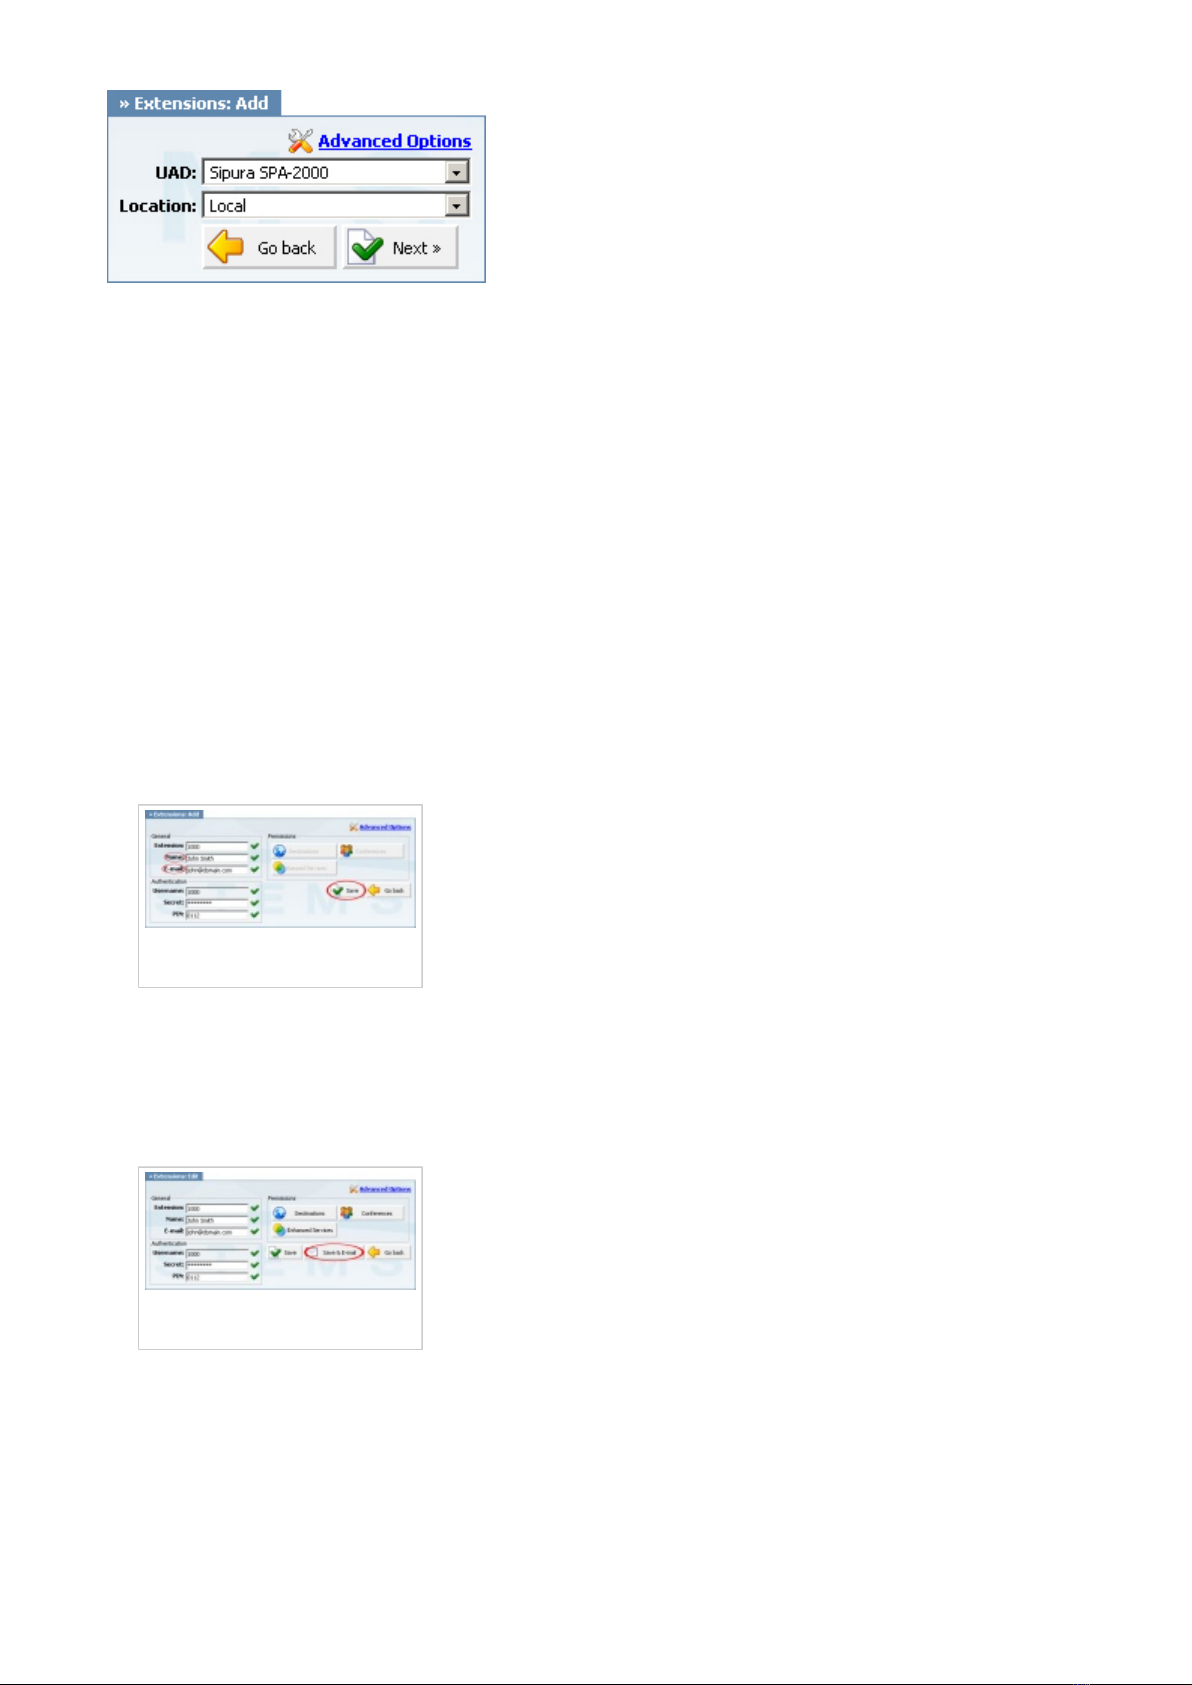
an example with details filled in
4. Navigate to the bottom of the page, click on the "Submit All Changes" button. The Sipura SPA
2000 will reboot for changes to take effect.
OPTIONAL FIELDS:
Display name:
Example: John Smith, Reception, Entrance Main, Agent One etc.
Auth ID:
Usually the same number as for the account.
Other fields:
Other "options" or "fields" should be left blank or as is by default, they have no importance for
registering your Sipura SPA 2000 to PBXware.
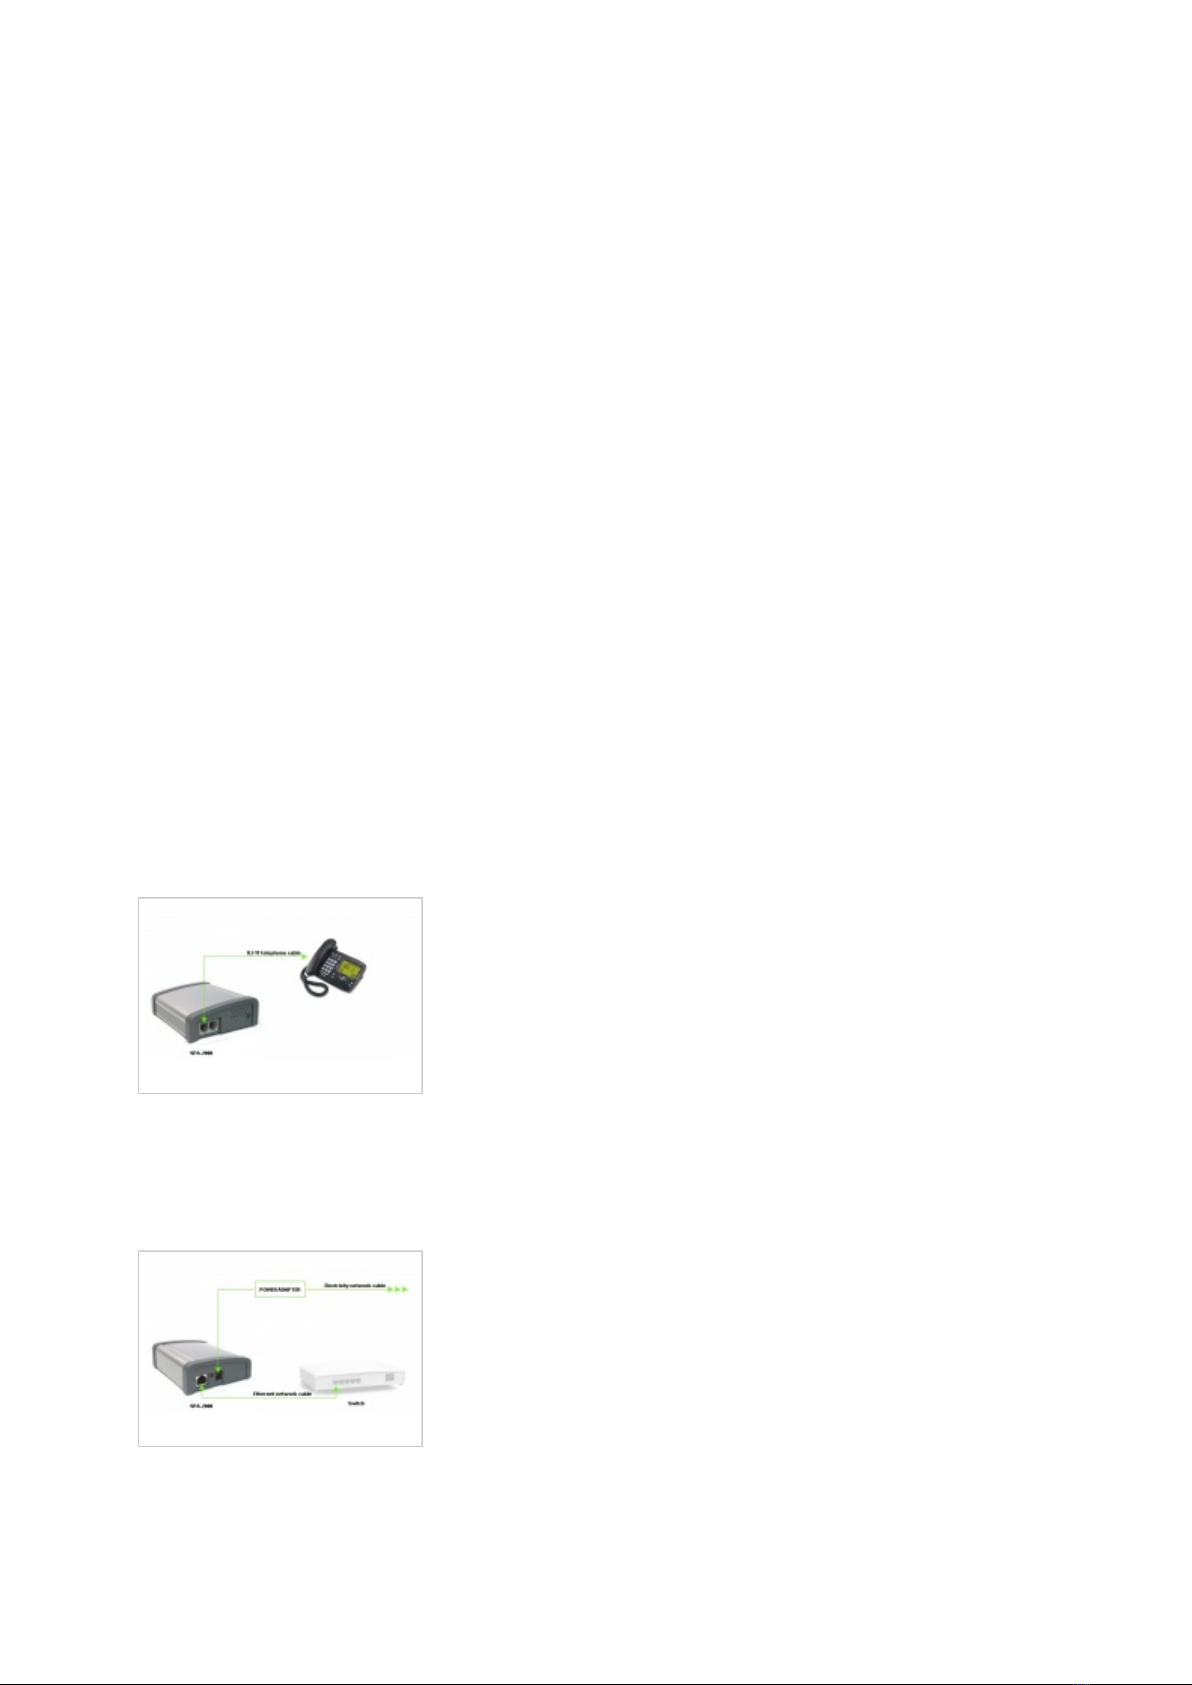
- Conclusion: If everything is done as above described, you should have successfully registered
your Sipura SPA 2000 to PBXware. Dial *123 to verify registration.
- For further information, please contact the manufacturer or check their website
www.sipura.com.
Auto Provisioning
UAD Settings
STEP ONE: PBXware IP address.
1. Find out the IP address of the PBXware server.
STEP TWO: Login to PBXware.
1. Open a new browser window and enter the IP address to access the PBXware administration
interface login screen.


