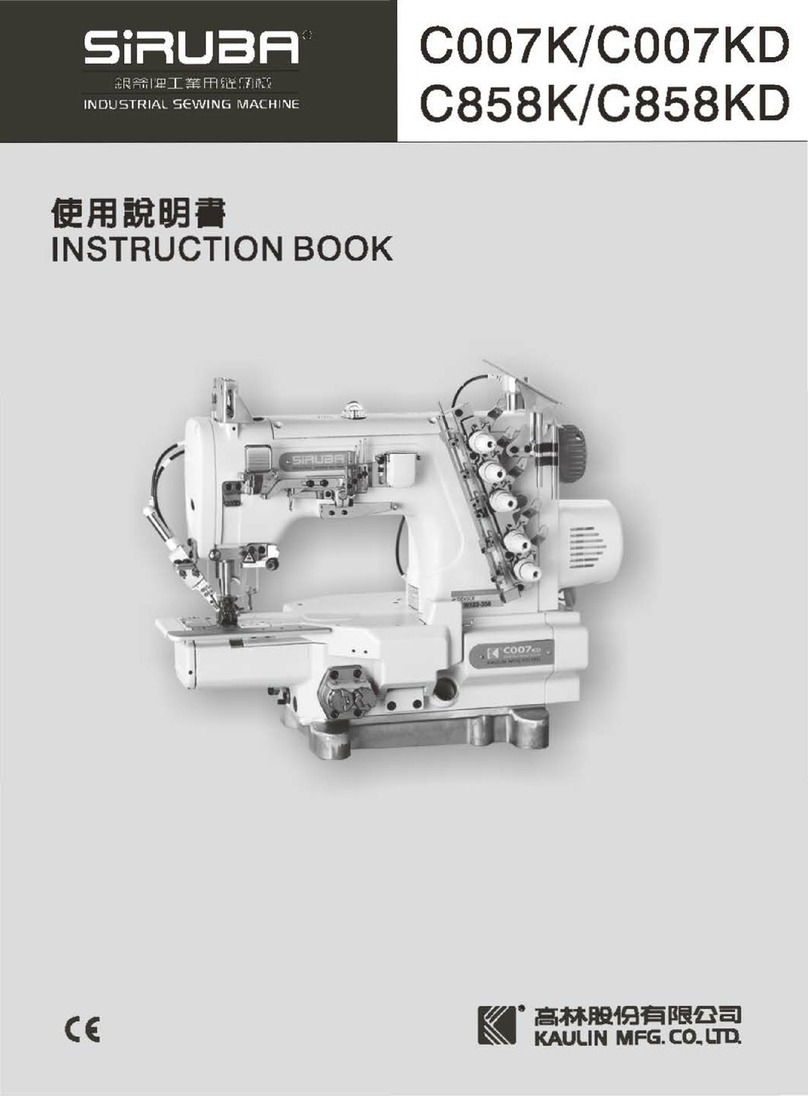
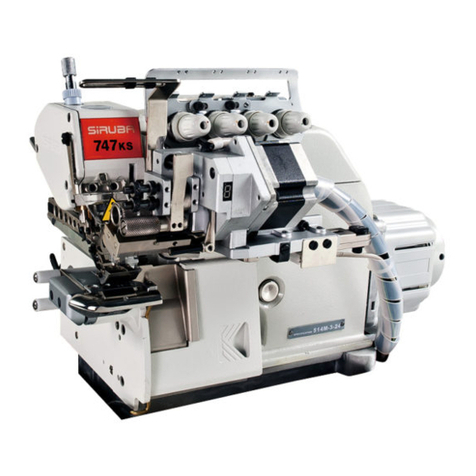
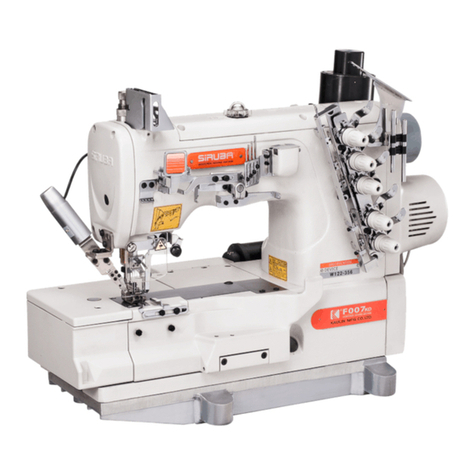
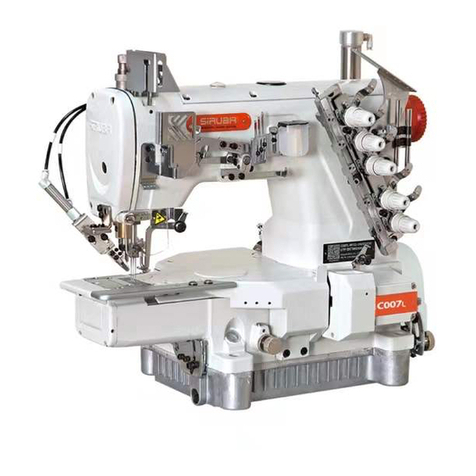
Siruba C007KD User manual

C/S007KD
電控參數說明書
ELECTRONIC CONTROL PARAMETER MANUAL

歡迎使用本公司產品,制衣行的正確投資選擇!
Welcome to use the our products, it is the right investment choices in garment industry!
本說明書為本公司新研發的“節能 2路24V 直驅控制箱”產品參考手冊,請認真閱讀此手冊
以更好運用本公司產品。
This manual is a new product reference manual of the company's "Energy Saving 2 way 24V Direct
Drive Control Box". Please read this manual carefully to make better use of our products.
一、安全說明:General SafetyInstructions
1:電機電控接通電源時(開機狀態)請不要把腳放在腳踏板上
Do not put your feet on the pedals when the control box and motor is switched on (boot status)
2:本產品請專業人士安裝調試
Let professionals to install and debug this product
3:嚴禁在通電時打開控制箱與電機端蓋
Do not open the control box and the motor cover when energized
4:換針,穿線或更換底線時請關閉電源
Please turn off the power when changing the needle,threading or replacing the bottom line
5:安裝,拆卸維修時請拔掉電源插頭
During installation and removal service,please turn off the power and pull the plug
6:翻抬縫紉機時請關閉電源
Please turn off the power when turn lift sewing machine
7:使用本產品請遠離高頻電磁波和電波發射器等,以免所產生的電磁波干擾伺服驅動器而發
生錯誤動作。
When use this product, please stay away from high-frequency electromagnetic waves and radio wave
transmitters, etc., in case the electromagnetic waves generated interfere with the servo drive to
occur wrong action .
鄭重申明:
Solemnly Declare:
1:不遵守安全使用說明操作規章,發生意外後果自負。
Do not comply with the manual book operating regulations and the safety requirements, all
accidental occurrence should be taken by yourself.
2:未經本公司授權,請勿擅自改動產品,由此而引起的後果本公司不負任何責任。
Without our authorization, please do not alter our products, our company is not liable for any
consequences arising therefrom.
目錄
Content
一、產品介紹
Product instructions
二、安裝調試
Installation and trial-run
三、控制台使用說明
Control panel Instruction
四、一般故障處理
Common faults and treatment
五、作業環境要求
Environmental Requirements
六、保修服務
Warranty service

一、產品介紹: Product instruction
本產品由本公司自主研發,產品個性鮮明,真正體現出了機電一體化
的概念,更是節能、高效、環保、優美集結於一身。可廣泛適用於多
種縫紉設備。
This product by the company independent research and development,
distinct personality, truly reflects the concept of mechanical and electrical
integration, more energy saving, high efficiency, environmental protection,
beautiful assembled in one. It can be widely applied to a variety of sewing
equipment.
1.組成部分: component
控制器系統由控制器和電機兩部分:
The servomotor is composed of control system and motor
A.控制器:控制箱和速控器。
A.Control system includes control box and speedcontroller
系統介面連接和操作面板示意圖如下:
Introducefor control panel

6P 多功能埠: 表1
照明燈介面說明: 表2
本控制系統體現出了超前的設計理念,系統操作簡單易上手,整個控制系統性能
優越。具有起步快,停車快、准等優點。而且電路模組保護功能完善:有欠壓、
過流、等一系列保護功能。速控器可實現無級調速。
This control system features is easy to use and features in excellent performance,
including quick start, quick stop (sewing machine), accurate needle position.
Furthermore, the modular circuit has Self-Protection System when against lower
序號
Serial No
編號
Number
功能
Number
備註
remarks
1 1 4
抬壓腳介面
foot presser
lifter port
1為正;4為負
1 is positive pole
4 is negative pole
2 2 5
吸屑介面
waste suction
port
2為正;5為負
2 is positive pole
5 is negative pole
3 3 6 無
none
無
none
序號
Serial No
編號
Number
功能
Number
備註
remarks
1 1 2
照明燈介面
Lighting lamp
interface
1為正;2為負
1 is negative pole
2 is positive pole
6P 多功能
埠如表 1
照明燈介面
(12V)說明表 2

voltage, over current, over heat etc. speedcontroller is realized by the pedal speeder.
※:抬壓腳介面(24V)和吸屑介面(24V)埠只能使用 24V 電子閥(最大輸出
電流 200mA;如超出可能導致使用故障,嚴重導致控制器損毀。)
※:presser foot lifter(24V) and waste suction port (24V), the port can only use 24V
valve (the biggest output current is 200mA; if over this, will occur error, even let the
control box broken)
B.電機: motor
電機轉子屬於稀土永磁材料,具備功率大,節能環保等各大優點。電機內設有霍
爾感測器,使電機具有準確的上下定位,使電機體積更小更美觀。
Rotor is made of rare earth permanent magnet, guarantee high power and
environmental. Exactly needle UP/DOWN position due to its built-in Hall type sensor
and compact design.
C.產品組裝效果圖: Partial demonstration

2. 220V、110V 性能參數指標:Specifications
220V 性能參數指標 220V Specifications
電源供電電壓 Voltage 220V 單相 1phase
頻率 Frequency 50~60HZ
電機轉速 Speed 200-5000RPM
電機扭矩 Motor torque ≤3.5NM
電機功率 550W
110V 性能參數指標 220V Specifications
電源供電電壓 Voltage 110V 單相 1 phase
頻率 Frequency 50~60HZ
電機轉速 Speed 200-5000RPM
電機扭矩 Motor torque ≤3.5NM
電機功率 550W
二、安裝調試:(直驅式電機安裝方法)
Installation and trial-run(Direct Drive type)
1.控制箱調速器安裝如下圖
Install control box and speed controller as below figure
將控制箱和速控器用螺釘依次安裝在縫紉機台板上。
Using screws, mount the Control Box and speed controlleronto sewing table
properly.

2.直驅電機安裝示意圖:
Schematic diagram of the installation of direct drive motor
C007KD
S007KD
直驅電機安裝共 6步驟:Motor installation of a total of 6 steps
(1)裝底板:Install Plate
a)拆掉縫紉機上的手輪、皮帶、皮帶罩。
Remove the hand wheel, belt cover and wind blade on the sewing machine.
b)如安裝圖所示將圖①底板用圖②螺釘鎖在對應的縫紉機孔位上。
According to the above install picture, use the screw(picture②) installing
the plate(picture①) into the sewing machine head.

(2)裝轉子:Install rotor
a)如安裝圖所示將圖③墊片放置縫紉機軸上,將圖⑤轉子裝入縫紉機
軸上,用⑥的螺釘鎖緊,裝入圖④同步帶(適用於 C007KD 或S007KD)
According to the above install picture, put the washer(picture③) into the
sewing machine axis, then put the rotor(picture⑤) to the sewing machine
axis, use the screw(picture⑥) to fix it, then install the synchronizing
pulley(picture④). (apply to C007KD or S007KD)
(3)裝電機:Install Moter
a)如安裝圖所示將圖⑦電機裝入並用圖⑧螺釘鎖緊固定在圖①底板上
(注:電機裝入轉子要注意磁鐵吸力,小心夾到手。)
According to the above install picture,use the screw(picture⑧)to fix the
motor(picture⑦) in to the plate(picture①).(attention: please take care the
magnetism to hurt the hand when put the motor to the rotor.)
(4)檢查轉子和定子是否裝好
Check the rotor and the stator is installed or not
A)拿出圖⑨橡膠孔塞。
Taking out figure⑨rubber hole stopper.
B)目測轉子平面與定子平面是否相平,兩面相平度不得超過 1.5mm
(看剖視圖 A),如果超過 1.5mm 的話,要拆掉電機和轉子用圖⑪墊片來調
整。
Check the plane of the rotor and the stator is flat or not, two surface
roughness shall not exceed 1.5mm(See section view A), if more than 1.5mm,
to remove the motor and the rotor with figure⑪gasket to adjust
.圖A

C)調整好後裝回橡膠孔塞。(注:電機兩平面裝的越平越好,如果
兩平面超過 1.5mm 的情況下,電機會比正常安裝的發熱量大和力矩減
小現象。)
Adjusted to fit back rubber hole stopper.(Notes: The distance
between two flat as small as possible, if more than 1.5mm, motor
will be calorific value more and torque decreases.)
(5)裝風葉和外殼:Install Fan and the cover
a) 用手轉動縫紉機,使機針停在最高位,縫紉機手輪如圖 B
Use hand to turn the sewing machine head, let the needle stop in the highest
position
b) 如安裝圖所示將圖⑩風葉裝入並用圖⑪螺釘鎖緊,(注:停車
針位和風葉與電機間隙如圖 A、B、C)
According to the above install picture to install the fan(picture⑩), use the
screw(picture⑪)to fix.(Attention: the needle stop position and the
clearance of fan and the motor is as following picture A/B/C)
c) 將如安裝圖所示將圖⑫塑膠外殼裝入並用圖⑬的螺釘鎖緊
According to the above install picture, install the cover(picture⑫), and use
the picture⑬screw to fix.
d) 將如安裝圖所示將圖⑭同步輪罩裝入用圖⑮螺釘鎖緊(適用於
C007KD 或S007KD)
According to the above install picture,install the picture⑭synchronizing
wheel cover and use picture⑮screw to fix. (apply to C007KD or S007KD)
圖A 圖B 圖C
间隙 1.5~2
Clearance
1.5~2
感应磁铁
Induct magnet

(6)檢查:手轉動手輪無卡擦現象,縫紉機也無加重。
Check: Hand wheel hand wheel without card wiping phenomenon, Sewing
machine weight does not increase
三、控制台使用說明: Installation for Control Panel
各按鍵的用途:Each key purpose
(1)“P”鍵的用途:
Function of “P” key:
第一:“P”鍵為上、下停針鍵,按下“P”鍵,上燈孔亮,為上停針;下燈
孔亮,為下停針;兩個燈孔都不亮,為自由停針;
First:”P” key for upperand lower stop needle position. Press “P”,if up pinhole lamp
lights means it’s up stop needle, if down pinhole lamp lights means that it is down
stop needle , if two lamps off means needle position is freedom.
第二:功能進入鍵(見進入參數的操作方法)
Second: Function Enter button ( below to enter the parameter method of operation)
(2)“S”鍵的用途:
Function of “S”key:
第一:“S”鍵為機頭燈開關鍵,按下“S”鍵,當“S”鍵上的小燈亮為打
開機頭燈,滅為關掉機頭燈。
First :“S”button for off or on the head lamp.Press “S” key the lamp lights ,
if don’t do it is turn off.
第二:功能參數(確認)鍵(見進入參數的操作方法)
Second: Function Enter button ( below to enter the parameter method of operation)
(3)“+”“-”鍵的用途:
Function of “+”、“-”key
此兩個鍵用於轉速調整和參數調整。
These two keys are used to adjust speed and parameter modulation.
2.進入參數的操作方法
例:怎樣把電機的順時針轉調到逆時針轉:
第一步:打開電源;
第二步:先按“P”鍵不放,同時按“+”號鍵,此時畫面會顯示 P-00。
第三步:按“+”號鍵,把 P-00 調至 P-02,(P-02)就是電機正反轉參數(常用
參數表上有標明);
第四步:按下“P”鍵畫面會顯示“1”;
第五步:按下“-”號鍵把“1”調到“0”(“1”為順時針轉,“0”為逆時針
轉,常用參數表上有標明);
第六步:按下“S”鍵確定參數調整完成。

2. To enter the parameter method of operation:
Example: How to change the motor from clockwise to counterclockwise:
Step one: Open the power;
Step two: Press the ”P” key, no leave, and press “+” key, the screen will display
the P-00;
Step third: Press “+” key, change the P-00 to P-02, (P-02) is a motor clockwise or
counterclockwise parameters (common parameter list has record);
Step four: Now press “P” key (enter into parameters) screen will display “1” ;
Step fifth: Press “-” key,change “1” to “0”;("1" for clockwise, "0" for the
counter clockwise rotation, commonly used in the parameter table is indicated);
Step six: Press the “S” key to determine the parameters, save and exit the
parameter.
3. 恢復出廠設置
恢復出廠設置方法:先按“P”鍵不放,同時按“+”號鍵,此時畫面會顯示 P-00,
再長按“S”鍵約 3秒即可。
3. Restore factory settings
Restore factory settings: Press the “P” key, no leave, and press the “+” key, the
screen will display the P-00, then press “S” key 3 seconds.
4. 電機常用參數設置 Commonly used parameter setting
參數編號
Parameters
name
參數名稱
The parameters
name
參數範圍
Adjusting rang
出廠設置
The factory
reset settings
備註
P-01
最大速度鎖定
Maximum
Speed lock
200-5000RPM 4500 轉
P-02
電機方向
Direction of
rotation
0是逆時針
0 is reverse
turn needle
1是順時針
1 is clockwise
turn
1
老款平縫電機調到 2或3
Old flat seam motor
change to 2 or 3
P-03
下停角度
The needle
angle
6-18° 12°
P-04
起縫速度
Start sewing
speed
200-800 轉250 轉
P-05
加速快慢
Speed up
And slow
2000-4000 轉3000 轉
P-06 定針縫
Set the seam 0-999 針0
P-10
自動間隙運行
(跑合)
Automatic
Clearance run(run)
把0改成 1再按 S鍵
Press the S key when
change 0 to 1
0

P-11
抬壓腳起動時間
Presser foot ascend
starting time
0-2000ms 0
P-12
抬壓腳保護時間
Ascension presser
foot protection time
1-120s 0
P-13
老款平車電機選擇
Old section flat
sewing machine
selection
1是老款平縫機電機
Motor option 1 is old
section flat sewing
machine
0
0是普通機
0 is ordinary sewing
machine
P-14
最大電流限制
Maximum current
limiting
50-1000 360 內部電流值 the inside
current number
P-15
是否檢測上針位
Whether to detect
the up needle
position
1:檢測針位,0:不檢測
1:detecting needle
0:no detection
1
設為 1時,如果無上定位
感測器則報警 ER01,設 為
0時則不報警 Set “1”,
if there is noupper needle
stop sensor will alarm
ER01; set “0” no alarm
P-18 出廠密碼
factory code 0000-9999 2013
P-19 軟起動針數
soft start stitches 0-15 0
0針關閉該功能,1-15 針
時啟用軟啟動,並設定針
數(上停針時有效)
0 stitch is close this
function, 1-15stitches is
open the soft start , and
set the stitches(upper
needle position is
effective )
P-20 軟起動速度
soft start speed 200-3500 800
P-21 吸氣功能
suction function
0:關閉 1:開啟
0: close 1:start 1
電機運轉時開啟/關閉吸
氣功能 motor running
open/close suction function
P-22
吸氣開啟針數
suction start
stitches
1-200 30
吸氣打開針數 (P23 針
數打開時有效)
suction open stitches(P23
stitches open have
effective )
P-23
吸氣間隔針數
suction close
stitches
0-200 0
0為長吸大於 0為間隔針
數
0 is long waste suction and
over 0 is interval stitiches.
P-24
吸氣動作維持時間
suction action
maintain time
50-2000ms 120ms 此參數暫時不用 this
parameter do not use now
P-25 吸氣全功率時間 35-1000ms 120ms

suction full power
time
P-26
吸氣全功率時功率
the power of suction
full power
5-100% 80%
P-27
吸氣維持功率
suction maintain
power
1-100% 70%
P-28 吸氣釋放時間
suction release time
0-500ms 20ms
P-29
吸氣保護時間
suction protection
time
1-120s 30s
吸氣單次動作最長時間
the longest time of suction
single action
P-30
壓腳觸發模式
foot presser trigger
mode
0:關閉 1:開啟
0: close 1:start
0
1為觸發模式:後踏抬壓腳中
立不會自動放壓腳
0為跟隨模式:後踏抬壓腳、
中立或前踏放壓腳
1 is trigger mode: back step
the pedal the foot presser
lifting, middle step the pedal the
foot presser can not lift
0 is the following mode: back
step the foot presser lifting,
middle step or front step release
the foot presser
P-31
後抬腳啟動時間
back foot presser
lifter start time
0-2000ms 0
後踏延遲啟動壓腳的時
間the time of back step
delay start foot presser
P-32
抬壓腳動作維持時
間foot presser lifter
action maintain time
50-1000ms 160ms 此參數暫時不用 this
parameter do not use now
P-33
抬壓腳全力功率時
間foot presser lifter
full power time
35-1000ms 160ms
P-34
抬壓腳全力功率時
功率 the power when
the foot presser
lifter full power
5-100% 100%
P-35
抬壓腳維持功率
foot presser lifter
maintain power
1-500% 20%
P-36
抬壓腳釋放時間
foot presser lifter
release time
0-120ms 30ms 壓腳釋放時間 the foot
presser lifter release time
P-37
抬壓腳保護時間
foot presser lifter
protection time
1-100s 10s
壓腳單次抬起最大維持
時間 the biggest maintain
time of the foot presser
lifter single time
P-38 顯示速度
display time 200-5000RPM
顯示當前電機實際速度
display the current motor
real speed

P-39
顯示速控器電壓
display the volt of
speed controller
14-1010
中點電壓
195
Neutral
point volt
顯示當前速控器電壓 0—
1024,相當於 0-5V
Display the current speed
controller volt 0-1024, it is
equal 0-5V
P-40
顯示直流母線電壓
display DC buses
voltage
60-500V 320v
當電壓高於 395 會報警,
(直流母線電壓/1.414=交
流母線電壓)when the volt
is higher than 395V will
alarm,(DC buses volt/1.414
= AC buses volt )
P-41
過壓保護開關
overload protection
switch
0:關閉 1:開啟
0: close 1:start
1
設為 0關閉過壓報警,設
為1打開報警,當直流母
線電壓超過 395V 時,報
警Er16,電機自動停止運
行,報警後當電壓低於
385v 電機可再次運行 set
“0” is close the overload
alarm, set “1” is open the
alarm, when DC buses voltage is
over 395 V , will display Er16,
the motor will stop automatic,
when volt is lower 385V, the
motor can run.
四、一般故障處理:Common faults and treatments
錯誤碼
Error code
錯誤內容
Error content
錯誤問題的多種可能
Several possible error problem
Er01
找不到停針位
Can’t find the
needle position
1.手輪靠的不夠近間隙在 2.5mm 內
2.九針插頭接觸不良
3.電機霍爾壞,要更換電機
4.手輪上的磁鐵掉落
1. The hand wheel is not close, clearance within 2.5 mm
2. Nine plug contact undesirable
3. Motor holzer bad, to replace the motor
4. The hand wheel magnet in the loss
Er02
開機沒有檢測
到調速器
Not detected
boot speed
regulator
1.調速器插頭沒有插
2.調速器線斷了或接觸不良
1. Speed control device without plug
2. Speed wire is broken or contact undesirable
Er03
電機霍爾或相
位線錯誤
Motor holzer or
phase error
1.九針插頭接觸不良
2.電機沒有安裝好,參照圖 A
3.霍爾壞
1. Nine hole plug contact undesirable
2. The motor doesn’t pack good
3. Holzer is bad

Er04
堵轉保護
Locked-rotor
protection
1.電機超載
2.電機與電控相連接的四心線接觸不好
3.電機斷線或壞了
1. The motor overload
2. The motor and the controller connected four hole line contact is
not good
3. Motor is bad
Er05
硬體過流保護
Hardware
over-current
protection
1.電機超載
2.信號線接觸不好或斷了
3.主機板壞了
1. The motor overload
2. Line contact is bad or broken
3. Main board is bad
Er07
串口通信逾時
錯誤
Serial port
communication
timeout error
顯示幕至主機板信號線不良或主機板壞
Display to the system board signal is bad or board is bad
Er16
過壓保護
Overload
protection
1. 電機驅動電源電壓過高,220V 電源電壓超過限定值
(AC310V),或負載慣性過大導至再生電壓超過限定值
(DC440V),或電壓檢測回路故障。
注:(110V 控制系統電源電壓超過限定值(AC155V),或負
載慣性過大導至再生電壓超過限定值(DC220V)。
1. The motor drive power supply voltage is too high, the 220V
power supply voltage exceeds the limit value(AC310V), or the
load inertia is too large to the regenerative voltage exceeds the
limit value(DC440V), or the voltage detection circuit fails.
Note:(110V control
system power supply voltage exceeds limit
value(AC155V), or load inertia is too large to regeneration voltage
exceeds limit value(DC220V).
Er20
欠壓保護
Deficiency
protection
1. 電機驅動電源電壓過低,220V 電源電壓低於限定值
(AC91V),或電機驅動電源電壓低於限定值(DC130V),或
電壓檢測回路故障。
注:(110V 電源電壓低於限定值(AC45.5V),
或電機驅動電源電壓低於限定值(DC65V))
1. The motor drive power supply voltage is too low, the 220V
power supply voltage is lower than the limit value(AC91V), or the
motor drive power supply voltage is lower than the limit
value(DC130V), or the voltage detection circuit fails.
Note:(110 V power supply voltage is below the limit(AC45.5 V), or
motor drive power supply voltage is below the limit(DC 65V))
Er22
調速器未復位
speed controller
is not reset
開機檢測到調速器輸出電壓高於啟動電壓
調速器故障或調速器未重定
1. The boot detected that the speed controller output voltage is
higher than the boot voltage
2,Fault of speed controller or non-reset of speed controller

五、作業環境要求:Environmental Requirements
1.請不要在過潮濕環境中作作業
Please do not work at damp place
2.用戶供電應保持穩定 210V-240V( 注:110V 用戶供電應保持穩定 90V-130V)
The voltage requires being stable (210v-240v)(Note: The power supply for 110V users should remain
stable at 90V-130V)
3.用戶使用前必須接地,確保人身安全
Must be adequately grounded for safety
4.不要在過熱地方作業
Do not work at high temperature
5.控制系統與電機不要在強磁高輻射環境中作業,以免干擾而使系統錯誤
Do not run motor and control system near to ferromagnetic or high-radiance area
六、保修服務: Warranty Service
1.本產品自購買起免費保修 2年,終身維護。保修期內除人為損壞以外出現
任何品質問題可免費維修
Since from the purchase of this product,the free 2-year warranty,lifetime
maintenance. During the warranty period,any quality problems the product will
be free repaired,except artificial damage.
2.在保修期內,以下情況出現損壞本公司不給於保修服務:
In the warranty period, the following circumstances appear to damage the
company does not give the warranty service
A. 未經本公司同意自行拆卸、修理、改裝造成的故障或損壞。
Dismantle the motor unit without permission and cause damage.
3.但凡出現無法解決的問題可以聯繫本公司。
Whenever find the problem can not be solved, you can contact with our company

由於對產品的改良及更新 , 本產品使用說明書中與零件圖之產品及外觀的修改恕不事先通知 !
The specification and/or the equipment described in the instruction book and parts list
are subject to change because of modification with out previous notice
C/S007KD.AUG.2020
Other manuals for C007KD
1
This manual suits for next models
1
Table of contents
Other Siruba Sewing Machine manuals

Siruba
Siruba C007L User manual

Siruba
Siruba HSM-2517 User manual

Siruba
Siruba 700LX User manual

Siruba
Siruba 700DFT User manual

Siruba
Siruba L818F-DM1 User manual

Siruba
Siruba AA-6 User manual

Siruba
Siruba 700K/988 User manual

Siruba
Siruba 700L-BKF1 User manual

Siruba
Siruba Sew Reach F007KD User manual

Siruba
Siruba 700KT User manual