SkyLink Pro USB Personal VoIP Gateway User manual

Ver
2.
3
SkylinkPro USBPersonalVoIP
Gateway
User’sGuide

Page
2
of
48
Ver
2.
3
Contents
Contents..............................................................................................................................2
Welcome.............................................................................................................................3
PackageContents................................................................................................................4
Requirements......................................................................................................................5
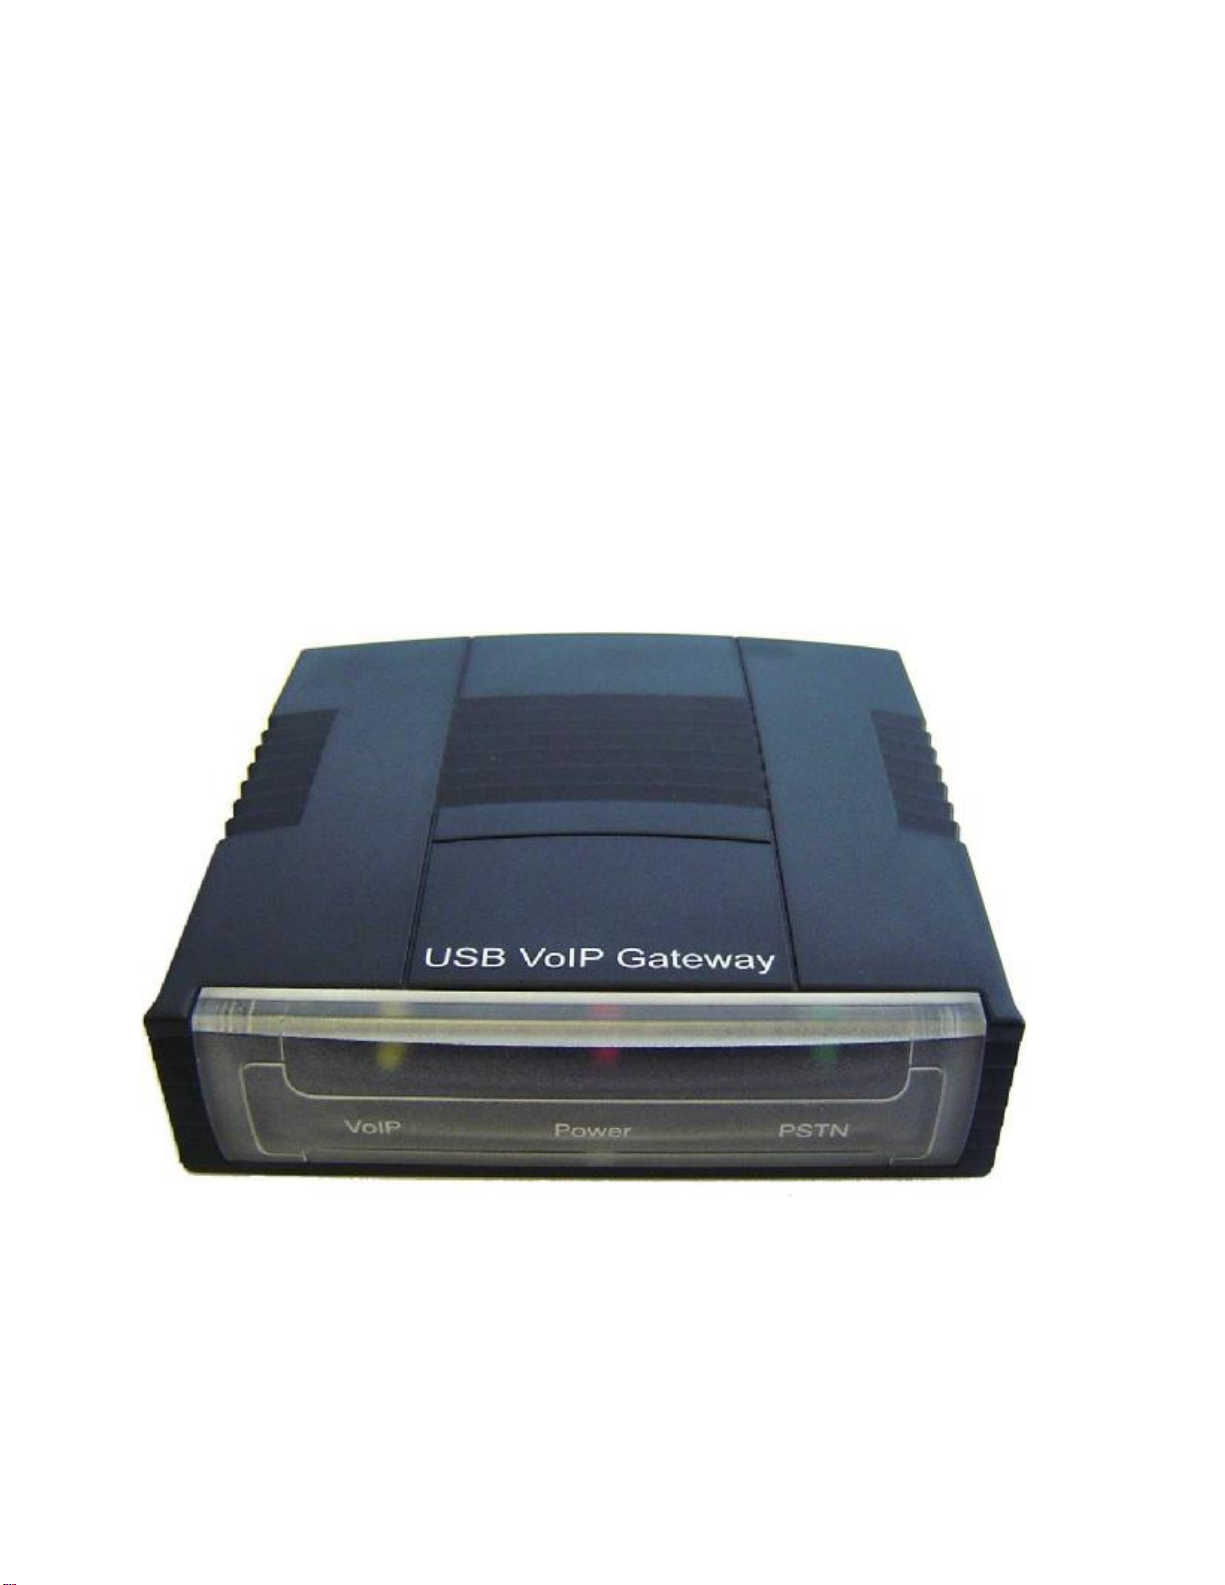
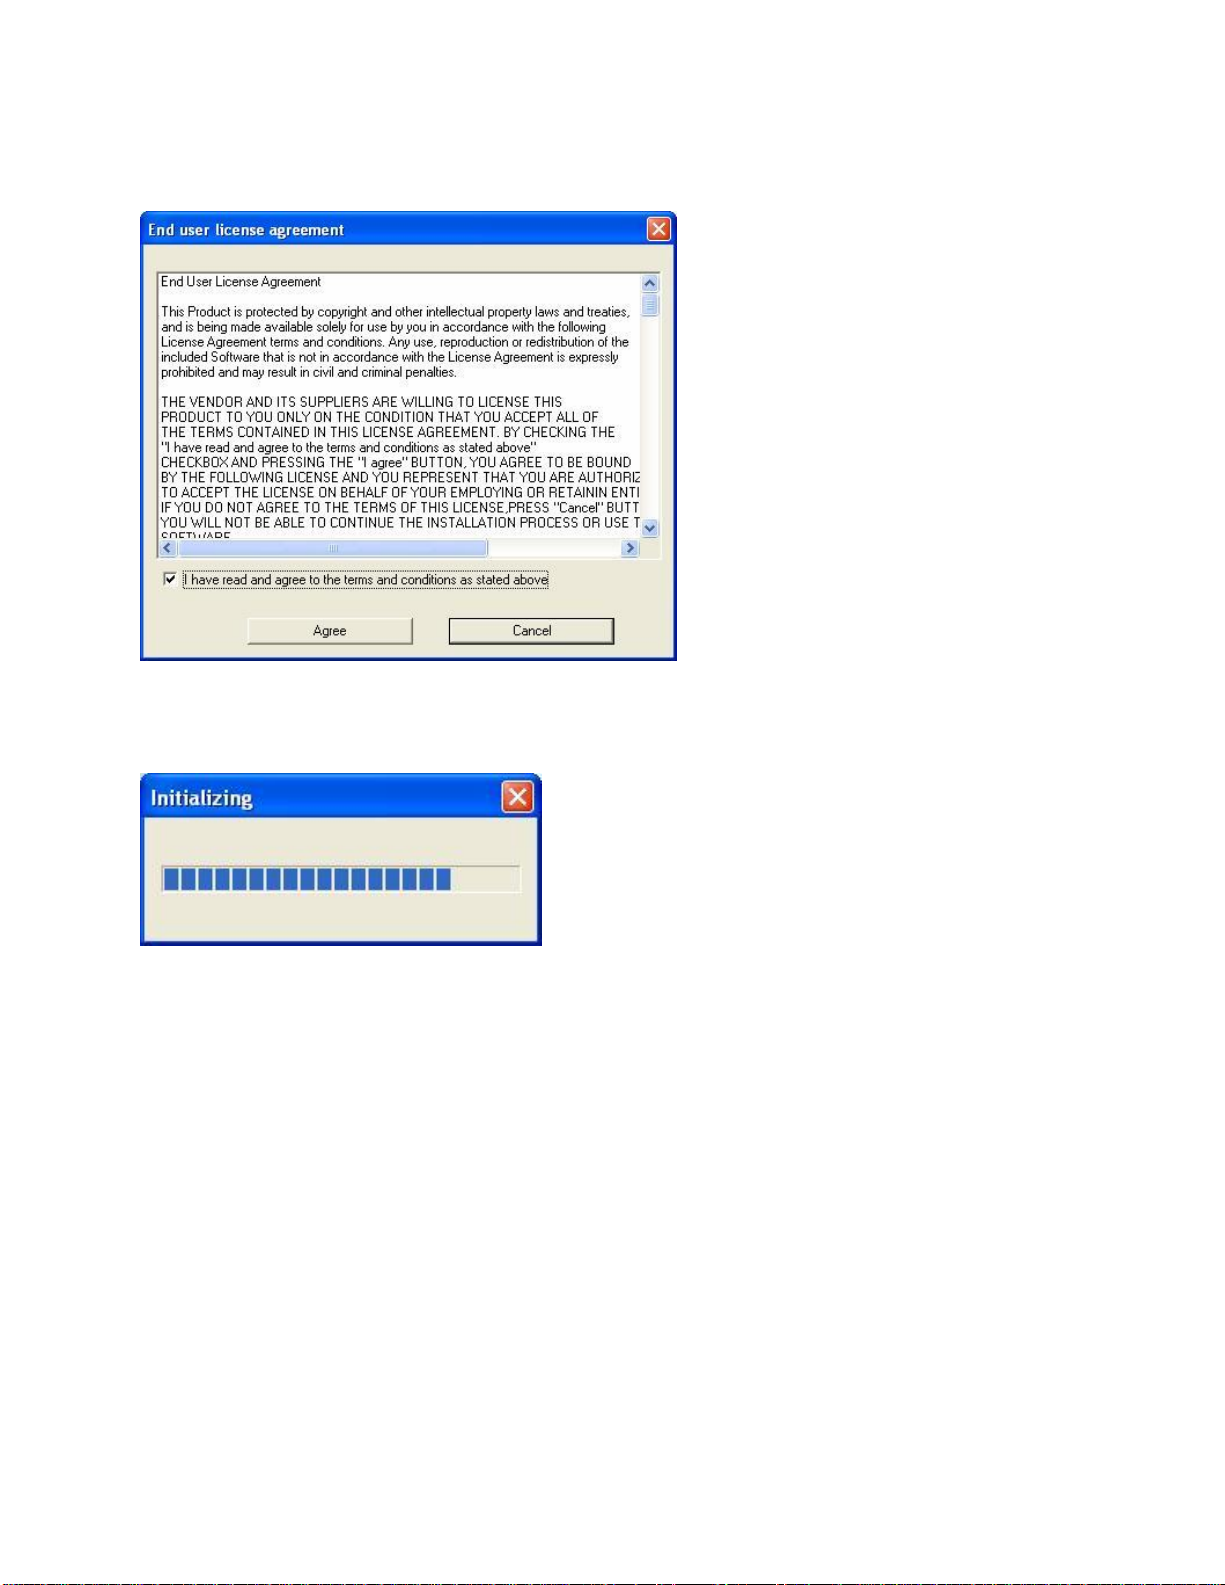
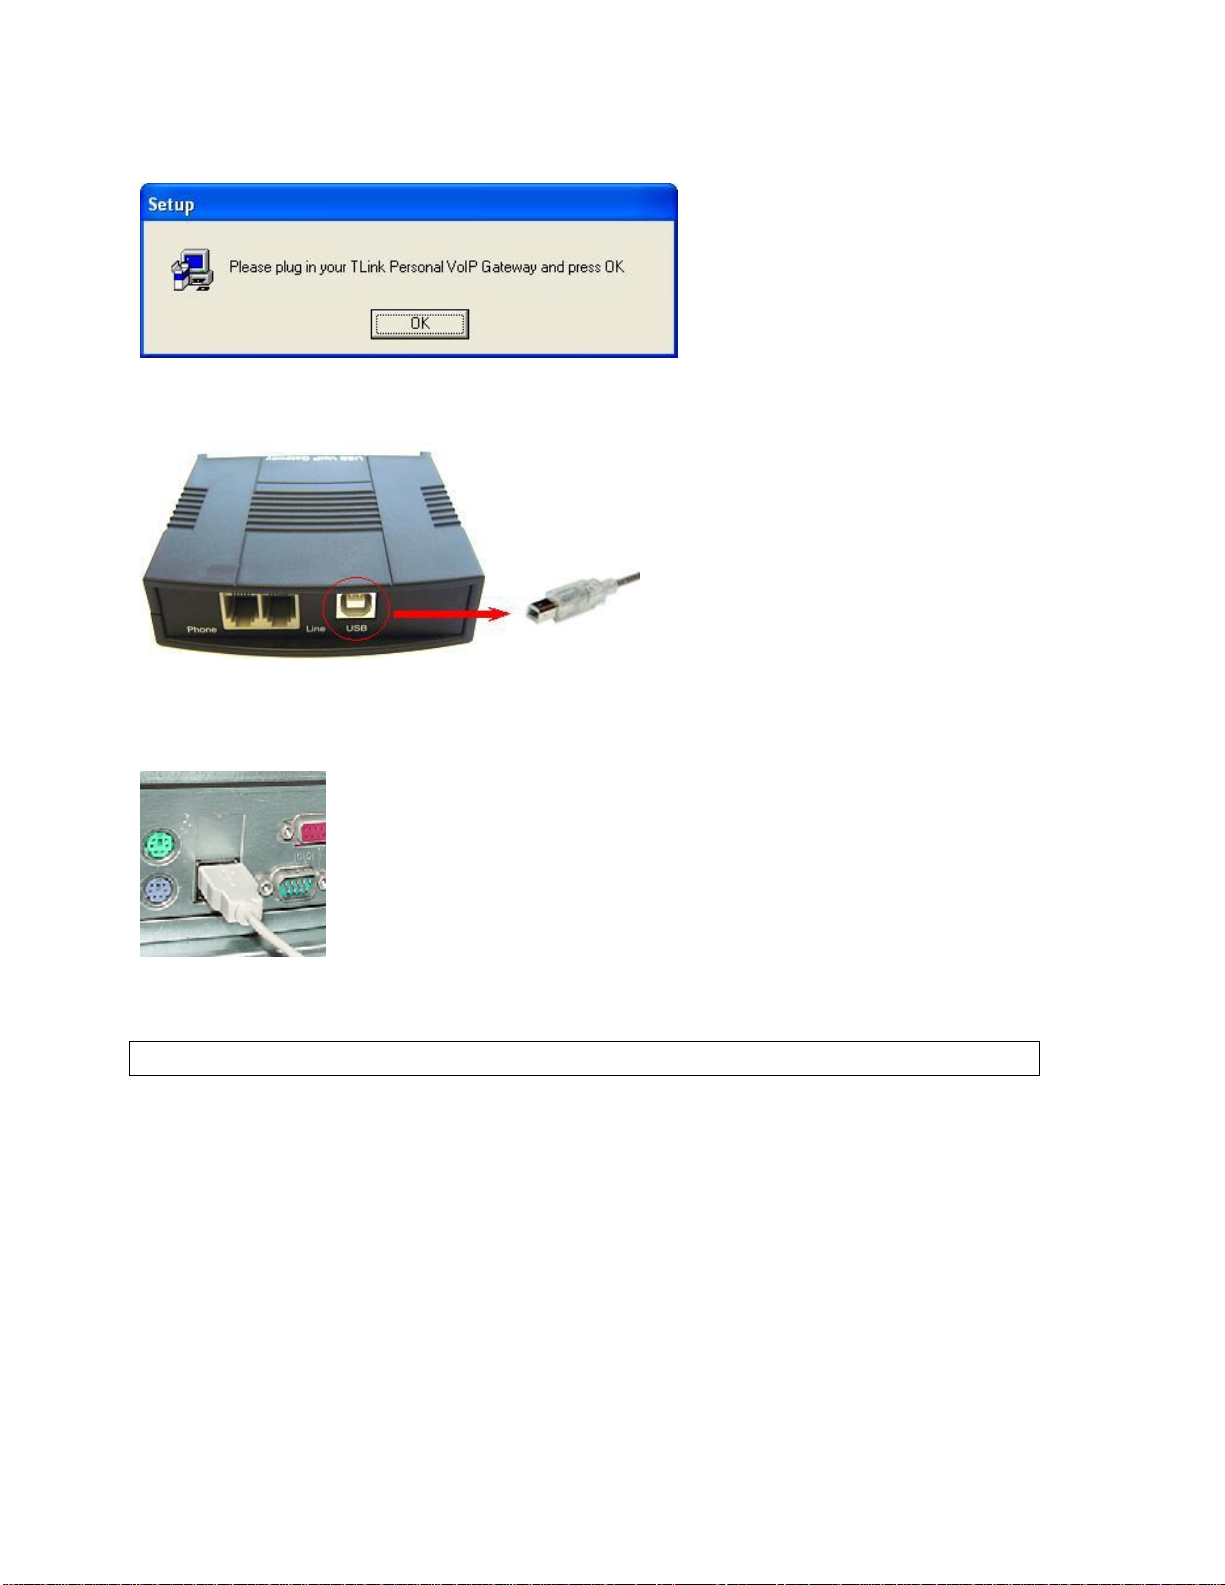
Skylink Pro Installation...................................................................................................6
EnablingSkylink Pro ....................................................................................................18
Skylink Pro States.........................................................................................................20
Skylink Pro Adaptor LEDs...........................................................................................20
TestingSkylink Pro .......................................................................................................21
Making and Receiving Calls.............................................................................................25
Setting Up Skype Speed Dial........................................................................................25
Switching Between VoIPand Regular Calls....................................................................28
Conference Call Between VoIP and Regular Calls..........................................................28
3-WayCalling...................................................................................................................28
Forwarding Calls...............................................................................................................29
Toll Bypass.......................................................................................................................33
Toll Bypass + Call Forward..............................................................................................37
Skype Voicemail...............................................................................................................37
Recorder............................................................................................................................38
Changing the Default Settings..........................................................................................40
DisablingSkylink Pro ...................................................................................................42
Uninstall............................................................................................................................43
Installing aNew Version..................................................................................................44
Troubleshooting................................................................................................................45

Page
3
of
48
Ver
2.
3
Welcome
TheSkylink Pro USBPersonal VoIPGateway(SkylinkPro)is an exciting new device
that let’s you make and receive Skype calls using your standard telephone handset.
After you follow the simple installation you will be able to do the following:
•Continue to make and receive regular callsasyou normallydo
•Make and receiveSkype calls usingyourstandardtelephone
•Forward Skype calls to your mobile phone
•Make Skype calls fromyour mobile phoneevenwhen youare awayfromyour
computer
•Switch between aSkype call and aregular phone call
•Check Skype voicemailfromyour handset
•Record incoming Skype ,PSTN and forwarded calls as wave(WAV)files
This document covers driver version 1.16.03.
Please view the readme.txt that is installed with theSkylink Prodriver. It lists any known
issues that mayexist.

Page
4
of
48
Ver
2.
3
PackageContents
TheSkylink Pro Personal VoIP Gateway package includes the following(note that
your particular hardware and cables may look slightly differentthan shown below).
1.Skylink Pro Personal VoIPGateway 2.USB Cable
3.TelephoneCable 4.CD-ROM
5.User’sManual6.Quick Start Guide

Page
5
of
48
Ver
2.
3
Requirements
Inorder to install theSkylink Pro adapteryou will need the following:
1.Skylink Pro adapter
2.USB cable
3.RJ11 cable
4.Telephone (regular telephone, cordless phone, DECT phone, …)
5.Telephoneservice(for conf call, 3waycalling and forwarding features)
6.Broadband internet service is recommended
7.PC with the following minimumspecifications:
oPentium450MHz or equivalent
oWindows 2000or XP
oAvailable USB port (1.0,1.1 or 2.0)
oSkype version 1.3or higher(www.skype.com)must be installed.
o128MB RAM
o20MB availablehard diskspace
oCD-ROM drive to installSkylink Pro softwarefrom the supplied CD-ROM
8. Recommended PC specification for optimal performance:
oPentium 1GHz or equivalent
oWindows 2000 or XP
oAvailable USB port (1.0,1.1 or 2.0)
oSkype version 1.3 or higher (www.skype.com) must be installed.
o256MB RAM
o30MB availablehard diskspace
oCD-ROM drive to installSkylink Pro software fromthe supplied CD-ROM
Note that theSkylink ProAdapter must be connected directlyto the PC USB port
or to an AC Powered USB hub.It CANNOT be installed on a bus powered USB
hub.

Page
6
of
48
Ver
2.
3
Skylink Pro Installation
DO NOT CONNECT THESKYLINK PRO
ADAPTERTO YOURCOMPUTER UNTIL
INSTRUCTED TO DO SO BY THESKYLINK PRO
INSTALLATION WIZARD
The following instructions will guide you to through the process ofinstalling theSkylink
Pro PersonalVoIPGateway.
The installationprocedure is to:
•Install Skype (step 1below)
•Start theSkylink Pro SWinstallation(step 2below)
•Plug in theSkylink Pro adapterWHEN INSTRUCTED TO DO SO(step 2
below)
•Verify the installation is OK (step 3below)
•Connect atelephone handset to theSkylink Pro adapter(step 4below)
•Connect theSkylink Pro adapterto the wall jack(step 5below). Notethat this
is optional and only required for the forwardingand conferencingfeatures.
•Use yourSkylink Pro adapterto make and receive Skype calls
The detailed instructions follow:
STEP 1: If Skype is not already installed on yourcomputer, visit
http://www.skype.com and follow the instructions there to install Skype .Verify that
Skype is working before installing theSkylink Pro adapter.

Page
7
of
48
Ver
2.
3
STEP 2: Insertthe supplied CD-ROM intoyour PC CD-ROM drive.The installation
should start automatically.Ifnot,or ifyou have quit the setup, thenopenthe installation
folder on the CD-ROM and double click on the setup.exe programas shown below.
You will see the following popup. Press Yes to proceedor No to cancel.

Page
8
of
48
Ver
2.
3
You will see the End User License Agreement. Click the “I have read …” checkbox and
pressthe IAgree button as shown below.
You will see the following progress bar below indicating that the installation is
proceeding.

Page
9
of
48
Ver
2.
3
Wait until you see the following popup and press the OK button.
Connectthe USB cable totheSkylink Pro adapterUSB port as shown below:
Theother end of the USBcablemust be connectedtoaUSBport on your computer as
shownbelow,
or to an AC PoweredUSB hub.
TheSkylink ProAdapter MUST not be connected to a bus powered USB hub.

Page
10
of
48
Ver
2.
3
You will see the following Windows New Hardware Found Wizard.
Select Installthe softwareautomatically(Recommended) and pressthe Next button.

Page
11
of
48
Ver
2.
3
The installation will continue and you will see the following screen.
When you see the following screen, press the Finish button.

Page
12
of
48
Ver
2.
3
Then you will see the following Windows New Hardware Found Wizard screen.
Select Installthe softwareautomatically(Recommended) andpress the Next button.
The installation will continue and you will see the following screen.

Page
13
of
48
Ver
2.
3
When you see the following screen, press the ContinueAnyway button.
When you will see the following screen, select the option, “allow this program touse
Skype and press the OK button.

Page
14
of
48
Ver
2.
3
When you see the following screen, press the Finish button.

Page
15
of
48
Ver
2.
3
STEP 3: When the installation completes you should see thefollowing message appear
near your system tray and anew telephone icon (circled in redbelow) in your system tray
as shown below.
The telephone icon indicates that theSkylink Pro software is installed and running and
that you can start making calls via Skype and theSkylink Pro adapter.
You will see anew programgroup namedSkylink Pro ,accessed fromthe Start button-
>All Programsas shown below.

Page
16
of
48
Ver
2.
3
STEP 4: Connect astandard telephone handset to theSkylink Pro phone jackusing a
telephonecableas shown below
STEP 5: Connect atelephonecablebetween theSkylink Pro line jack and awall
jack asshown below.Note that this is onlyrequired for making regular phone calls or for
forwarding Skype calls to your mobile (or other off-site) phoneor for toll bypass
applications.

Page
17
of
48
Ver
2.
3
You final configuration should resemble the following.

Page
18
of
48
Ver
2.
3
EnablingSkylink Pro
Inorder to useSkylink Pro and it’s features, (1) theSkylink Pro adaptermust be
plugged into the PC, (2) atelephone handset must be plugged into theSkylink Pro
adapter, (3) theSkylink Pro adaptermust be connected to the telephone wall jack1and
(4) theSkylink Pro agent must be running (see green telephone in the Windows
SystemTray).
(note 1 –this is only required for making regularphone calls or for forwarding Skype
calls to your mobile (or other off-site) phone or for toll bypass applications)
IftheSkylink Pro Agent isnot running (i.e. no green telephone in the systemtray),
make sure theSkylink Pro adapteris connected to the PC and start theSkylink Pro
Agent asshownbelow (Start-> All Programs->Skylink Pro ->Skylink Pro Agent):

Page
19
of
48
Ver
2.
3
Youmaysee the following screen, select the option, “allow this program to use Skype
and press the OK button.
You should now see theSkylink Pro agent in the Windows System Trayas shown
below.
You are now ready to use theSkylink Pro Personal VoIP Gateway.

Page
20
of
48
Ver
2.
3
Skylink Pro States
When theSkylink Proadapteris installed and the software isinstalled properly,then you
will see a green phone in the system trayas shown below.
IftheSkylink Pro agent is running and theSkylink Pro adapteris removed or Skype
is not running,then the telephone will be red as shownbelow.
During an incomingor outgoingSkype call, the telephone handset will jiggle as shown
below, indicating an VoIP callis being initiated.
When theSkylink Pro agent is not running, there isno phone in the system tray.
Skylink Pro Adaptor LEDs
TheSkylink Proadaptortypicallyhas 3LEDs as illustrated below.Note that the colors or
number ofLEDs on yourSkylink Promaybe different.
•When theSkylink Proadapter is installed and the software is installed properly,
then thepowerLEDwillbe lit red indicating theSkylink Proadaptoris receiving
power.
•The PSTN LED indicates aPSTN call
•The VoIP LED indicates a VoIPcall
PSTNVoIP Power
Table of contents
Other SkyLink Gateway manuals
Popular Gateway manuals by other brands

AudioCodes
AudioCodes Mediant 2000 installation guide

Zenner
Zenner IoT Installation instruction

H3C
H3C SecPath M9000 Series Compliance and Safety Manual

Aztech
Aztech VDSL5040GRV(AC) user manual

Technicolor
Technicolor MediaAccess TG788VN Setup and user guide

Quantum
Quantum StorNext G300 R510 Hardware guide