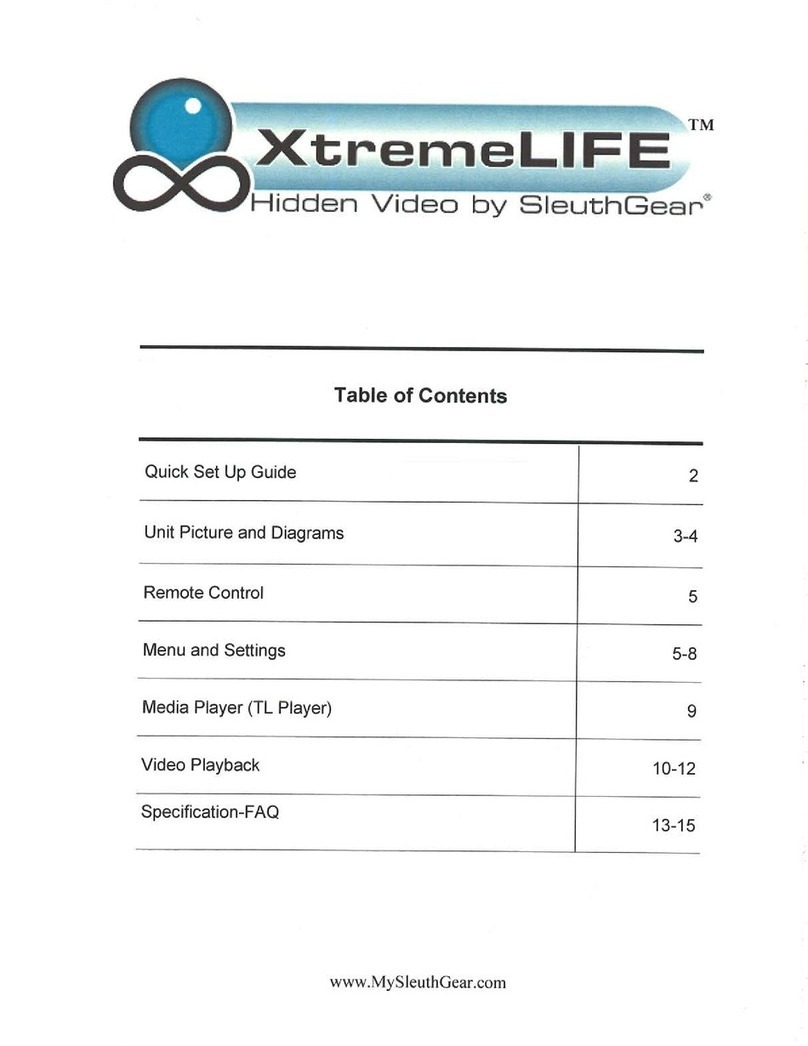
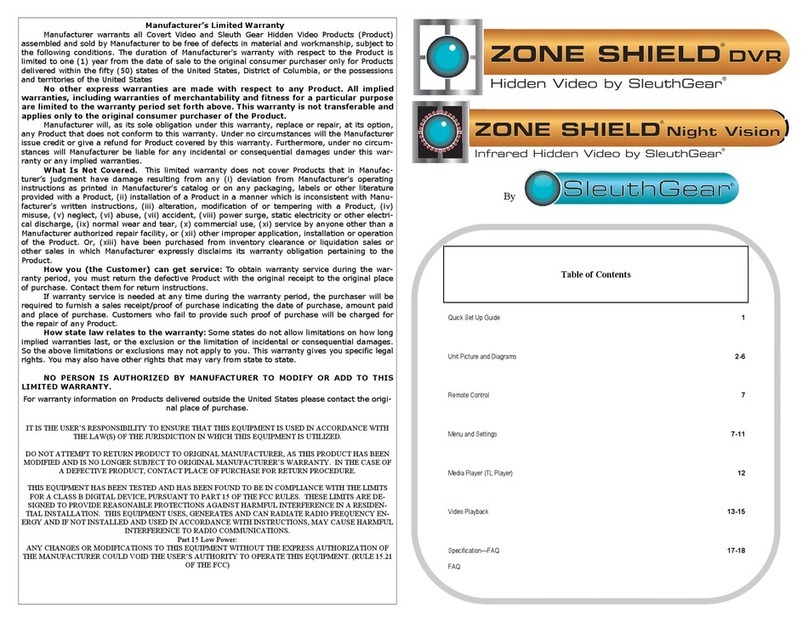
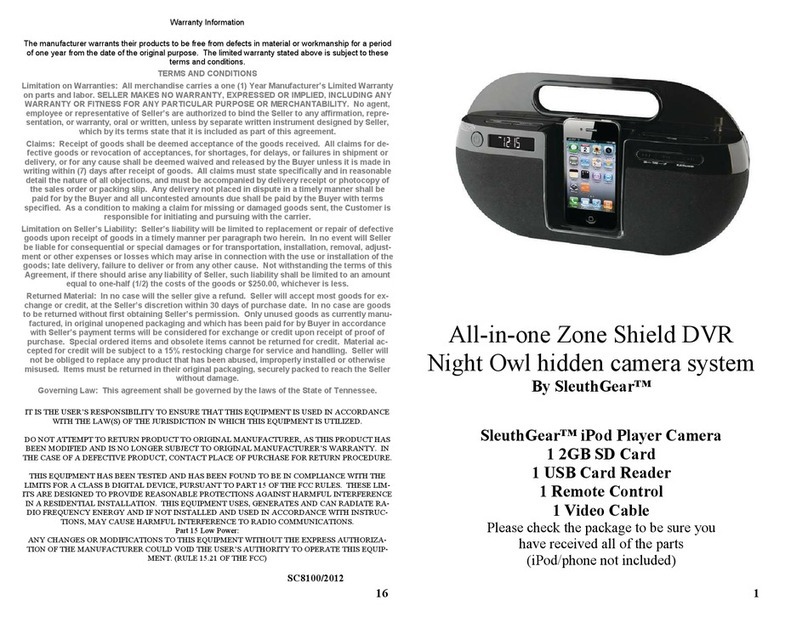
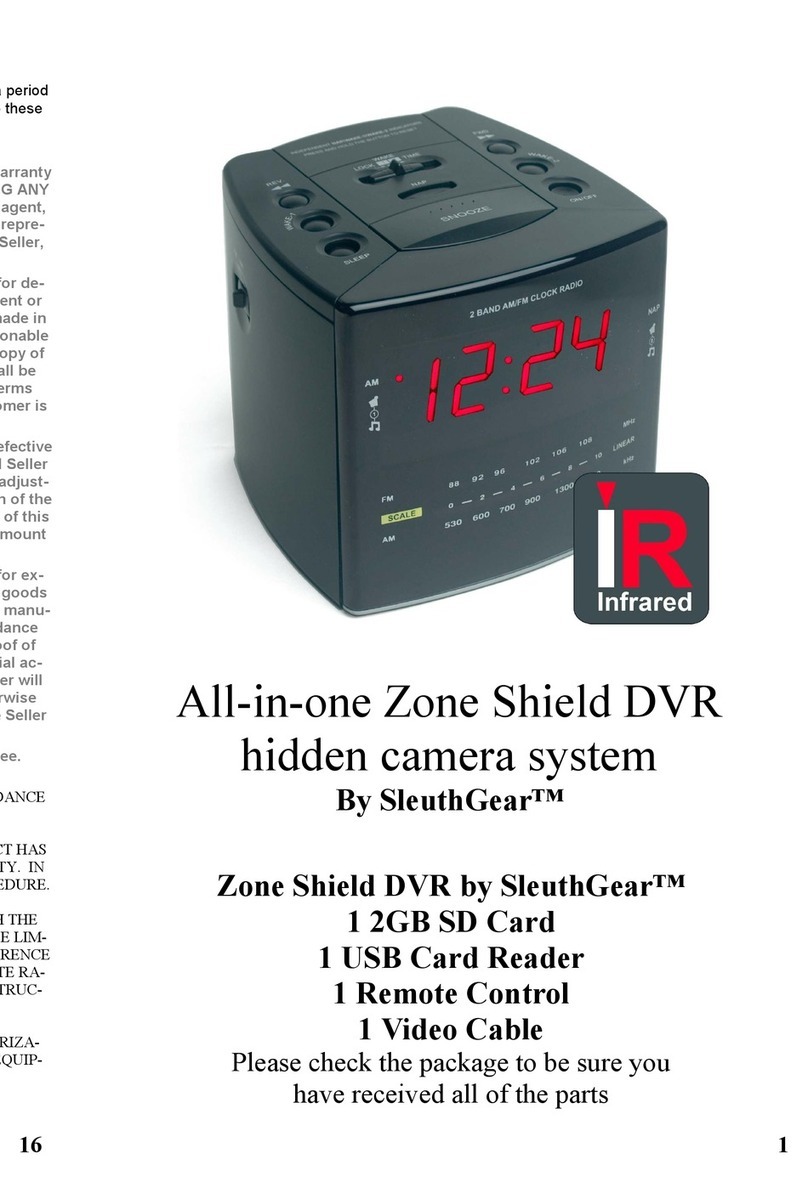
SleuthGear ZONE SHIELD 4K DVR User manual

K J B S e c u r i t y P r o d u c t s | w w w . m y s l e u t h g e a r . c o m | 8 0 0 . 5 9 0 . 4 2 7 2
Page 1
4K DVR Manual
Table of Contents
Introduction
2
Includes
2
Quick Setup Guide
4
Features
4
Setup/Remote Control Diagram
5
DVR Menu Quick Start Guide
6
DVR Menu & Settings
7
LED Chart
11
Specifications
11
Frequently Asked Questions
12
Products
14
Warnings & Precautions
19
Warranty & Disclaimers
21

K J B S e c u r i t y P r o d u c t s | w w w . m y s l e u t h g e a r . c o m | 8 0 0 . 5 9 0 . 4 2 7 2
Page 2
Introduction | Zone Shield®& Xtreme Life®4K
Thank you for purchasing your Zone Shield®or Xtreme Life®4K hidden camera system. Before you
get started, allow us to introduce you to some of the main features of your hidden camera. The Zone
Shield®4K DVR was designed as a standalone digital recording system for you to quickly deploy when
you need to protect what matters. We incorporated a built in DVR recording system capable of 4K
resolution, meaning it is high definition recording, a user friendly interface, and multiple recording
options making the Zone Shield®4K hidden camera the perfect solution. You can use Zone Shield as a
simple motion activated system up to a fully customizable recording system. The choices are there to
meet your specific recording requirements.
Xtreme Life®4K was designed to be a long-life battery-operated hidden video camera and DVR. To
accomplish extended battery life, your camera uses a technology known as PIR (Passive Infrared).
You’ll find the PIR sensor located next to or near your camera lens. The PIR sensor regulates the
power to the internal video recording components and is the triggering mechanism that initiates
recording. When there is no activity in range of the PIR sensor, the camera and the DVR will be
powered down. When the sensor is triggered, it will send a signal to turn on the camera and begin
recording almost instantly. The less activity, the longer the system will maintain battery life.
All of our SleuthGear®line of hidden cameras are designed and assembled in Nashville, TN USA
backed by our 1 year warranty. Visit our website to see the full line of SleuthGear®hidden cameras at
www.mysleuthgear.com
Includes
Zone Shield®or Xtreme Life®4K DVR camera by SleuthGear®
Battery Pack & USB charging cable (Xtreme Life®models)
32 GB Micro Memory Card
DVR Remote Control
DVR Video Output Cable
Quick Setup Guide

K J B S e c u r i t y P r o d u c t s | w w w . m y s l e u t h g e a r . c o m | 8 0 0 . 5 9 0 . 4 2 7 2
Page 3
Compatible Memory Storage
For the camera to function properly, below memory card brands of class 6 and above are
recommended:
Apacer
Toshiba
SanDisk
Kingston
For 64 & 128GB cards, the below memory card brands of class XCI or above are recommended:
Toshiba
Samsung EVO
Memory Card Chart | Estimated Recording Capacity in hours
Video
Resolution
Frame rate
1GB | hr
8GB | hr
16GB | hr
32GB | hr
64GB | hr
128GB | hr
720P
1280 x 720
30 fps
.34
2.72
5.44
10.88
21.76
43.52
60 fps
.16
1.28
2.56
5.12
10.24
20.48
120 fps
.14
1.12
2.24
4.48
8.96
17.92
1080P
1920 x 1080
30 fps
.15
1.20
2.40
4.80
9.60
19.20
60 fps
.12
.96
1.92
3.84
7.68
15.36
1296P
2304 x 1296
30 fps
.11
.88
1.76
3.52
7.04
14.08
2K
2560 x 1440
30 fps
.08
.64
1.28
2.56
5.12
10.24
4K
2880 x 2160
24 fps
.09
.72
1.44
2.88
5.76
11.52
Battery Pack Information | Xtreme Life®Models
The battery pack is to be charged with the provided USB cable inserted into either a USB port on a
computer, or an A/C adapter (not included) with a USB connection similar to most modern smart phone
chargers. While both methods are sufficient, the A/C adapter method will charge the battery more quickly.
You can purchase additional battery packs using the part# A1028 through the retail company you
purchased your camera(s) from. If they do not have the part# listed on their website, you can call or
email them and ask for anA1028 battery. Also be sure to check the Traveling with Batteries on page 20.

K J B S e c u r i t y P r o d u c t s | w w w . m y s l e u t h g e a r . c o m | 8 0 0 . 5 9 0 . 4 2 7 2
Page 4
Quick Setup Guide
Take the unit from the box and ensure you have received all included items (pg 3).
Open the device to insert the memory card into the memory card slot and connect the power
supply or battery, turning it on after the connection is made.
For the Xtreme Life®models, charge the battery pack first ~10 hours for a full charge
To confirm the device is ready, connect the provided video cable from the unit to your TV video
input and create motion in front of the camera to see a live video feed and make a sample
recording. Customize your settings in the Menu, such as Resolution, Record Time, Time & Date.
Your device is now ready to be placed in the area of desired surveillance.
Default recording setting is Motion Detection (Zone Shield®) or PIR detection (Xtreme Life®).
Once the power is turned on and the device recognizes the memory card, the DVR will begin to
record based on the default recording setting.
PIR Technology Note: Each Xtreme Life®DVR has a built in PIR sensor that detects levels of infrared
radiation, the use of which makes the battery life so long. Everything emits some level of radiation. The
hotter an object is, the more radiation it emits. Changes in radiation levels are considered as motion by the
DVR, which will then turn on and begin to record. The PIR sensor requires very little power, so the DVR will
be off even though the PIR sensor is still detecting radiation. When the PIR detects a change in radiation,
the DVR will turn on and begin to record. The DVR takes approximately 3 seconds to turn on and start
recording.
Features
4K Resolution: 2880x2160p
Indoor & Outdoor Hidden video Surveillance System (select models)
120˚Wide Angle Lens Captures More of Your Scene than Ever Before
Long Lasting Rechargeable Battery using PIR Sensor Provides up to 90 Days of Standby (Xtreme
Life®models)
Night Vision –Hidden IR Lights Capture Video at Night (select models)
Time & Date Stamped Files
Digital CMOS Camera with 4K Image Sensor Provides Clear Captured Video
Micro Memory Card for Portable, Transferable Storage –up to 128GB
Easy 4K Video Playback Capable of viewing on Windows, Apple, and Other Platforms
No visible wires (select models)
Fast Start Up –From PIR Trigger to Record in 3 Seconds, Nothing Captures Video Faster
1 Year Manufacturer’s Warranty

K J B S e c u r i t y P r o d u c t s | w w w . m y s l e u t h g e a r . c o m | 8 0 0 . 5 9 0 . 4 2 7 2
Page 5
Setup
Remote Control Diagram
Playback Tip
For best quality video and
playback open files using your
Memory Card in your
computer.
Icon Button
Function
Description(s)
Recording
Start/Stop
Manual/Continuous Recording
Lock/ Unlock
Remote control key lock/ unlock.
Locks the buttons from
accidental operation.
Menu
Enter or Exit the settings menu
Up/ Down
Left/ Right
Menu navigation
and settings changes
Enter
Confirm selection
N/A
Enter Playback Menu
N/A
Pause Video Playback
In Screen: Back Button
N/A
Stop Video Playback
In Screen: Menu Button
N/A
Rewind Video Playback
In Screen
N/A
Fast Forward Video Playback
In Screen: Right Arrow
N/A
Fast Rewind Video Playback
In Screen: Left Arrow
LED
Turn DVR LED light indicators
on or off (see page 11)
Scheduling
Hours
Scheduling
Select All | Single
Days of the Week

K J B S e c u r i t y P r o d u c t s | w w w . m y s l e u t h g e a r . c o m | 8 0 0 . 5 9 0 . 4 2 7 2
Page 6
DVR Menu Quick Start Guide

K J B S e c u r i t y P r o d u c t s | w w w . m y s l e u t h g e a r . c o m | 8 0 0 . 5 9 0 . 4 2 7 2
Page 7
Video Menu
Resolution
Video Length
Exposure
Rotate Display-Front
DVR Menu & Settings
Connect your camera system to a monitor or TV using the cable included to begin customizing
your DVR Settings.
Press on the remote to get into the On Screen Menu from the camera live view. From there
you can modify the system settings.
Press to navigate within the menu and settings.
Press to select the setting.
Press to save and exit the current menu.
Press to advance through the menus, ending with an exit back to the camera live view.
Video Menu
For an estimated recording capacity by video
quality and memory card capacity, refer to the
chart on page 3.

K J B S e c u r i t y P r o d u c t s | w w w . m y s l e u t h g e a r . c o m | 8 0 0 . 5 9 0 . 4 2 7 2
Page 8
Triggering
PIR Detection
PIR Sensitivity
Triggering
M.D. Recording
M.D. Sensitivity
Triggering
PIR Detection/M.D. Recording: Depending on
the model, the Triggering menu will have motion
detection settings for either PIR (Xtreme Life) or
Camera (Zone Shield) detection.
Manual/Continuous Recording: If you wish to
manually control recording instead, set either
PIR Detection or M.D. Recording to Off, then
exit all menus and use the Record button
to start & stop recording.
OR

K J B S e c u r i t y P r o d u c t s | w w w . m y s l e u t h g e a r . c o m | 8 0 0 . 5 9 0 . 4 2 7 2
Page 9
Storage
Format Memory Card
Total Space
Total Time
Total Left
Mode
Setup Menu
Buzzer Setup
LED
Status Display
Audio
Mode
Setup Menu
Time & Date
System Info
Default Settings
Storage
Total Space, Total Time and Time Left will be
calculated automatically
Set Up Menu
Buzzer Setup: Turns the confirmation sound on
or off.
Status Display: Turns the live view
On-Screen-Display on or off. The OSD does not
show on recorded files.
Audio: Option available on Law Enforcement
and Export models only!

K J B S e c u r i t y P r o d u c t s | w w w . m y s l e u t h g e a r . c o m | 8 0 0 . 5 9 0 . 4 2 7 2
Page 10
2018
YY/MM/DD
/ 01 / 01
00 : 04 : 59
In the Time & Date setting, press to navigate and press to change the
setting.
Date & Time format options: YYYY/MM/DD,
MM/DD/YYYY, or DD/MM/YYYY
Playback Menu
For live view, press to enter the Playback
Menu directly.
Press to navigate the files.
Press to enter the selected clip.
On Screen functions for live playback. *Best
way to View or Playback files is from the
memory card on your computer.
Playback Menu
Video
1801010459
1804170459_25.MP4
1804170459
1804170459
1804170459
1804170459
1804170459

K J B S e c u r i t y P r o d u c t s | w w w . m y s l e u t h g e a r . c o m | 8 0 0 . 5 9 0 . 4 2 7 2
Page 11
LED Chart
Specifications
Power Indicator
(Red LED)
On
Power on
Blinking
Recording
Off
Power off
Operation Temperature
-20ºC~60ºC (-4ºF~140ºF)
Video Resolution
4K [2880x2160] | 2K [2560x1440] | 1296P [2304x1296]
1080P [1920x1080] | 720P [1280x720]
Video Format
MPEG4
Video Compression
H.264
Video Recording Schedule
PIR | Motion Detection | Continuous
Recording Frame Rate
24, 30, 60, 120 fps
Playback
On Screen [TV or Monitor] via DVR or Computer
Recording Storage
Micro Memory Card up to 128GB
Audio Recording
Optional (Law Enforcement/Export only)
Audio Output
Analog 1 Channel Output
Power Supply
5V D/C
Power Consumption (while recording)
Nominal 2.0W
Video Storage Mode
Full-stop or Overwrite
Additional Specifications for Xtreme Life®product line only
PIR Video Recording Schedule
PIR | Continuous | Off
PIR Post Recording
Off, 30 Seconds, 1 Minute, 3 Minutes, 5 Minutes
Battery Life
Up to 90 days on standby / 16 hours continuous

K J B S e c u r i t y P r o d u c t s | w w w . m y s l e u t h g e a r . c o m | 8 0 0 . 5 9 0 . 4 2 7 2
Page 12
Frequently Asked Questions
Q. How do I playback my video?
A. From the device, go to Playback Menu to view on your television, using on screen playback functions. You must
have the output cable plugged in to your television, then select the proper input on your television to display the
video from the unit. Or remove the memory card from the device and open up video files on your computer.
Q. What media player software should I use to playback the recorded files?
A. The recorded files are in the .MPEG4 format, which is able to be played back on software such as Windows
Media Player, MAC Quick Time Player and others often pre-installed on a personal computer. If you are having
trouble with playback, try downloadable software such as the free open-source player VLC (videolan.org).
Q. What happens if there are no video files on my memory card?
A. For Xtreme Life®models, the unit is set to PIR detection by default. If you have had no activity, you will not have
no video files. For all models, please make sure there is power to the camera and your memory card is inserted
into the memory card slot, and make sure to do a test recording with the device connected to your television.
Q. Why can’t I find my recorded files on my memory card?
A. To directly access your files, you need to remove the memory card from your device and access it from a PC or
MAC. If the card is not instantly recognized, go to My Computer, This PC or Finder, and search for devices listed as
Removable Storage or drives listed as Removable Disk. Recorded files are saved inside folders on the memory
card. As with almost all video and photo cameras, the files are saved inside a folder named DVR. On this camera,
the files are actually saved within folders that end in the digits for month and day, found inside the DVR folder.
Within those dated folders, the files are saved in numerical sequence of their occurrence.
Q. How do I reset my unit back to the way I got it?
A. Restoring the unit to its factory default settings can be done in the Set Up Menu > Default Settings > OK. See
page 10. *Note: this will remove any adjustments to settings you have made.
Q. Why does my device quickly turn off when trying to access the Menu?
A. Any of the following conditions will automatically put the device into sleep mode (Xtreme Life®models only):
No memory card is inserted
Completely exiting the Menu
Upon pressing the Menu to exit the Playback mode
Memory card is full and Storage mode is set to Full-Stop
Recording Schedule is set to “None”

K J B S e c u r i t y P r o d u c t s | w w w . m y s l e u t h g e a r . c o m | 8 0 0 . 5 9 0 . 4 2 7 2
Page 13
Q. What size memory cards can I use in this camera?
A. Most memory cards, of up to and including 128GB capacity (class 6 or higher), are supported. If a memory card
does not appear to work, try removing and formatting the memory card using a computer before trying it in the
camera again.
Q. Why did I not get a recording when I know there was motion in front of the camera?
A. The motion was not detected because it was too little, too quick or too far away. Make test recordings to
discover the limits of detection in your given placement and environment. Check Motion Sensitivity Settings.
Q. Why will my video file not play or the file is corrupted?
A. If the camera is not properly powered down prior to removing the memory card, the files on the memory card, or
the memory card itself, may become corrupted. Make sure to always properly power down the camera before
attempting to remove the memory card.
Q. Why do I only see part of my desired surveillance target?
A. Placement of any camera is a very important step in setup. Be sure to make test recordings of the desired area
of surveillance prior to final setup to ensure the camera can perform as desired in your given environment. This
should not only include what area can be captured by video, but also testing the ability to properly trigger recording
in the area if using Motion Detection mode or PIR detection.
Q. How do I restart or reboot my camera?
A. You can reboot your camera by disconnecting it from the power supply. For Zone Shield®, this will be an A/C
adapter. For Xtreme Life®, this will be the battery pack. Then simply re-connect the power supply and the camera
will power back on. Be sure that the camera is not recording while powering down, as this can corrupt the video file
it was trying to record or corrupt the whole memory card.
For units that have Night Vision (IRs); not all units come with this option, please check your receipt:
Q. Why are my Night Vision images not that bright?
A. Covert placement of the camera and IR sensor affect image quality in each individual product form. Move the
unit to different locations to test the video quality. You will experience pixilation with any night vision camera.
SleuthGear®strives to maintain a balance between creating a reliable hidden camera and recording in extreme low
light conditions.
While SleuthGear®makes a concerted effort to test Night Vision products in different low-light situations;
we cannot replicate every possible lighting environment at a customer’s location.

K J B S e c u r i t y P r o d u c t s | w w w . m y s l e u t h g e a r . c o m | 8 0 0 . 5 9 0 . 4 2 7 2
Page 14
Products
Wall Clock
Smoke Detector
Rock
Clock Radio

K J B S e c u r i t y P r o d u c t s | w w w . m y s l e u t h g e a r . c o m | 8 0 0 . 5 9 0 . 4 2 7 2
Page 15
Bluetooth Speaker
Electrical Box
Outdoor Power Strip
Air Freshener
Infra-red Remote
Sensor
Memory Card Slot

K J B S e c u r i t y P r o d u c t s | w w w . m y s l e u t h g e a r . c o m | 8 0 0 . 5 9 0 . 4 2 7 2
Page 16
Plant
Teddy Bear
Mantel Clock
DVD Player

K J B S e c u r i t y P r o d u c t s | w w w . m y s l e u t h g e a r . c o m | 8 0 0 . 5 9 0 . 4 2 7 2
Page 17
Bird Feeder
Oscillating Fan
Air Purifier
Rectangle Clock
Memory card slot
Infra-red Remote
Sensor
Auxiliary Video Out

K J B S e c u r i t y P r o d u c t s | w w w . m y s l e u t h g e a r . c o m | 8 0 0 . 5 9 0 . 4 2 7 2
Page 18
LED Desk Lamp
Room Freshener
Cable Box
Memory Card Slot Auxiliary Video Output
Infrared Remote Sensor
Memory Card Slot
Memory card slot

K J B S e c u r i t y P r o d u c t s | w w w . m y s l e u t h g e a r . c o m | 8 0 0 . 5 9 0 . 4 2 7 2
Page 19
Warnings & Precautions

K J B S e c u r i t y P r o d u c t s | w w w . m y s l e u t h g e a r . c o m | 8 0 0 . 5 9 0 . 4 2 7 2
Page 20
TRAVELING WITH BATTERIES
Batteries and battery-powered devices are safe to travel with if you follow these simple guidelines
from the U.S. Department of Transportation:
If possible, keep spare batteries in the original retail packaging, to prevent unintentional activation or
short-circuiting.
If an on/off switch is present, be sure the switch is in the OFF POSITION. DO NOT TRANSPORT
BATTERY WHILE ACTIVATED.
For loose batteries, place a strip of insulated tape across the battery's contacts or place each battery
in its own protective case, plastic bag or package to protect them from contact with metal objects,
such as coins, keys or jewelry. CONTACT WITH METAL OBJECTS CAN SHORT-CIRCUIT THE
BATTERY LEADING TO HIGH HEAT, LEAKAGE OR RUPTURE, RESULTING IN PERSONAL
INJURY OR PROPERTY DAMAGE.
Take steps to prevent crushing, puncturing or putting a high degree of pressure on the battery, as this
can cause an internal short-circuit, resulting in overheating.
DON’T store batteries or battery-powered devices in hot places —elevated temperatures can lead
to capacity loss, leakage or rupture.
DON’T mix old and new batteries, or mix different types or makes of batteries. This can cause
leakage or rupture, resulting in personal injury or property damage.
DON’T give batteries to young children.
Per the U.S. Department of Transportation, “batteries pose little risk contained in the devices
they power and that taking the battery out of the device does not enhance safety."
For the latest in battery and battery-powered device transportation, please visit
http://safetravel.dot.gov/.
For additional information contact: support@kjbsecurity.com or 1-800-590-4272. Outside the
U.S. call 615-620-1370.
Table of contents
Other SleuthGear DVR manuals
Popular DVR manuals by other brands
Samsung
Samsung SHR-4080P user manual

Avermedia
Avermedia EH1000H-4 Nano user manual
SLD Security & Communications
SLD Security & Communications BLR-3004 Operation instructions
Digital Watchdog
Digital Watchdog VMAX AHD CORE DW-VAC44 user manual
l-com
l-com network dvr user manual
Sanyo
Sanyo DSR-3709P manual
