Content
Things to note before getting started......................................................................................................... 2
Get to know your UFO camera .................................................................................................................. 3
2.1 Front.............................................................................................................................................. 3
2.2 Side Face...................................................................................................................................... 3
2.3 Light Indicators.............................................................................................................................. 4
Getting Started........................................................................................................................................... 5
3.1 Download the “smanos home” app............................................................................................... 5
3.2 Sign Up/In ..................................................................................................................................... 5
3.3 Add Devices.................................................................................................................................. 6
Set up your UFO ........................................................................................................................................ 7
4.1 Waiting for the UFO to boot up..................................................................................................... 7
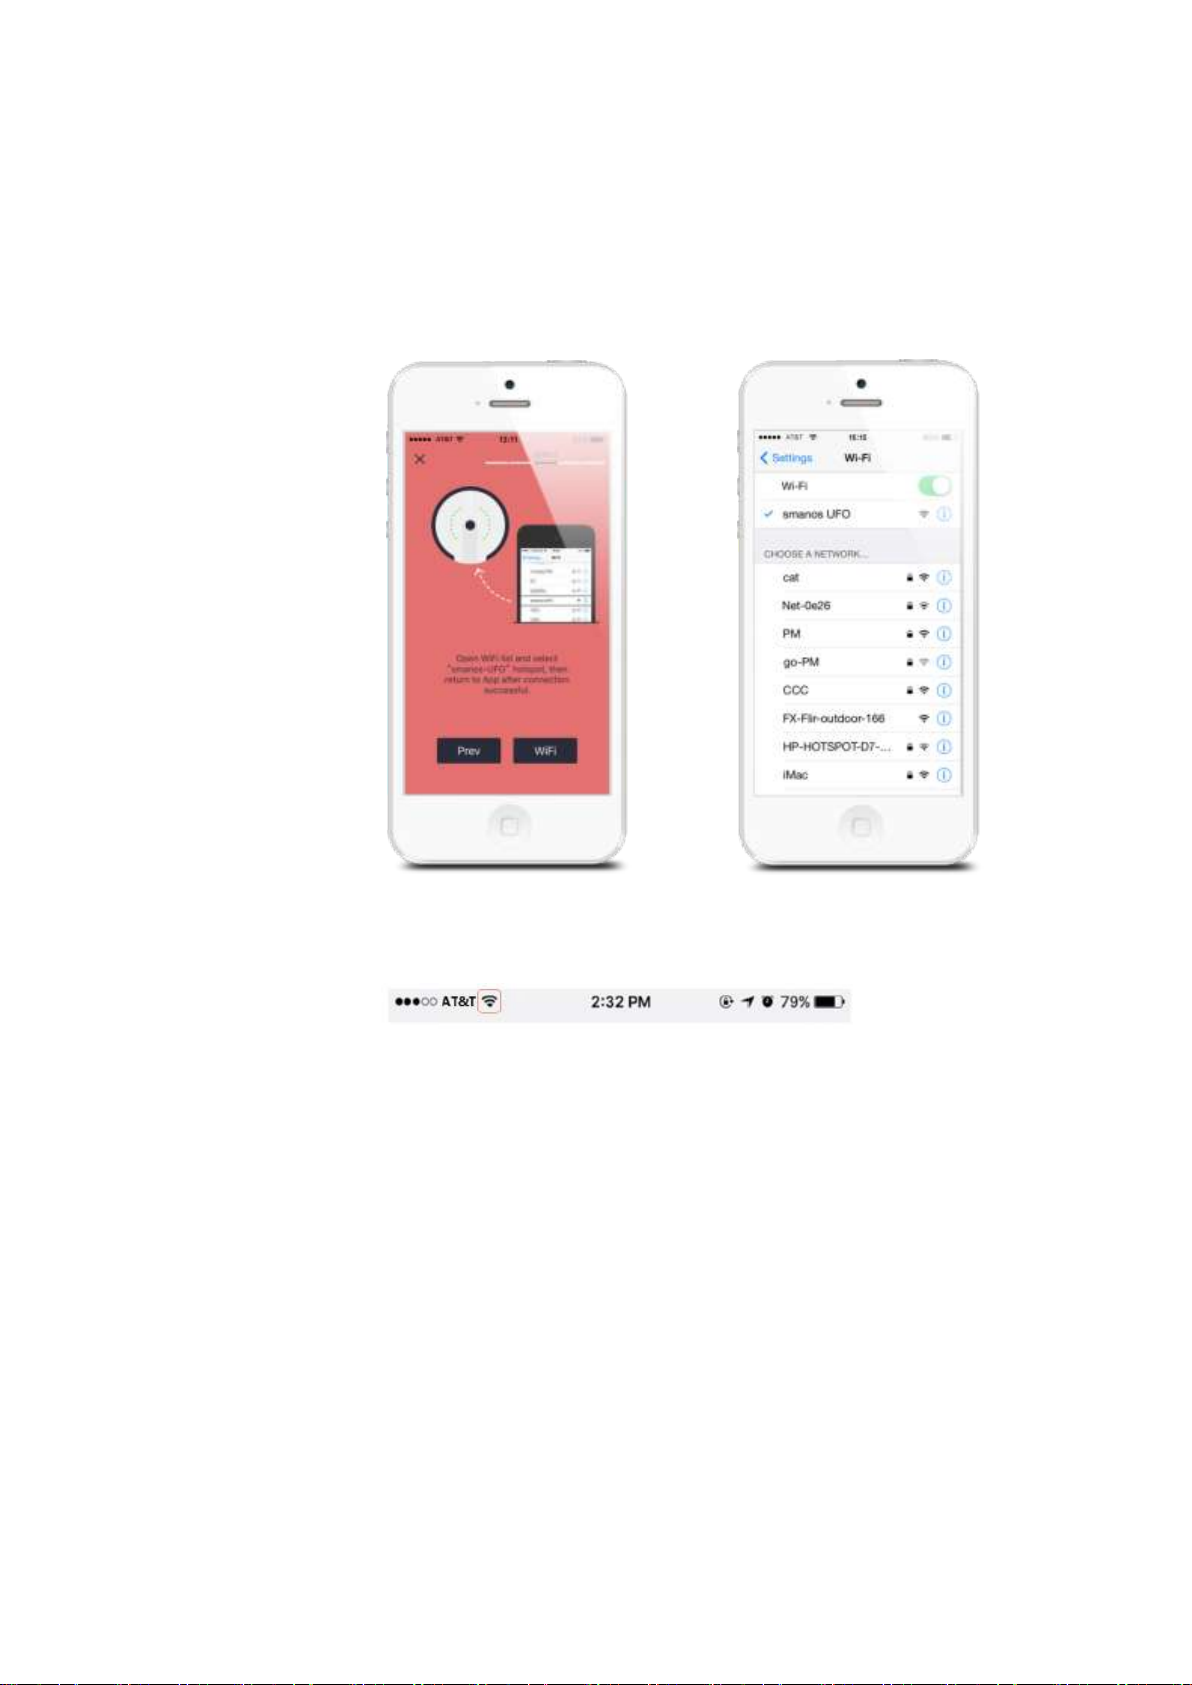
4.2 Connecting the UFO to your smartphone..................................................................................... 8
4.2 Connecting the UFO to your smartphone..................................................................................... 9
4.3 Entering WiFi details for your UFO camera................................................................................ 10
APP Operation...........................................................................................................................................11
5.1 Main Page....................................................................................................................................11
5.2 Account Menu-Edit Account........................................................................................................ 13
App Control............................................................................................................................................... 16
6.1 Live Page.................................................................................................................................... 16
6.2 Alerts Page.................................................................................................................................. 18
6.3 Archive Page............................................................................................................................... 19
6.4 Setting Page................................................................................................................................ 22
Installation ................................................................................................................................................ 27
7.1 Mounting Angle ........................................................................................................................... 27
7.2 Mount type and the corresponding suggestions......................................................................... 27
7.3 Ceiling or Wall-Mounted.............................................................................................................. 28
7.4 Desk or Any Flat Surface............................................................................................................ 29
Specifications ........................................................................................................................................... 30