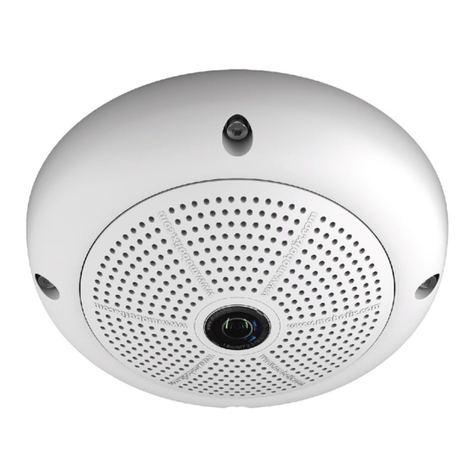
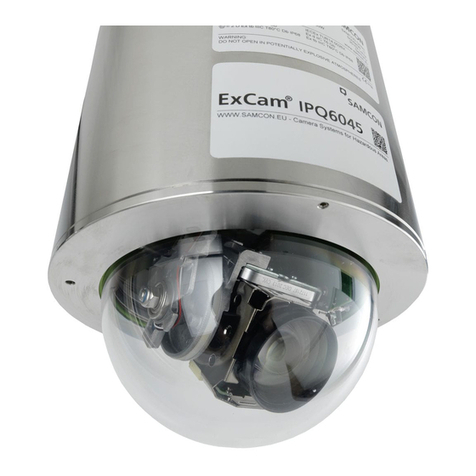
Smart-eye Digital Electronics 625GA User manual

Option 1:
Connect via Soundwave
(Available for indoor cameras only)
Enter your Wi-Fi network and password.
Ensure the volume/ringer on your phone is
turned up and the room is quiet. Hold your
phone near the camera. Press “Play Sound”.
An audible sound will play, passing the Wi-Fi
credentials from your phone to the camera
via the built in camera microphone.
Step 3: Connect Your Camera
Plug the camera into the power outlet using
the included AC Power Adapter. Wait 60
seconds for the camera to enter enroll mode.
Next, select how you wish to connect the
camera. There are 3 ways to connect the
camera to Wi-Fi; via WPS, via Soundwave, or
via IP (recommended when available).
Alternatively you can connect permanently
over IP using the included Ethernet cable.
Step 2: Enter Camera DID
Enter the camera DID number by either
selecting “Scan QR Code” or “Enter Manually”.
Scanning will use your smartphone camera
to scan the QR code from the camera label.
Once entered, an alert will display conrming
the camera DID. Select “OK” and then “Next”
to continue.
Wireless Camera
Installation Guide
Step 1: Choose Your Camera
From the mobile app, once signed in,
navigate to the “Settings” page. Select “Add
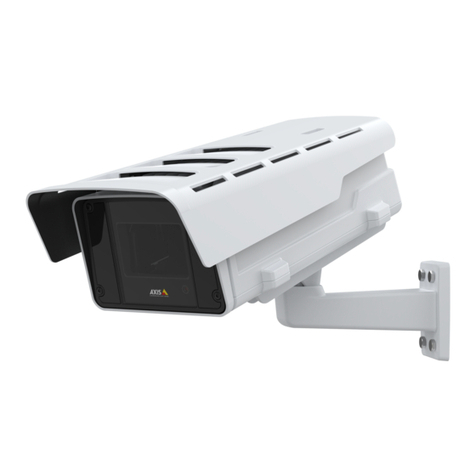
Camera” and choose the corresponding
image that matches your camera.
Once selected, enter the desired camera
name on the following page and press “Next”.
Some indoor cameras have a Wi-Fi indicator light which will flash slowly when in
enroll mode. If not flashing, unplug your camera, plug back in and wait 60 seconds to
re-initiate enroll mode. The Wi-Fi light will remain solid when successfully connected.
!
Option 2:
Connect Wi-Fi®via IP or
Connect permanently via IP
(Available for outdoor, most indoor cameras)
Plug your camera into your router using the
included Ethernet cable.
If connecting over Wi-Fi, enter your network
and password credentials before continuing.
The camera will receive the Wi-Fi credentials
through the IP connection.
Once successfully connected, remove the
Ethernet cable and AC power cable. Wait 15
seconds, then plug the AC power only back
into the camera.
If connecting the camera via Wi-Fi®, the camera must be on a 2.4Ghz network. If
using a dual-band router, do not use the 5Ghz network. Make sure your smartphone
is connected to the same Wi-Fi network you want to connect the camera to.
!
If the camera is already powered up, unplug it now. 60 seconds after powering up
the camera, it will enter enroll mode for the next 5 minutes. You must complete
Step 3: Connect Your Camera within this 5 minute time window.
!

Step 4: Enable Constant Recording
If installing an indoor camera, insert a
blank micro storage card into the camera
card slot, then press “Continue”.
We recommend at least a 64GB storage
card, which will provide 5-7 days of
constant recordings depending on the
environment and camera settings.
Option 3:
Connect Wi-Fi®via WPS
(Available for all cameras)
Ensuring the camera is in enroll mode, hold
the WPS/Reset button on the camera for 3 to
5 seconds.
On your WPS-supported router, push the WPS
button. Wi-Fi will be congured between the
camera and router via WPS protocol.
We recommend using option 1 or 2 where available. Some routers have
compatibility issues connecting Wi-Fi via WPS. Dual-band routers will need the
5Ghz network disabled to ensure the camera connects to the 2.4Ghz network.
!
Outdoor cameras have a 64GB card included internally which is not removable.
For indoor cameras you may use a 128GB card which will provide up to 14 days
of constant recording. Alternatively, you may skip this step and add a storage card
later, activating constant recording from the video playback screen within the app.
!
Step 5: Conrm Camera Installation
Wait 90 seconds, then check that the camera
footage is displaying in the video page of
the app. If you can see footage, you have
successfully connected your camera.
If constant recording is enabled, after a
few minutes a list of sequential 2 minute
recordings will appear under the “Constant“
tab on the video page when viewing vertically.
1706_Snet_Camera_Booklet_v04 | Updated June 28, 2017 10:13 AM
FCC ID: ZCB625GA (1080p), ZCB620GB (720p)
IC: 22839-SN629F1, 22839-SN631PT1,
22839-SN750EF1, 22839-SN750EF2
Troubleshooting Connection Issues
If your camera appears in the list of cameras within the app, but remains
ofine (unable to view video footage), try unplugging and plugging the
camera back in. Wait 60 seconds for the camera to initiate and check again.
Should the camera continue to remain ofine, follow the instructions below
for Update Network Connection, or try deleting/removing the camera from
your account and repeating the entire installation process.
If you continue to have difculty connecting the camera, try one of the other
options in Step 3: Connect Your Camera, following the instructions carefully.
If the above options are unsuccessful, you may need to factory default the
camera. Hold down the WPS/Reset button on the camera for 12-14 seconds.
Wait 60 seconds for the factory default to complete its cycle before repeating
the entire installation process.
Navigate to past recordings by pressing the calendar icon, then selecting a date
and time. Once your storage card is full, the oldest clips will automatically delete to
make room for new recordings.
!
For additional information on using video within the app, including setting up and playing back event
recordings, please refer to the User Guide.
Remove, Edit or Update Network Connection
From the app Settings page, select “Add/Remove Cameras” then select
the camera you would like to edit or delete. Here you will have the option
to rename the camera, update the network connection (including Wi-Fi
credentials) or delete the camera from your account.
Selecting Update Network Connection will repeat Step 3, allowing you to
update the credentials or change the Wi-Fi connection to your camera.
Wi-Fi is a registered trademark of the Wi-Fi Alliance
This device complies with Industry Canada’s license exempt RSS247. Operation is subject to the following two conditions:
(1) This device may not cause interference, and (2) This device must accept any interference, including interference that may cause undesired operation.
This manual suits for next models
1
Table of contents
Other Smart-eye Digital Electronics Security Camera manuals
