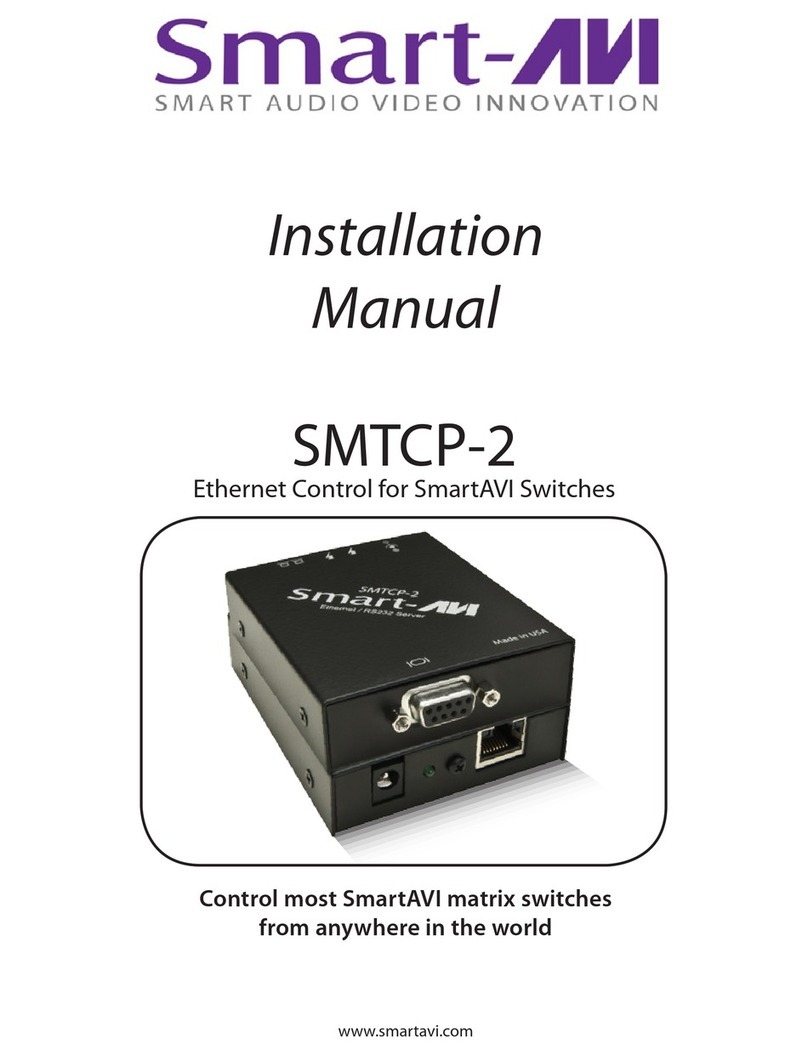
Smart-M DPN-4P User manual
Other Smart-M Switch manuals

Smart-M
Smart-M HR4Plus User manual
Smart-M
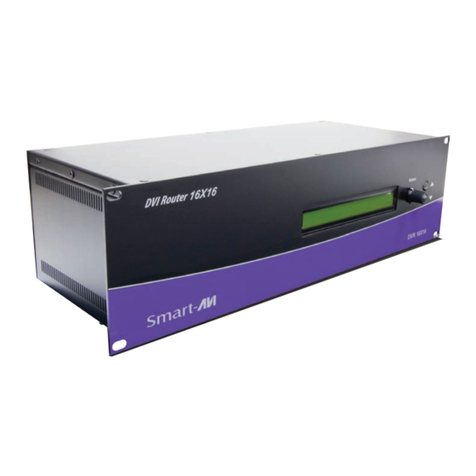
Smart-M DVR16X16 User manual
Smart-M
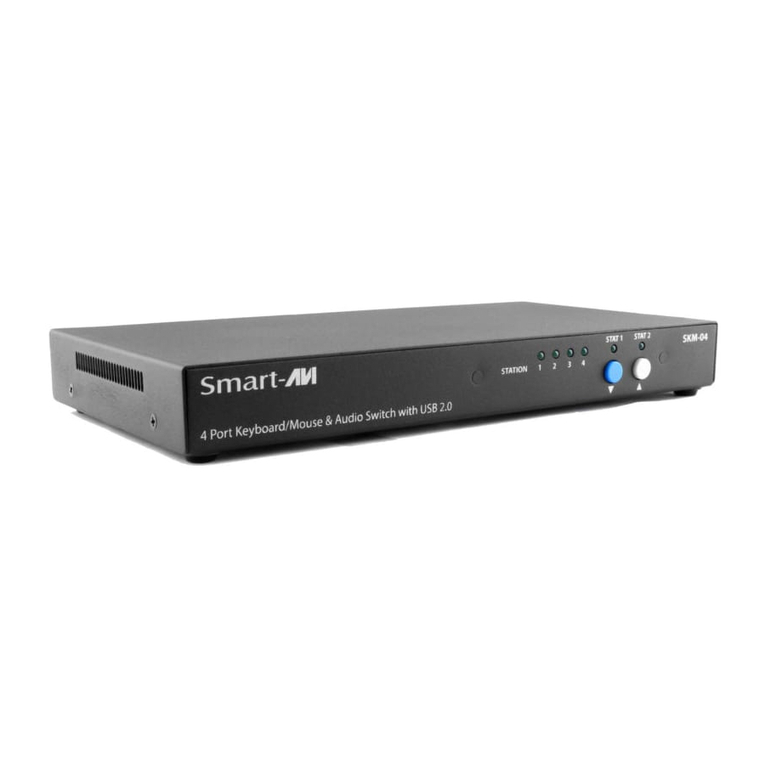
Smart-M SKM-04 User manual
Smart-M
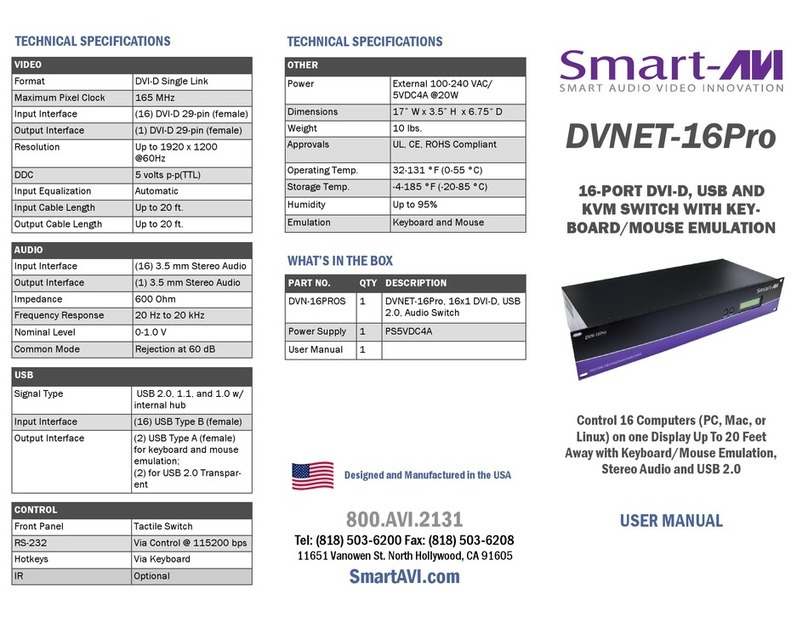
Smart-M DVNET-16Pro User manual
Smart-M
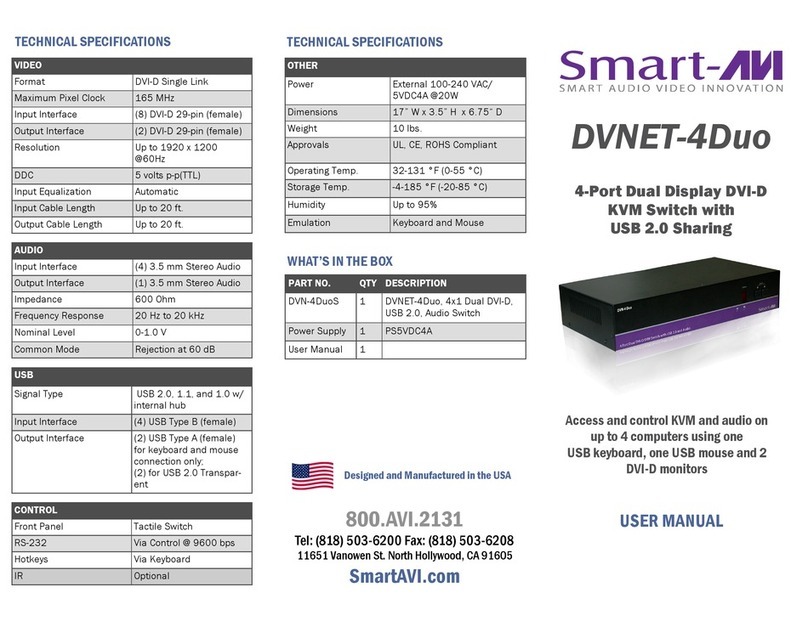
Smart-M DVNET-4Duo User manual

Smart-M
Smart-M HDMV-16x User manual
Smart-M
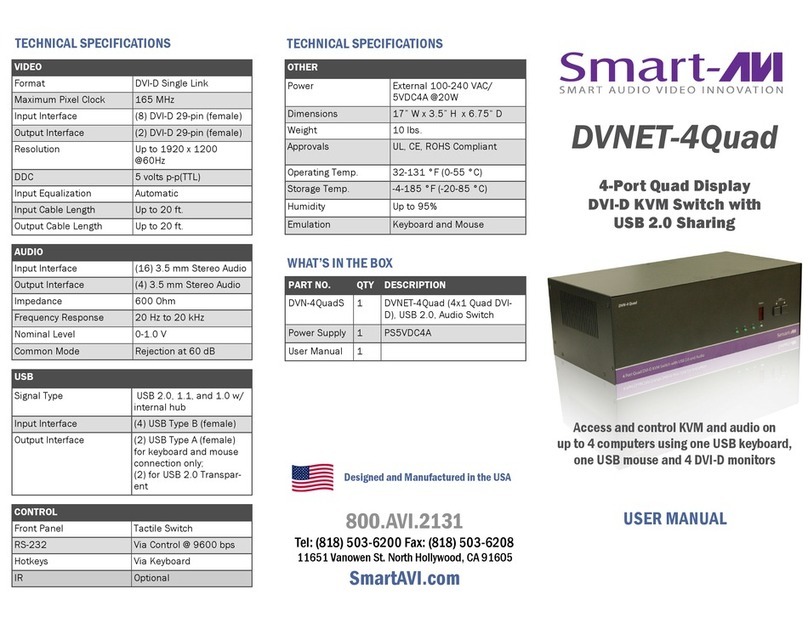
Smart-M DVNET-4Quad User manual
Smart-M
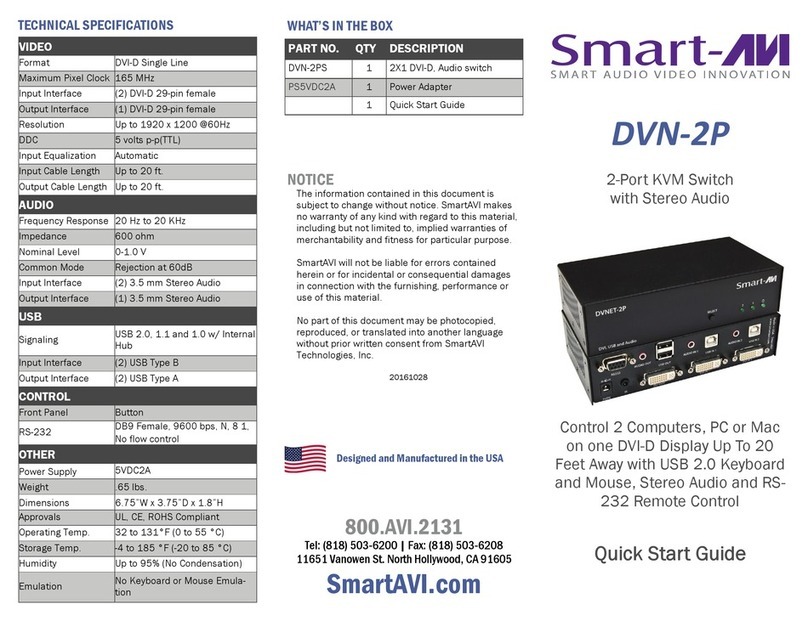
Smart-M DVN-2P User manual
Smart-M
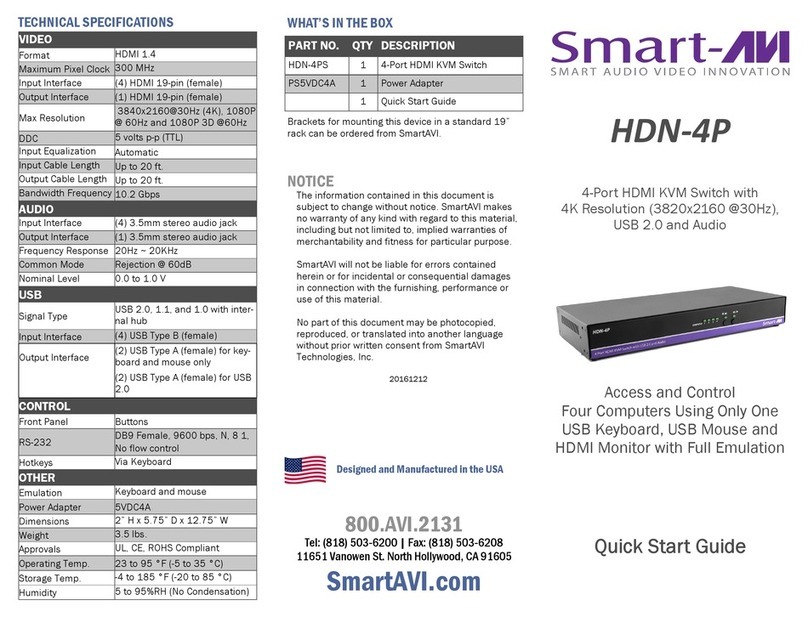
Smart-M HDN-4P User manual

Smart-M
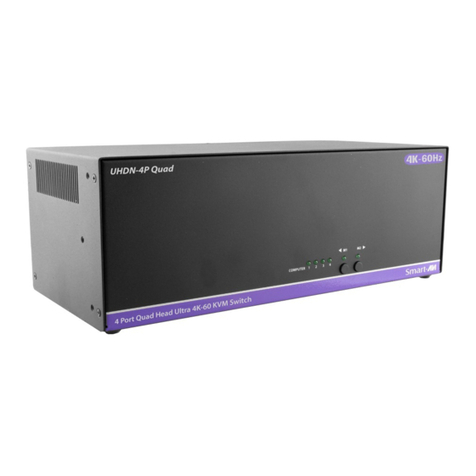
Smart-M UHDN-4P Quad User manual
Popular Switch manuals by other brands
Rocket Fish
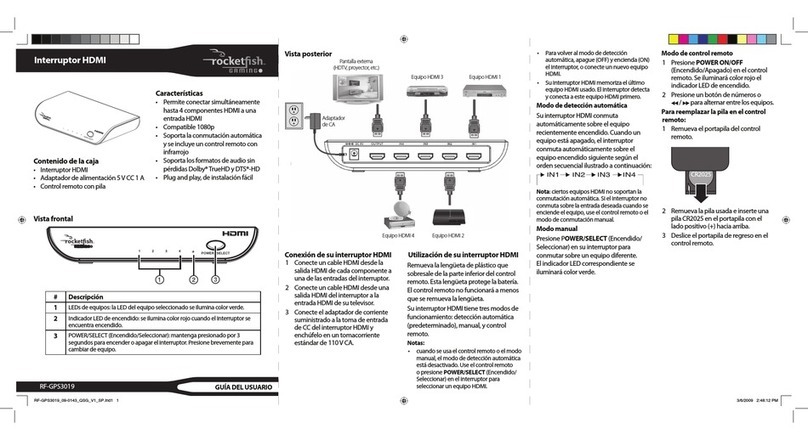
Rocket Fish RF-GPS3019 Guía del usuario
ExtremeSwitching
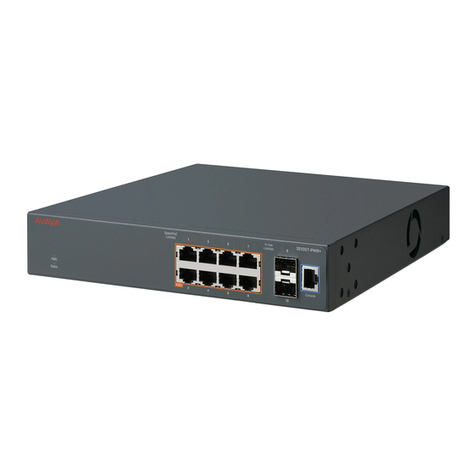
ExtremeSwitching ERS 3500 Series manual
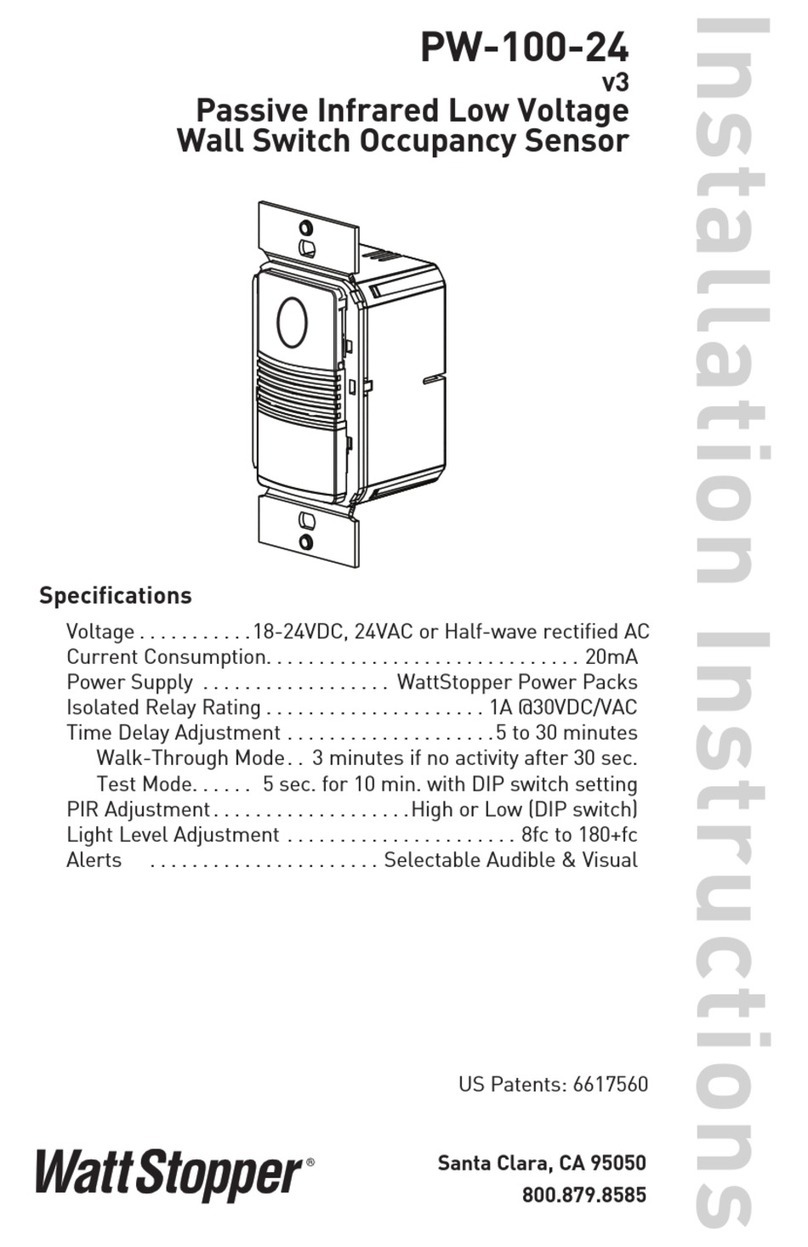
wattstopper
wattstopper PW-100-24 installation instructions
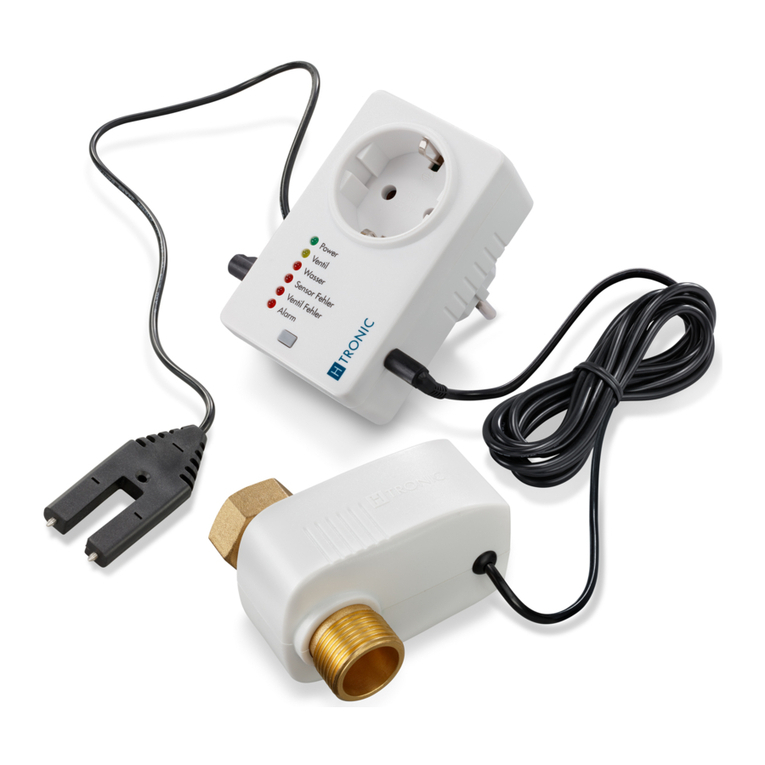
HTRONIC
HTRONIC WSS 1 user manual
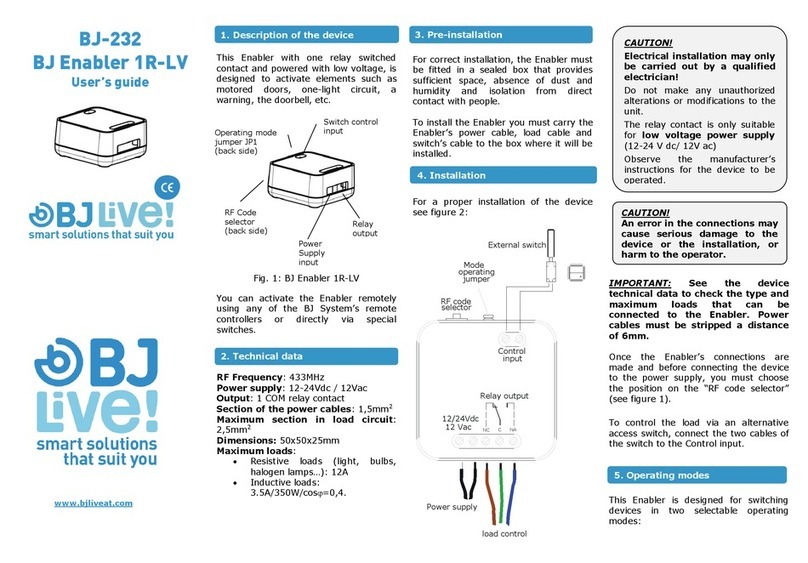
BJ Live
BJ Live BJ Enabler 1R-LV user guide

q-Tech
q-Tech QSW-6300 Series Hardware installation and reference guide
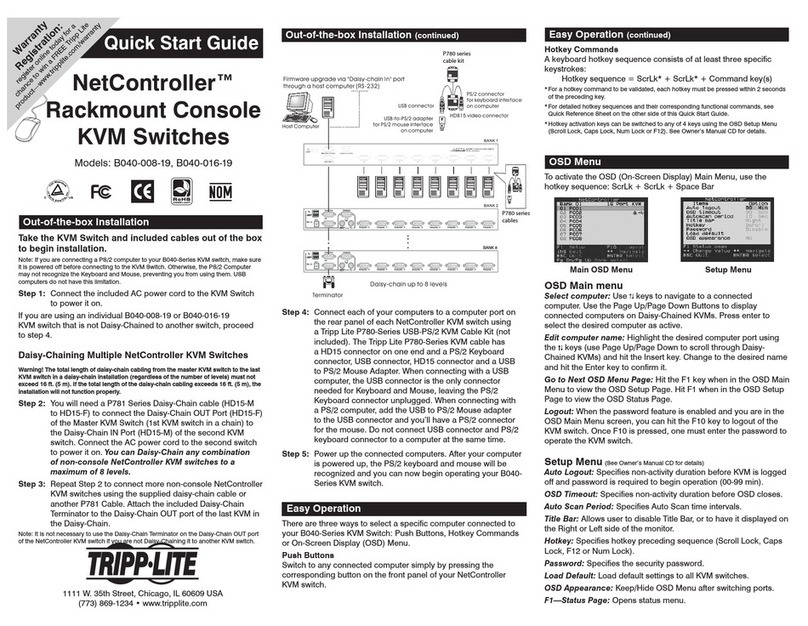
Tripp Lite
Tripp Lite NetController B040-008-19 quick start guide
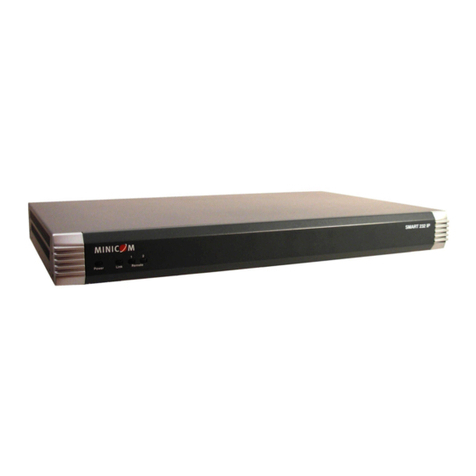
Tripp Lite
Tripp Lite Minicom 0SU70036 user guide
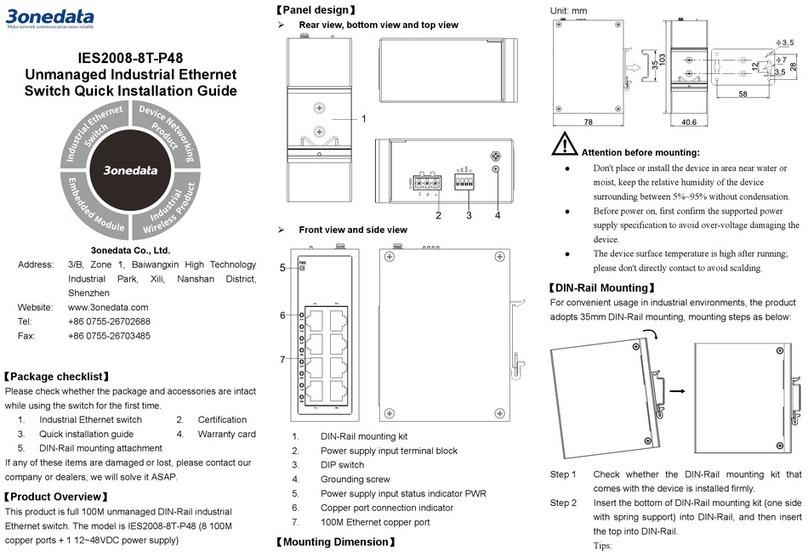
3One data
3One data IES2008-8T-P48 Quick installation guide
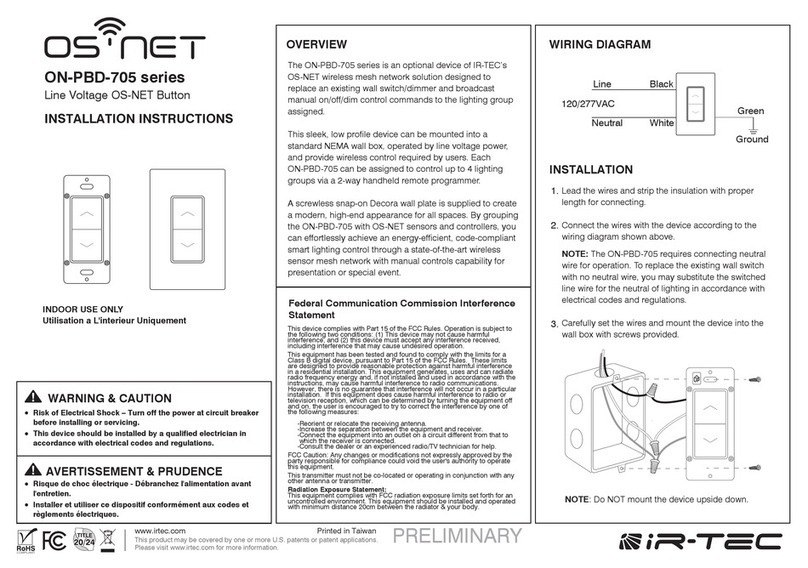
IR-Tec
IR-Tec ON-PBD-705 Series installation instructions
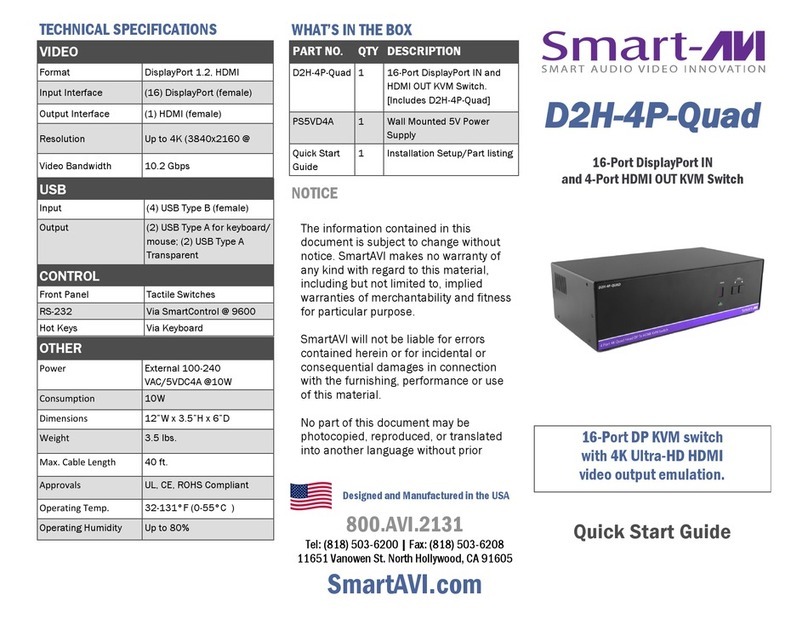
SMART-AVI
SMART-AVI D2H-4P-Quad quick start guide
Tripp Lite
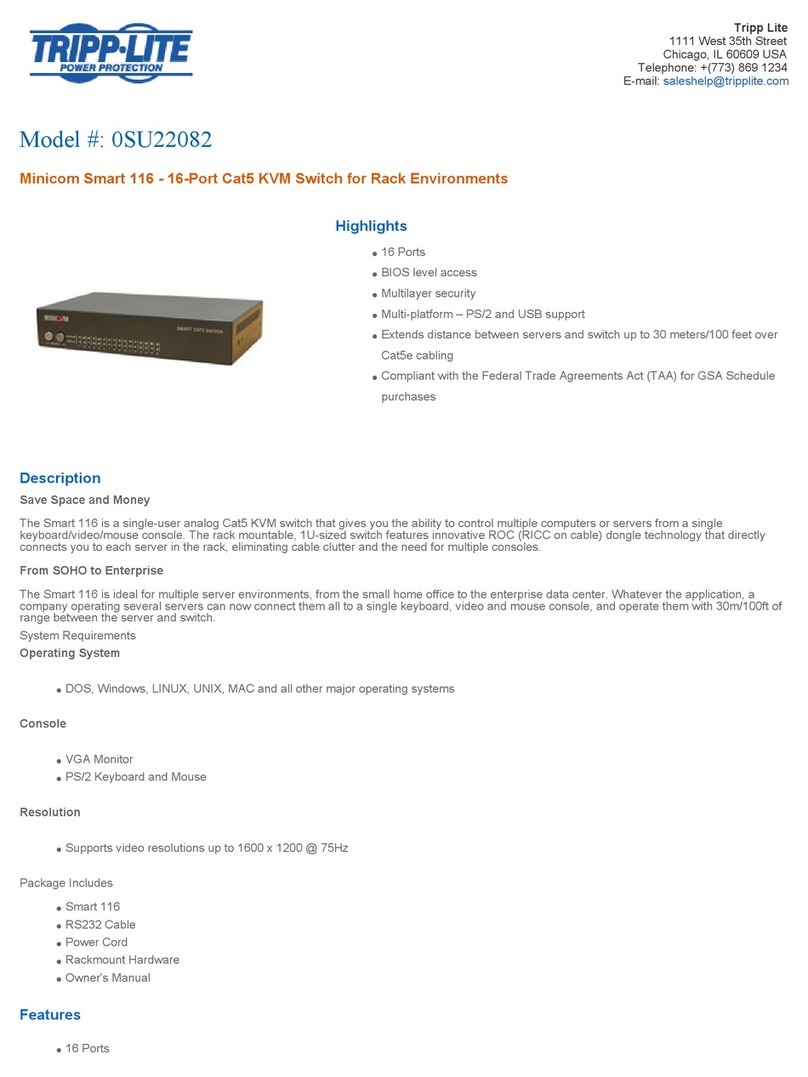
Tripp Lite 0SU22082 Features and specifications


