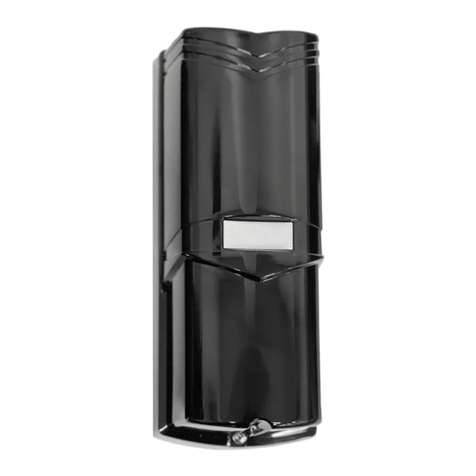
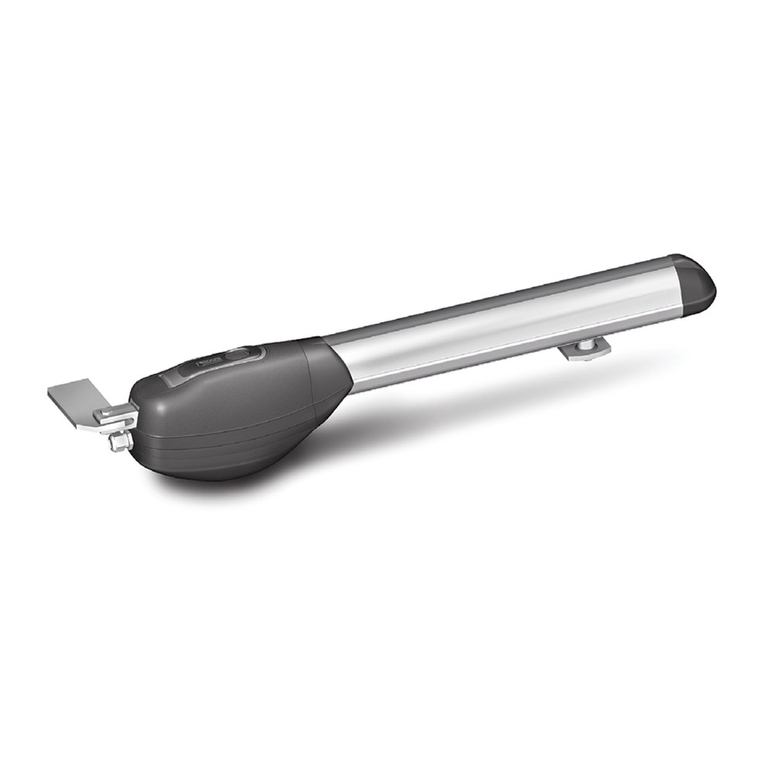
Smart power SW200A User manual

MANUAL
SW200A SW200B
P
U
S
H
www.smartpower.co.in

Content
1 Technical Parameters
2 Components
3 Installation step
3.1 Installation of bottom plate (SW200A)
3.2 Installation of bottom plate (SW200B)
3.3 Installation of pull bar (Right)
3.4 Installationof pull bar (Left)
3.5 Installation of push bar(Right)
3.6 Installation of push bar (Left)
3.7 Finished installation
3.8 Installation of drive and cover
4Wired digram
4.1 Terminal details of controller
4.2 Date setting
4.3 Connection of commonly used and special function
5 Trouble shooting
1
2
3-10
3
4
5
6
7
8
9
10
11-13
11
12
13
14

1
1.Technical Parameters
Power : AC200v-250v
Working speed: 3~8s
Opening time: 1~60s
Temperature: -20℃~+55℃
Protection class: IP12D
Weight: 6.5Kg
Dimension: SW200A 515×95×80mm(L*H*W)
SW200B
mm=Door width
kg=Door weight
Suitable range
Limit range
mm
1600
1200
1000
680
mm
1500
1200
1000
710
80 100 140
kg
180
80 100 140
kg
180
SW200A SW200B
www.smartpower.co.in

1. Components
SW200A
底板
拉臂 盖板
拉臂固定座
机组
SW200B
底板
拉臂 盖板
拉臂固定座
机组(配后备电源)
2
www.smartpower.co.in

3
.
Installation step
3
71.4
71.4
30 52
30 52
3.1 Installation of bottom plate
Pull bar type (SW200A)
power liner sensor liner
25 150 150 150 25
165 165
As the picture showing, fix the bottom plate on the frame
with eight countersunk head screw.
frame
bottom plate
Operator at door right.
power liner sensor liner
25 150 150 150 25
165 165
As the picture showing, fix the bottom plate on the frame
with eight countersunk head screw.
Operator at door left.
www.smartpower.co.in

3
.
Installation step
4
71.4
71.4
30 52
30 52
3.2 Installation of bottom plate
Pull bar type (SW200B)
sensor liner power liner
35 200 150 200 35
210
210
As the picture showing, fix the bottom plate on the frame
with eight countersunk head screw.
frame
bottom plate
Operatorat doorright.
sensor liner power liner
35 200 150 200 35
210 210
As the picture showing, fix the bottom plate on the frame
with eight countersunk head screw.
Operatorat doorleft.
www.smartpower.co.in

5
Installation step
3.
30
3.3 Installation of pull bar
A. Right installation
230 230 20 170
Fix the pull bar on door leaf with
3 pics self-tapping screw.
Door leaf
Adjust the opening angle
by position stopper.
position stopper
www.smartpower.co.in

6
Installation step
3.
30
3.4 Installation of pull bar
B. Left installation
170 20 230 230
Fix the pull bar on door leaf with
3 pics self-tapping screw.
Door leaf
Adjust the opening angle
by position stopper.
position stopper
www.smartpower.co.in

7
Installation step
3.
35
3.5
Installation of push bar
A. Right installation
(如果有门边框,不适合安装)
50 290
推臂固定座按图示尺寸用2个自攻螺丝
(M6*15),紧固在门翼上。
L
Adjust the push bar lenght by two screw according to the door frame’s depth(L).
www.smartpower.co.in

8
Installation step
3.
35
3.6
Installation of push bar
B. Left installation
(如果有门边框,不适合安装)
290 50
推臂固定座按图示尺寸用2个自攻螺丝(M6*15)
紧固在门翼上。
L
Adjust the push bar lenght by two screw according to the door frame’s depth(L).
www.smartpower.co.in

9
3.
Installation step
3.7 Finished installation
Pull bar: Door leaf open toward inside (same direction as operator)
operator
Push bar: Door leaf open toward outside (opposite direction as operator)
operator
www.smartpower.co.in

10
3. Installation step
3.8 驱动系统安装
将驱动系统按图示钩挂在已安装好的底板上,用8个内六角圆柱头螺丝紧固。
3.9 机罩的安装与拆卸
www.smartpower.co.in

11
11 1
12 LED 代码 参数 2
13 3
4
14
15 5
16 6
7
17 8
18 TEST + SET
-
9
19 10
20 调节说明:
21 Press "+ " "- " button to adjust to the desired code , then press the "set" key
22 LED is blinking , that enter the parameter adjustment mode. At this point press "+ " "- "
23
Key , the parameter is adjusted to the desired value , press the
"set" button to confirm ( not flashing digital
左右开关选择
主从选择
数显开关选择
4.1 接线端口说明
同步信号
OUT
COM
同步信号
IN
互锁信号
OUT
COM
互锁信号
IN
电插锁
+
GND
后备电源
+
+24V
GND
+12V
GND
OPEN-A
COM
全锁
COM
OPEN-B
COM
+24V
+12V
GND
closed
crash
door
crash
4.2 Parameter adjustment instructions
代码 参数范围
出厂值
Features
01 30-99 53
Fast line speed door
02 30-99 43 Closing fast line speed
03 5-29 9
Open amble speed
04 5-29 8
Postponed closing speed
05 1-5 1That pushed the door open efforts
06 0-5 0When the door is closed, closed force
07 0-1 0
Door mode selection 0 : Push the door that is open 1 :
Push the door closed to increase the force
08 0-1 0
Electric lock mode selection 0 : All- lock
signal lock
1 : power locks closed
09 0-60 2Open pause time
10 5-30 15 Learning Speed
www.smartpower.co.in

12
电插锁接线
0
(black)
12V
(
red
)
17. 电插锁+ Power locks +
18. GND
双门互锁
16.互锁信号(IN)
14.互锁信号(OUT)
13.同步信号(IN)
11.同步信号(OUT)
24G感应探头
16.互锁信号(IN)
14.互锁信号(OUT)
13.同步信号(IN)
11.同步信号(OUT)
red
black
green
yellow
1. 24V
2. GND
9. OPEN-B
10. COM
后备电源
18. GND
19. 后备电源+
V+
V- N
B- 220V
L
B+
www.smartpower.co.in

13
BELL
开门防撞感应器 关门防撞感应器
NO
COM
GND
+24V
24. 开门防撞
22. GND
22. GND
20. +24V
NO
COM
GND
+24V
23. 关门防撞
22. GND
22. GND
20. +24V
手按开关 PB01
9. OPEN-B
10. COM
AK02
BELL
BELL
+12V
GND
NC
PUSH/NO
OPENSW
DOOR1
DGND
3. +12V
4. GND
10. OPEN-B
AK04
+12V
GND
ALM
MSG
EXIT
D1
D0
NC
COM
NO
3. +12V
4. GND
2. GND
10. OPEN-B
Special Instructions
1 remote control is built, just reprovision 4 key remote control, can achieve "normally open" "restore" "jog", "full lock" feature.
You can also configure PB04 (wireless), realized the door function.
2 To achieve the outer lock function, just outside the accessory signal wire connected OPEN-B, door fittings signal line
connected to the OPEN-A, then press the lock button on the whole, to achieve the outer lock function. (Full lock signal only
lock OPEN-B, do not lock OPEN-A)
3 when making double open, according to the instructions received double doors sync signal lines. On power-up, all
parameters of the controller to ensure that the same two doors, door debugging, if there is the phenomenon of speed, shutter
speed can be adjusted switch, door switch amble speed, open pause time.
DIP switch master and slave select to use:
1 two doors simultaneously switch, the master from the selection DIP switch are appropriated above (re-power on after power
failure valid)
2 switch must have two doors will be closed after opening the door of the main appropriated from the following DIP switch
(power back on after a power outage valid)
www.smartpower.co.in

14
5. Trouble shooting
故障情况 The reason Checklist Deal
with
门开关时不流畅
When the door
switch is not smooth
Door closing speed
or slow speed setting
The speed of
confirmation
Adjust speed
Learning speed
setting is too smooth
and intuitive feel
Size confirm
learning speed
Resize
Walking too much
resistance
Confirm whether
there are obstacles
Clear obstructions
Door switch
Zhuangmen
phenomenon
Postponed door open
too fast
Adjusted to a suitable
speed
Loose stopper
Adjust the stopper
to the appropriate
position and tighten
The door is not
operating
电源未接通
Check wiring blocks,
motor unit's power switch
接通电源
Learning speed setting is
too low
The value of a slow
learning speed transfer
large
门被锁
Are you sure the door is locked
打开门锁
拉臂固定座内有垃圾
Open the pull arm mounts
at both ends of the sid
e
cover to check whether
there is garbage
清除垃圾
Resistance is too large ,
swing for the protection of
state
Power door after
checking resistance
The door can not
be opened
Obstructions on the open track
Clear obstructions
Learning speed setting is
too low
The value of a slow
learning speed transfer
large

15
This manual suits for next models
1
Table of contents
Other Smart power Gate Opener manuals

