manuals.online logo
Brands
  1. Home
  2. •
  3. Brands
  4. •
  5. Smart Technologies
  6. •
  7. Whiteboard
  8. •
  9. Smart Technologies SMART Board 400 User manual

Smart Technologies SMART Board 400 User manual

SMART BoardTM Floor Stand Assembly
Assembling the Floor Stand
1. Attach the feet to the uprights using four ¼-20
x 2" stainless steel Phillips flathead machine
screws. Tighten securely using the #3 Phillips
screwdriver provided. One side of each
upright has countersunk indentations around
eight of the screw holes. Ensure that the side
of the upright with the countersunk holes is to
the outside and the angled metal attachments
on the feet both face in the same direction.
2. Loosely fasten each end of the two cross
members to the uprights using four ¼-20 x 2"
stainless steel #3 Phillips flathead machine
screws. After all of the screws are in place,
tighten them securely. The screw heads
must be flush with the outside surface of the
upright.
3. Attach the two SMART Board mounting
brackets at the same height to the uprights
using the four ¼-20 x ½" machine screws
which have black plastic knobs. The Board
mounting brackets are shaped like an "L".
The smaller part of the "L" should be facing
the front of the stand (towards the angled
metal attachments on the feet). The wider
side of each of the mounting brackets, the
one with the holes, must be attached to the
outside of the uprights. The smaller part of
the "L" will be pointing away from the center
and facing the front on the stand (towards the
angled metal attachments on the feet).
Depending upon where you position the
mounting brackets against the stand legs, you
will raise or lower the height of the SMART
Board.
These instructions
apply to Floor
Stands for the
SMART Board 400,
585 and 720.
Note
Do not over-tighten
the screws that
attach the Board
mounting brackets
to the upright.
Some give may be
required when you
attach the SMART
Board.
1.
countersunk holes
to the outside
countersunk holes
to the outside
2.
countersunk holes
to the outside
countersunk holes
to the outside
3.
SMART Board Floor Stand Assembly (cont.)
Securing the Stabilization Extensions
Stabilization extensions (the angular metal attachments on the feet) are hinged at the
front of each Floor Stand foot. These extensions increase the stability of the Floor Stand
when writing and help to prevent it from tipping.
To secure the stabilization extensions, lower and tighten them using the metal screws on
the top of each stabilizer. You can raise the stabilizer extensions and rest them against
the leg when the SMART Board and Floor Stand are being moved, but the extensions
should always be locked down when the SMART Board is in use.
Raise the extension to make it
easier to move the Floor Stand
through doors or hallways.
Stabilization extension in the down
position. This is how the Floor
Stand should look when in use.
Note
For safest
operation, the
stabilization
extensions must
be lowered and
tightly secured.
SMART Board Floor Stand Assembly (cont.)
Mounting the SMART Board on the Floor Stand
1. Carefully unpack the SMART Board and assemble it according to the SMART Board
assembly instructions.
2. Examine the back of the SMART
Board. In each corner you will
see a metal corner plate with a
threaded hole for a ¼-20 x ½"
hex socket head cap screw.
Loosely install the top two hex
socket head cap screws. Leave
approximately ¼ inch between
the corner plate and the head of
the screw so you can mount the SMART Board on the Floor Stand.
3. With assistance from another person, lift the SMART Board onto the front of the
Stand and hook the upper hex socket head cap screws on the SMART Board into the
keyhole slots at the top of the mounting brackets (see above diagram). When viewed
from the back, the serial number label should be in the lower right corner of the
SMART Board.
4. Thread the remaining two hex socket head cap screws into the lower two holes and
tighten all four of the screws with the 3/16" Allen key. Do not over-tighten these
screws.
The SMART Board and Floor Stand should now be fully assembled and, when viewed
from the back, resemble the diagram below.
Note
Two people are
needed during the
assembly process
to lift the SMART
Board onto the
Floor Stand
Fully assembled SMART Board and Floor Stand as viewed from the back.
SMART Technologies Inc.
#600, 1177-11th Avenue SW
Calgary, AB CANADA T2R 1K9
Tel. (403) 245-0333 Fax (403) 245-0366
e-mail sales@smarttech.com
www.smarttech.com
Bringing people and ideas together.
TM
© 1997 SMART Technologies Inc. SMART Board and "Bringing people and ideas together." are trademarks of SMART Technologies Inc. Printed in Canada 3/97

This manual suits for next models

2

Other Smart Technologies Whiteboard manuals
Smart Technologies SMART Board 600 series User manual

Smart Technologies

Smart Technologies SMART Board 600 series User manual

Smart Technologies Smart Board User manual

Smart Technologies

Smart Technologies Smart Board User manual

Smart Technologies SMART Board600i Series User manual
Smart Technologies

Smart Technologies SMART Board600i Series User manual

Smart Technologies SPNL6065 User manual
Smart Technologies

Smart Technologies SPNL6065 User manual

Smart Technologies SMART Board 3000i Manual
Smart Technologies

Smart Technologies SMART Board 3000i Manual

Smart Technologies SMART Board 2000i-DVX User manual

Smart Technologies

Smart Technologies SMART Board 2000i-DVX User manual

Smart Technologies Smart Board User manual
Smart Technologies

Smart Technologies Smart Board User manual

Smart Technologies SMART Board 600 series Instruction manual

Smart Technologies

Smart Technologies SMART Board 600 series Instruction manual

Smart Technologies SB685 User manual

Smart Technologies

Smart Technologies SB685 User manual

Smart Technologies SMART Board 500 Series User manual
Smart Technologies

Smart Technologies SMART Board 500 Series User manual

Smart Technologies Smart Board User manual
Smart Technologies

Smart Technologies Smart Board User manual

Smart Technologies SMART Board 3000i User manual

Smart Technologies

Smart Technologies SMART Board 3000i User manual

Smart Technologies Hawkeye User manual

Smart Technologies

Smart Technologies Hawkeye User manual

Smart Technologies SMART Board 800 Series User manual

Smart Technologies

Smart Technologies SMART Board 800 Series User manual

Smart Technologies Smart Board Installation guide

Smart Technologies

Smart Technologies Smart Board Installation guide

Smart Technologies MX-V4 Series Guide

Smart Technologies

Smart Technologies MX-V4 Series Guide

Popular Whiteboard manuals by other brands
PolyVision a3 CeramicSteel Technical guide

PolyVision

PolyVision a3 CeramicSteel Technical guide

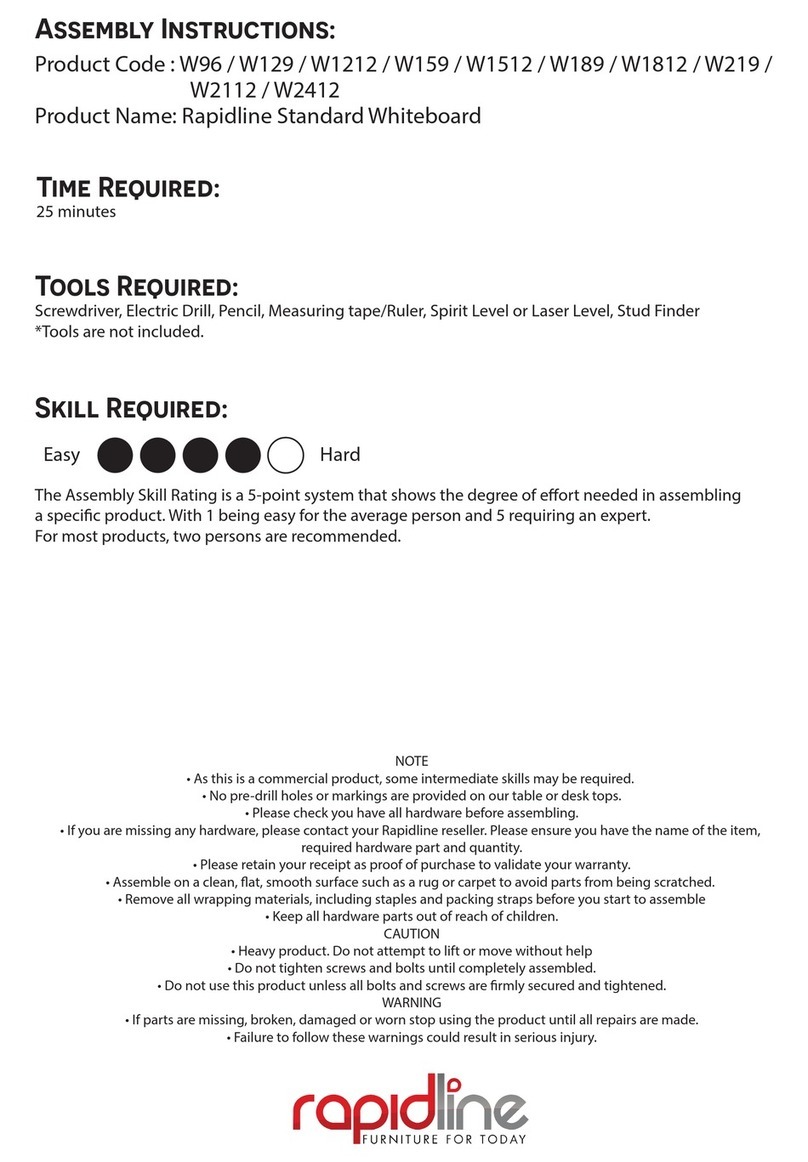
Rapidline W96 Assembly instructions

Rapidline

Rapidline W96 Assembly instructions

BENDHEIM QuicKISS installation instructions

BENDHEIM

BENDHEIM QuicKISS installation instructions

Ghent Reversible Porcelain instruction manual

Ghent

Ghent Reversible Porcelain instruction manual

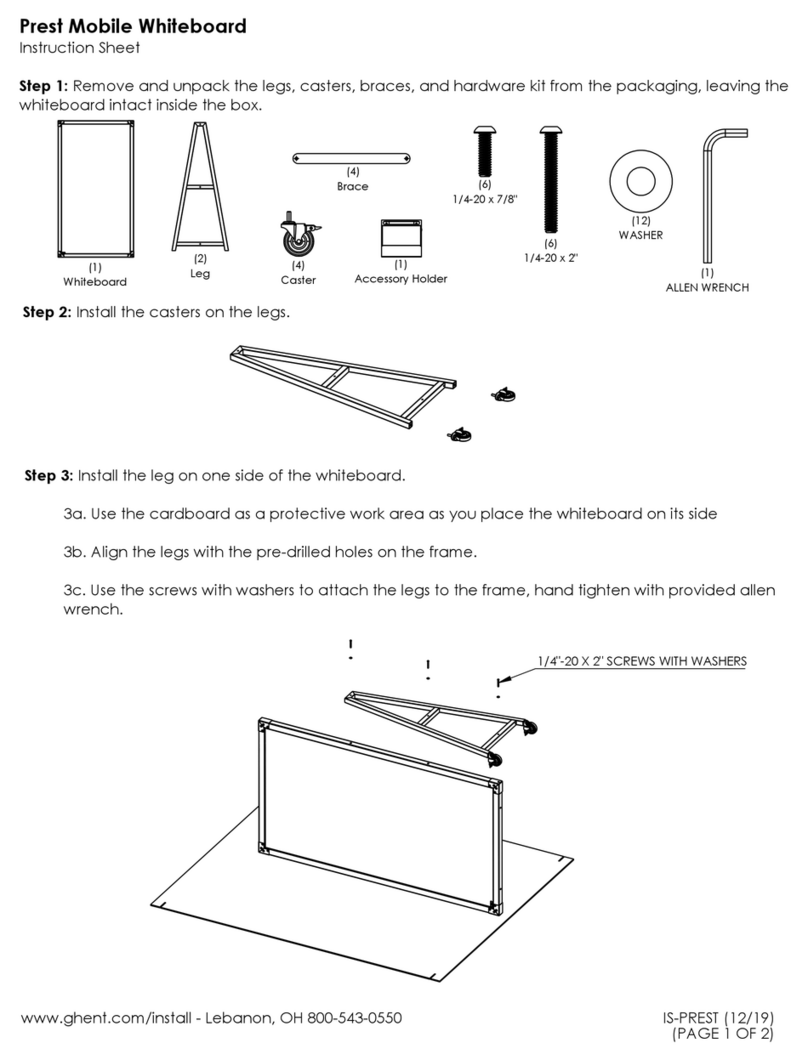
Ghent Prest Mobile instruction sheet

Ghent

Ghent Prest Mobile instruction sheet

promethean ACTIVboard 78 user guide

promethean

promethean ACTIVboard 78 user guide

Ricoh D7500 operating instructions

Ricoh

Ricoh D7500 operating instructions

Plus N-31S user manual

Plus

Plus N-31S user manual

Flash Furniture Deluxe Mobile Board Assemble instructions

Flash Furniture

Flash Furniture Deluxe Mobile Board Assemble instructions

Creative Play OS124 installation instructions

Creative Play

Creative Play OS124 installation instructions

Best-Rite Combo-Rite  C Assembly instructions

Best-Rite

Best-Rite Combo-Rite C Assembly instructions

Fromm&Starck STAR-WBM-07 user manual

Fromm&Starck

Fromm&Starck STAR-WBM-07 user manual

Fromm&Starck STAR IB 02 user manual

Fromm&Starck

Fromm&Starck STAR IB 02 user manual
Leading Edge 3DJumpBean T618 Plus user guide
Leading Edge

Leading Edge 3DJumpBean T618 Plus user guide

Polaroid IBID Operation user's manual

Polaroid

Polaroid IBID Operation user's manual
TeamBoard M81 installation instructions
TeamBoard

TeamBoard M81 installation instructions

Belnick YU-60X90-WHITE-GG Assembly instructions
Belnick

Belnick YU-60X90-WHITE-GG Assembly instructions

Best-Rite Platinum Reversible 669 Assembly instructions

Best-Rite

Best-Rite Platinum Reversible 669 Assembly instructions

manuals.online logo
manuals.online logoBrands
  • About & Mission
  • Contact us
  • Privacy Policy
  • Terms and Conditions

Copyright 2025 Manuals.Online. All Rights Reserved.